Science Saturdays, Year 1: Animals
Science Saturdays are sessions which teach parents/carers and children valuable STEM skills. Our goals are to increase parents' confidence in STEM skills and STEM
activities, while providing the children opportunities to play with STEM toys, such as magnifying glasses. Another goal is to increase the community
amongst the year-group families. These sessions are appropriate for schools to use in the classroom, families to do as extra learning outside school, and/or for
families who Home School / Home Educate.
This series of webpages is intended to help others set up their own Science Saturdays. We hope these webpages are helpful and help us grow our collective STEM skills
for the future!
Team:
Mridusmita Danciu: Medical Professional
Nicolae Danciu: Aircraft Engineer
Barbara Vohmann: Quantity Surveying and Construction Management Academic
Ephraim Zulu: Quantity Surveying Academic
Sarinova Simanjuntak: Mechanical Engineering Academic
Jennifer Martay: Biomedical Engineering Academic
We focused on Animals, Including Humans, in our third Science Saturday. We used STEM Learning UK's "Science for Starters"
Animals leaflet as a basis for the session.
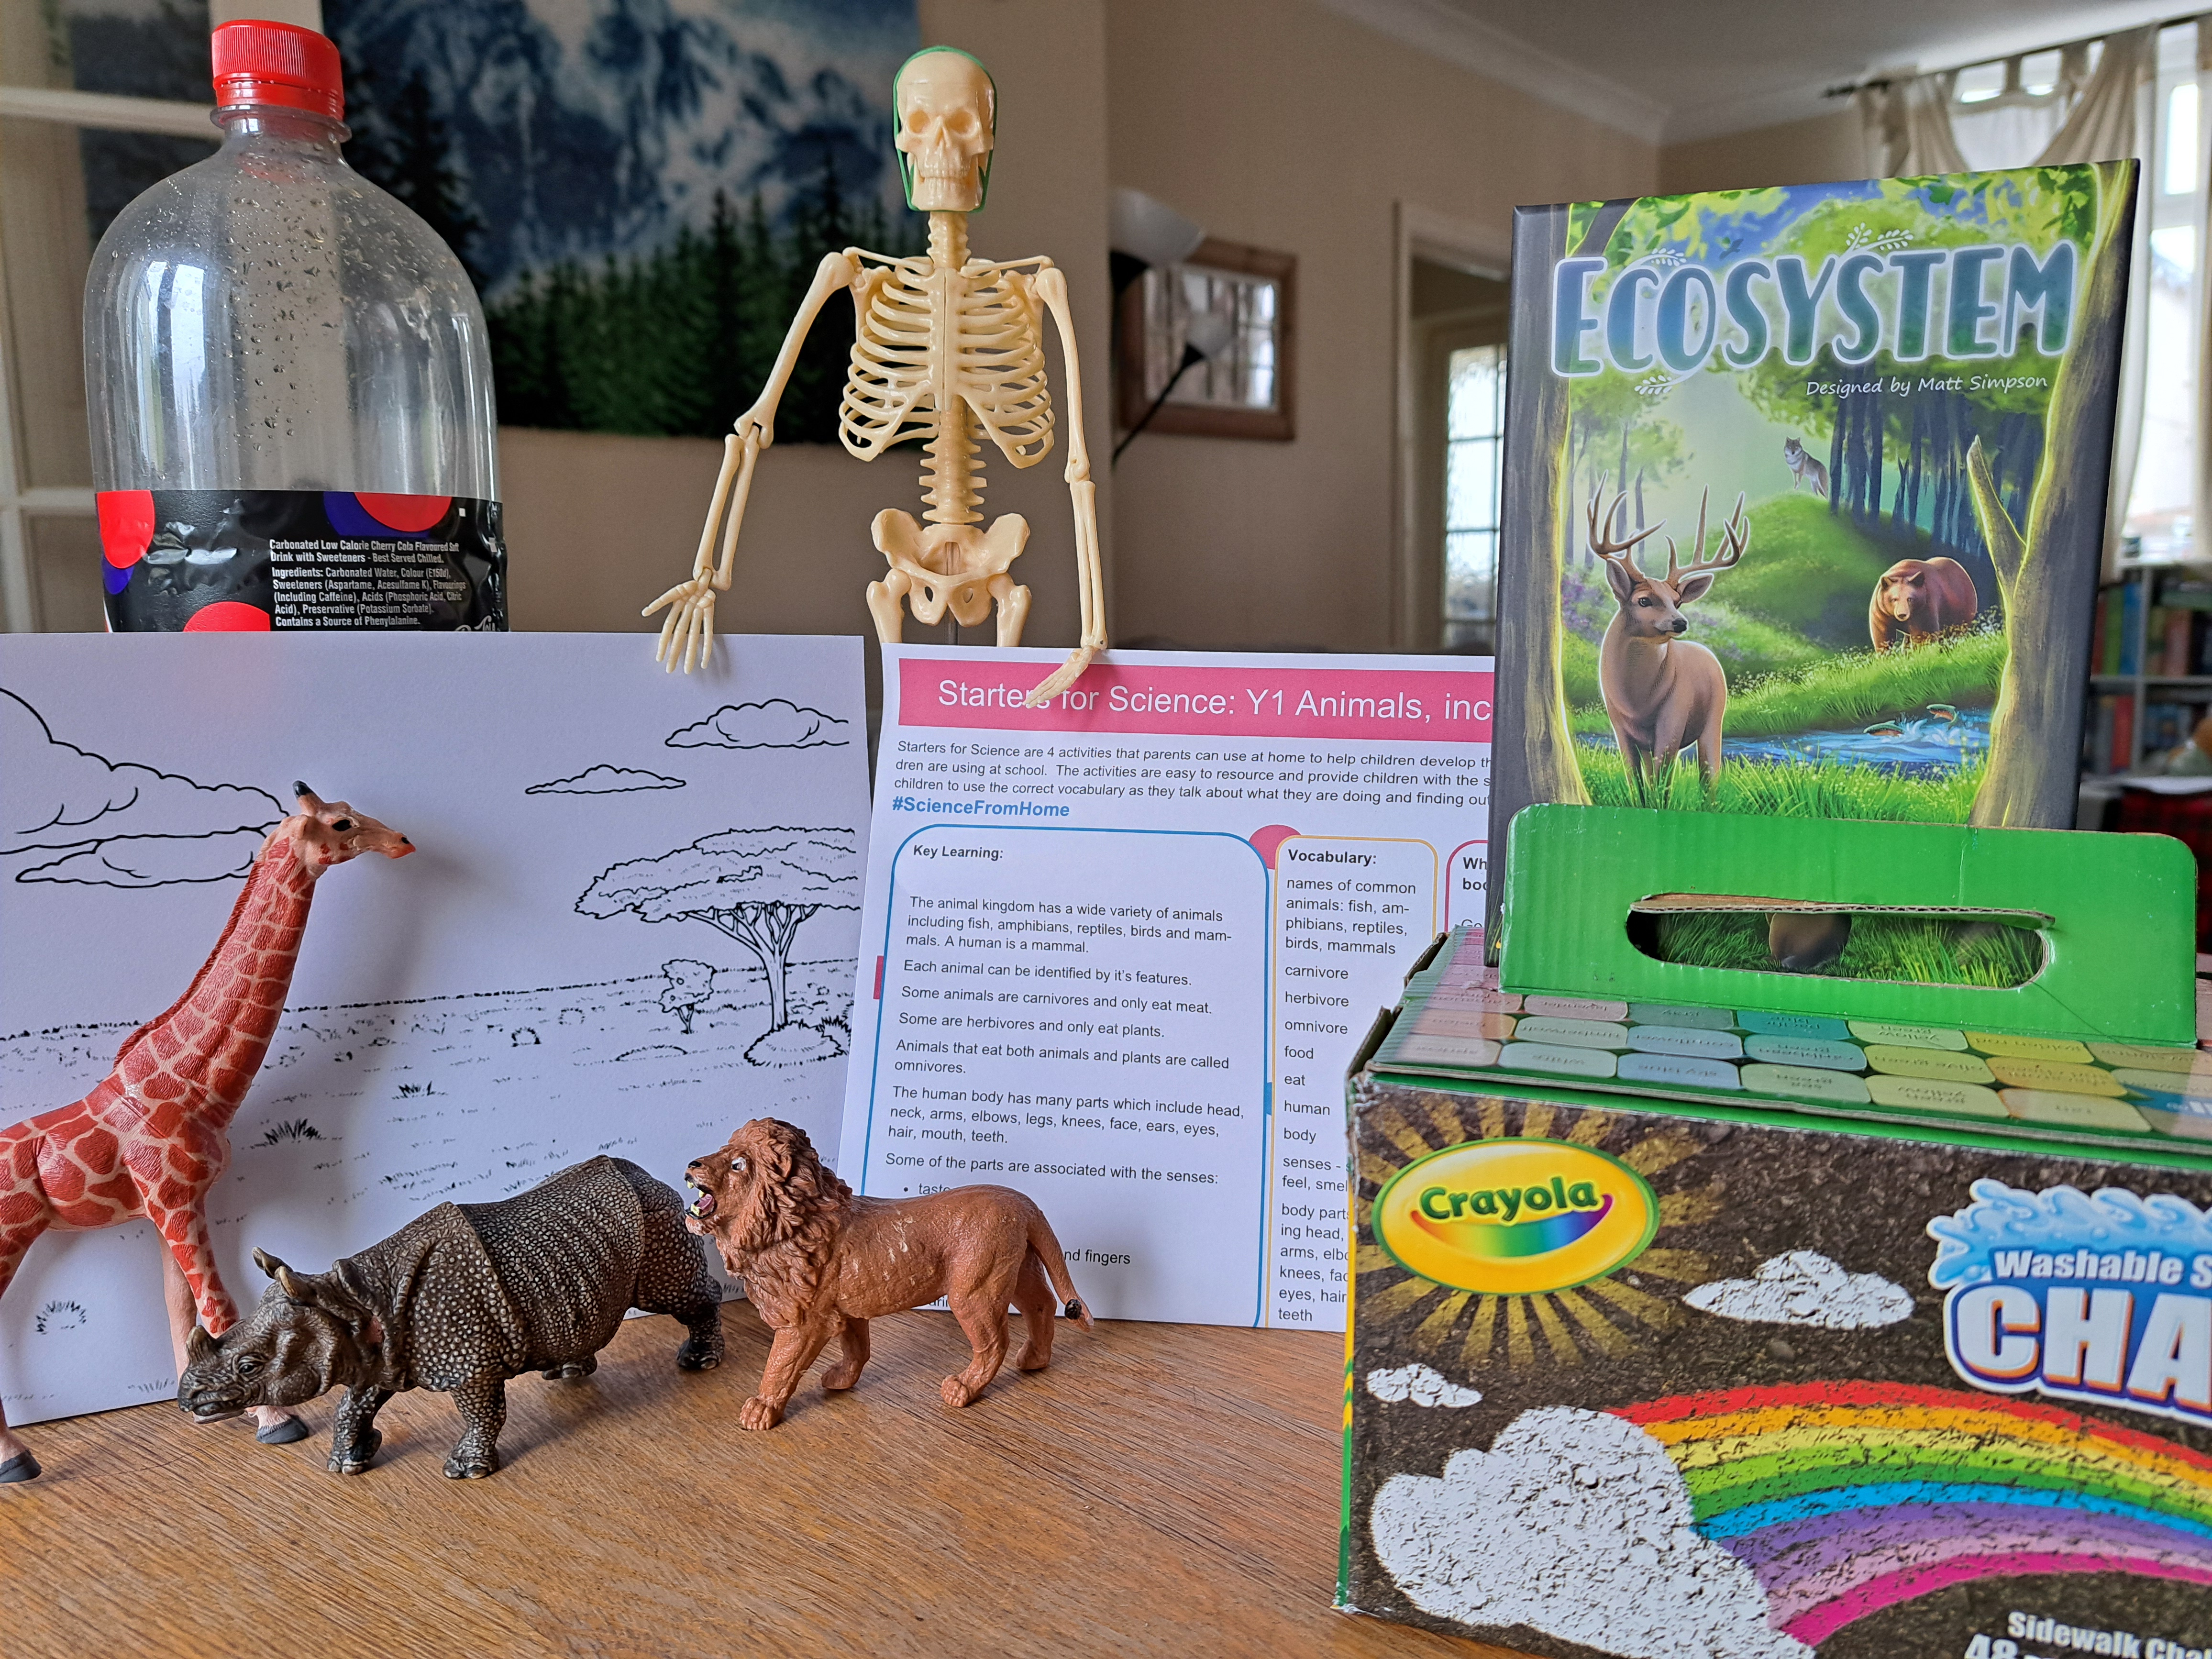
Required Materials (for 10 Families)
-10 STEM Learning leaflets on Animals, Cost = £0
-Animals (each family to bring favorite plastic or stuffed animal to the session to discuss), Cost = £0
-
65 Pieces Animal Figures Toy Set, Cost = £13.16
-
5 coloured sheets of paper for making flash cards, 5 sheets of paper for body outline and parts , Cost = £6 for 100 sheets of 10 colours
-
Pens for making flash cards and drawing/colouring, Cost = £11.50 for 187 piece art kit
-
Crayola Washable Sidewalk Chalk (Box of 48), Cost = £8.00
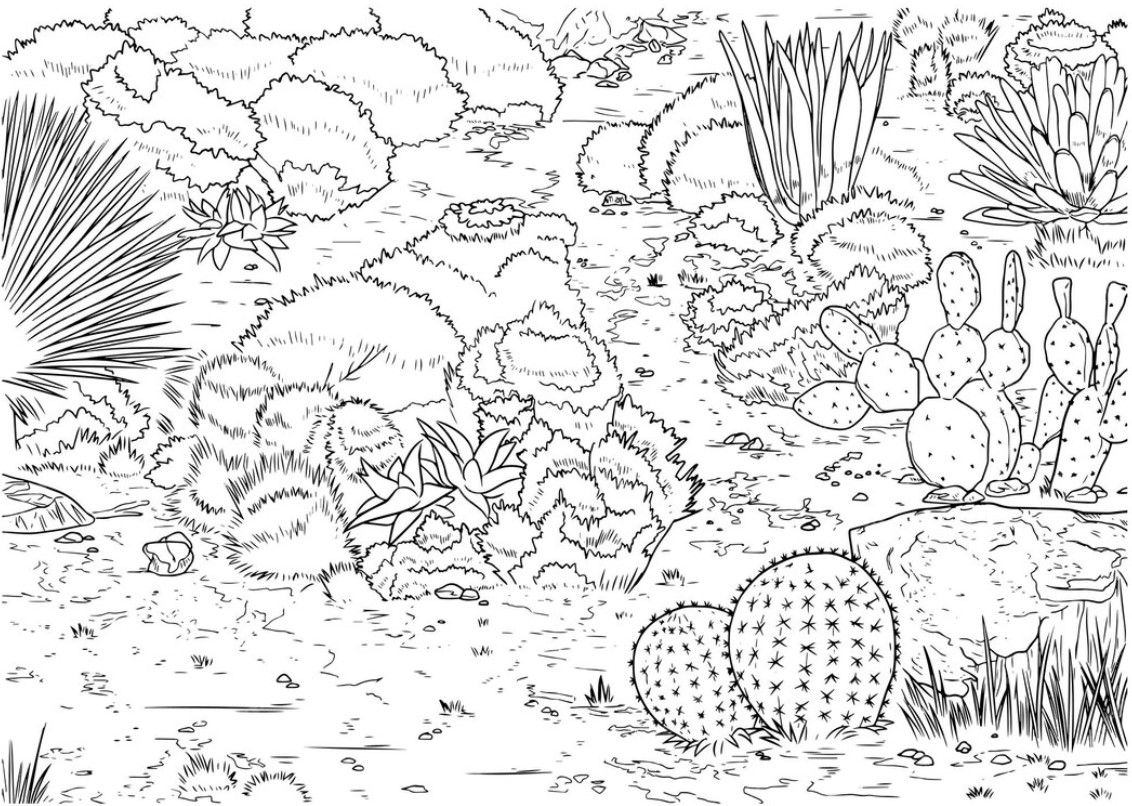
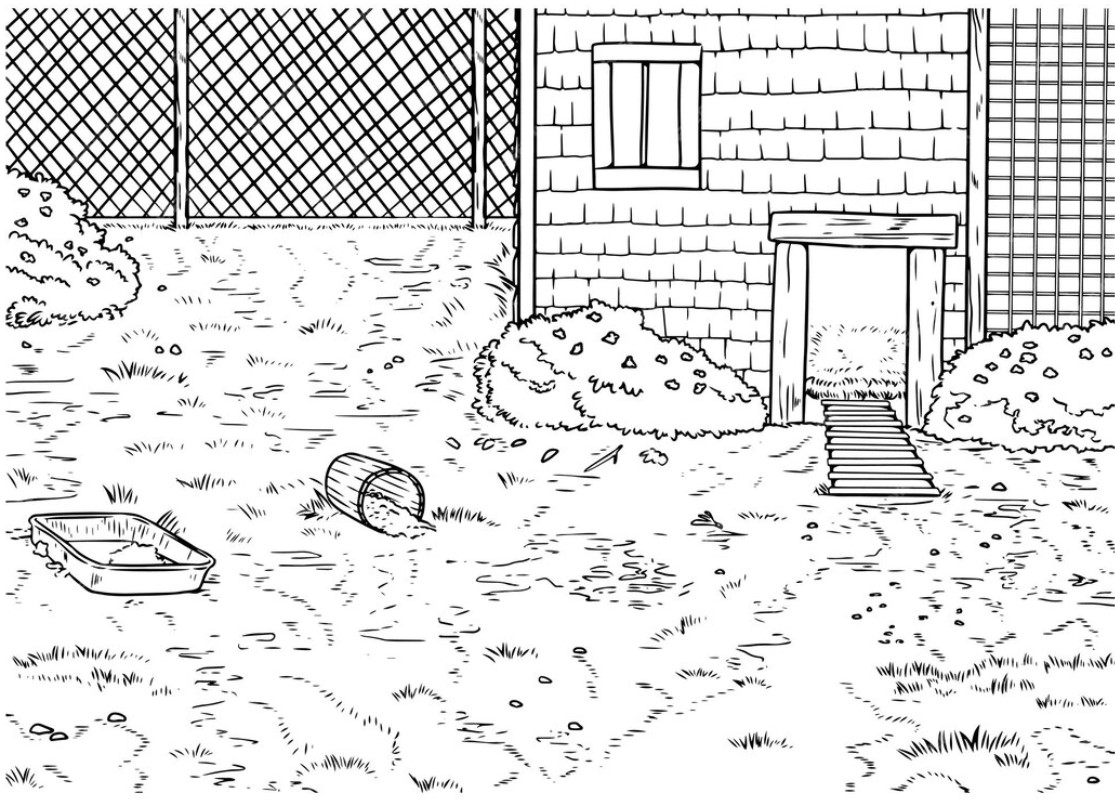
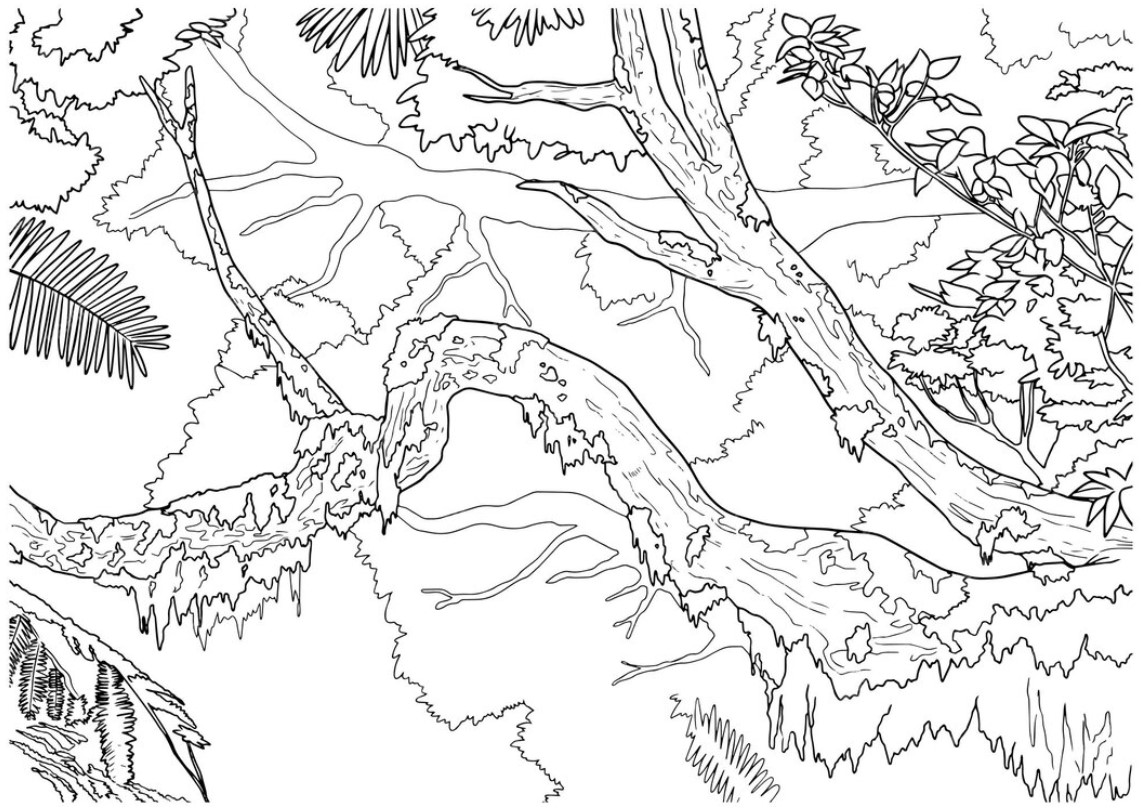
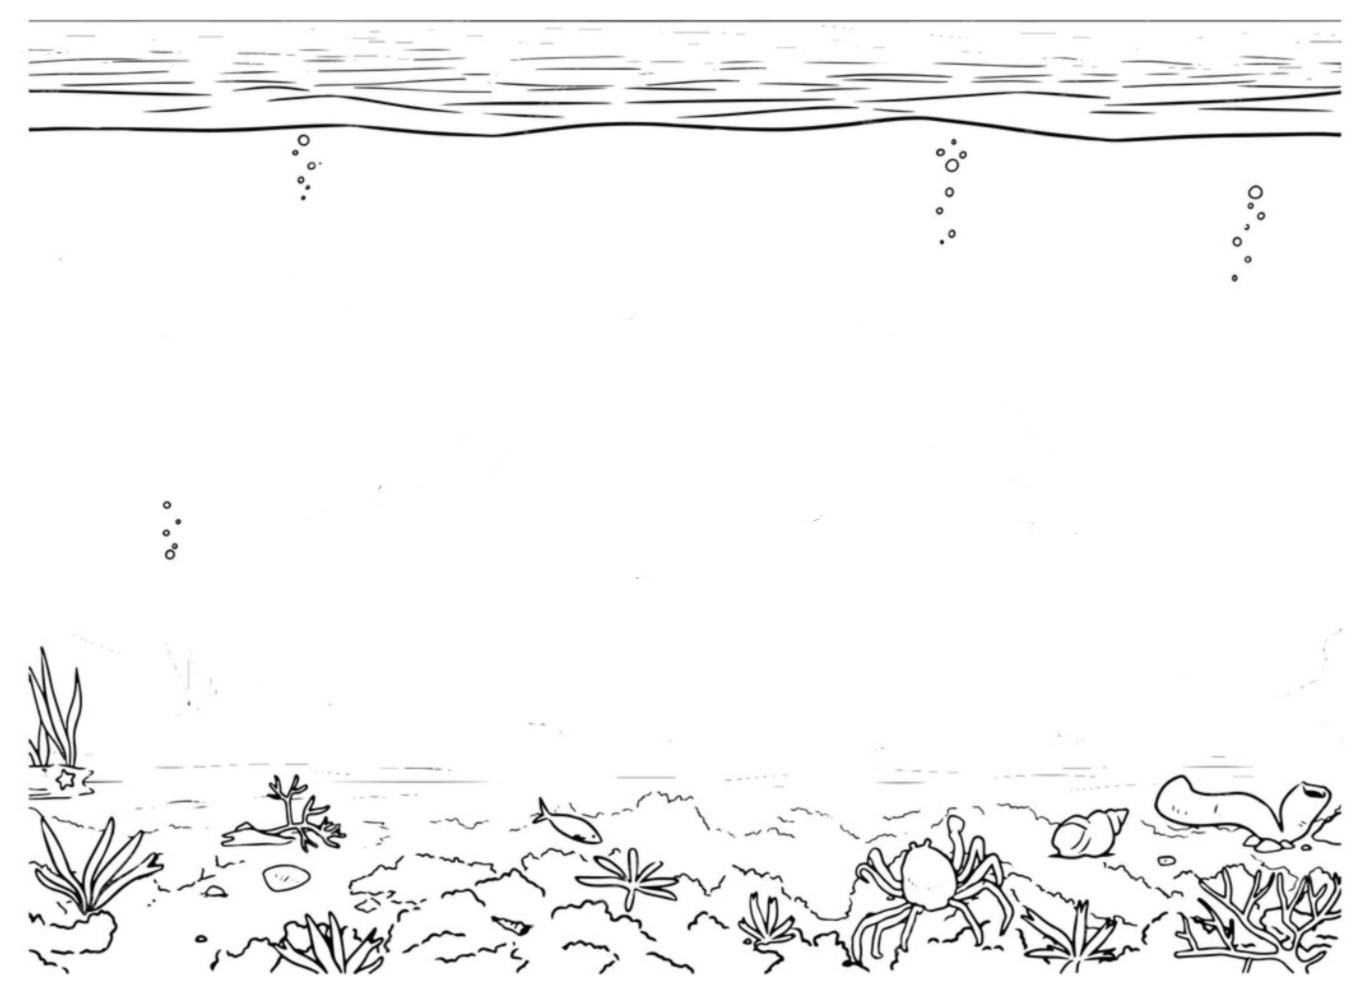
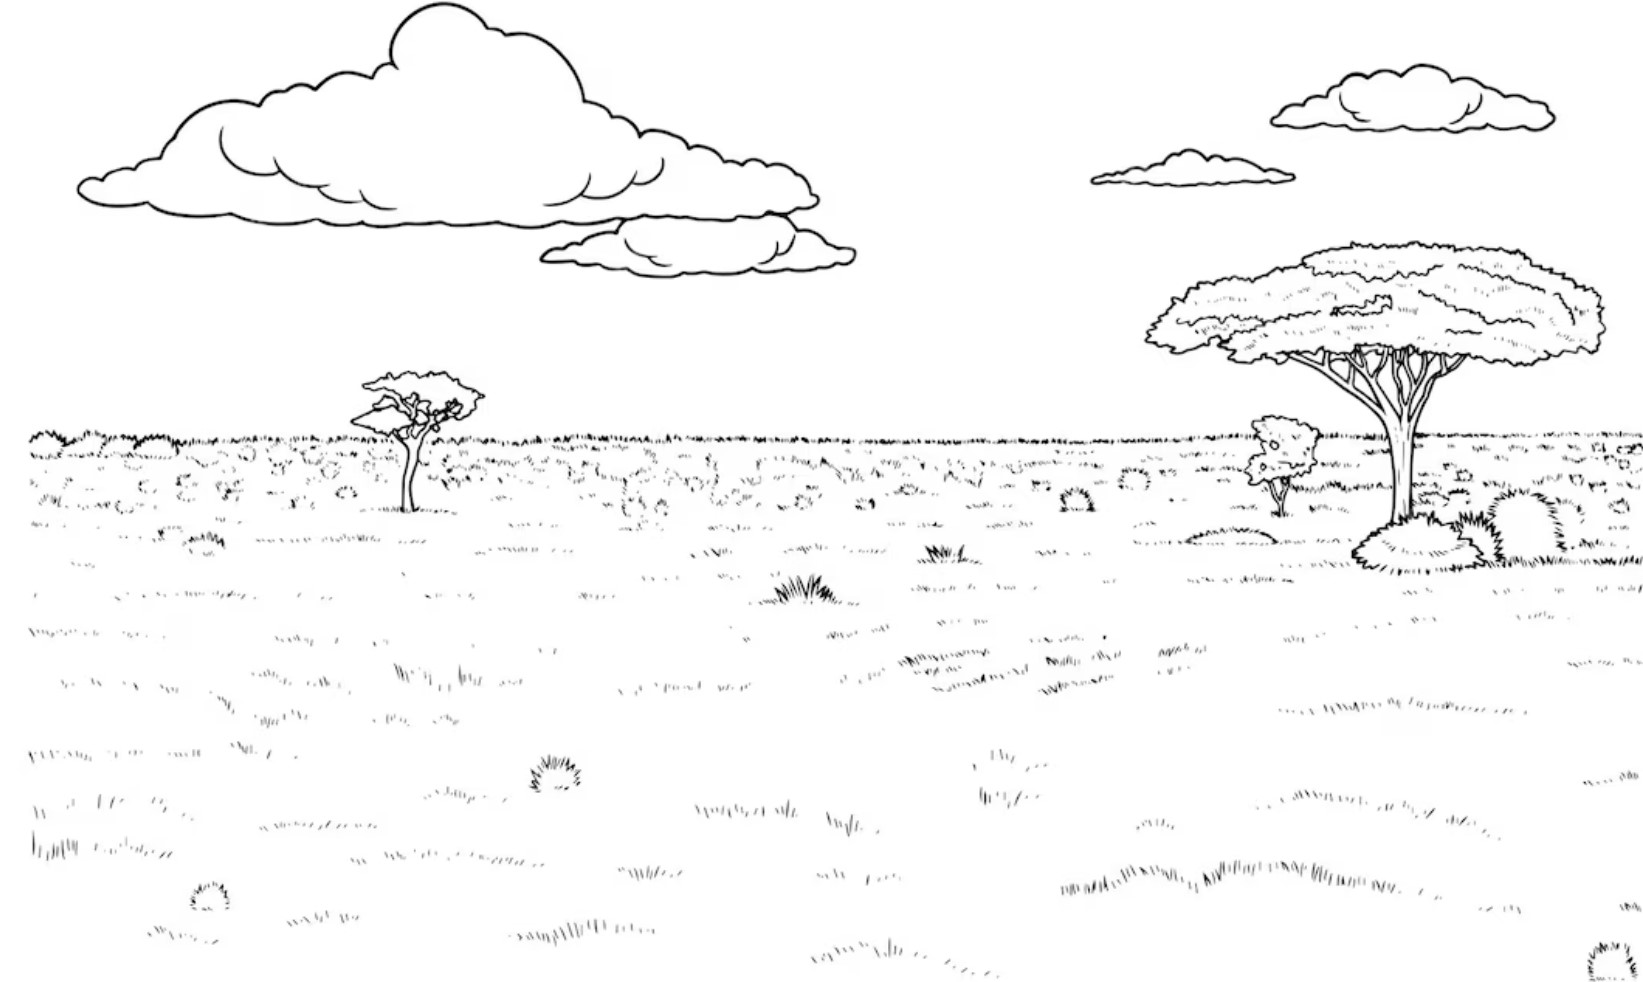
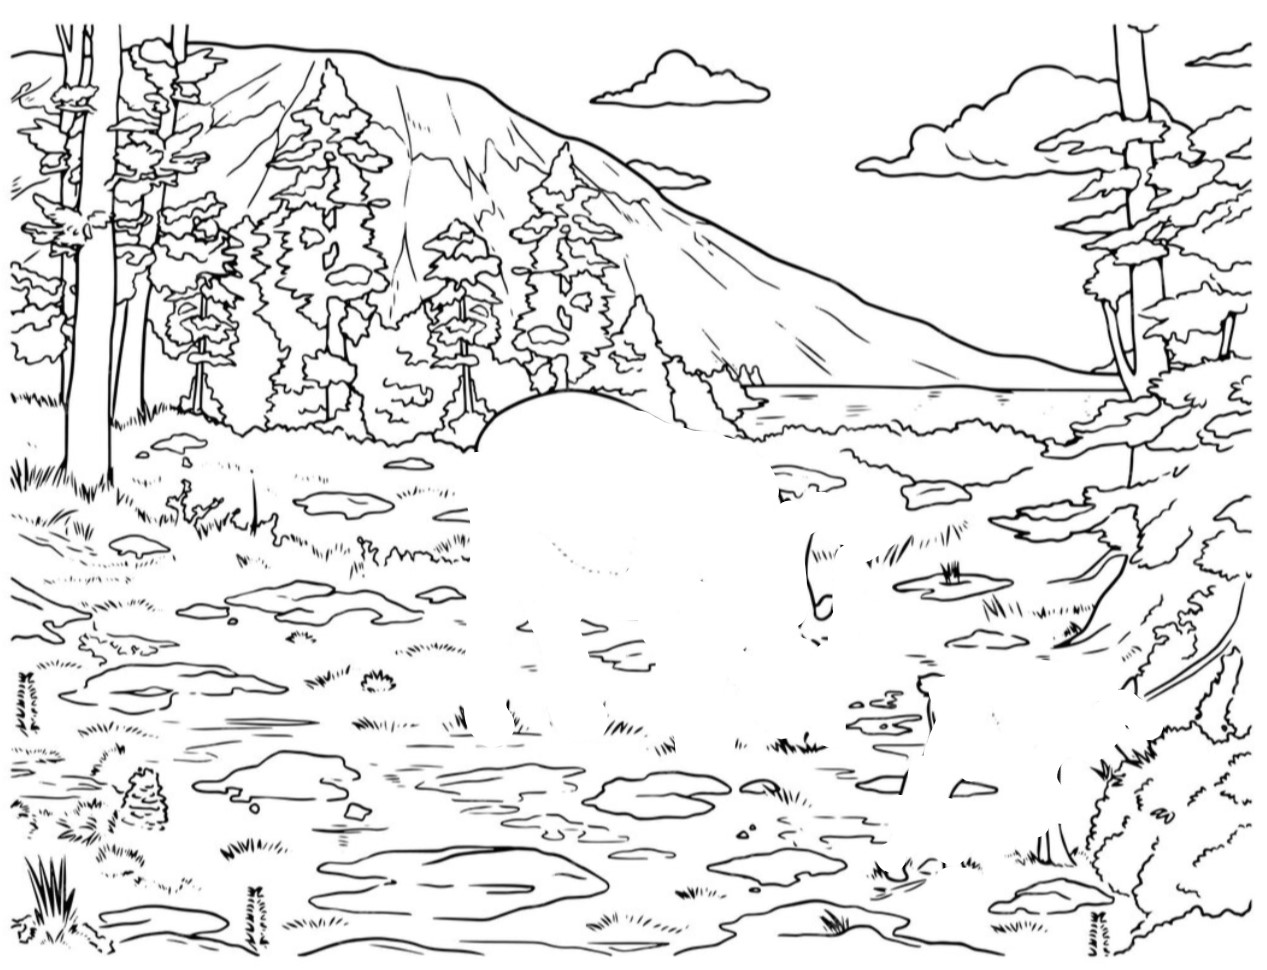
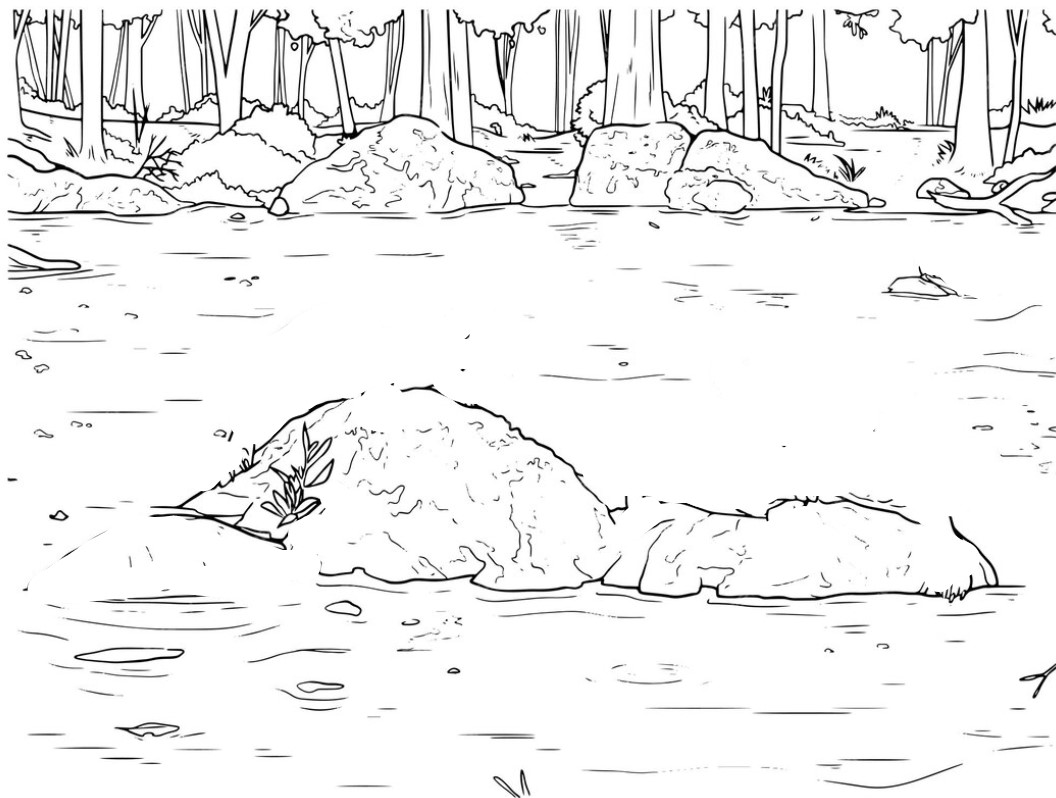
- 4 sets of habitat pictures for kids to draw in animals, Cost = £0
- 10 Blank sheets of paper for kids to draw body outline (if raining), Cost = £0
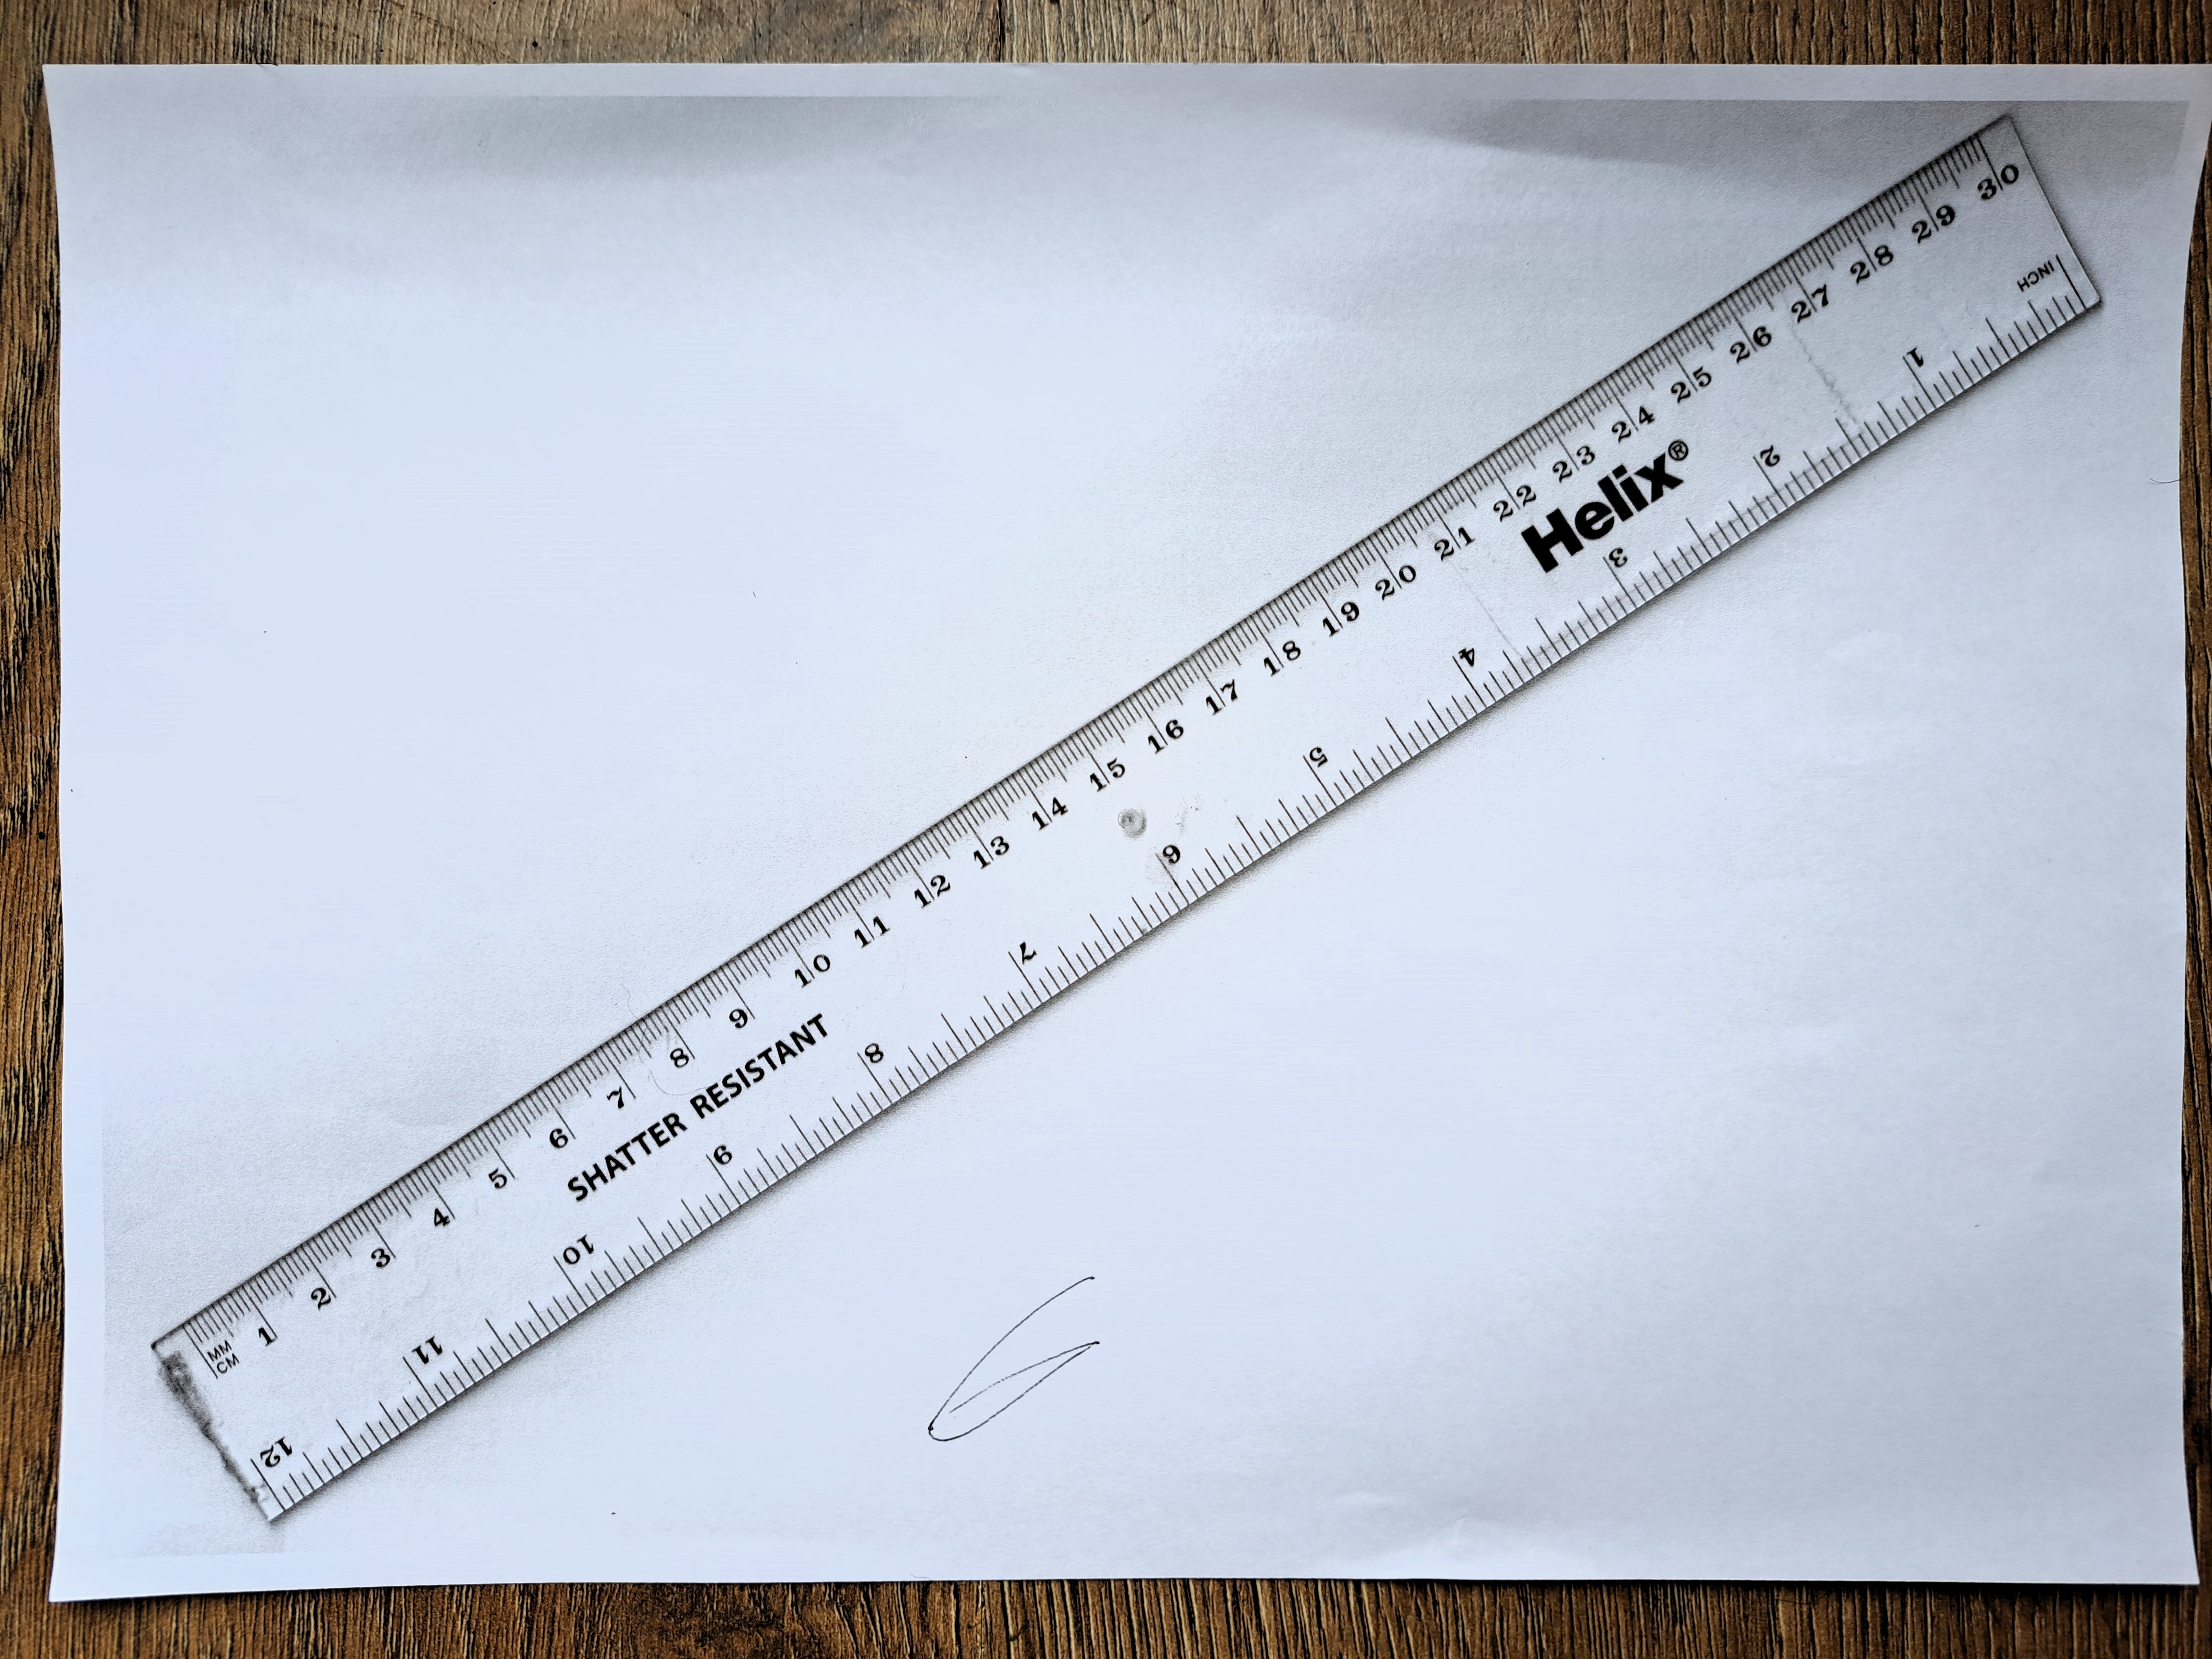
- 4 Scanned pages of transparent ruler, Cost = £0
Total Cost = £38.66
Total Cost per Child = £3.87
Note: The above Total Cost per Child is slightly misleading! The coloured paper and arts set were also already used in the 1st and 2nd Science Saturday session
so don't need to be re-bought. The chalk (mostly), demonstration body outline, flash cards, and animal set are non-consumable and could be used again/in future sessions.
Total Cost if coloured paper and pens already available from Session 1 and/or 2 = £21.16
Total Cost per Child = £2.12
Plan for Session
1. Welcome families: Let children check their plant from Session 1 (ours had just started sprouting), Have parents put on name tags so people can learn names, Ask parents to
take 3rd survey (newly-joining families' 1st survey), Ask newly-joining families if they are ok with pictures being taken/shared.
2. Each family introduces the animal they brought: What is the animal called, why did they choose to bring it, where does the animal usually live, what does the animal eat,
etc. If multiple families bring the same kind of animal, talk about differences (different kinds of birds have different colours, beak size, etc).
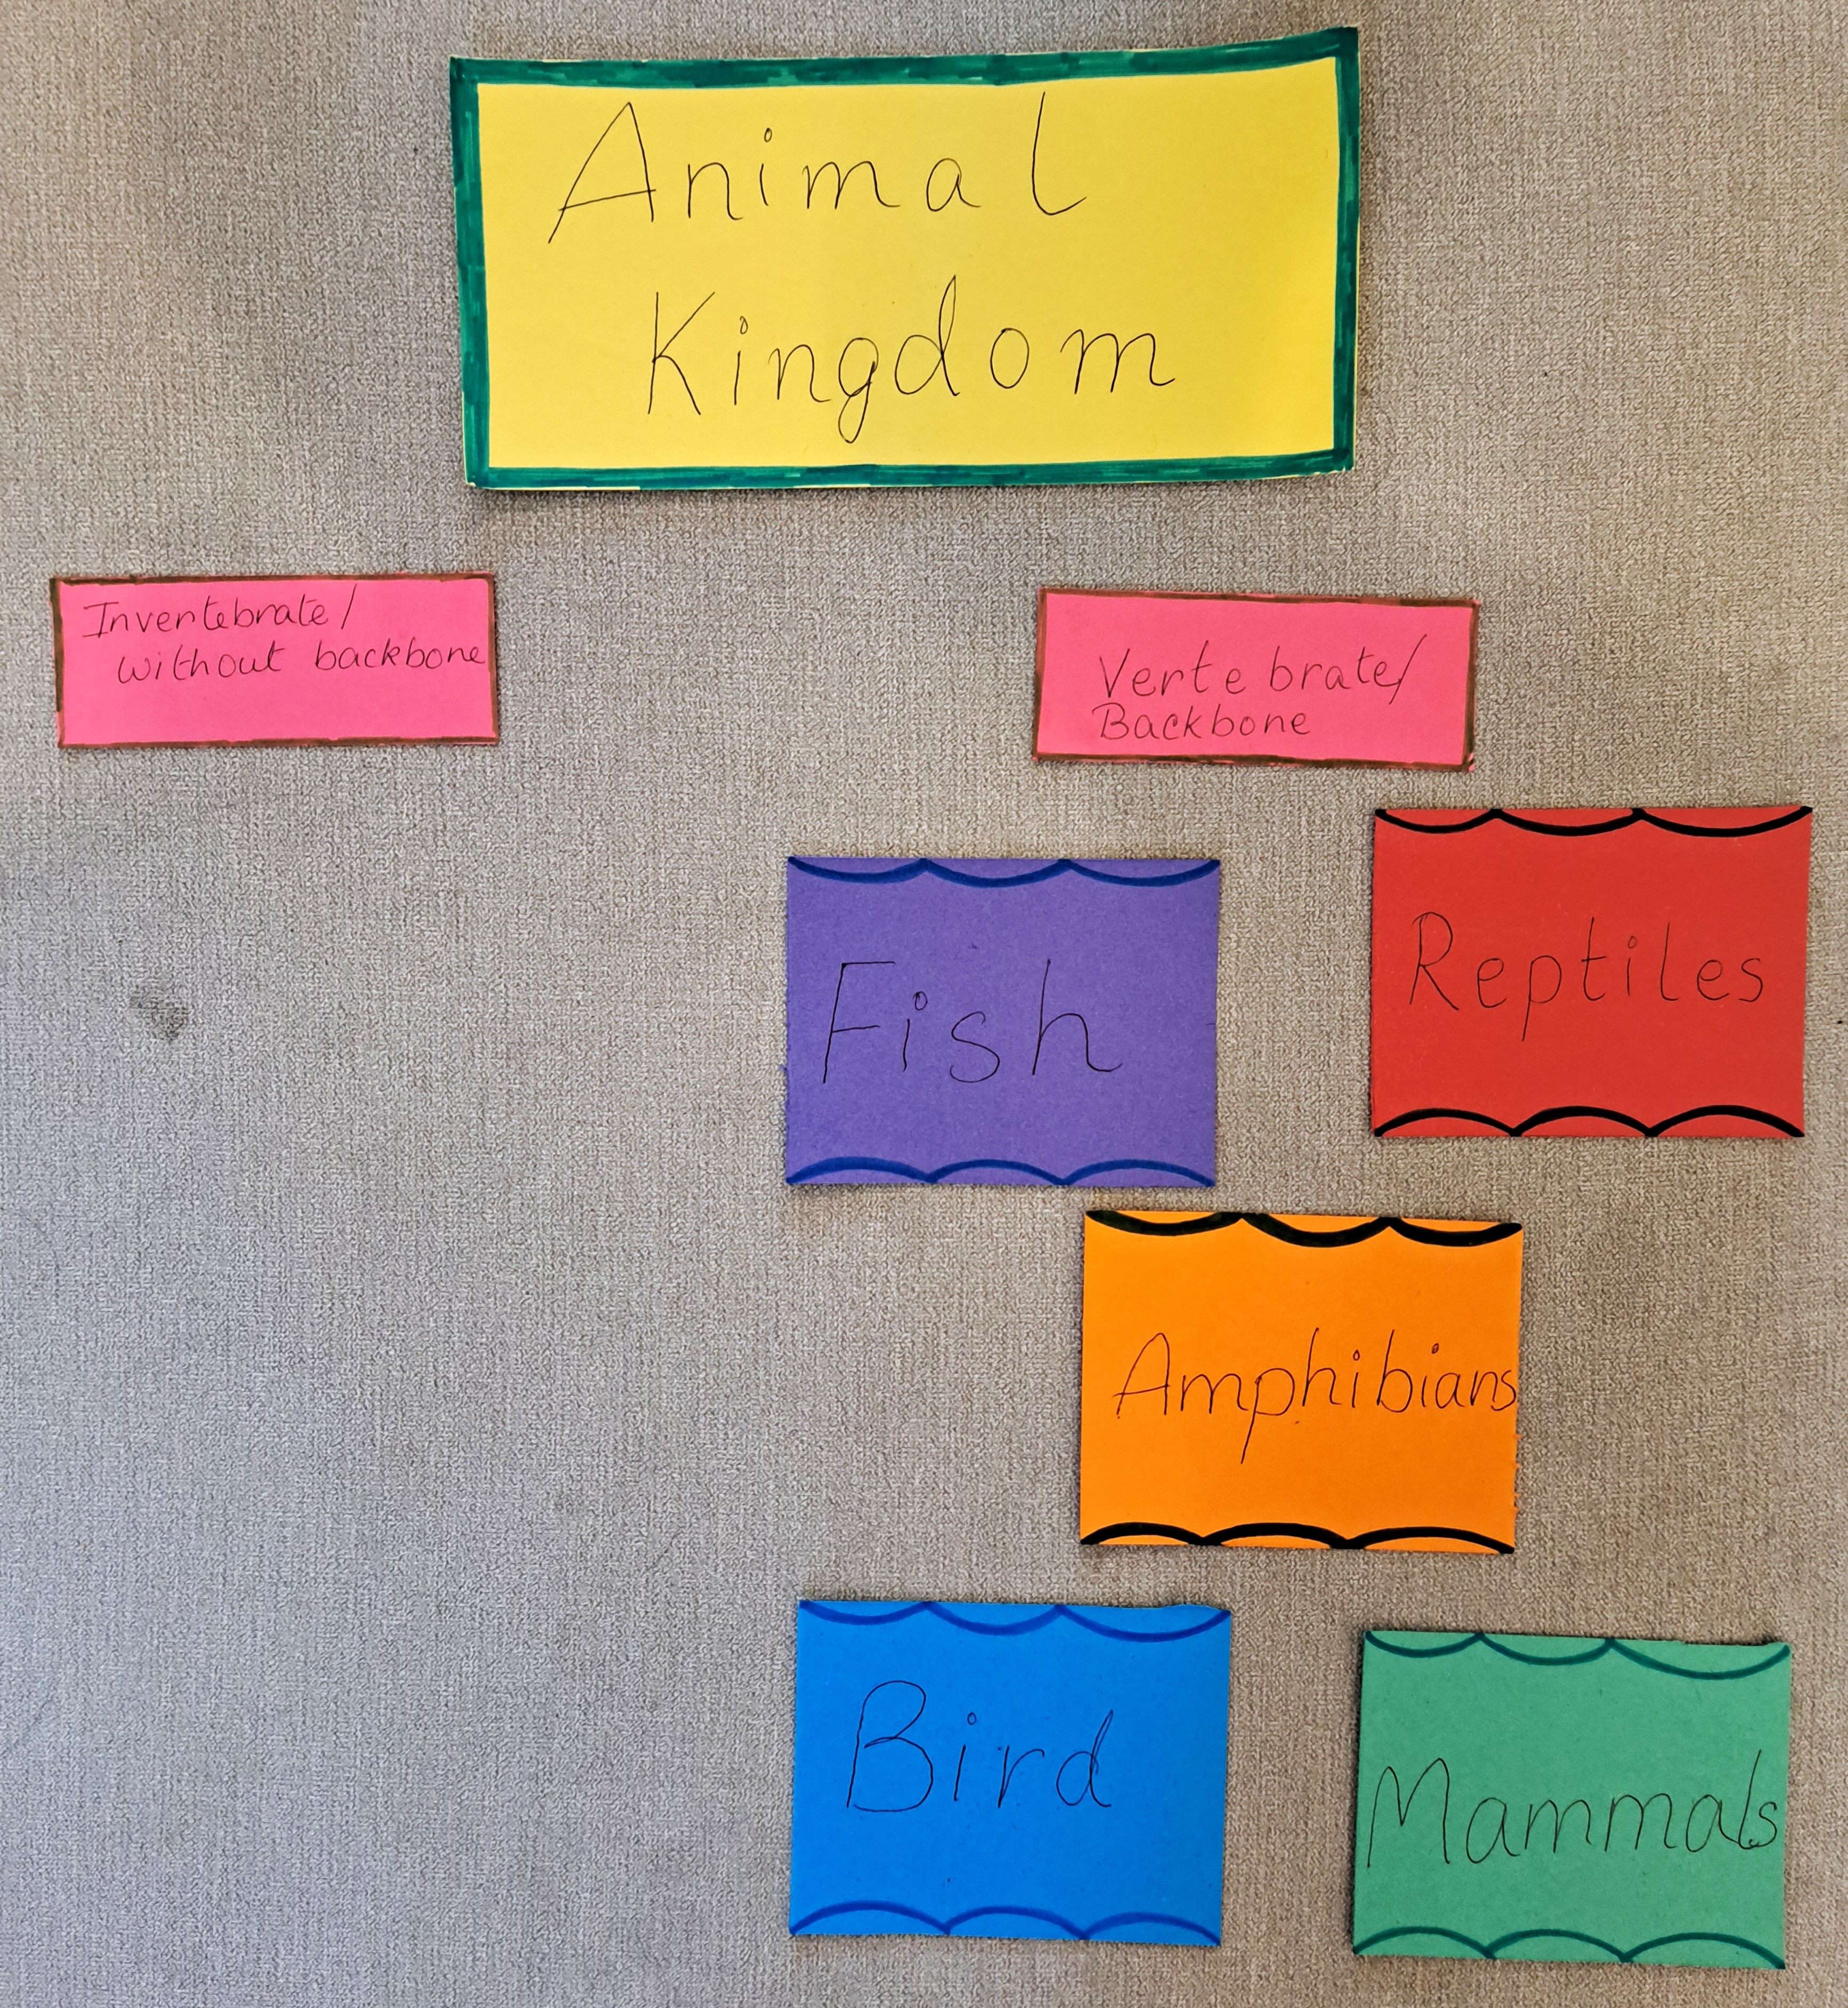
3. Explain that we classify animals into different groups in the Animal Kingdom. Explain that we divide animals into invertebrates (no backbone) and vertebrates (have
backbone). Point out that we are not discussing invertebrates today, only vertebrates. Put out flash cards for the 5 vertebrate groups. Ask children to sound out
and repeat names of groups on the flash cards; help as needed. Explain that we divide vertebrates
into cold blooded and warm blooded. Have children decide which 3 groups are cold blooded and which 2 groups are warm blooded. Explain we further
divide animals based on type of babies they have: hard eggs, squishy eggs/spawn, and/or live babies. Have children decide what type of babies each group has.
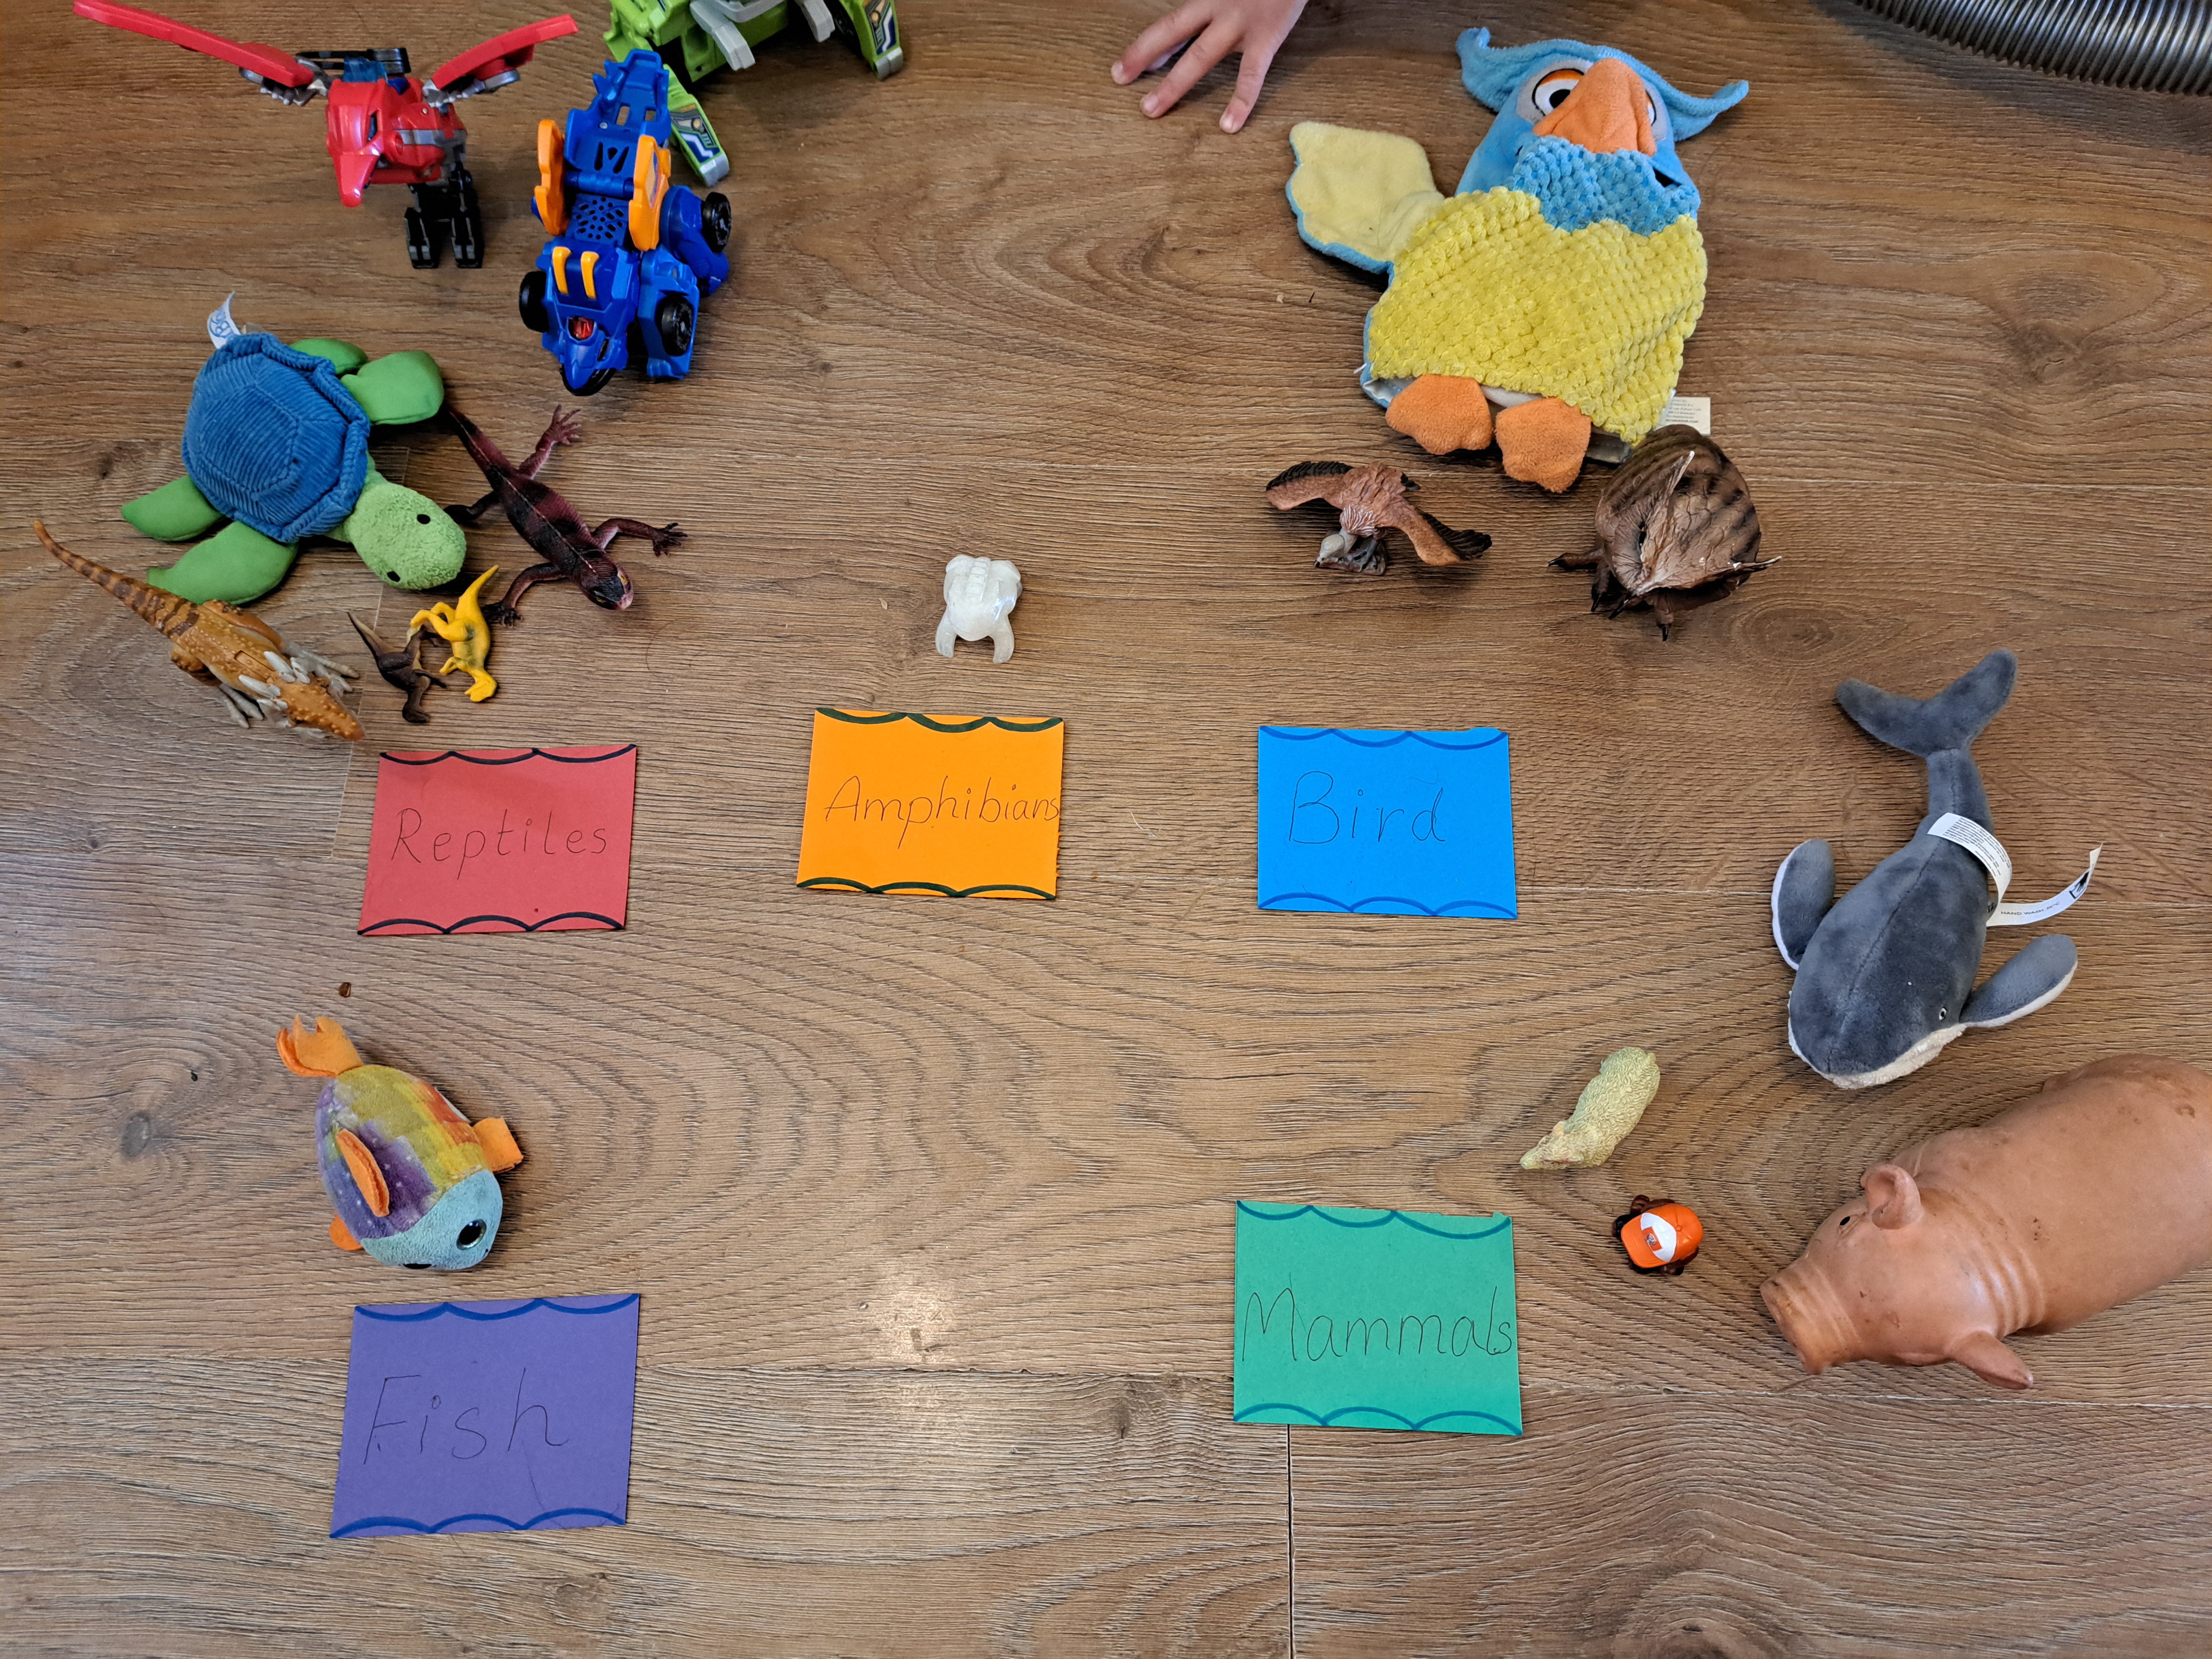
4. Children sort animals they brought and from the toy set into the 5 animal groups. We did this all at once, rather than 1 animal at a time. As the children sort the
animals, ask them to justify why they selected the particular groups.
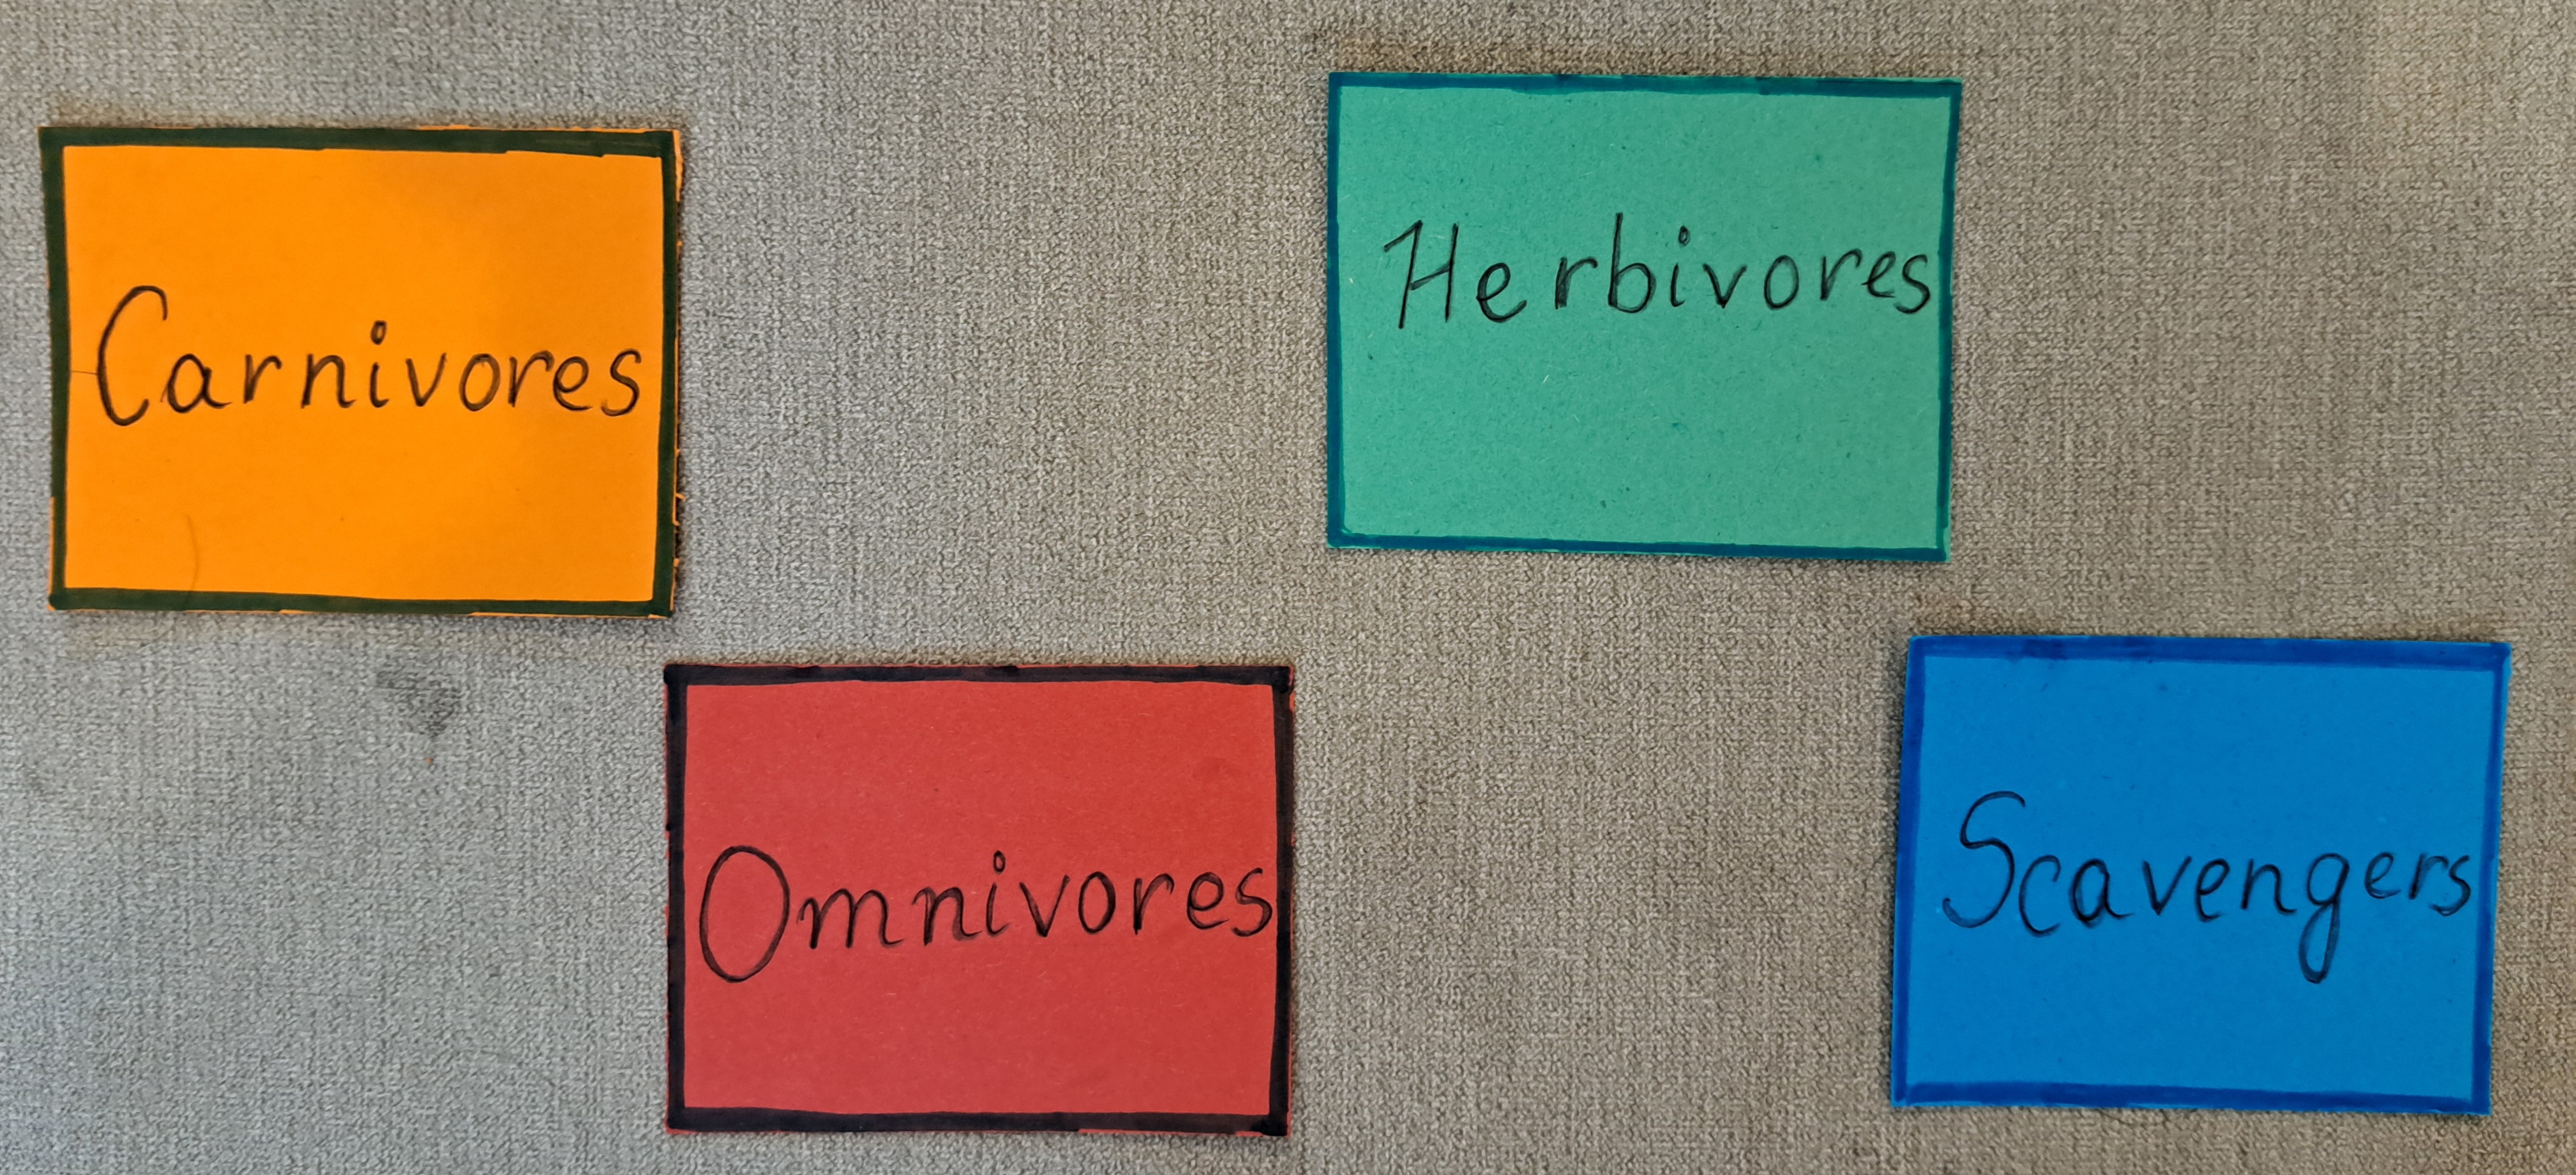
5. Explore that we can also classify animals according to what they eat (dietary categories). Put out flash cards for carnivore, herbivore, omnivore, and scavenger.
Ask children to sound out and repeat each group on the flash cards; help as needed. Explain what each group eats.
6. Children sort animals they brought and from the toy set into the 4 eating groups. We did this all at once, rather than 1 animal at a time. As the children sort the
animals, ask them to justify why they selected the particular groups.
7. Ask children whether humans are animals, which vertebrate group humans are in, and which eating group(s) humans are in. Guide the children to decide.
8. Mention that eating involves our mouth which also lets us taste. Explain that taste is 1 of our 5 senses. Ask the children to name the other 4 senses and the 4 sense
organs. Show an outline of the body and have children place the sense organs (mouth, nose, eyes, ears, and hands) in their correct locations. Then
have children place arms and legs on the body outline. Finally, scatter body part flash cards around the body outline and have the children read and place the flash cards
in the correct locations on the body outline. Talk about the function of each body part.
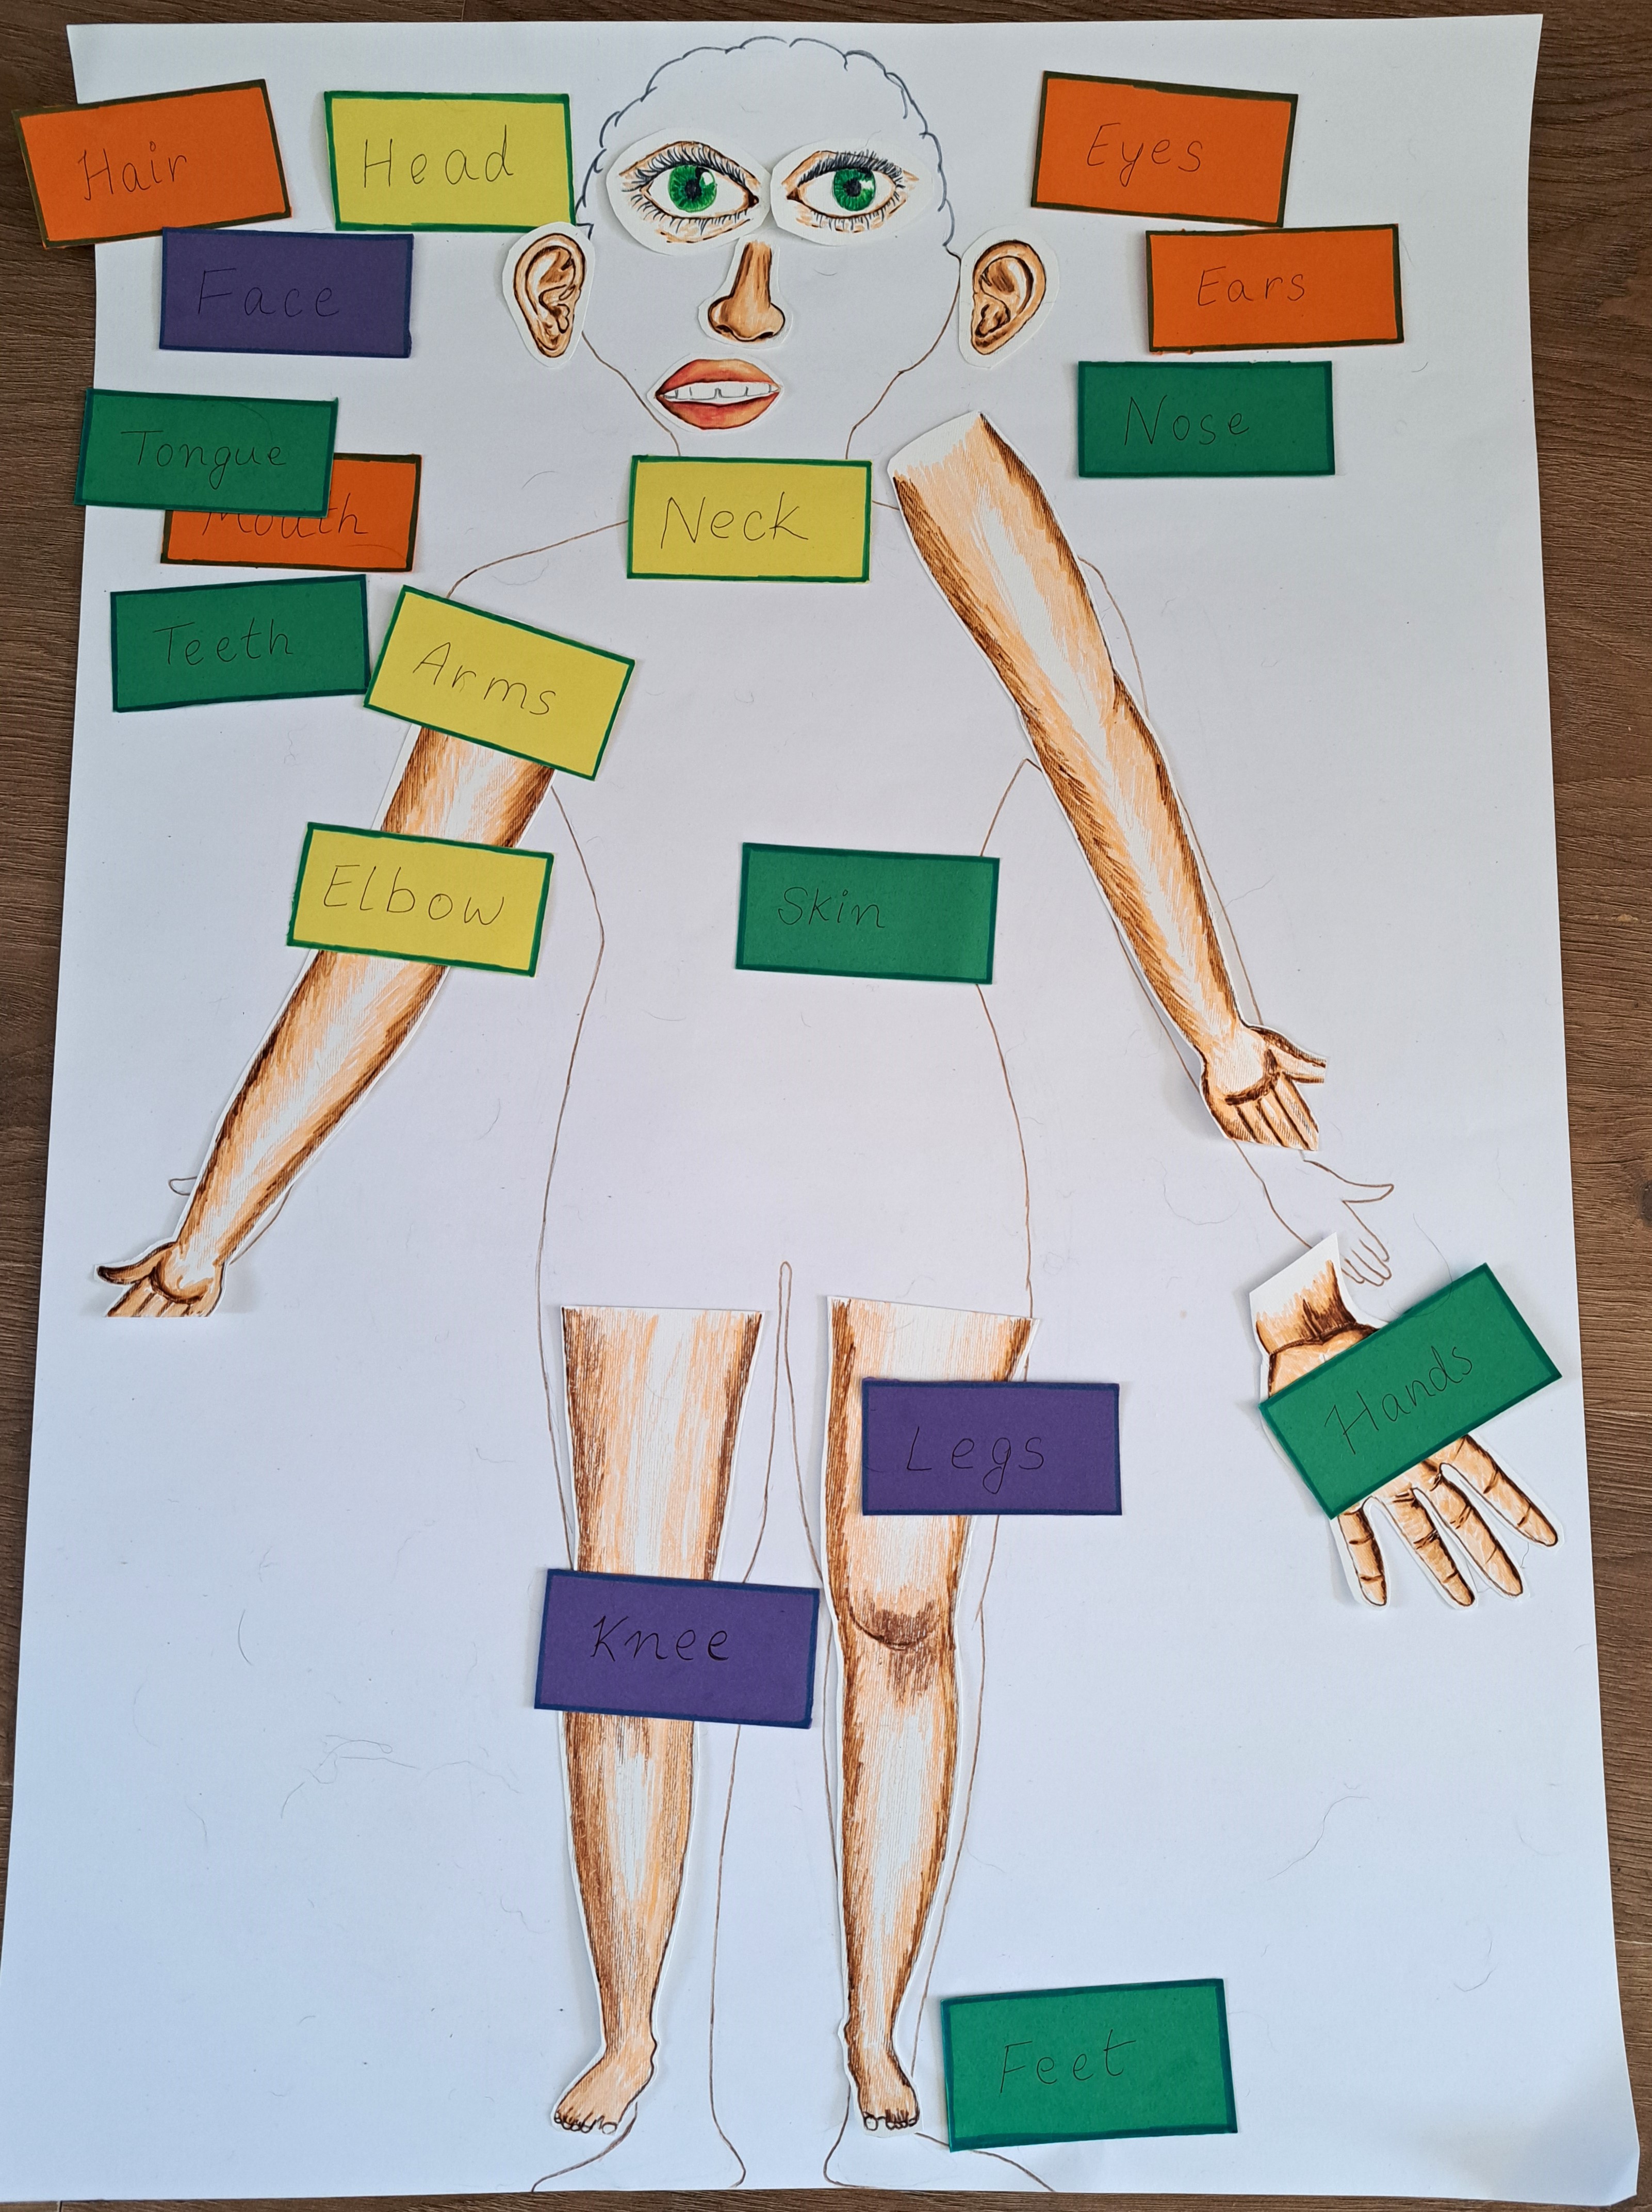
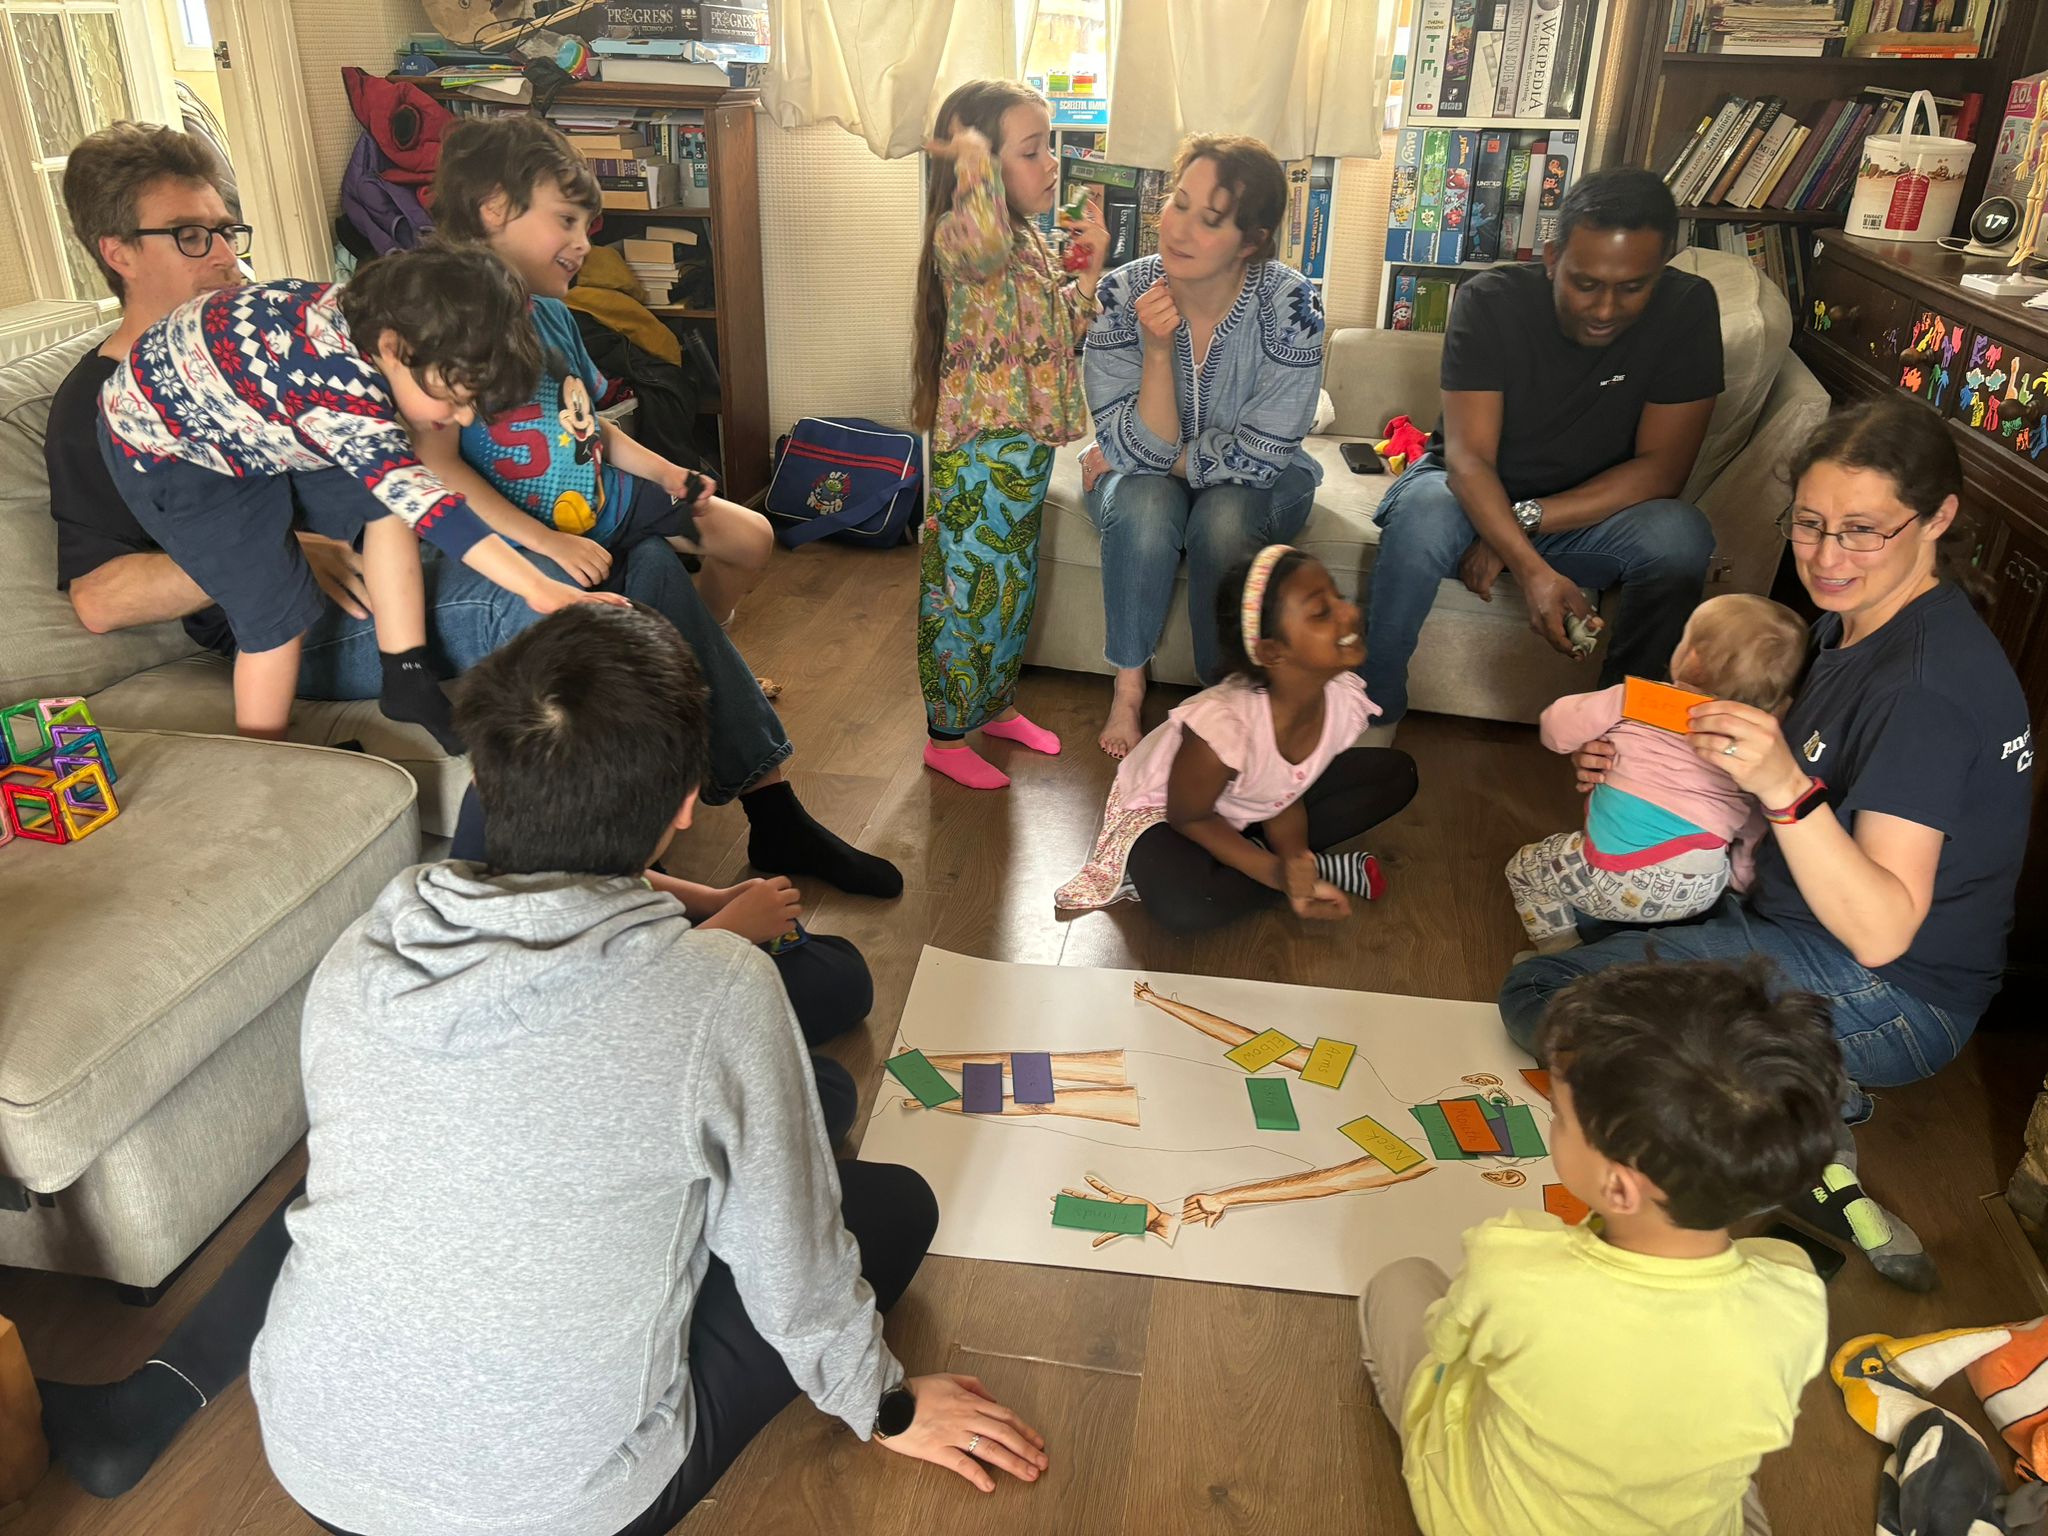
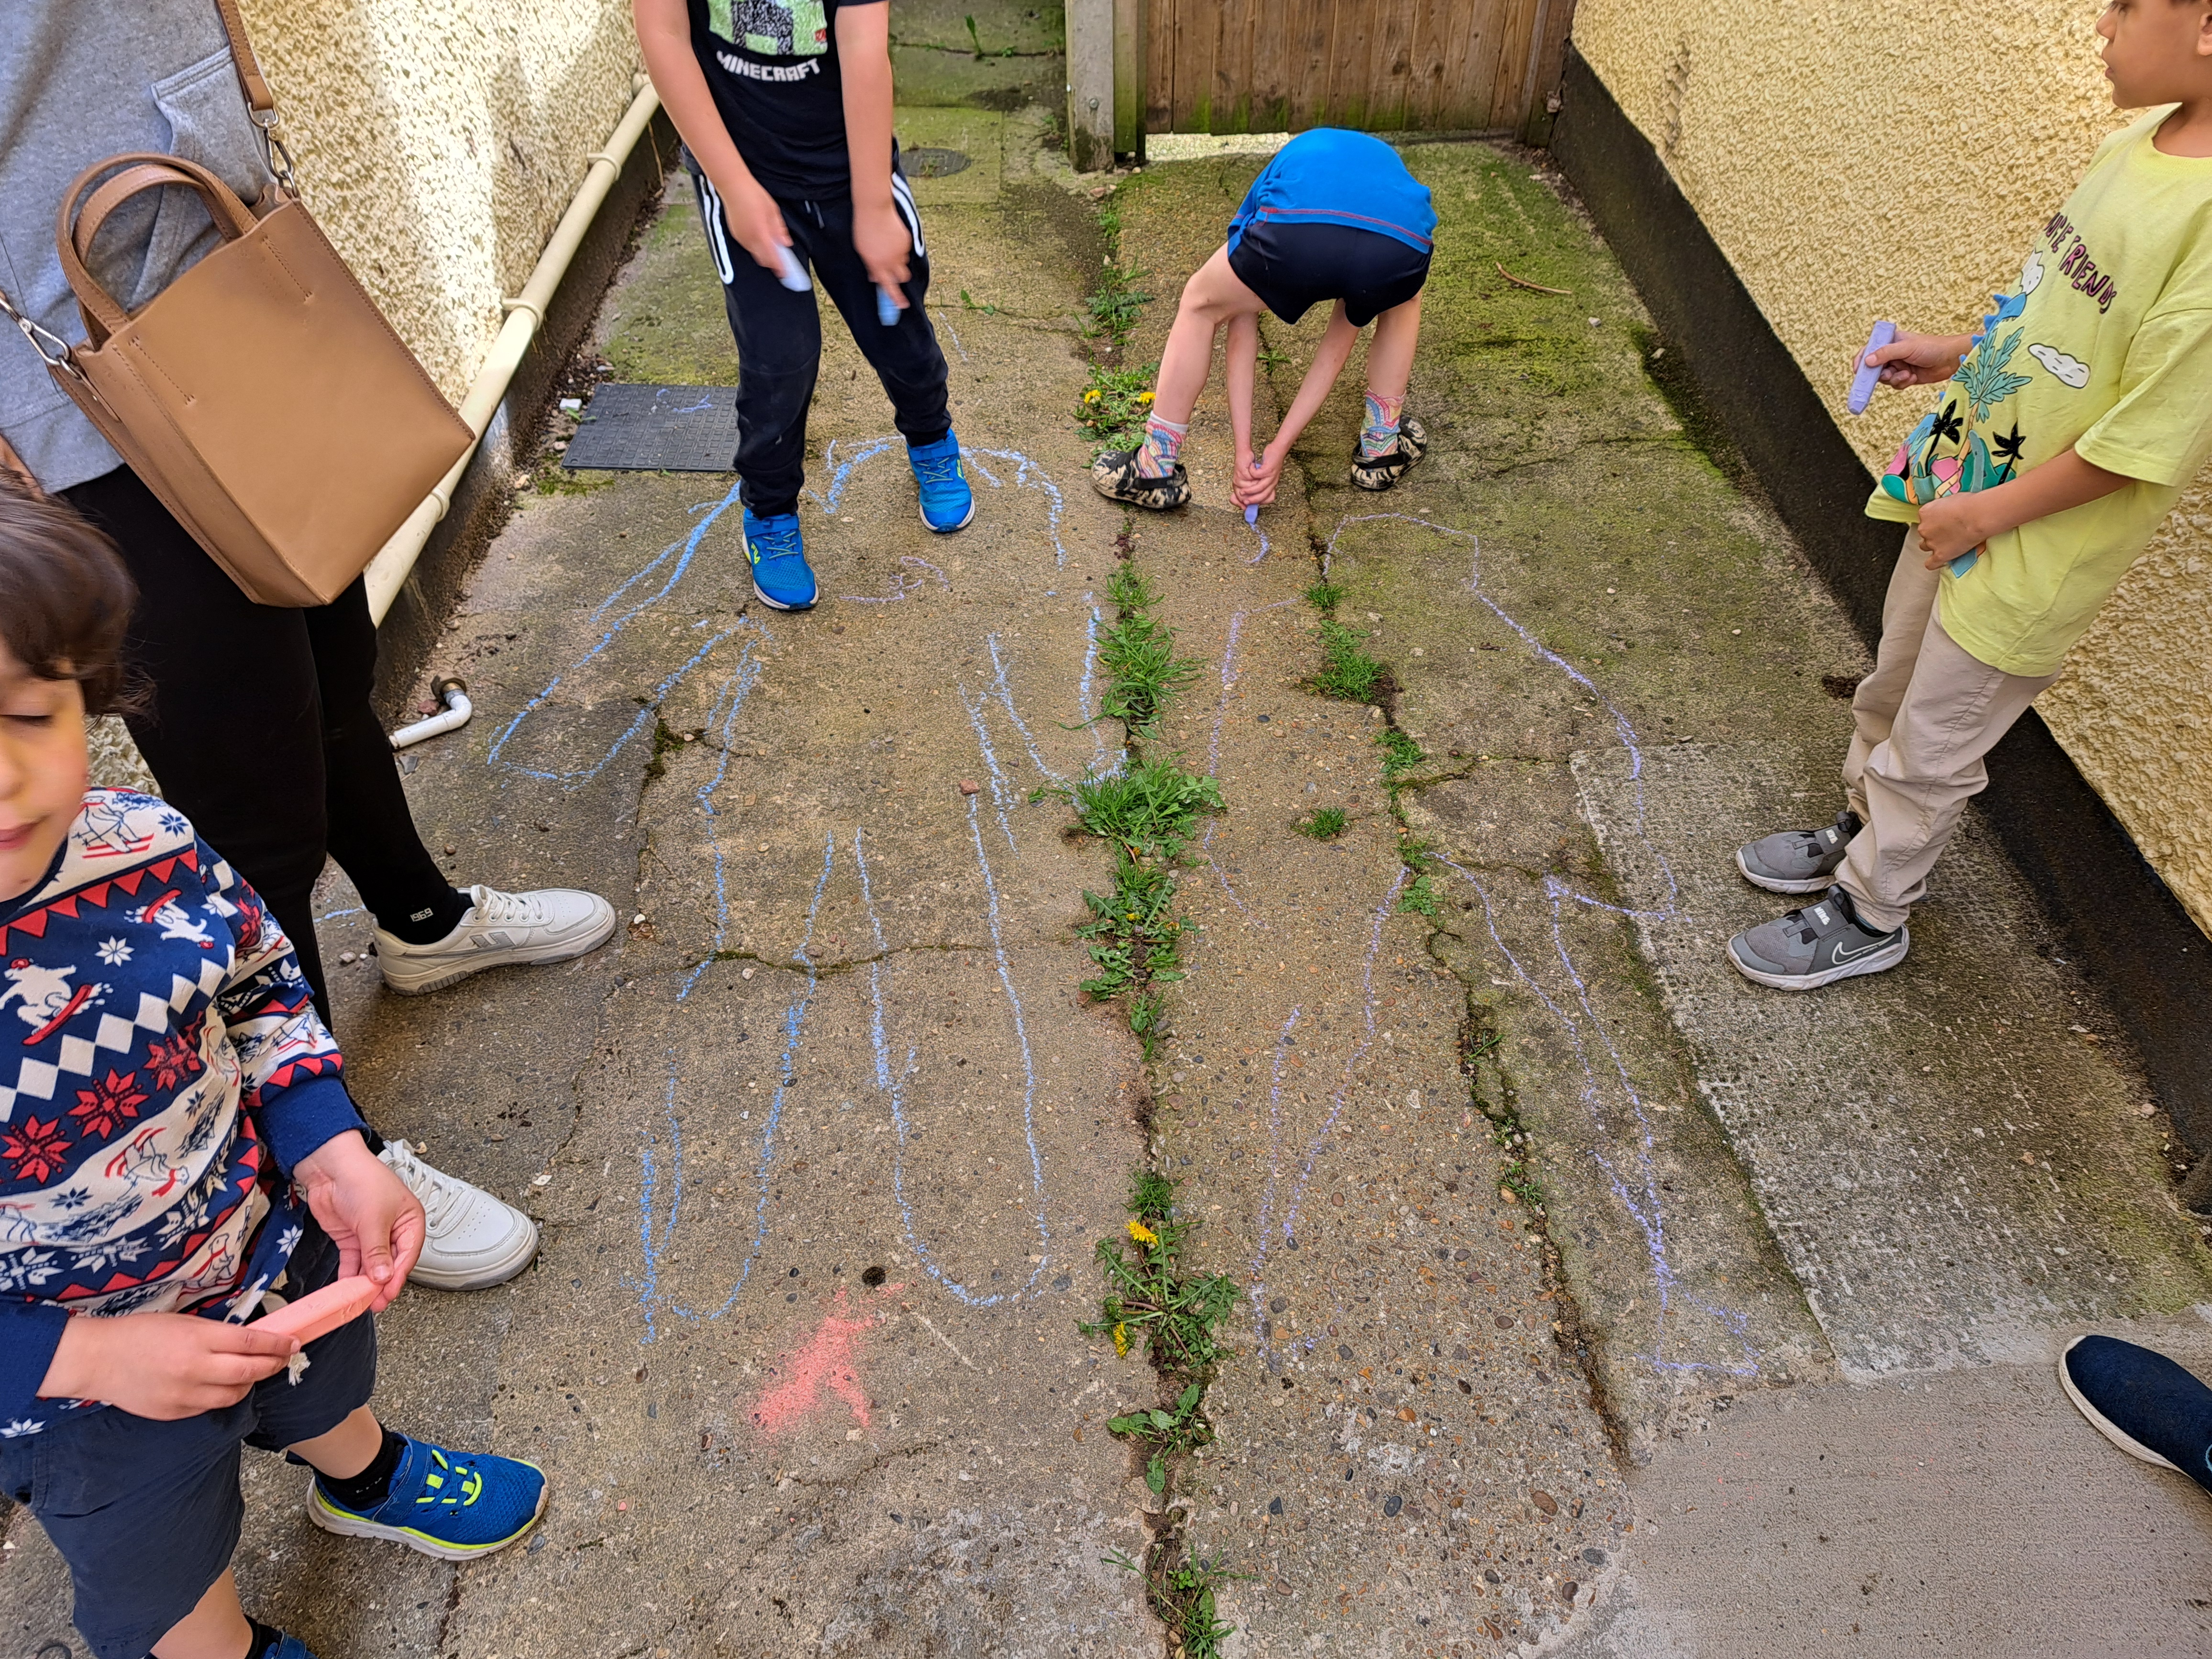
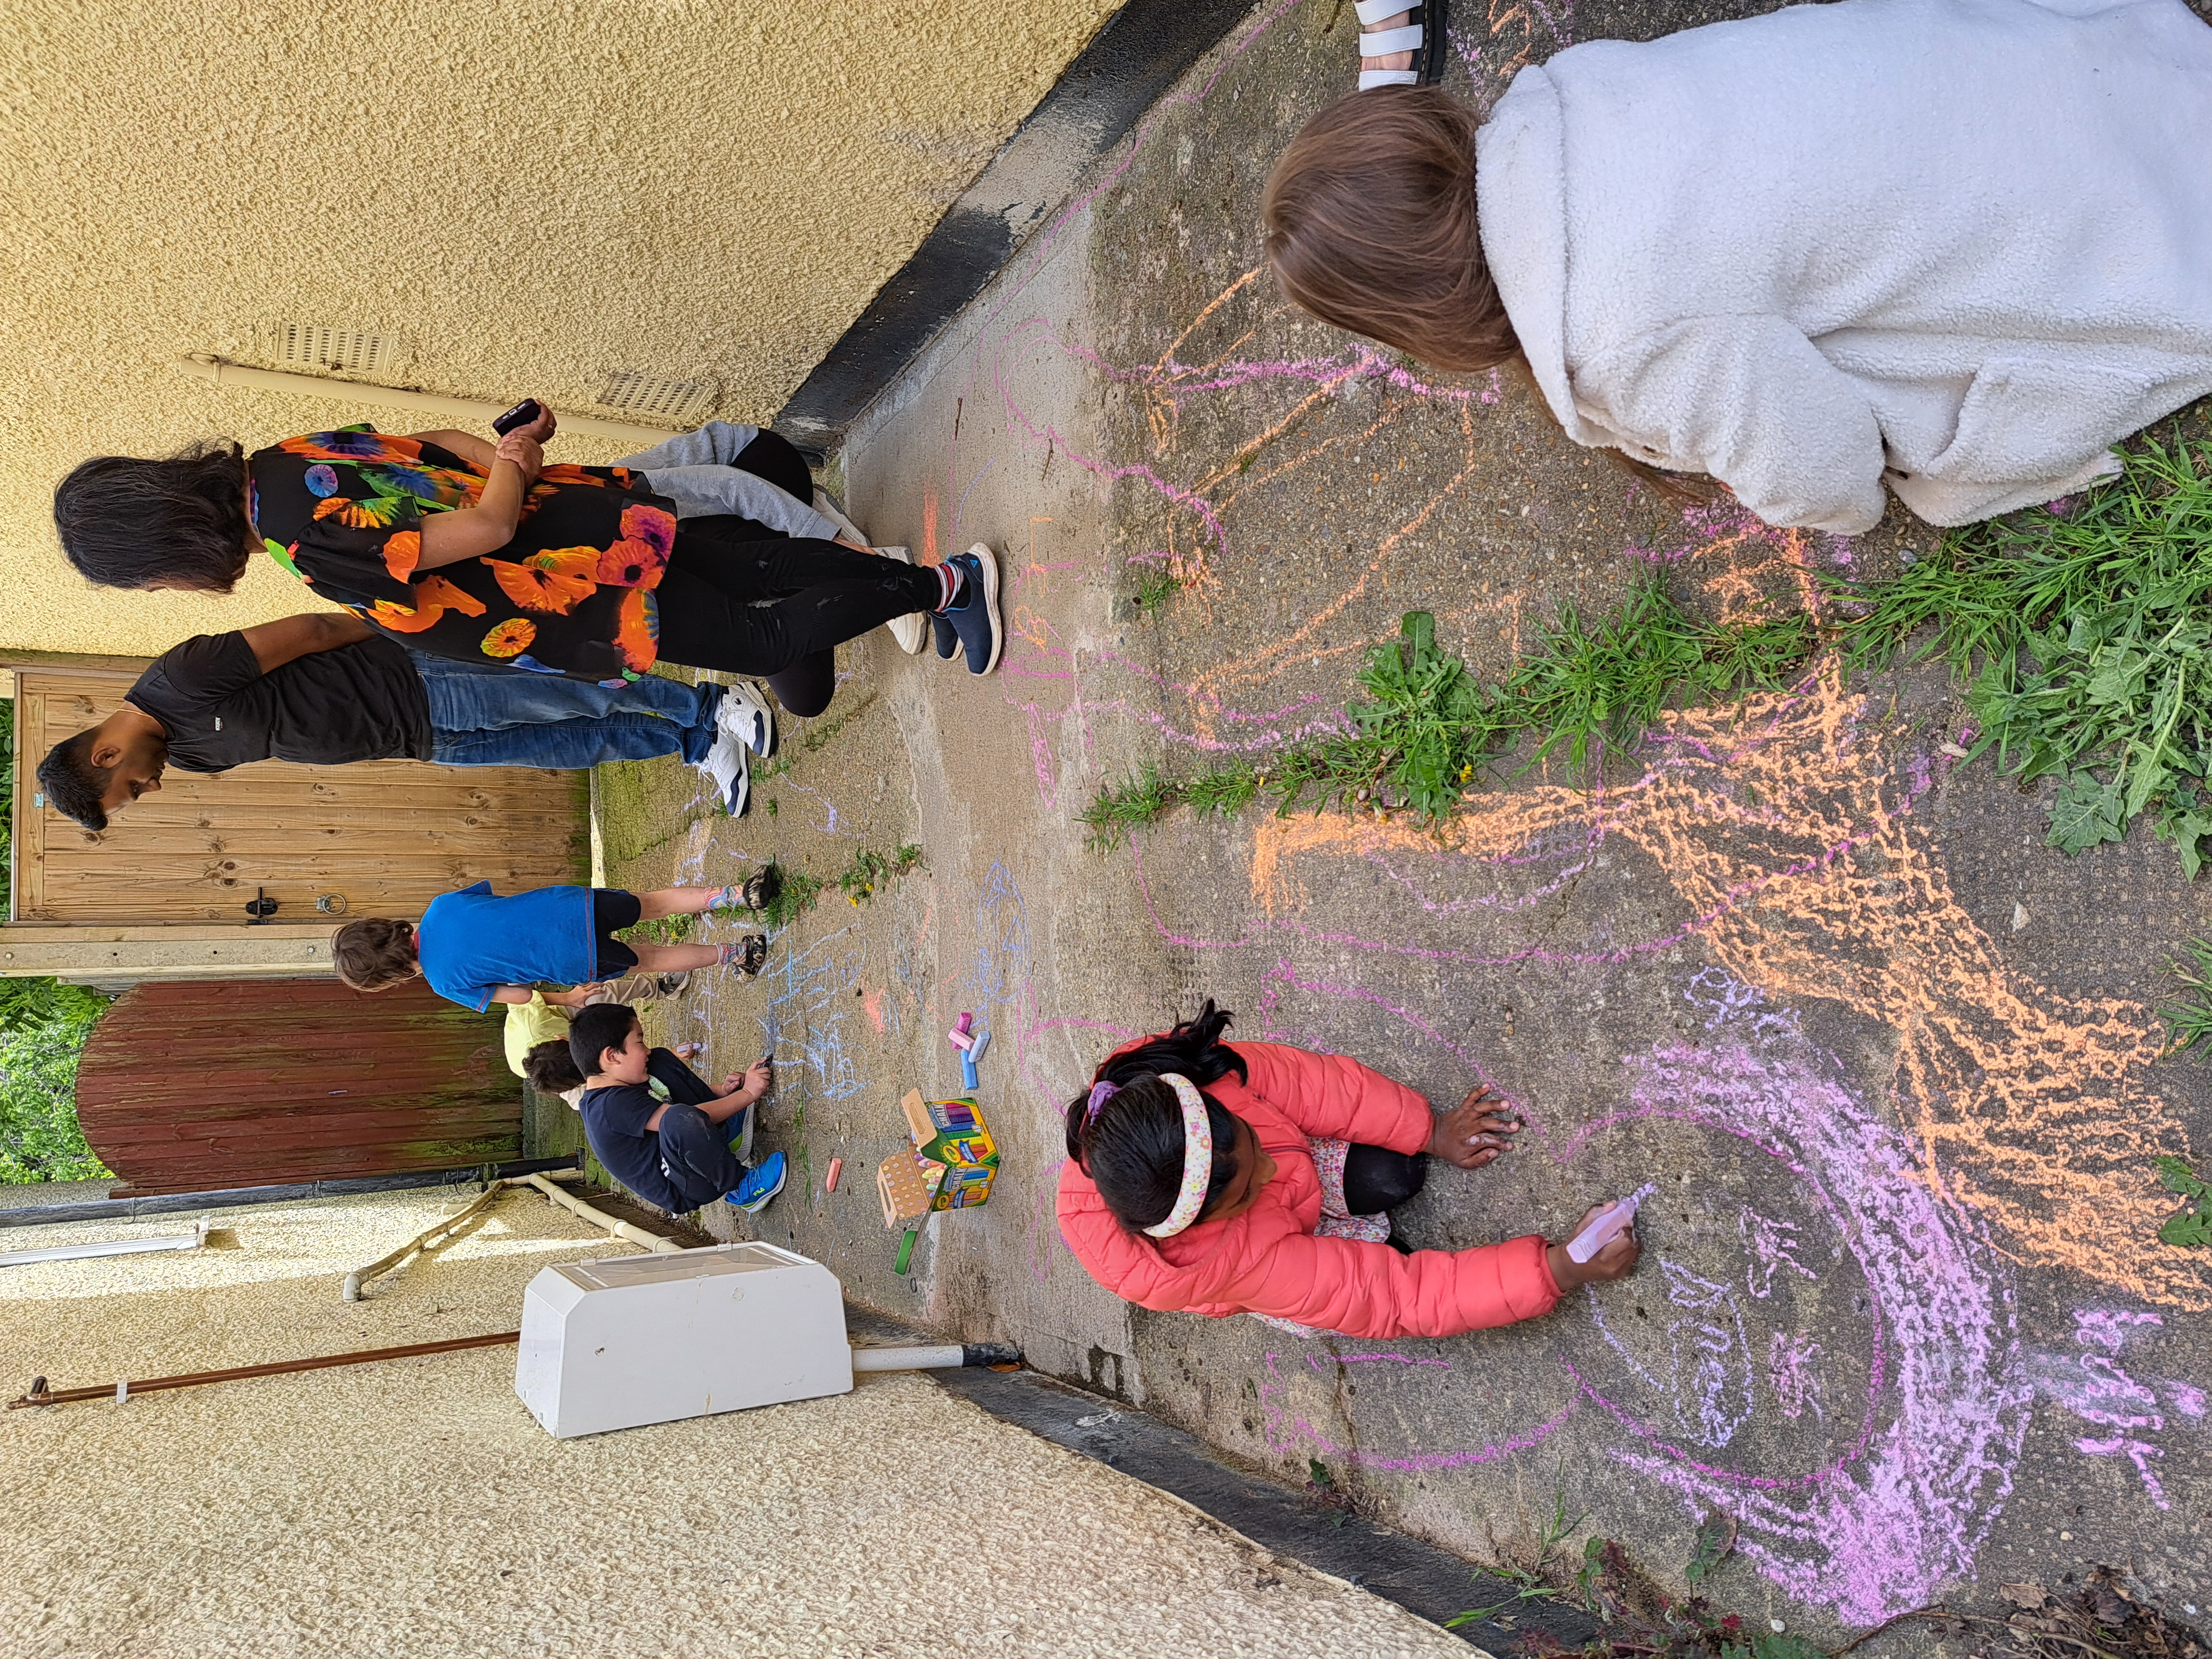
9A. If the weather is good, have children use chalk to draw outlines of their/their parents' bodies on the ground. Then have children label the body parts and allow
creative drawing with chalk. The children love chalk!
9B. If weather is not good, have children draw outlines of body on A4 sheets of paper. Then have children label the body parts on their A4 body outline.
10. Families then choose to either A. Measure body parts using transparent ruler or B. Draw animals into their different habitats. Both activities can run until the
end of the session. Create packs of ruler and habitats for anyone who wants to take them home to do later.

11. Cut 7 empty 2L bottles in half to make rain gages for next session. Using the waterproof pen from the plant pot activity in Session 1, have children write a
different day of the week on the side of each bottle. Remind families that they can take home their plant after the next session!
Skills Learned/Practiced
STEM SKILLS
-Animal Kingdom classification, focusing on vertebrates
-Dietary categories of animals: carnivores, herbivores, omnivores, and scavengers
-Animal habitats
-Similarities and differences between animals brought in and from toy set (fur vs feathers, relative sizes, etc)
-Human senses and locations and functions of sense organs and other common body parts
-Measuring using a ruler (if choose Activity 10A)
NON-STEM SKILLS
-Writing/spelling: writing name on name tag, body parts onto body outline, and days onto rain gages for next session
-Public speaking: explaining animals and justifying classifications to group
-Reading: sounding out/reading flash cards
-Drawing: drawing body outlines using chalk or on A4 paper
-Colouring: drawing/colouring animals into their habitats (if choose Activity 10B)
Outputs/Take-Homes from Session
-Pamphlets of suggested activities for animals including humans
-Animal example brought to session
-Animal habitat pages
-Ruler sheet for measuring things
-A4 body outline picture (if weather is not good and do Activity 9B)
-Pictures taken of families during session
Other Articles:

|
Chernobyl SimulationAn attempt to simulate the normal running, and then accident of the Chernobyl nuclear reactor. |
AsciishipMy latest (early 2018) thing is just a "normal" game: no real physics. It's just a game. |
|
How SpaceX land first stage boostersThe algorithms that SpaceX (probably) use to control their first stage boosters. Several animations. |

|
© Hugo2015. Session @sessionNumber