Science Saturdays, EYFS: Materials
Science Saturdays are sessions which teach parents/carers and children valuable STEM skills. Our goals are to increase parents' confidence in STEM skills and STEM
activities, while providing the children opportunities to play with STEM toys, such as magnifying glasses. Another goal is to increase the community
amongst the year-group families. These sessions are appropriate for schools to use in the classroom, families to do as extra learning outside school, and/or for
families who Home School / Home Educate.
This series of webpages is intended to help others set up their own Science Saturdays. We hope these webpages are helpful and help us grow our collective STEM skills
for the future!
Team:
Mridusmita Danciu: Medical Professional
Nicolae Danciu: Aircraft Engineer
Barbara Vohmann: Quantity Surveying and Construction Management Academic
Ephraim Zulu: Quantity Surveying Academic
Sarinova Simanjuntak: Mechanical Engineering Academic
Jennifer Martay: Biomedical Engineering Academic
We focused on "Materials" in our fourth and final EYFS Science Saturday. We used STEM Learning UK's "Science for Starters"
Materials leaflet as a basis for the session.
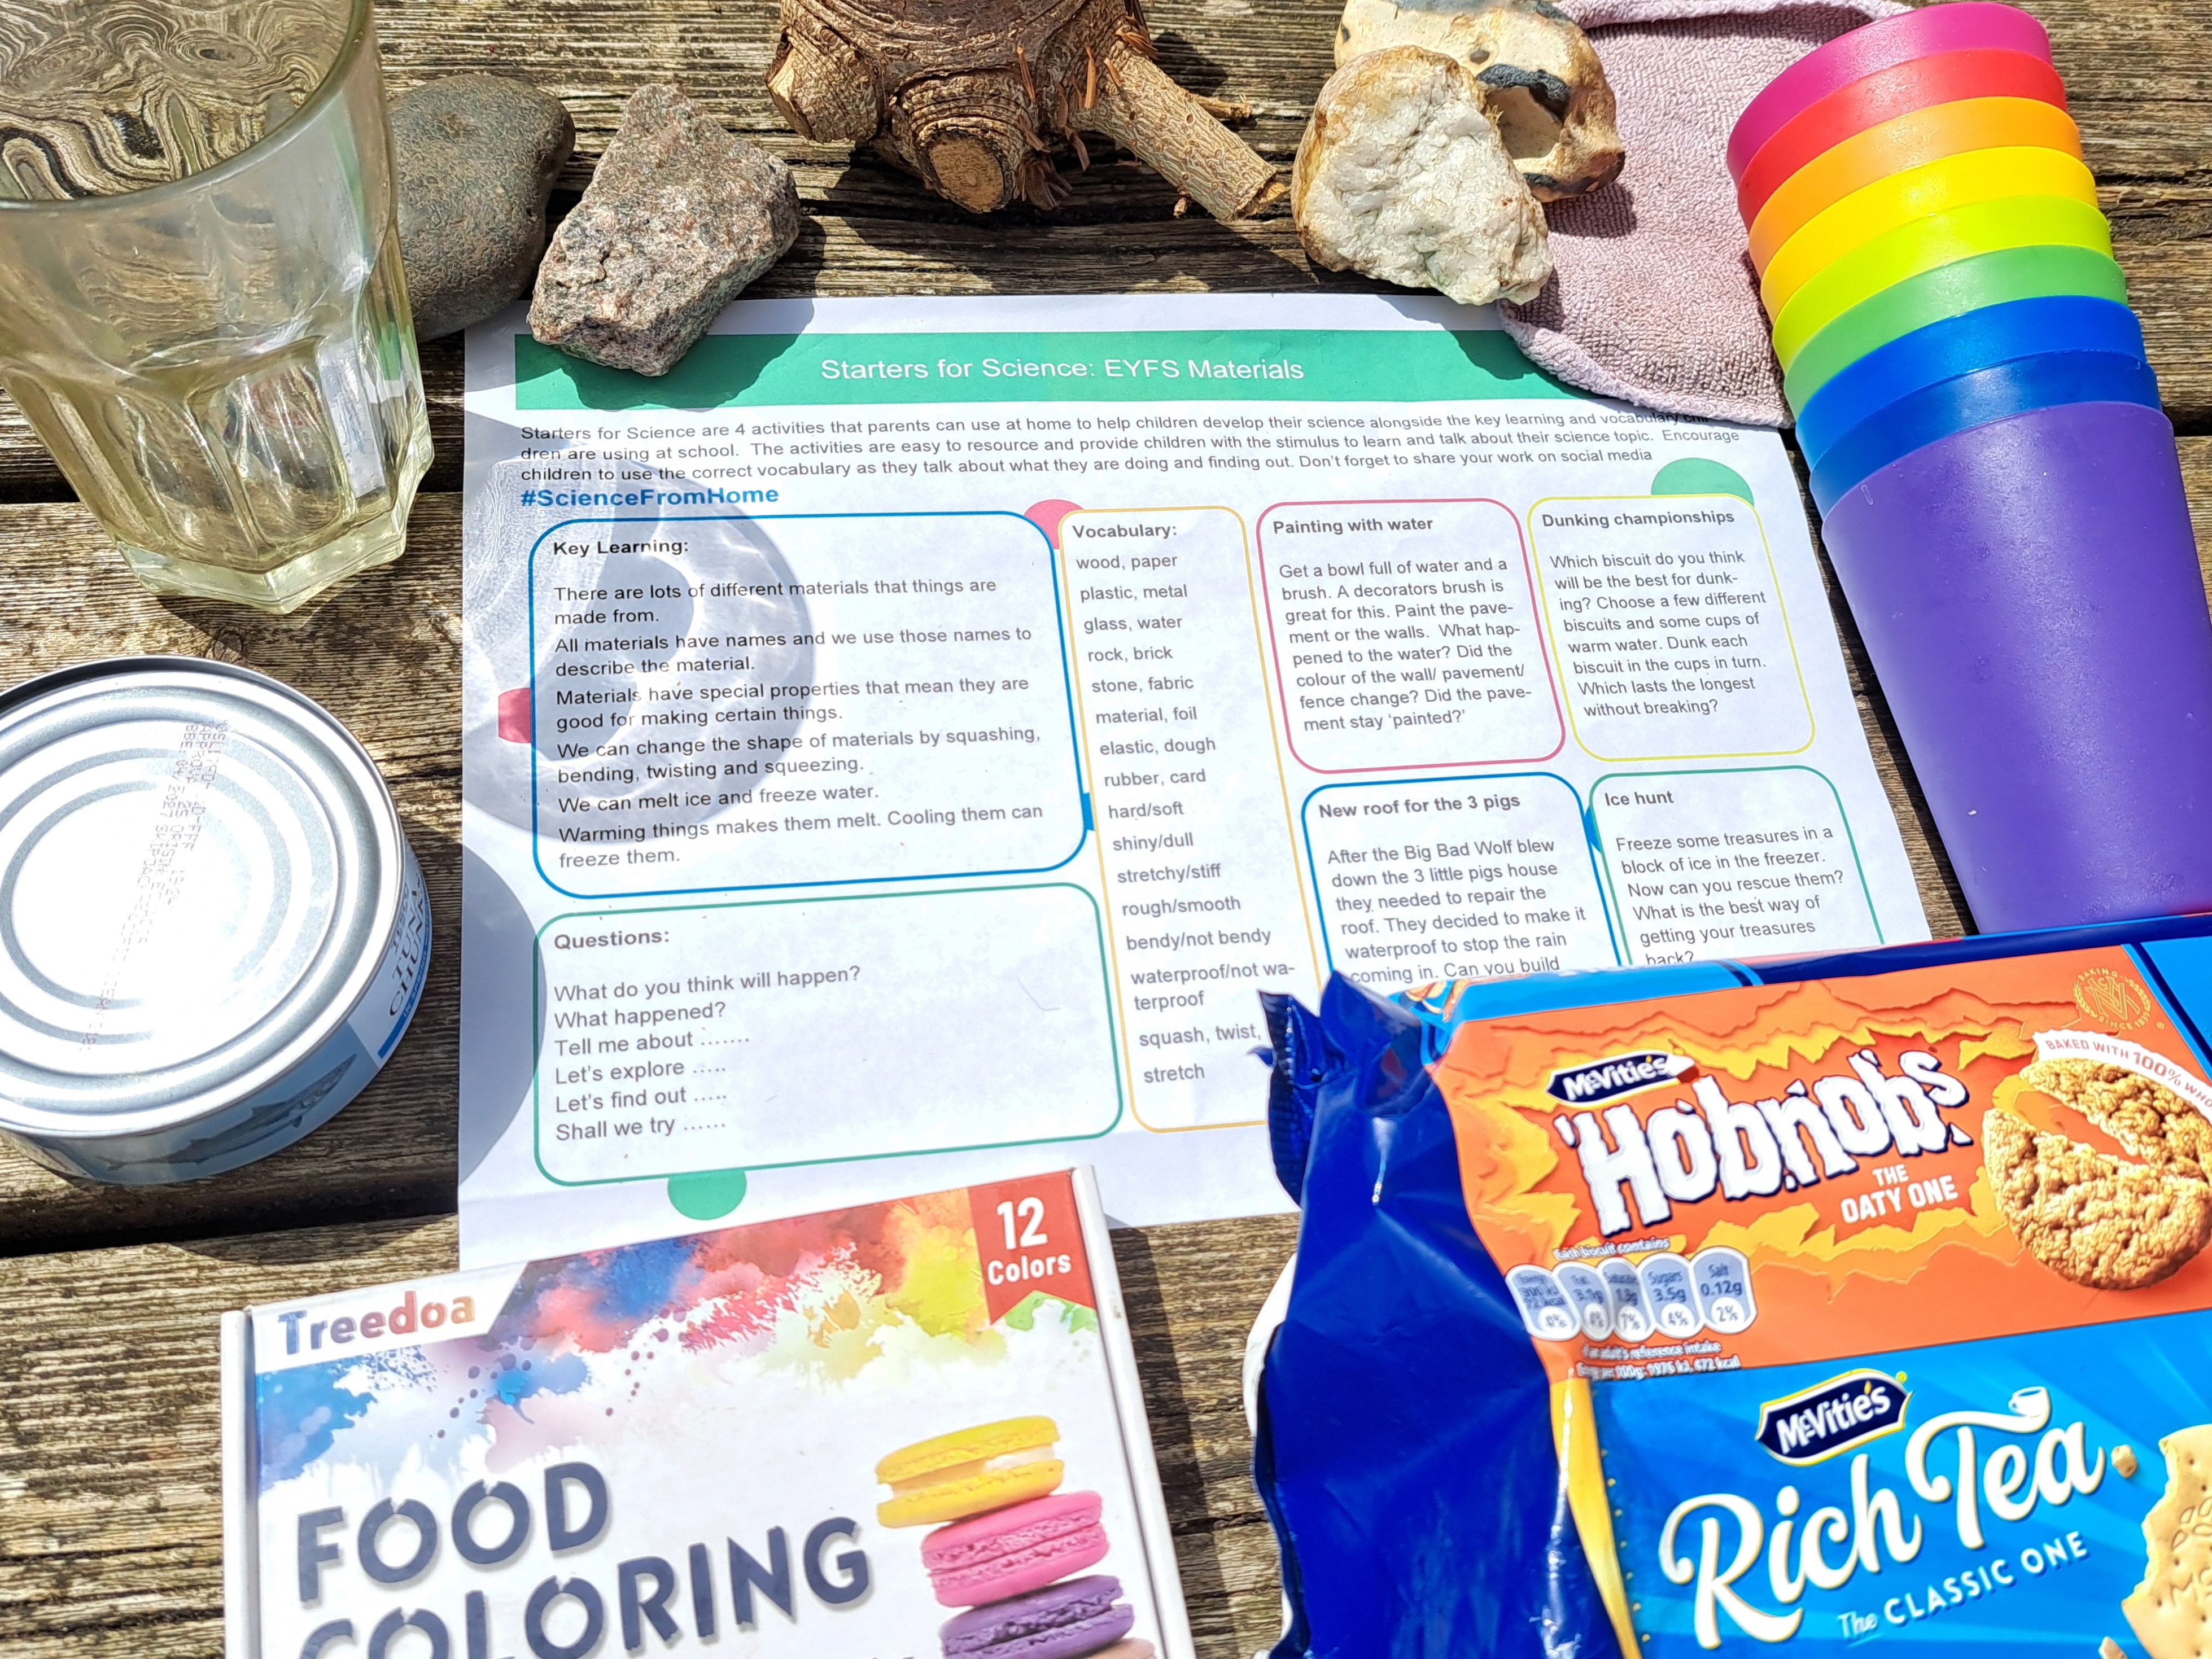
Required Materials (for 10 Families)
- 10 STEM Learning leaflets on Materials,
Cost = £0
Discussing Common Material Types and Properties Activity
-
5 coloured sheets of paper for making 7 material type flash cards and 16 material property flash card , Cost = £6 for 100 sheets of 10 colors
-
Pens for making flash cards and drawing/colouring, Cost = £11.50 for 187 piece art kit
- Materials (each family to bring 1-2 examples of materials to the session to discuss), Cost = £0
Guess the Material Activity
- 1 unopened tin can, Cost = £0
- 1 glass jar, Cost = £0
- 1 plastic bottle, Cost = £0
- 1 empty cardboard box, Cost = £0
- 1 piece of crumpled paper, Cost = £0
- 1 rock, Cost = £0
- 1 piece of fabric (wash cloth or similar), Cost = £0
- 1 tree branch, Cost = £0
- 1 pillow case (or similar), Cost = £0
- 1 metal spoon (or similar), Cost = £0
Absorbant Rainbow Activity
-
24 silicone coloured muffin molds (or similar) [only really need 6-7 molds but this is a good set] , Cost = £6.99 or £0 if use ordinary cups or yogurt pots
-
12 colours x 10 mL food colouring set, Cost = £5.29
-
7 sheets of kitchen roll, Cost = £1.19
Cookie Dissolution Activity
-
27 plastic coloured cups (or similar) [only really need 9 cups but this is a good set] , Cost = £9.99 or £0 if use ordinary cups
-
Packs of Digestives, RichTea, and Hobnob Biscuits/Cookies (or similar), Cost = £8.41 for a triple pack
Oobleck Activity
-
Corn starch (not corn flour), 454 g , Cost = £5.98
-
3 large, plastic, non-slip bowls, Cost = £12.99
Total Cost = £68.34 if buy all supplies
Total Cost per Child = £6.83
Total Cost = £22.57 if buy supplies above (and already have paper and pen sets, plastic cups, food colouring, and bowls from previous sessions)
Total Cost per Child = £2.26
Plan for Day
1. Welcome families: Encourage children to check on their plants (ours had starting growing now). Put out magnets from previous session for kids to play with as they
arrive. Ask parents to put on name tags so people can learn names, any first-time families if they are ok with pictures being taken/shared, and for parents to
complete pre-session survey.
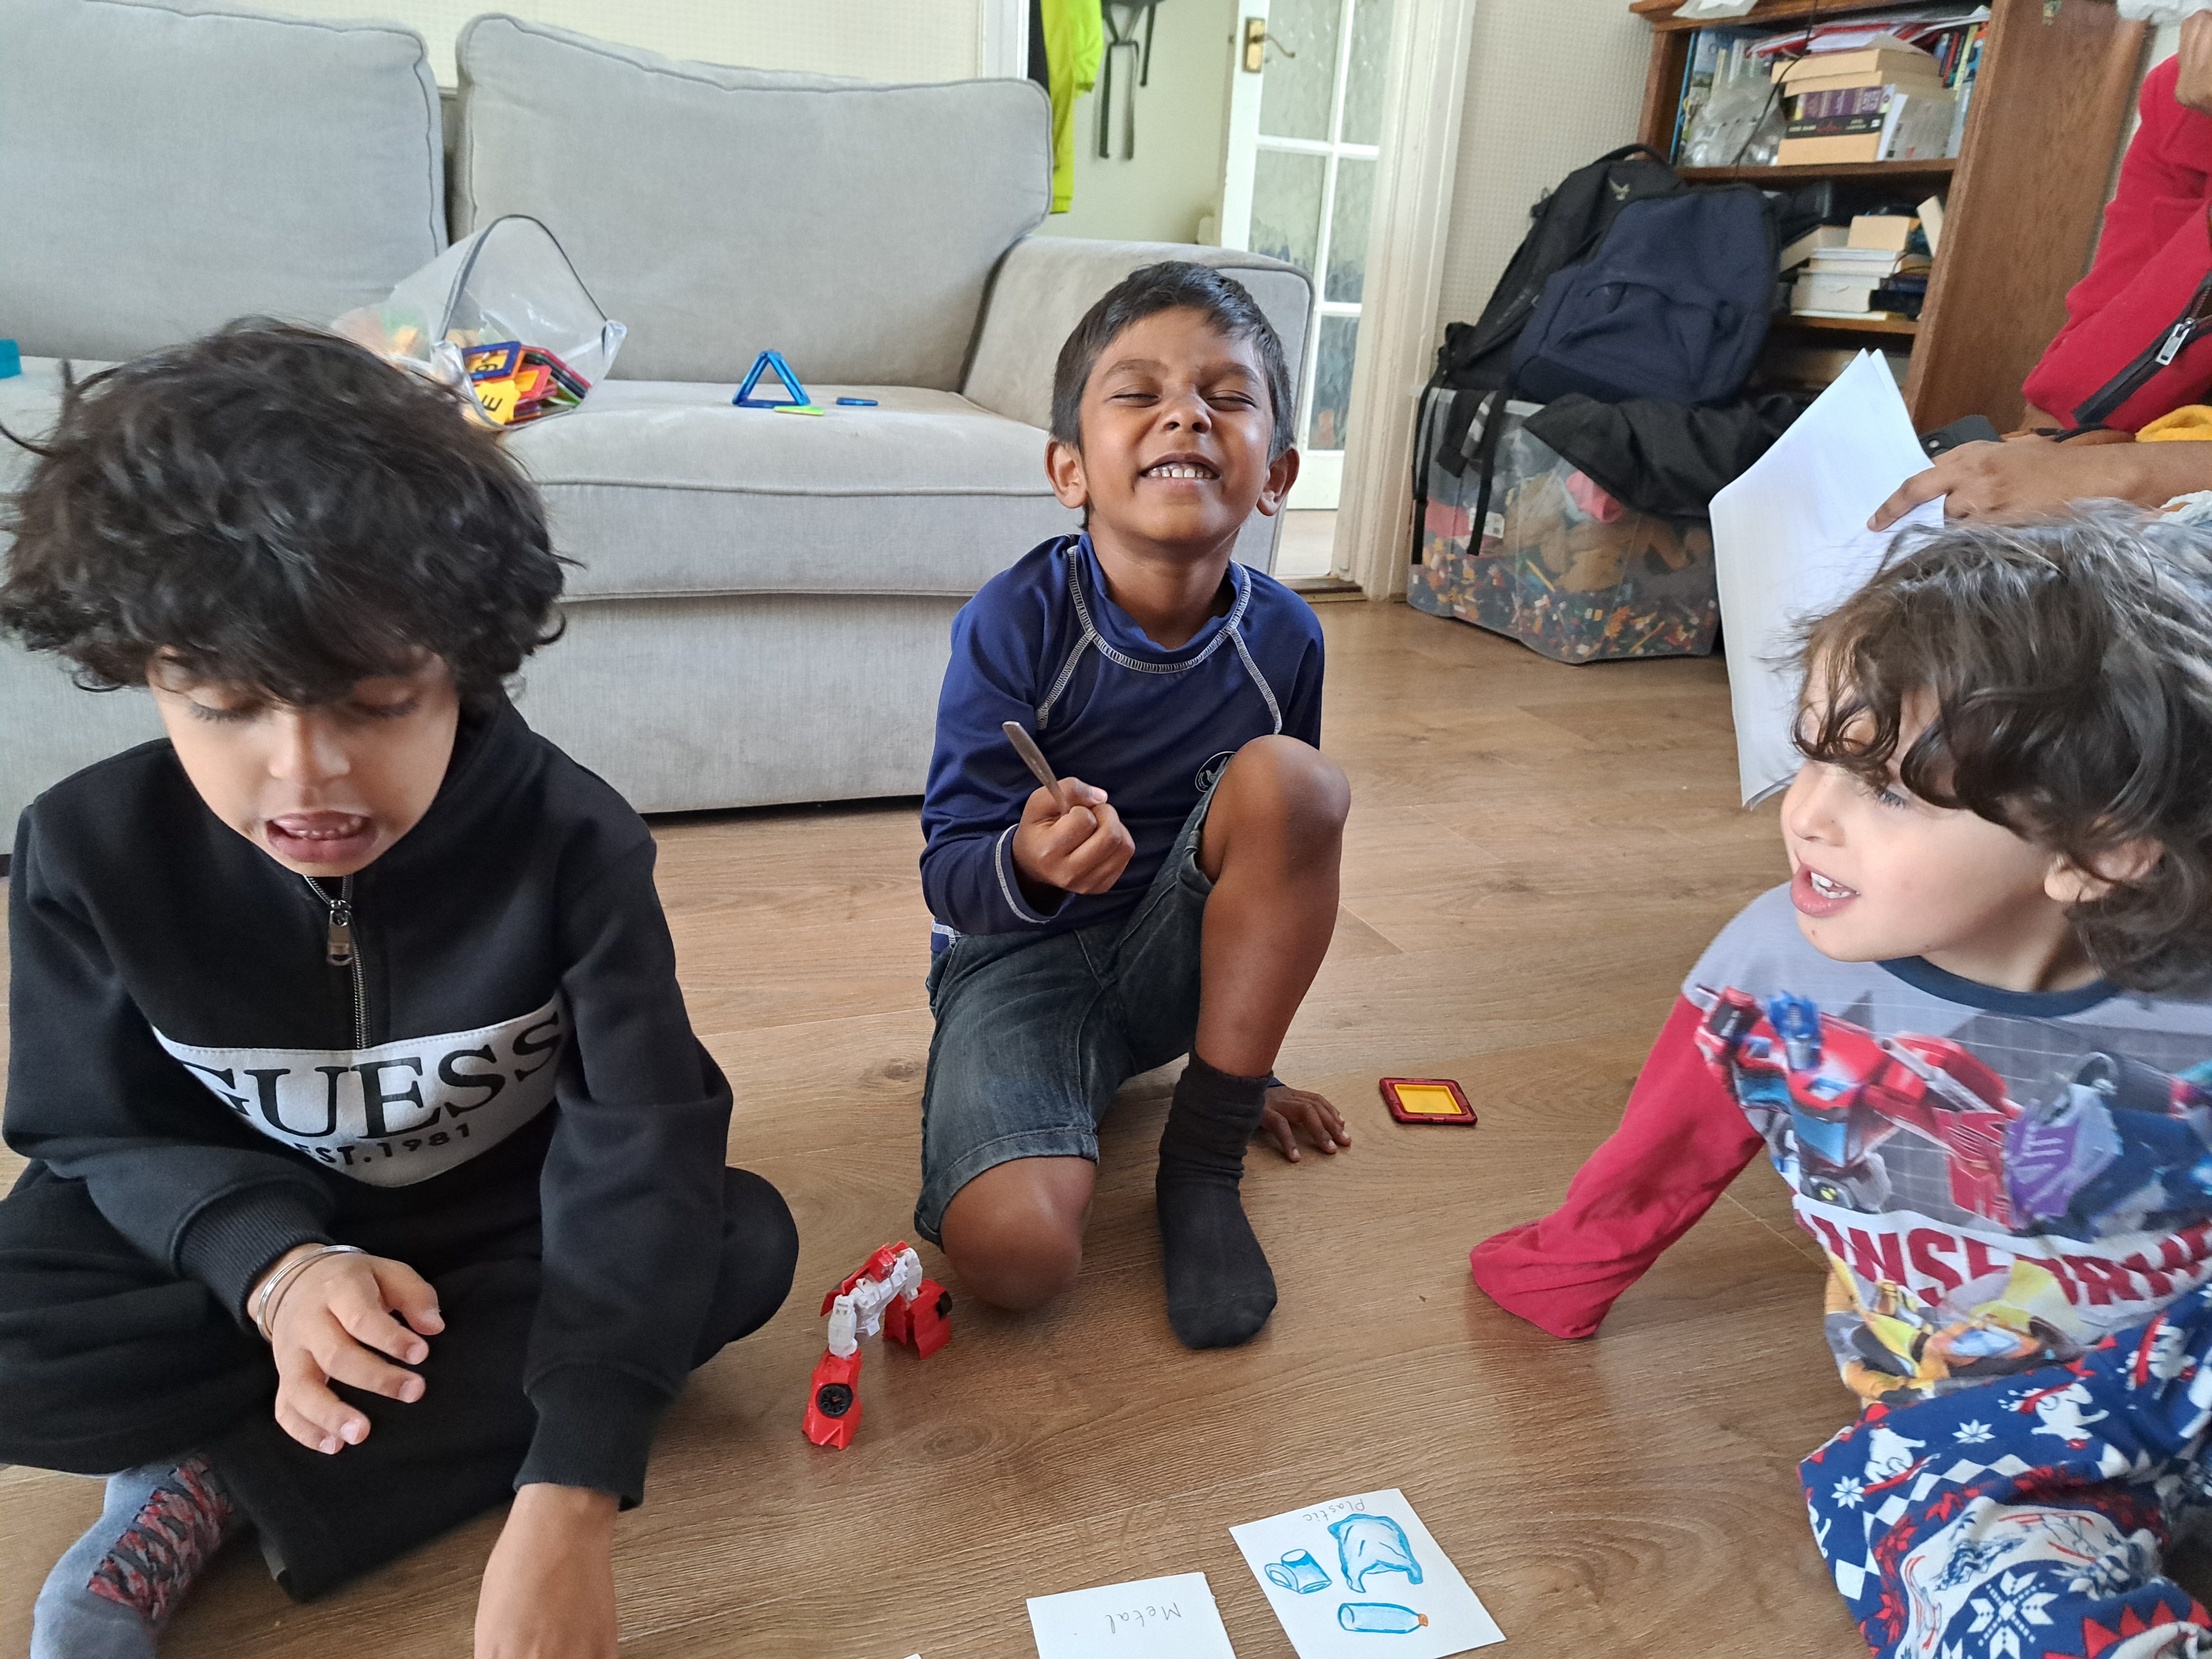
2. Introduce common types of everyday materials (metal, plastic, wood, water, fabric, glass, rock), their uses, and properties (hard, soft, stretchy, stiff, shiny, dull,
rough, smooth, bendy, not bendy, waterproof, not waterproof, absorbant, not absorbant, opaque, transparent). Explain words which are likely unfamiliar (particularly
absorbant, opaque, transparent). Show flash cards and practice reading/pronouncing words.
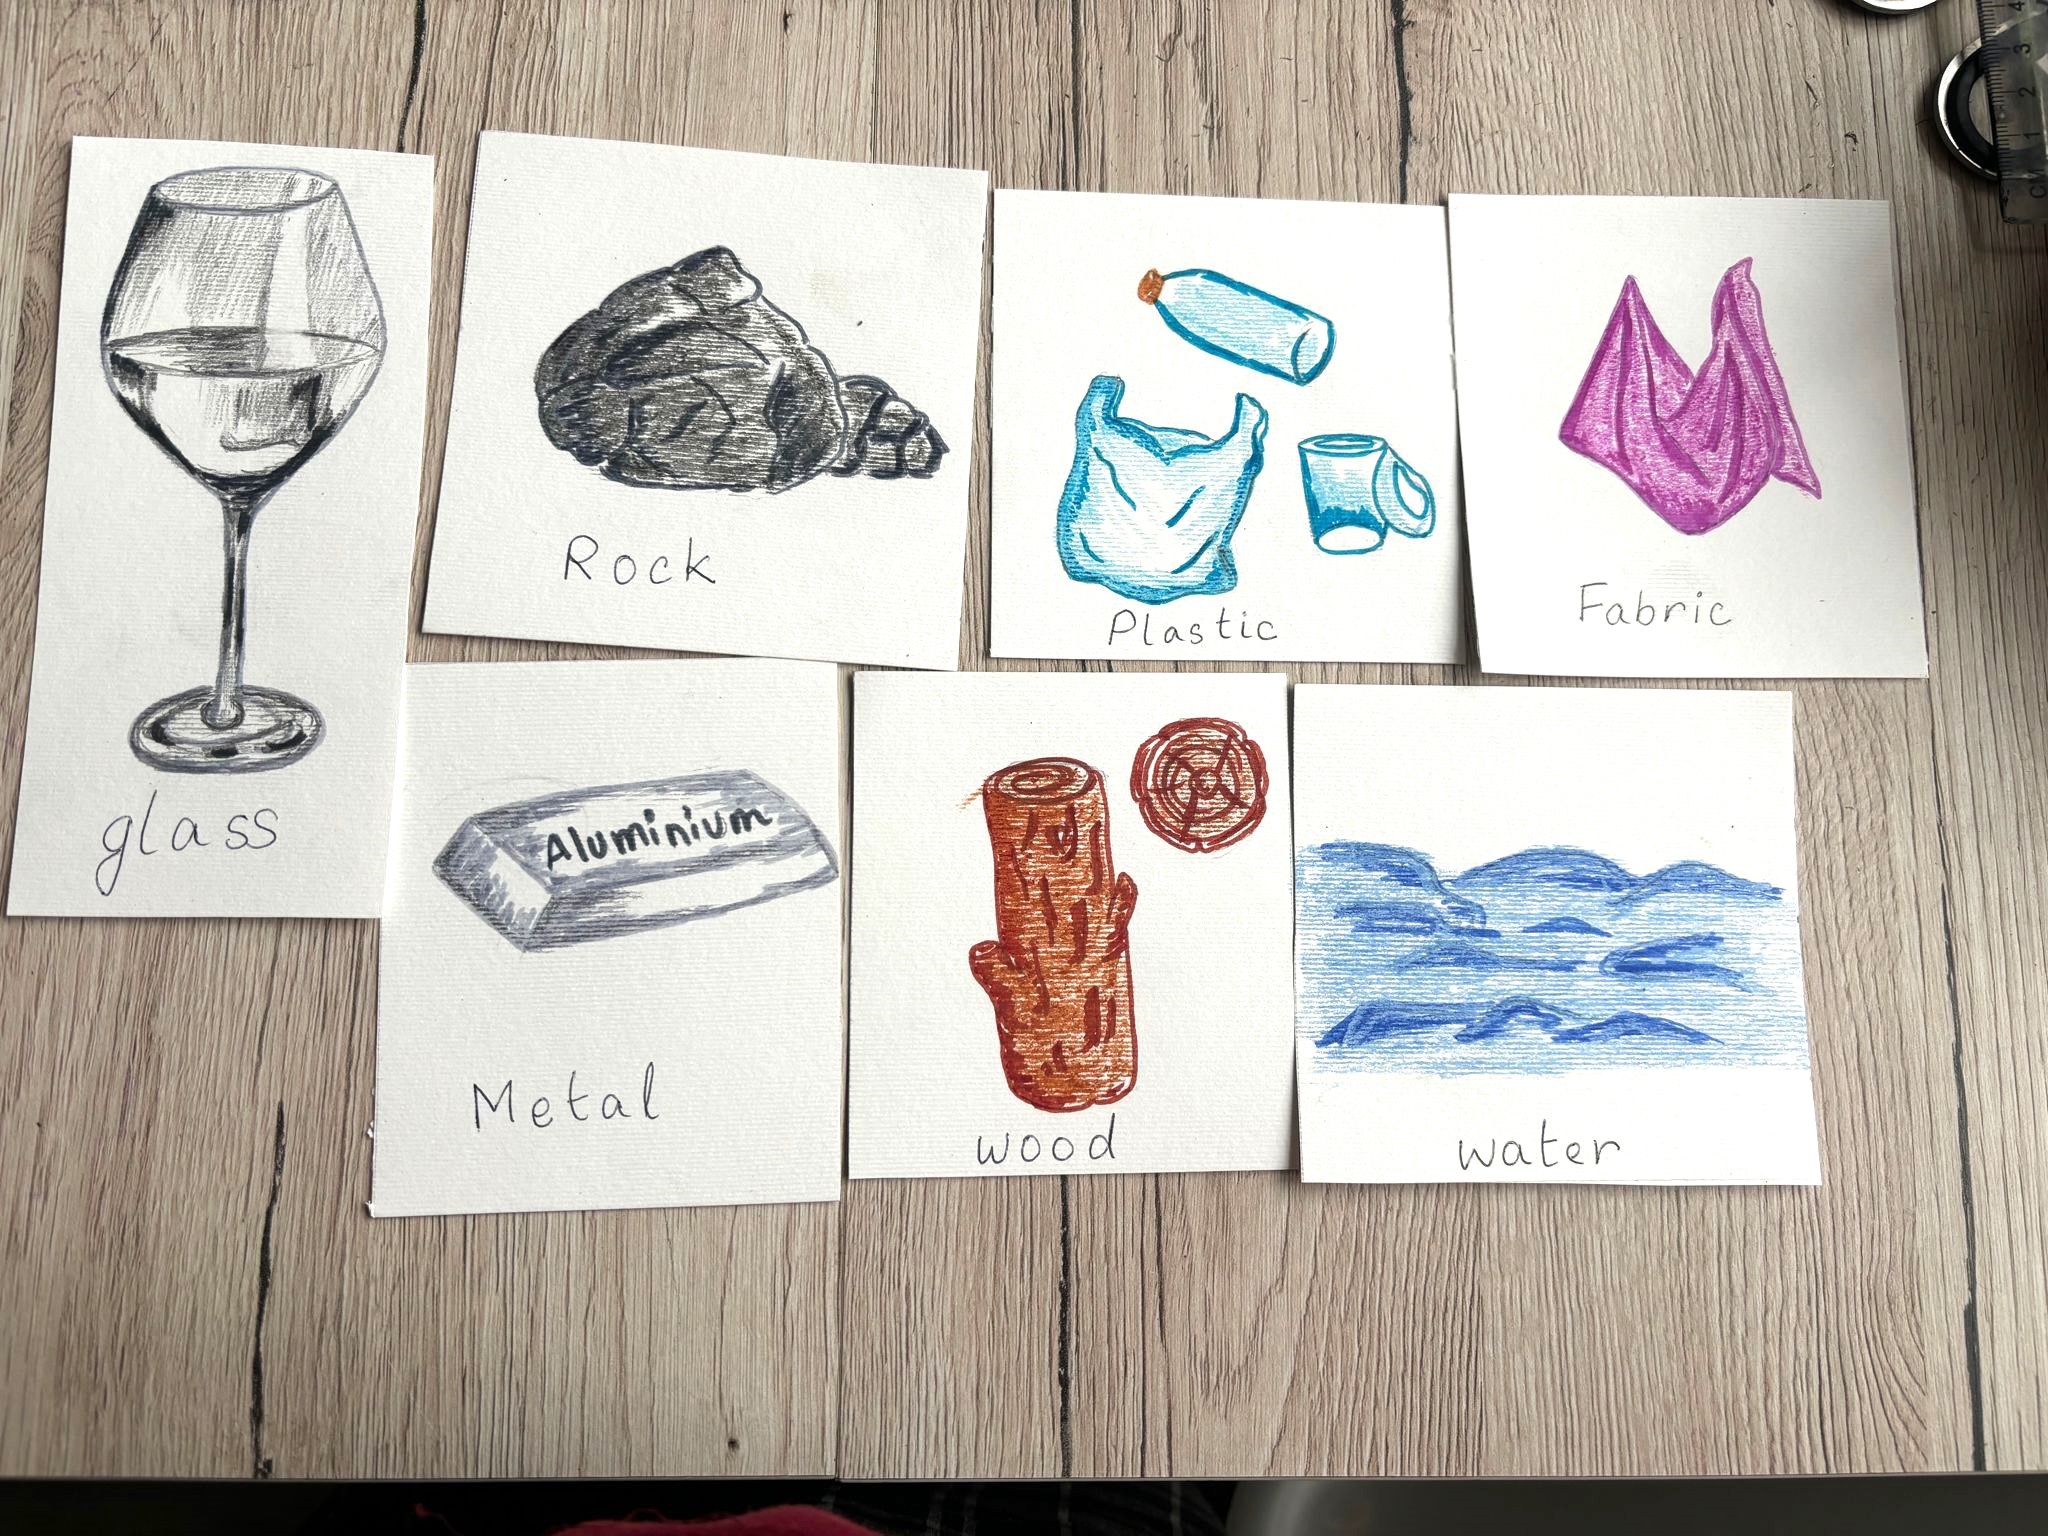
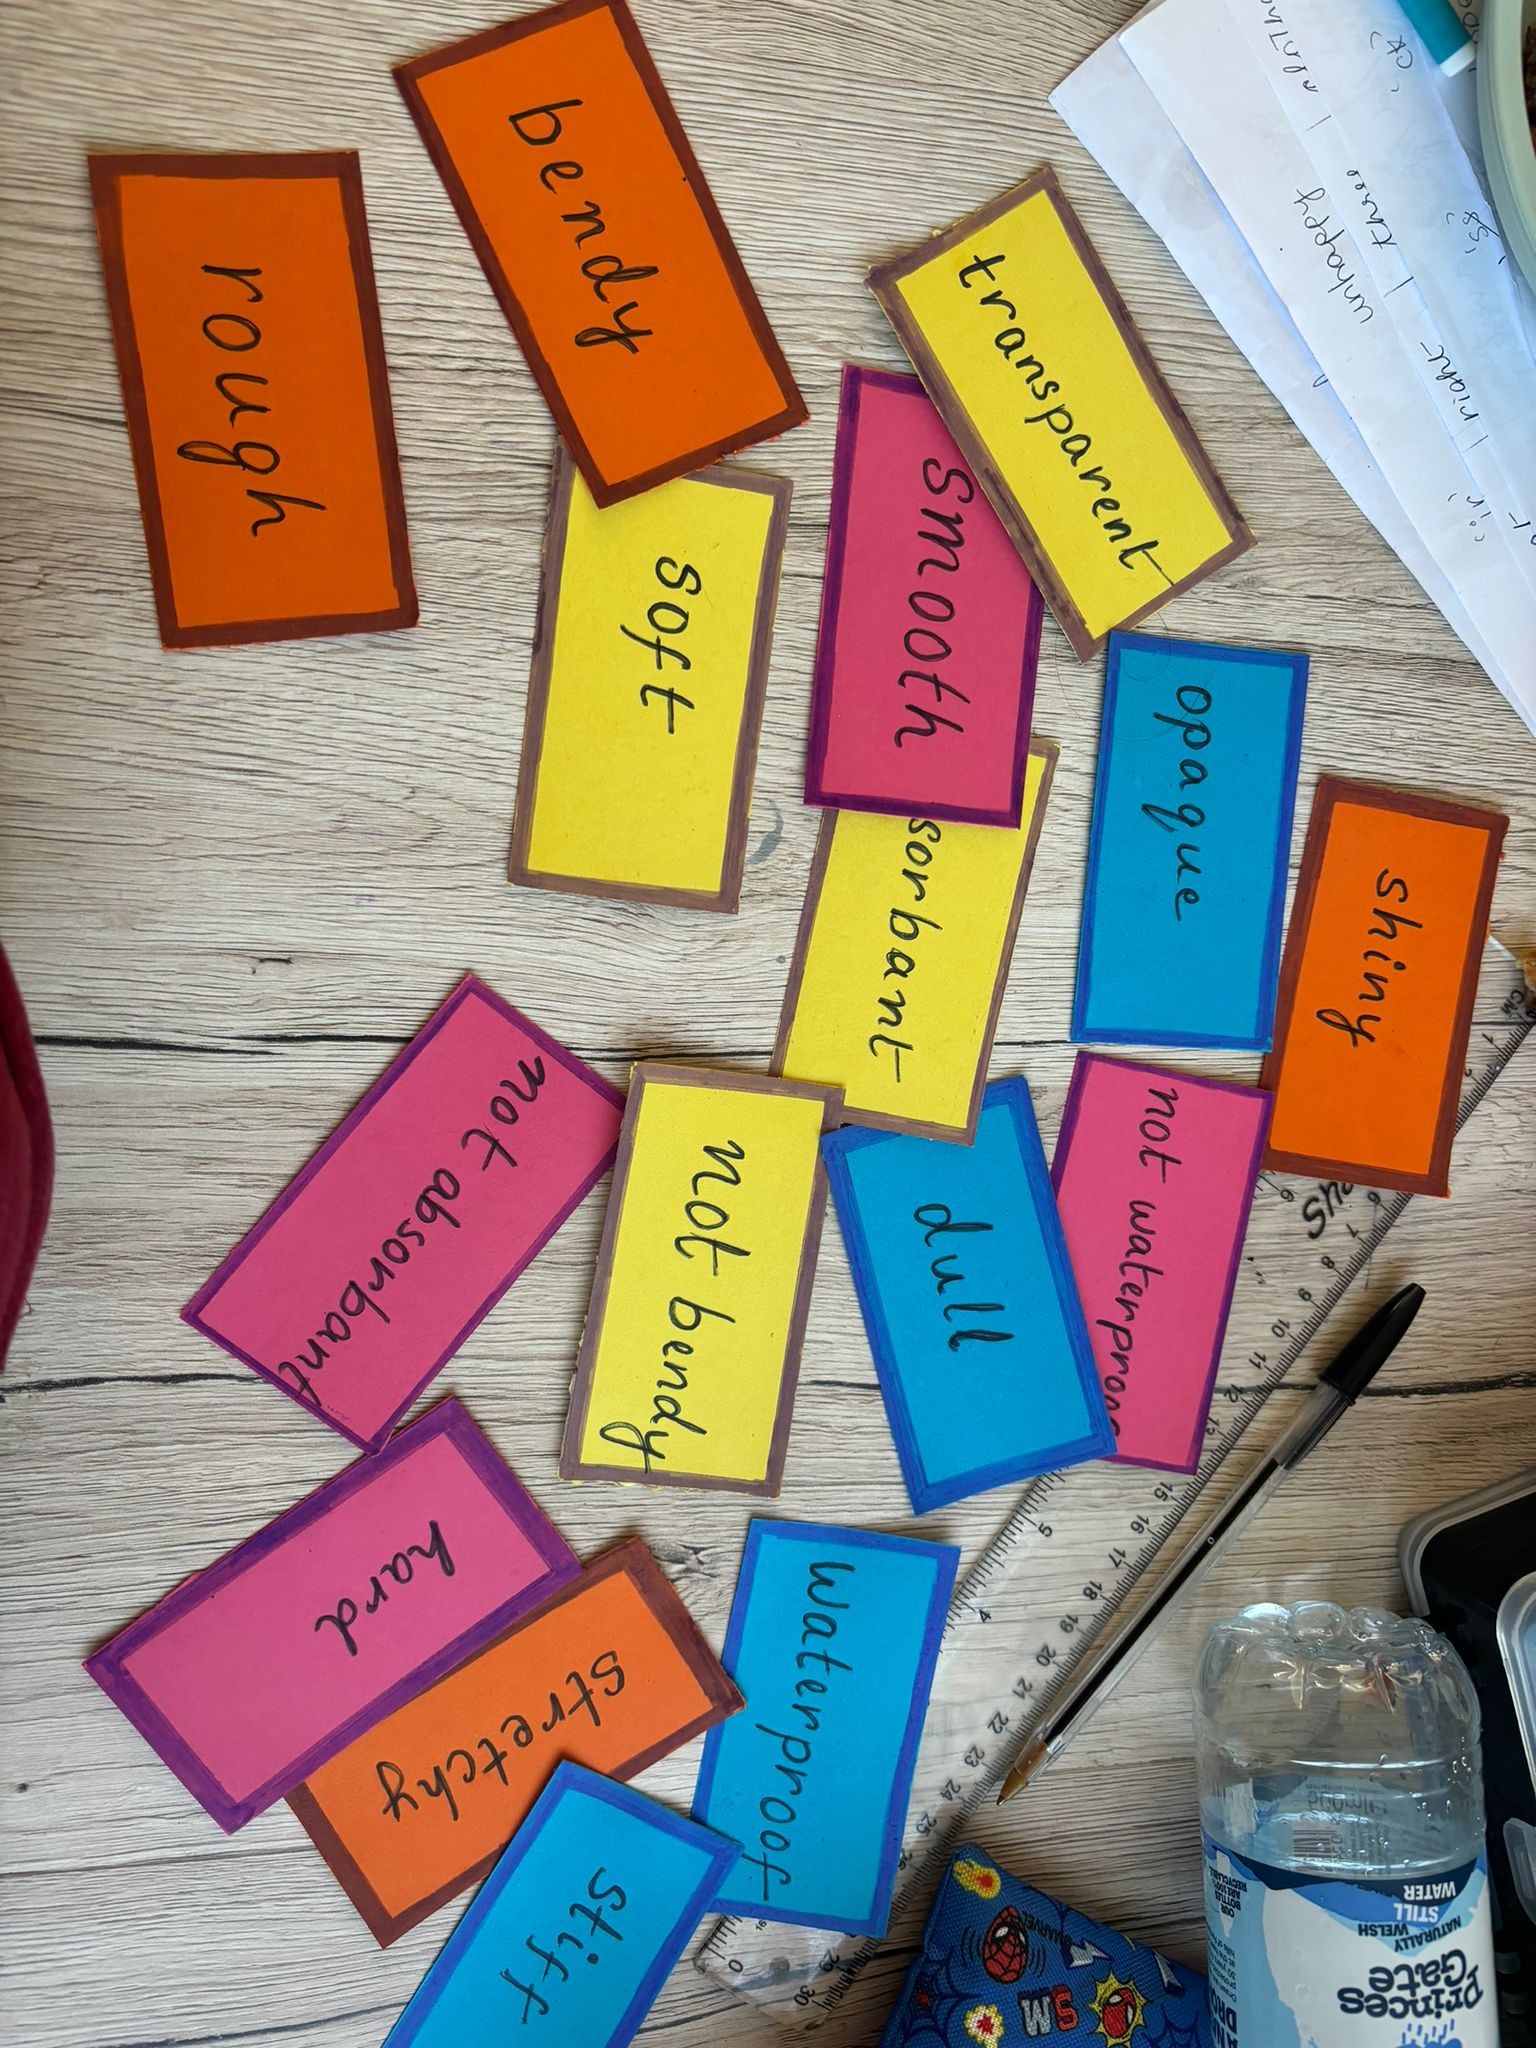
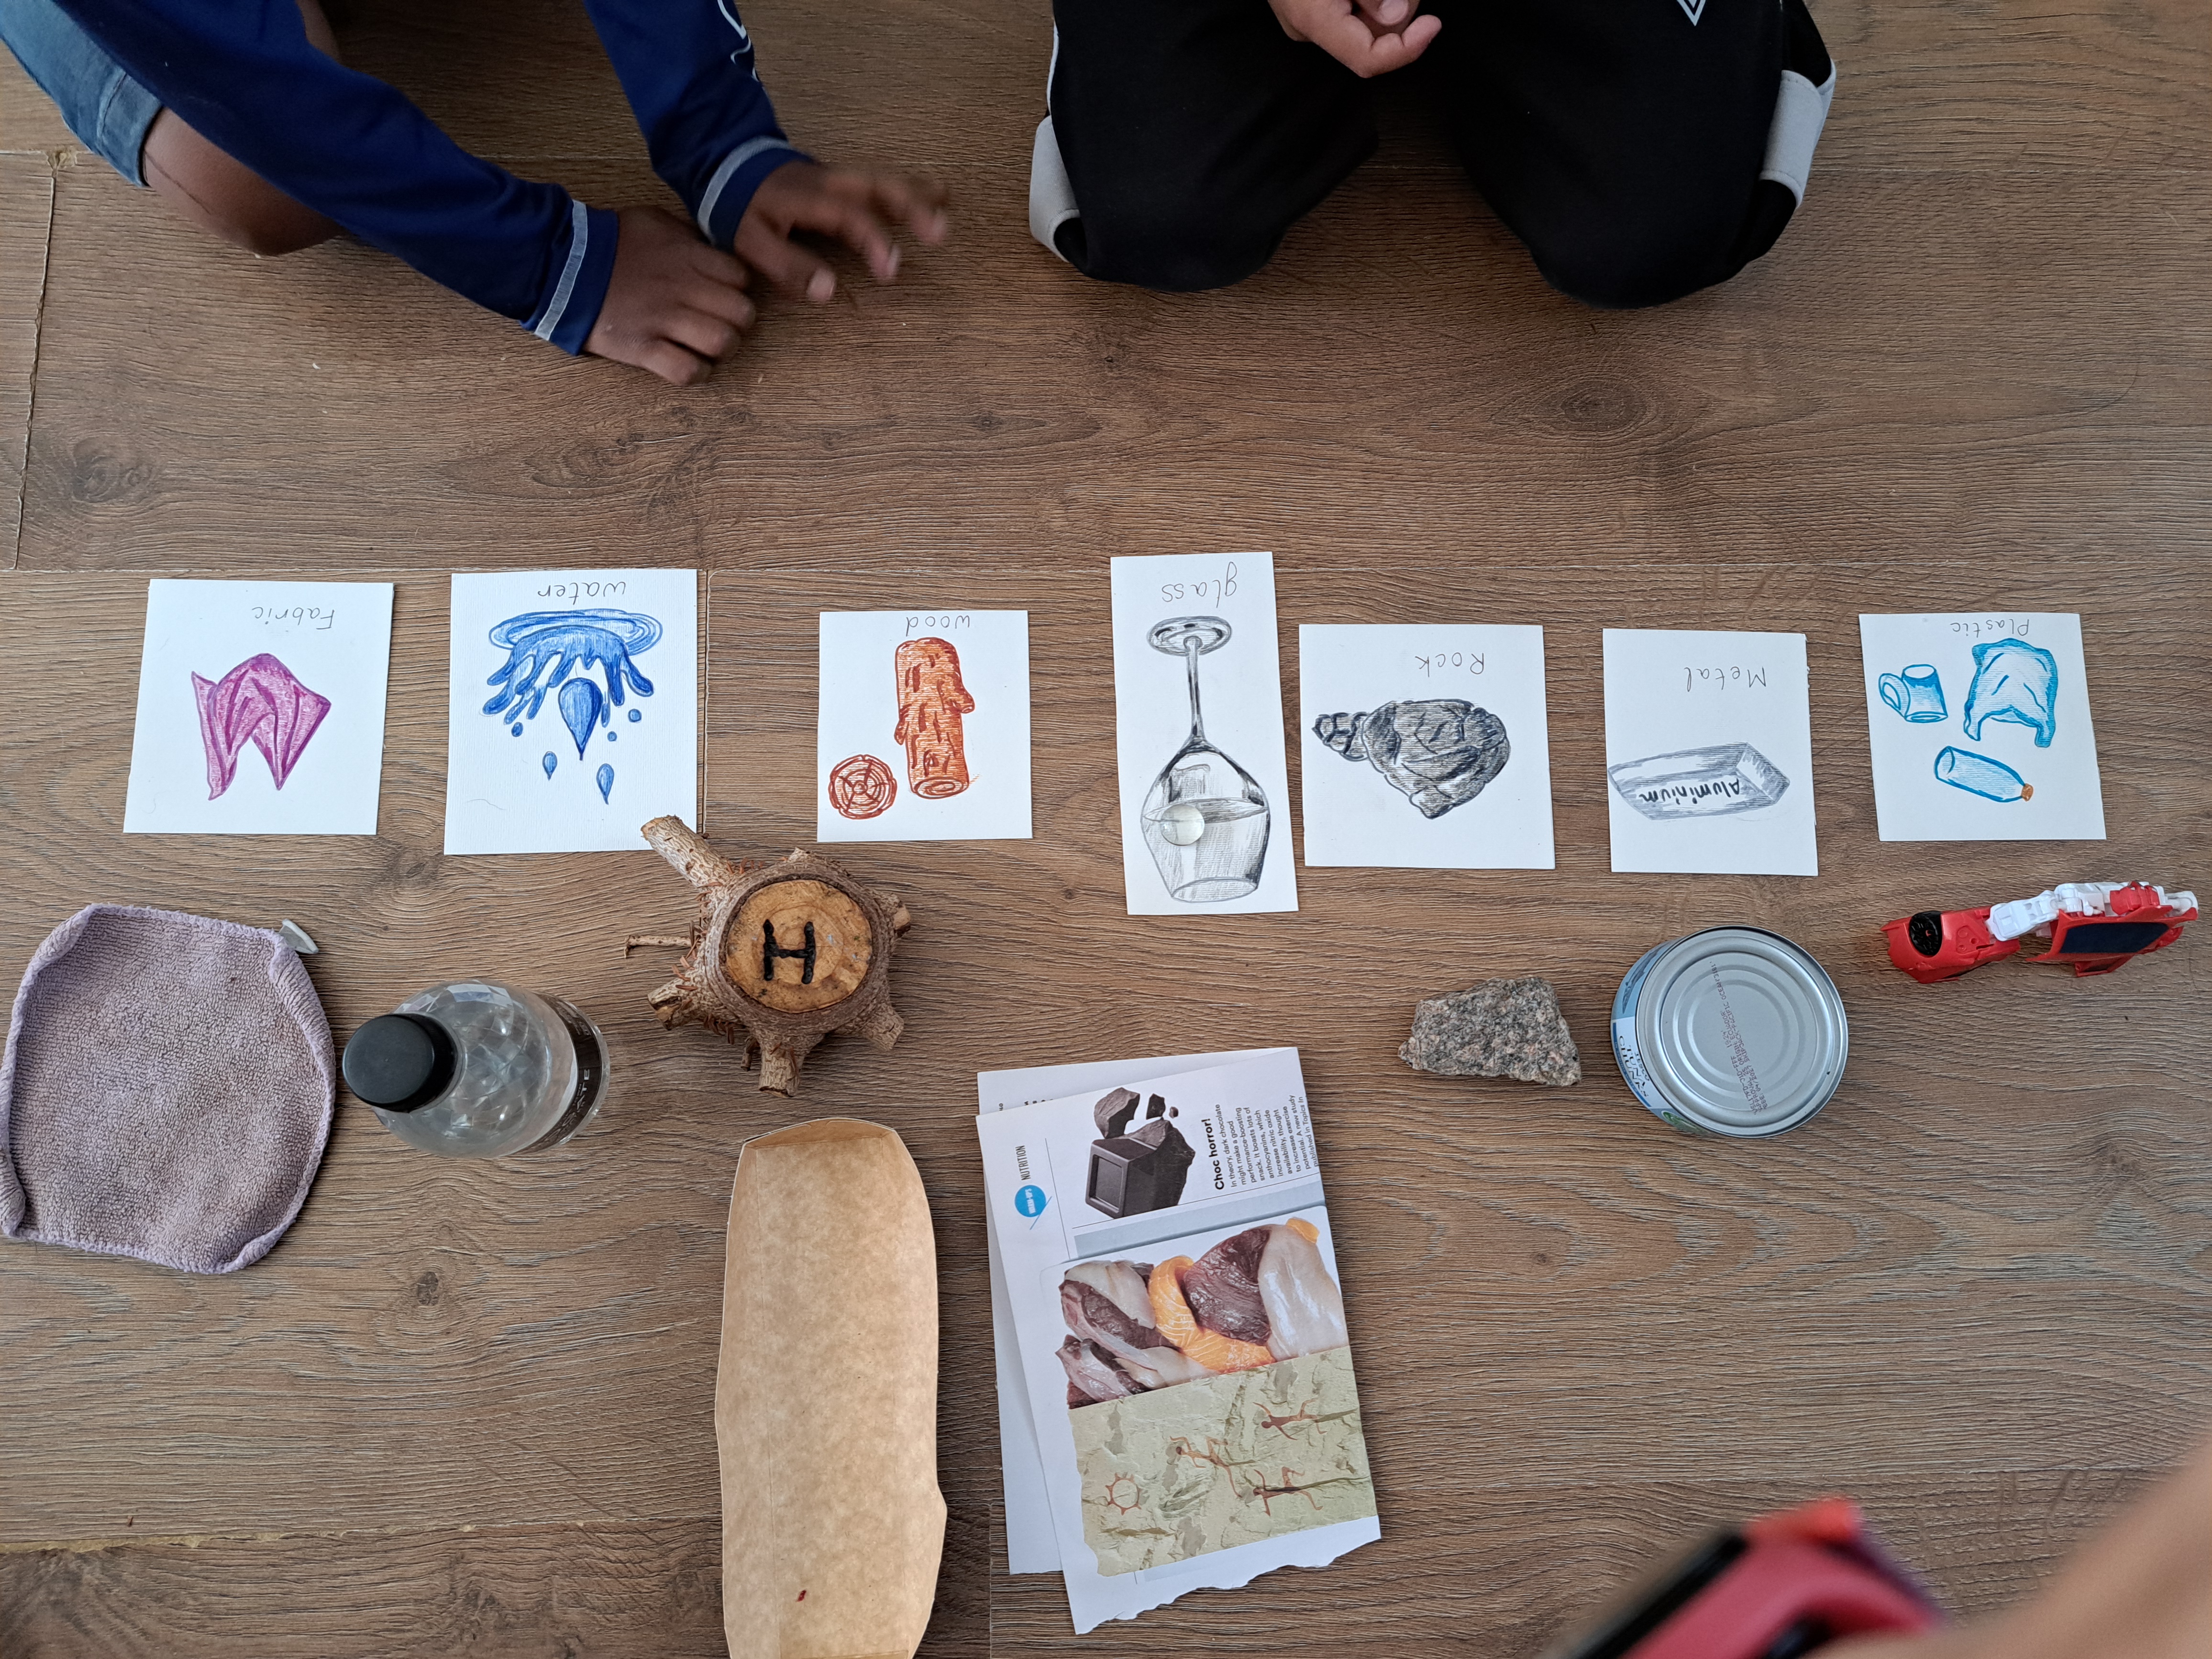
3. Discussing the objects the families brought: Ask each family to introduce their object - what is the object called, why did they choose to bring it? Then ask the
group to decide what type(s) of material(s) the object is made of. Finally, ask the group to identify 2-3 properties for the material(s). If multiple families bring
the same kind of material, talk about differences between materials (for example, hard vs soft plastic, magnetic vs non-magnetic metal).
4. Guess the Material Activity:
4A: Listening Activity: Line up the different objects/materials examples in front of the children. Name each material type. Then
ask the children to turn around. Gently tap each object with a metal spoon. Ask the children to identify the material based on
the sound that each object makes. Let the children discuss and decide as a group. In our session, many of the objects made very
similar sounds so I suggest testing out your examples beforehand and finding very different sounding examples!
4B: Feeling Activity: Put all of the different objects/materials examples into a pillow case (or similar). Ask each child to close
their eyes, reach into the pillowcase, and pull out one object. Without opening their eyes, ask the child to guess the
object/materials in their hand and explain why they have made that guess. After the child guesses, let the child open their
eyes and check their guess. This activity worked much better than the Listening Activity in 4A. Be careful with objects representing
glass and metal (don't use open tins) due to potential of cutting hands.
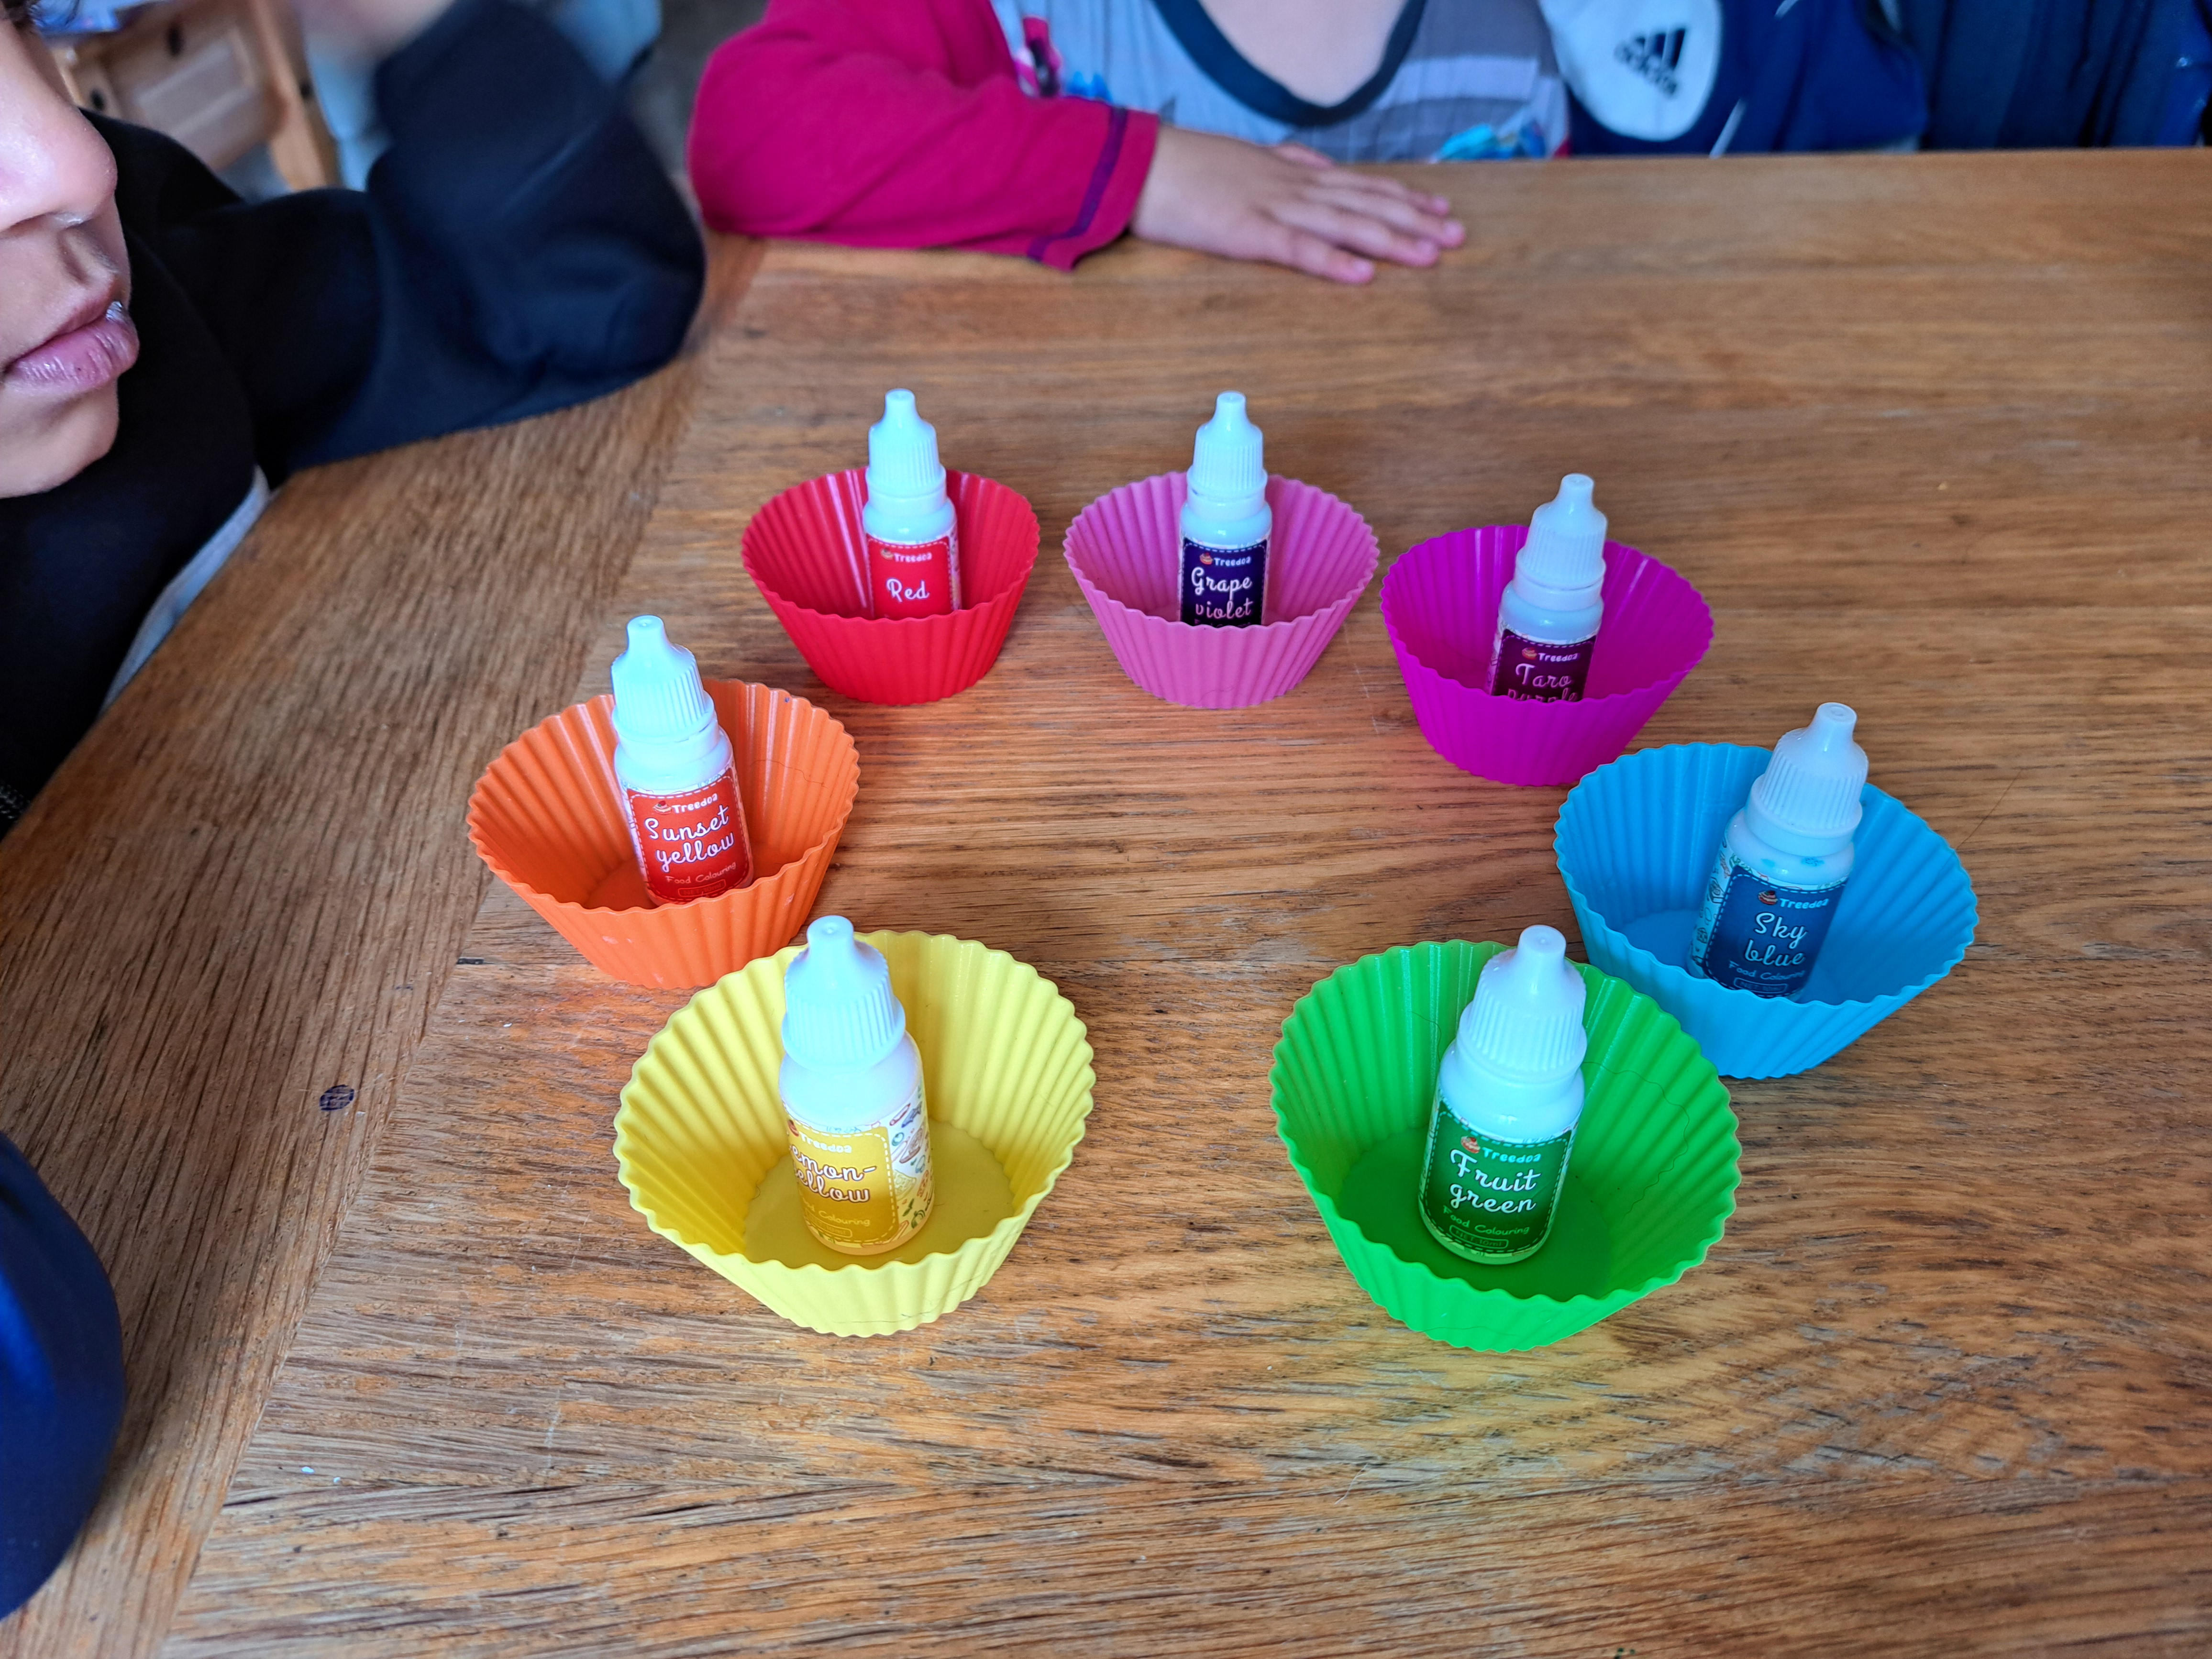
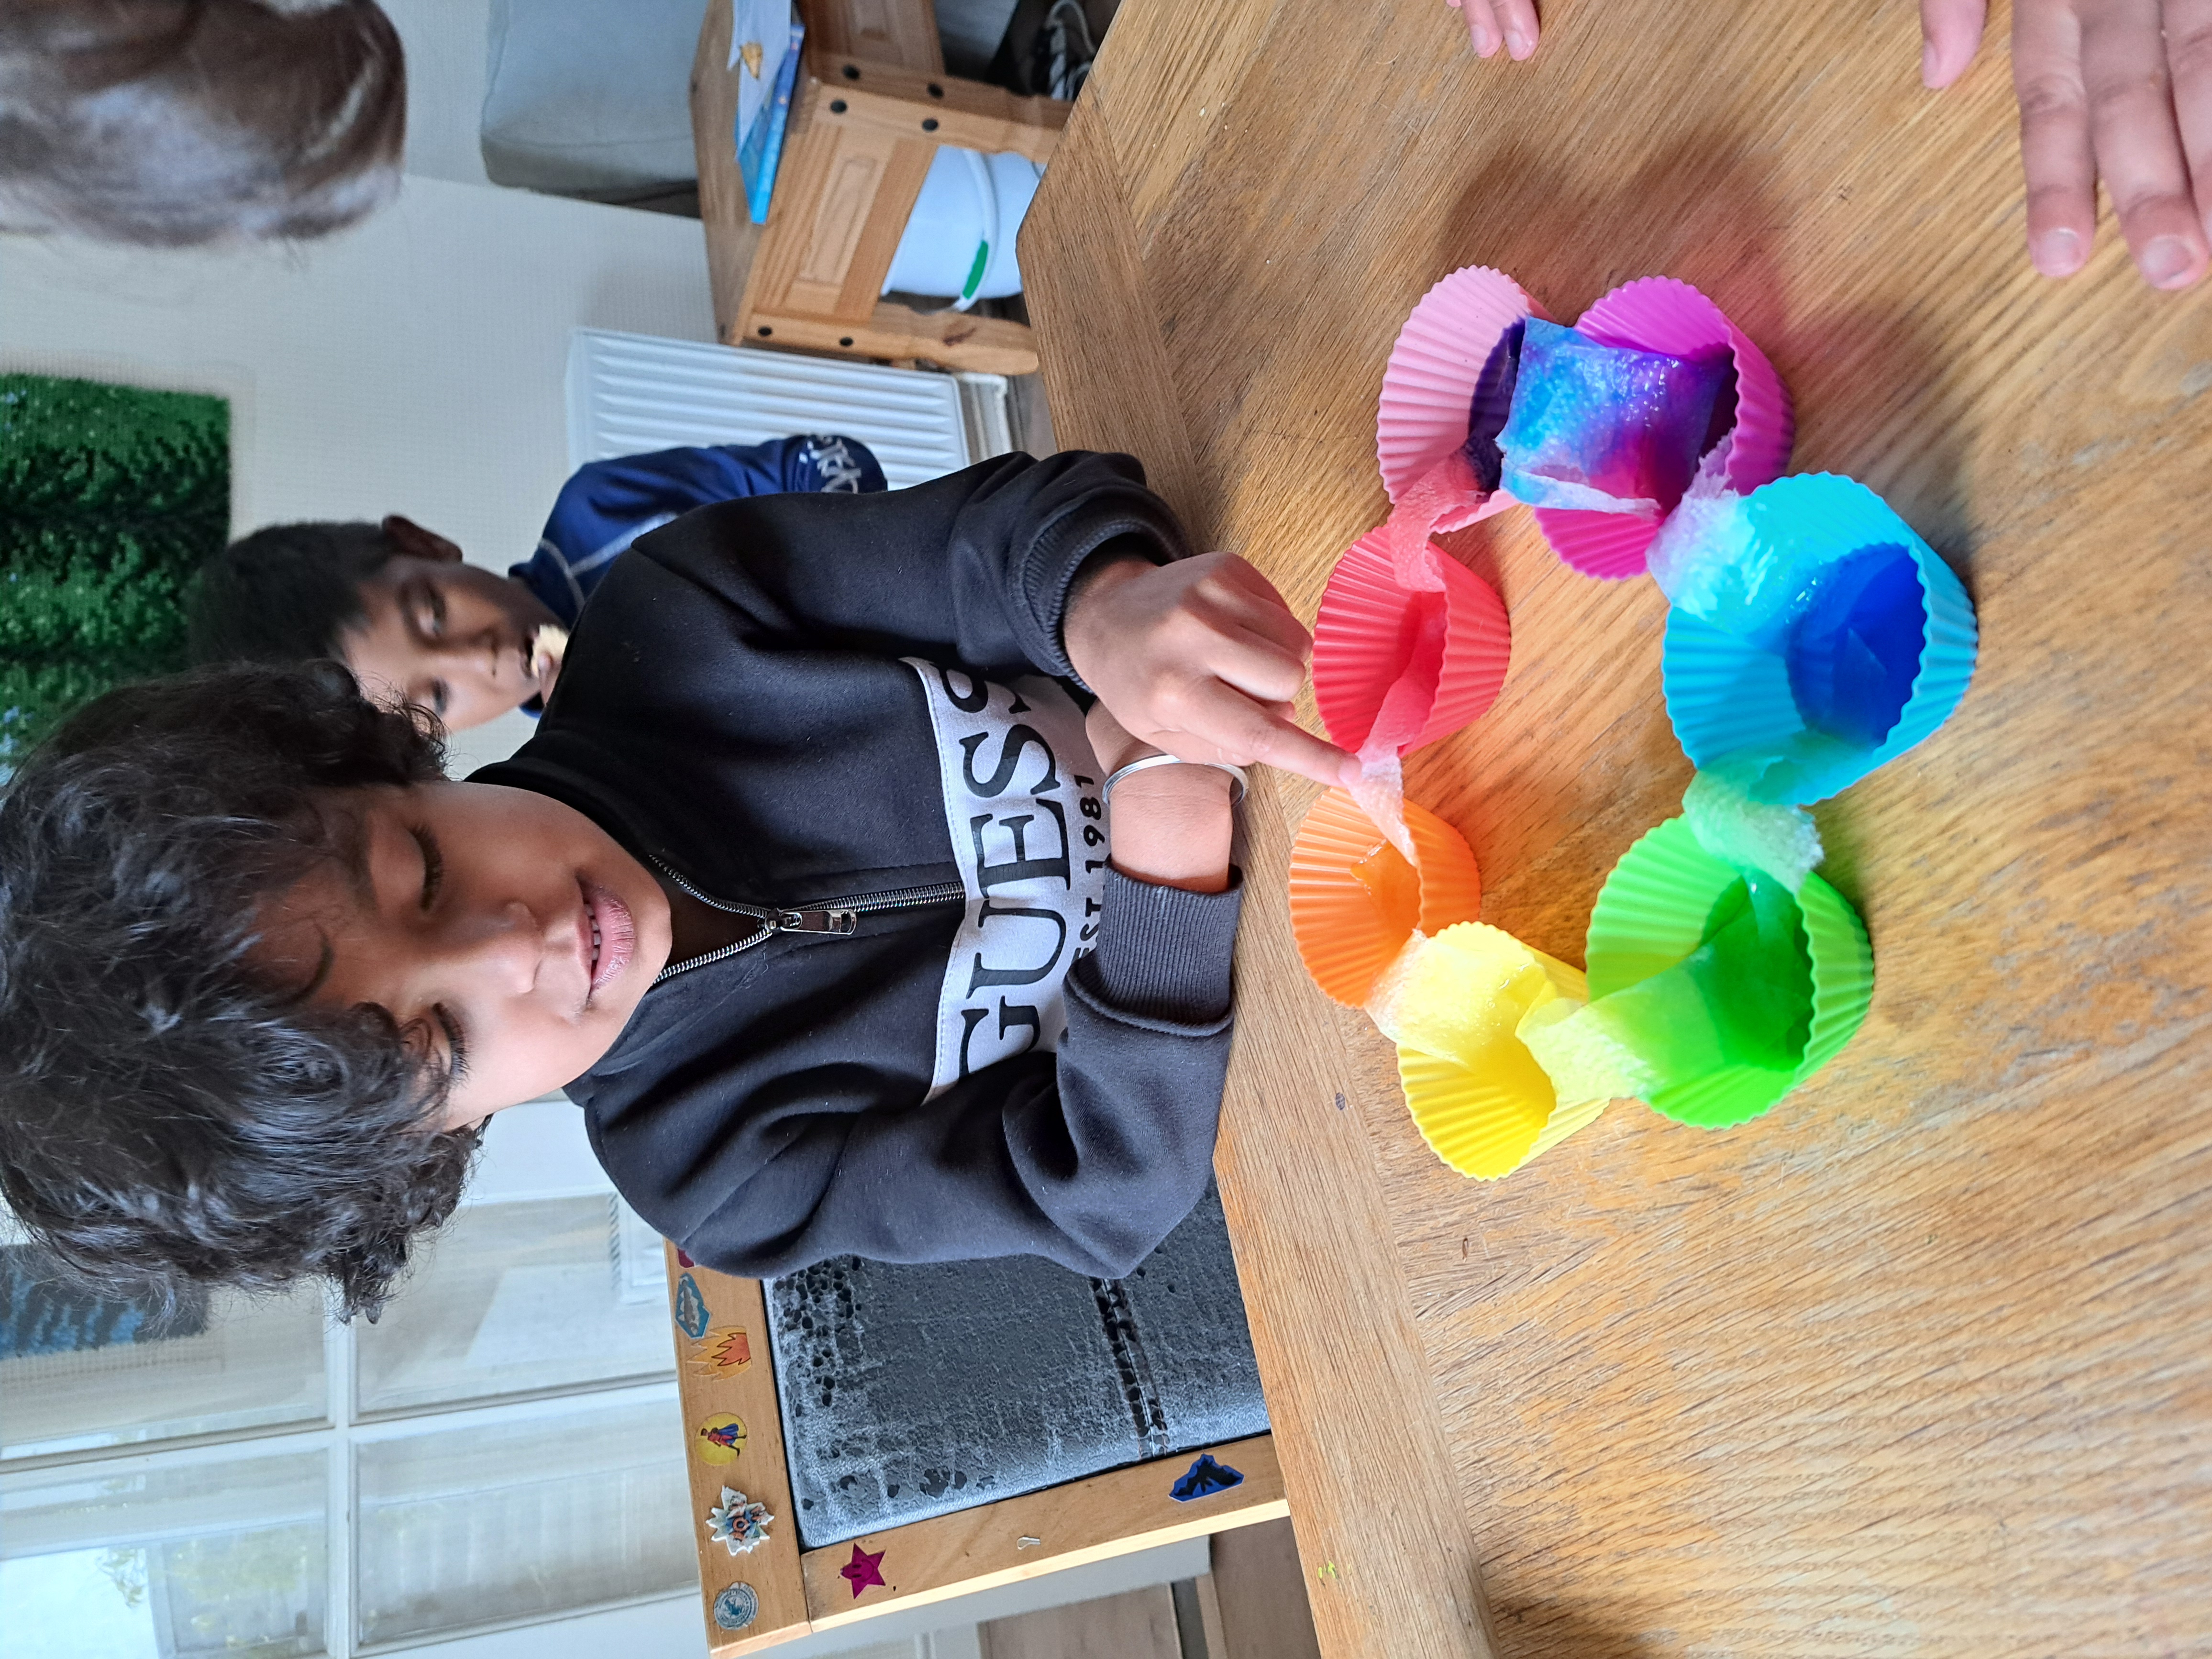
5. Absorbant Rainbow Activity: This activity shows how water is absorbed (sucked up) by paper/kitchen roll.
Arrange 6 or 7 silicone molds in a
circle of rainbow colours on a table. Add 3 drops of food colouring into the corresponding colour silicone mold. Then add water
to each mold until the bottom of the mold is covered with liquid. Then drape a rolled up piece of kitchen roll between each set
of neighbouring molds, making sure that the kitchen roll ends go down into the liquid. The liquid will immediately be absorbed by
the kitchen roll. You can leave the experiment for ~20 minutes to see if the colours mix within the kitchen roll.
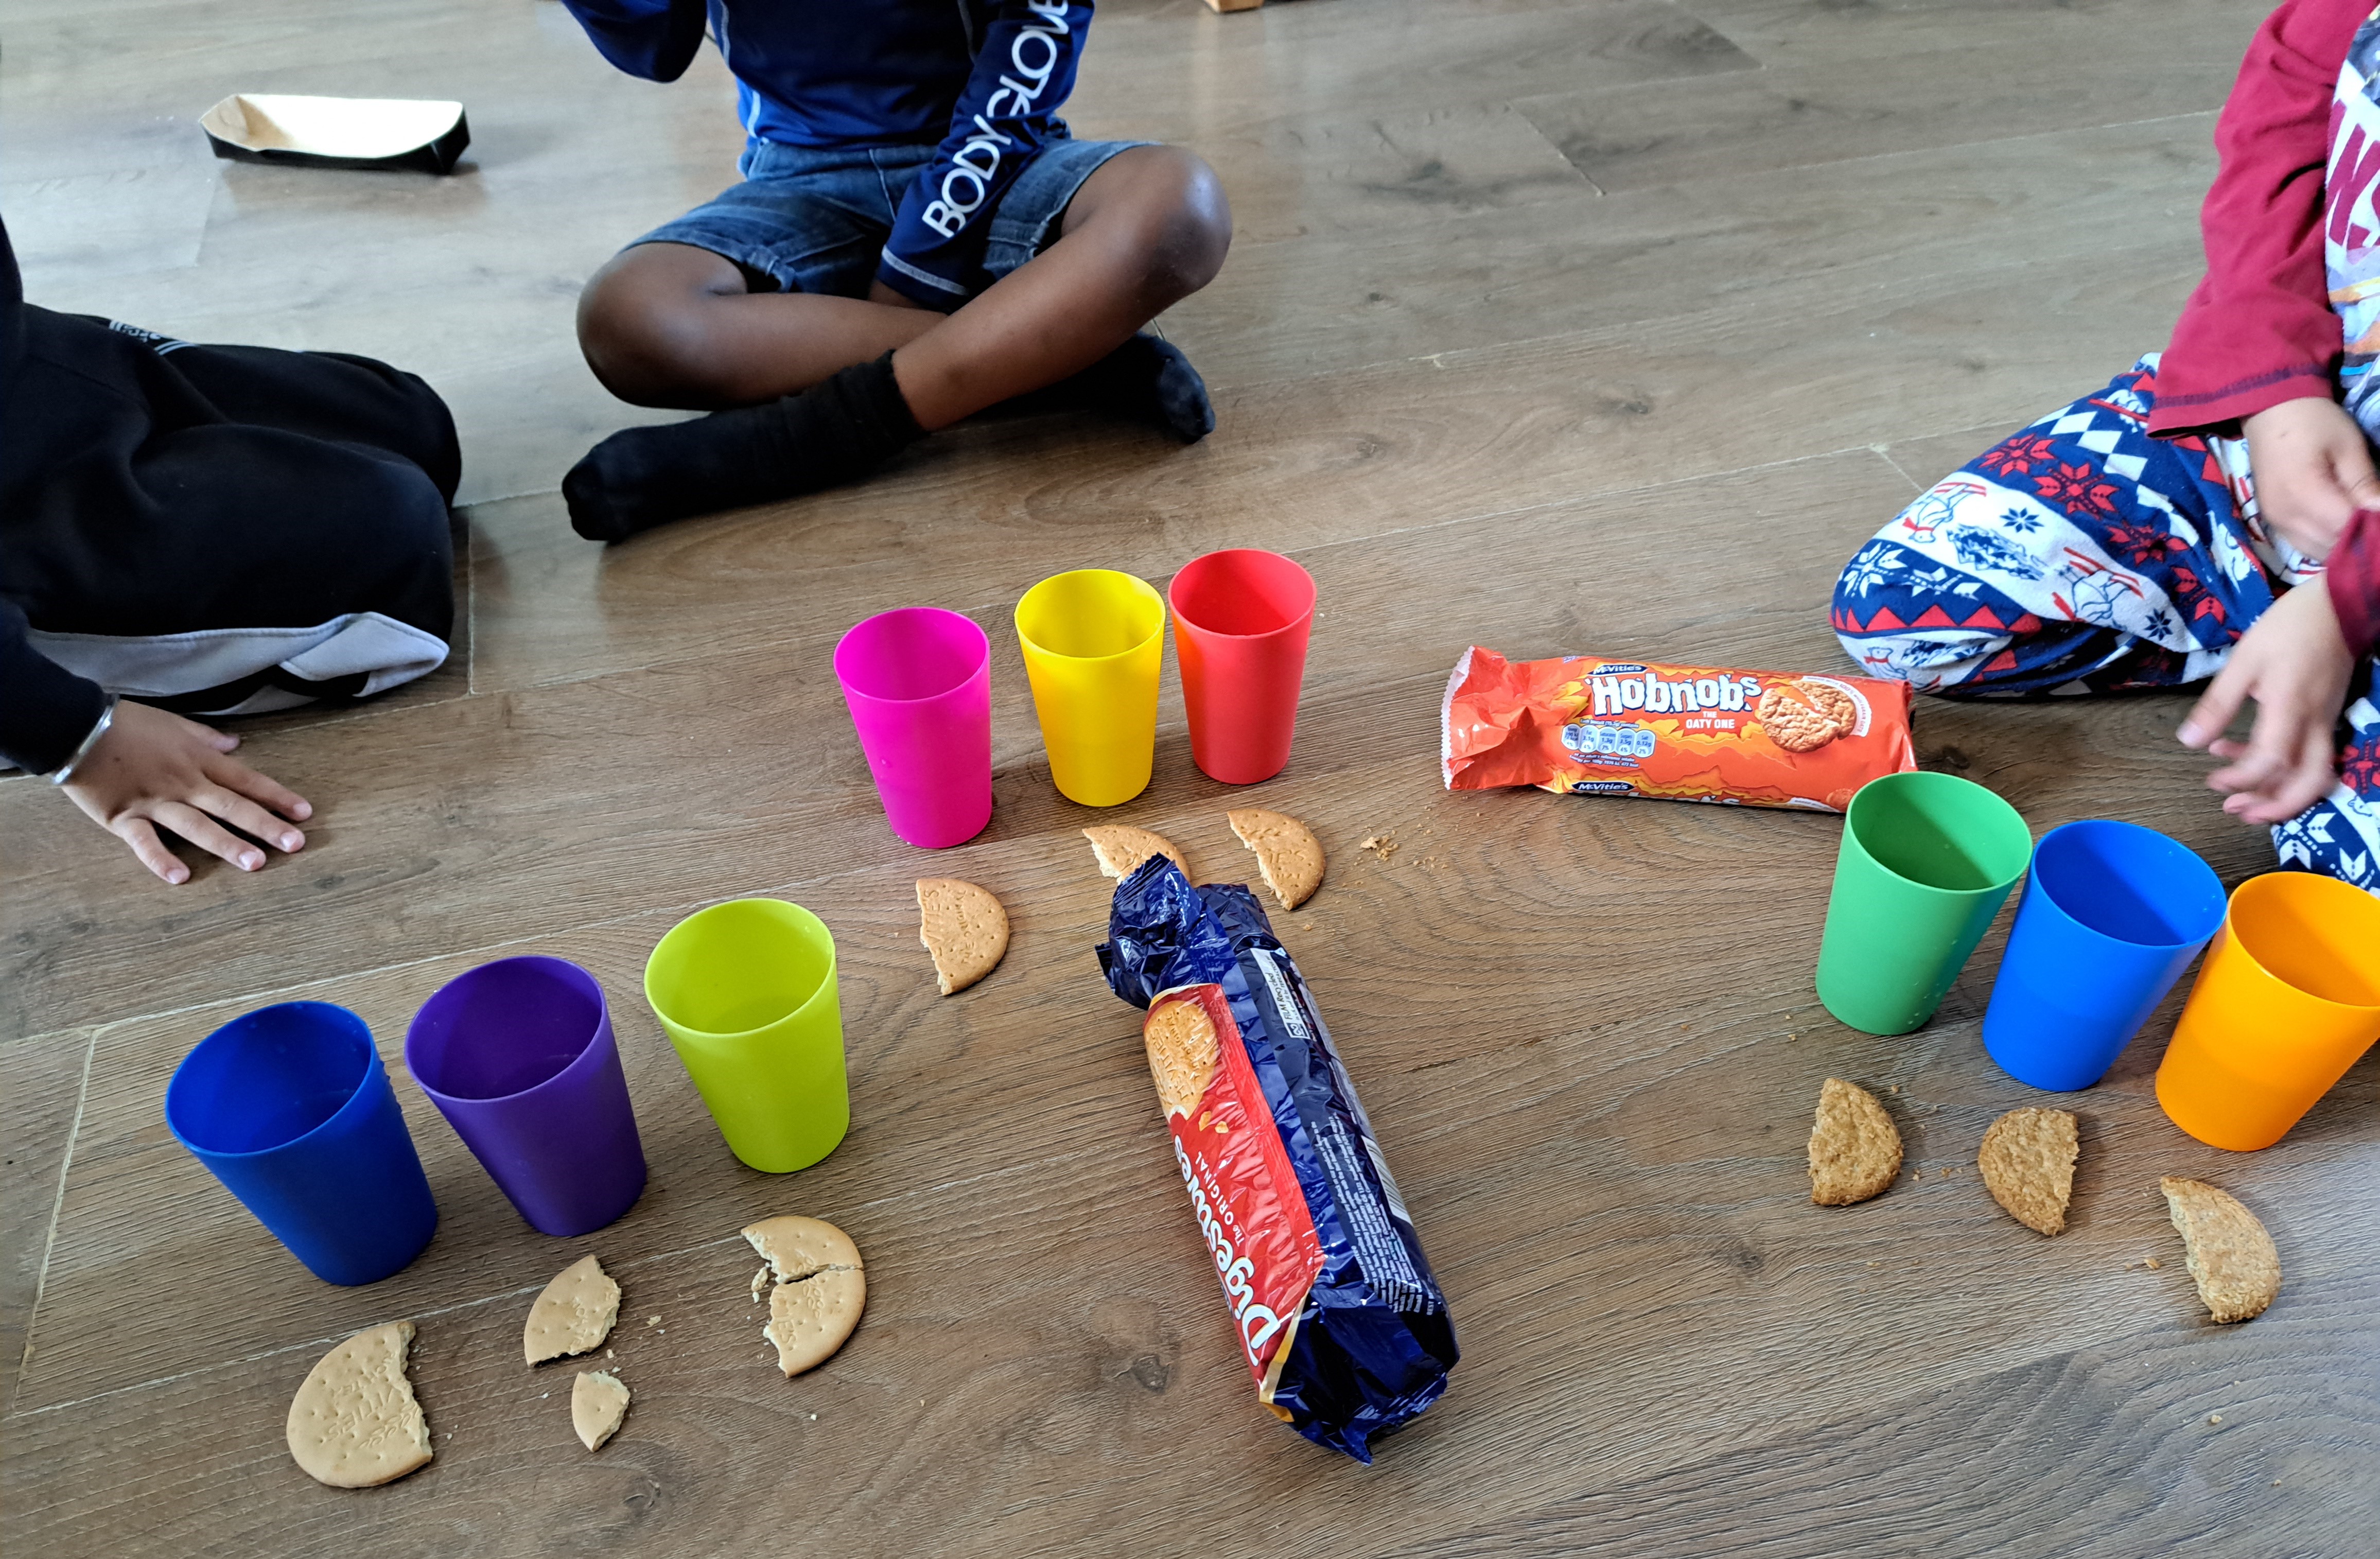
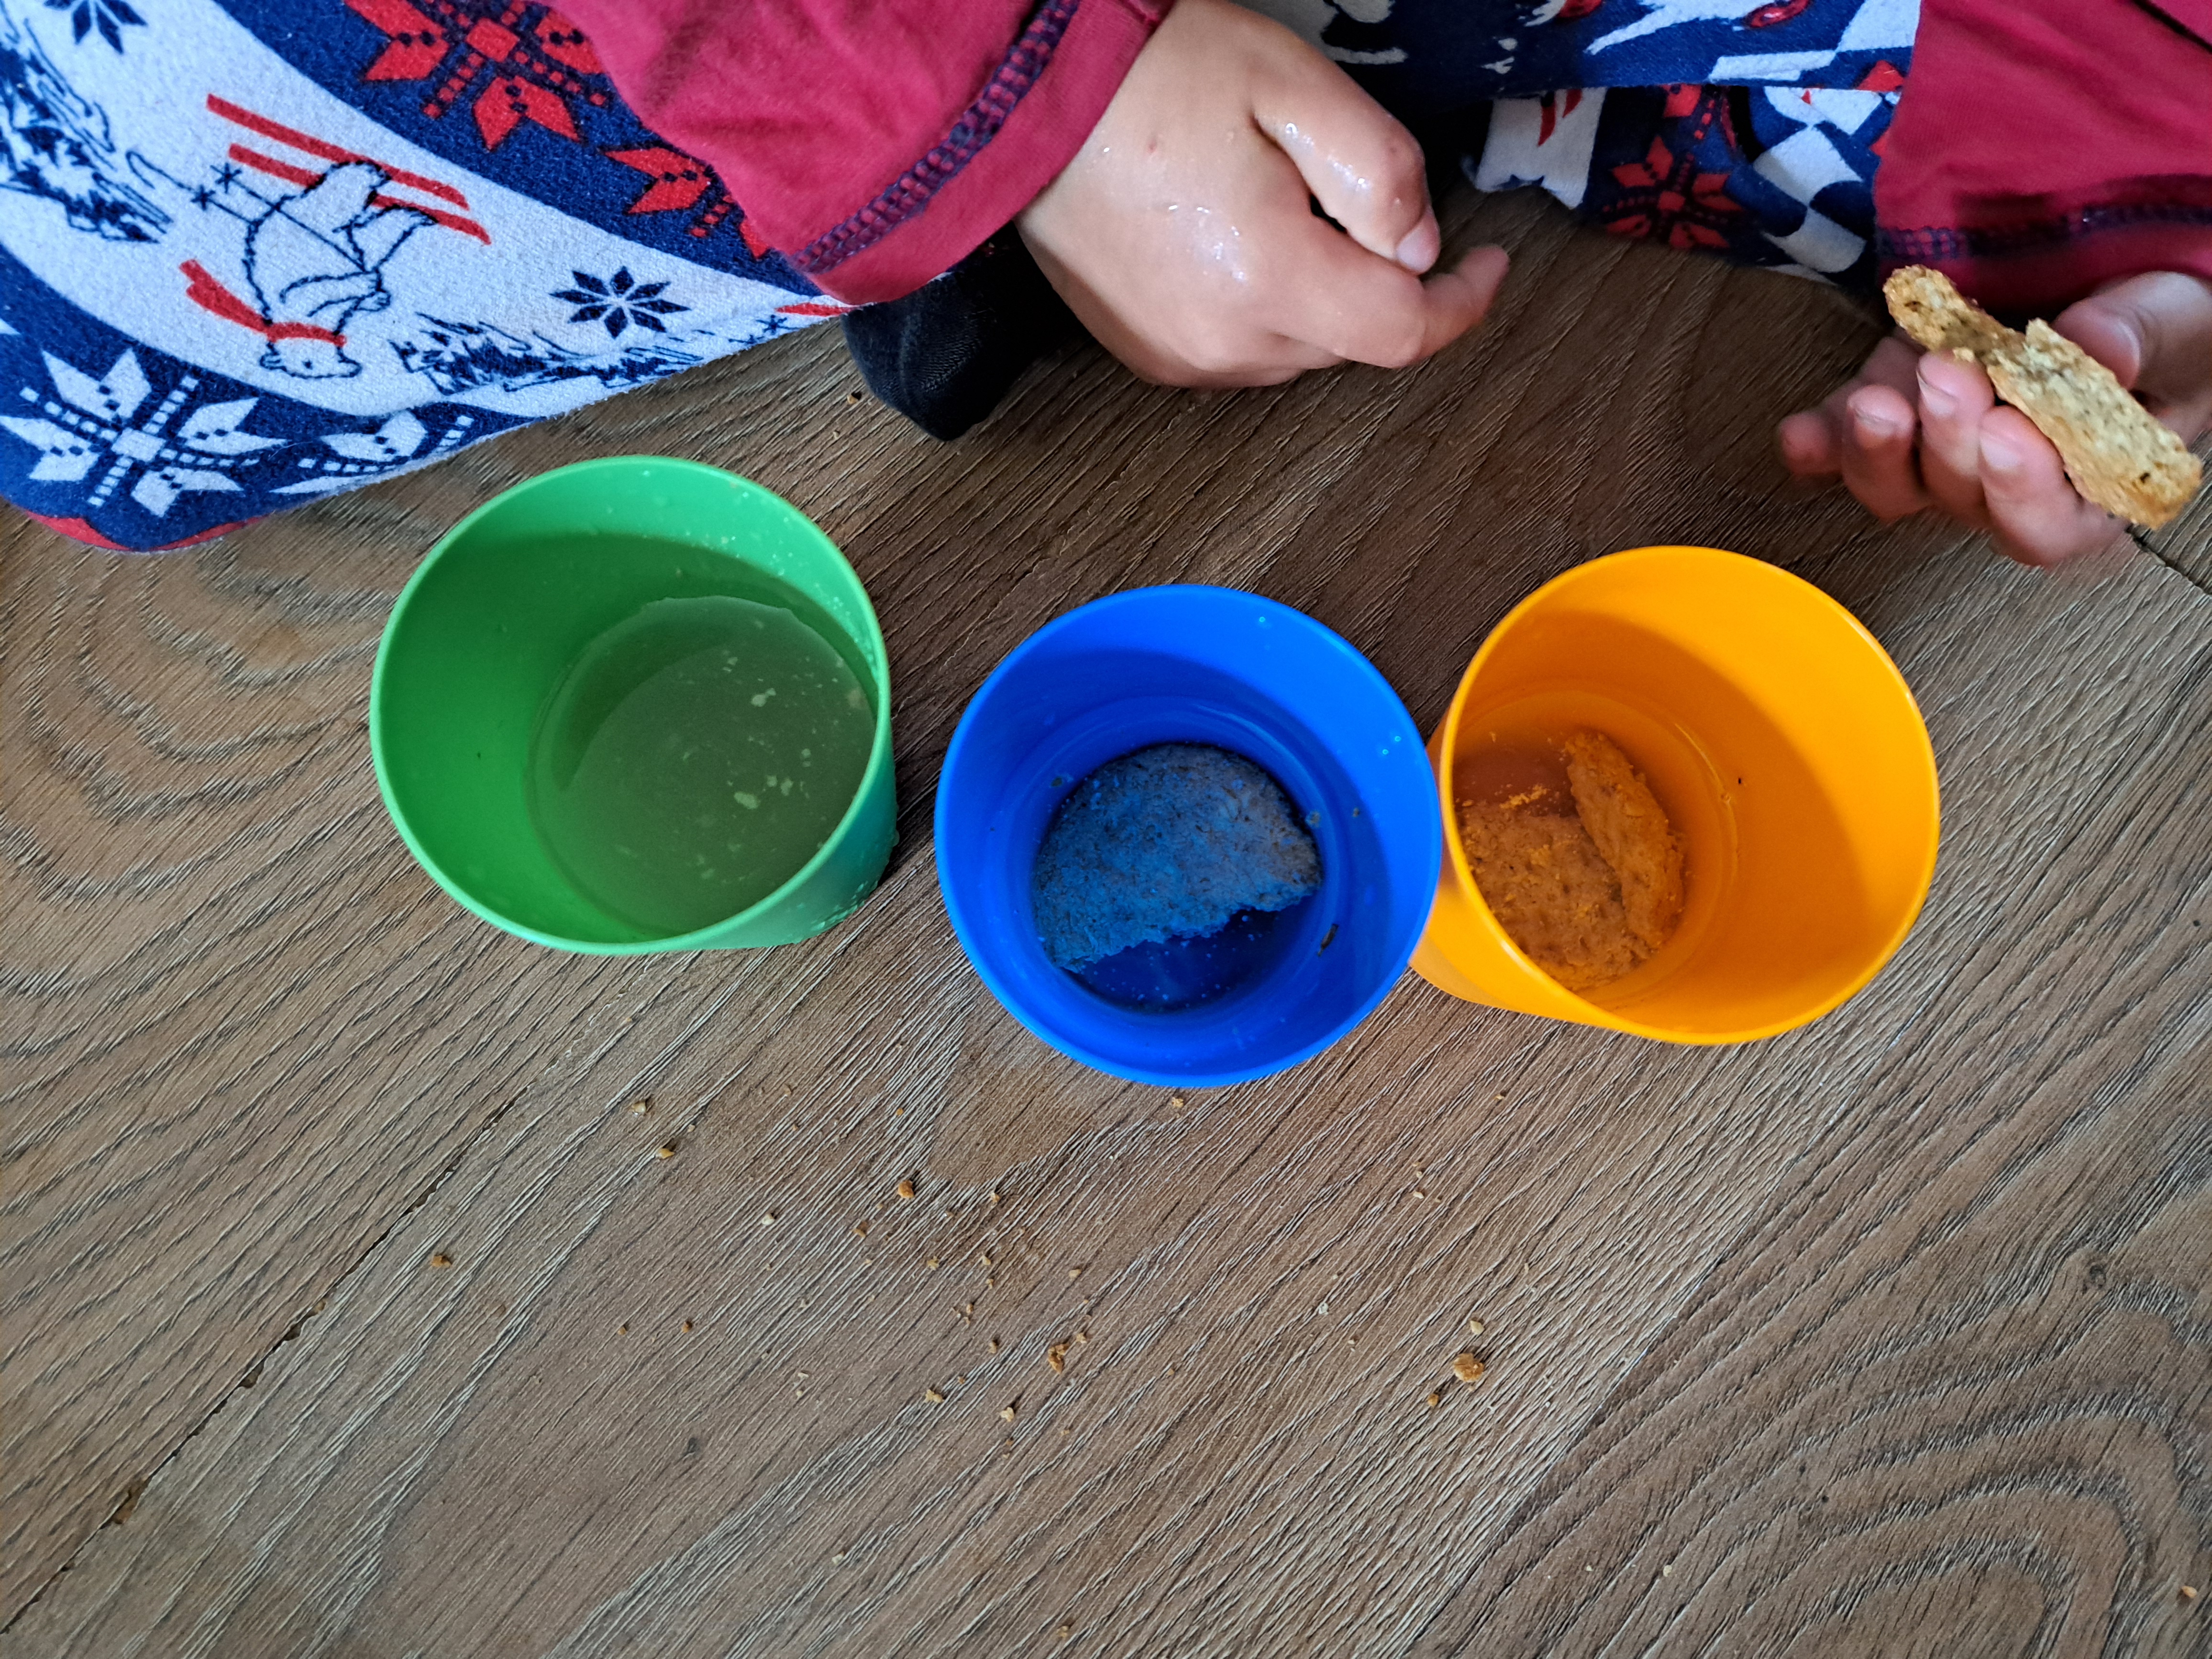
6. Cookie Dissolution Activity: This activity lets the children experiment with what makes cookies dissolve fastest. We chose to use
the below 3 conditions but you can choose your own if you want! 1. Hot water, cookie still; 2. Cold water, cookie still; 3. Cold water,
cookie dunked up and down continously.
Arrange 9 cups in 3 groups of 3. Separate the children into 3 groups. Give each group of children a set of 3 cups and a type of
cookie (Digestive, HobNobs, Rich Tea - check for any allergies first! these were all dairy free). Within each set of 3 cups, fill a "hot coloured" (red, orange, yellow) cup with
hot/warm water (Condition 1), and the remaining cups with cold water. We used "cool coloured" (blue, green, purple) cups for
Condition 2 (cold water, cookie still). The remaining cups were used for Condition 3 (cool water, cookie dunked), with each
group of children dunking their cookie type until the cookie dissolved.
As we expected, the Condition 3 cookies dissolved fastest. We were surprised that Condition 1 and Condition 2 cookies dissolved at
about the same rate - but some of our cookies also broke into pieces before being put into the cups which likely affected our
results. We celebrated our experiment by each eating an extra cookie!
7. Oobleck Activity: This activity lets the children experience an unusual (non-Newtonian - though they won't understand this!)
material: Oobleck!
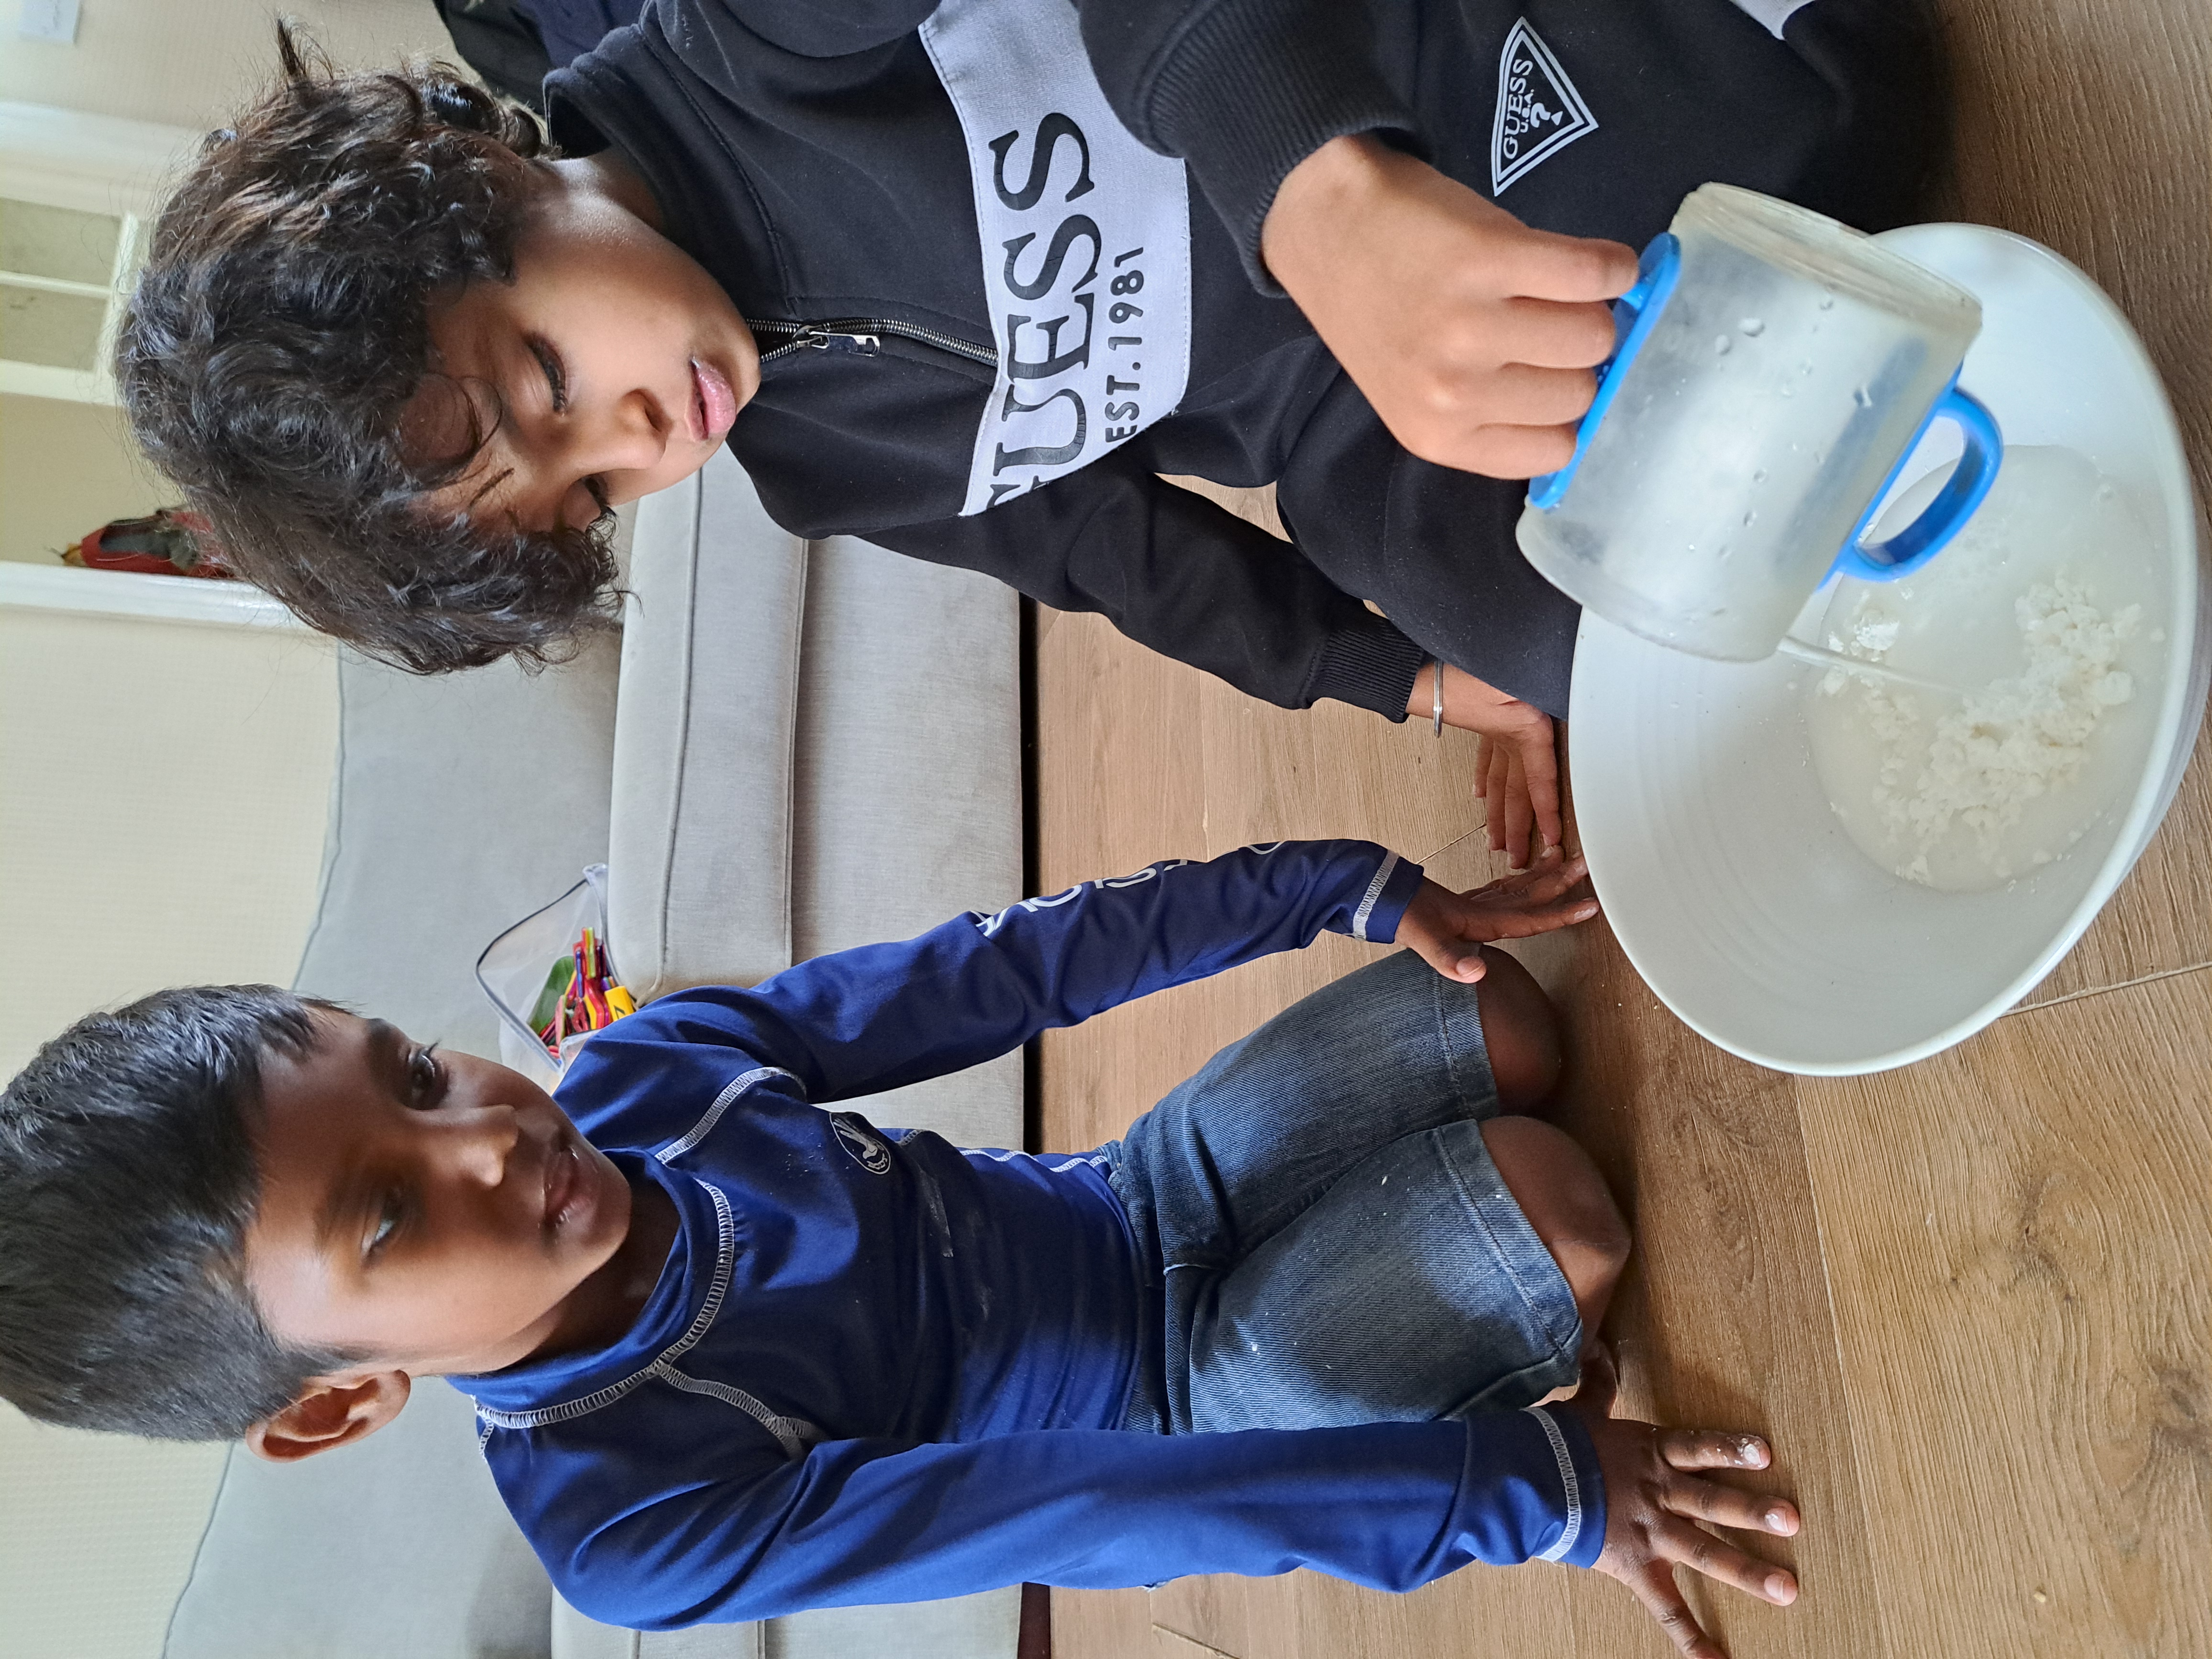
Separate the children into 3 groups. Give each group a large bowl with approximately 100g of corn starch. Ask the groups to put
their hands into the dry corn starch and comment on how it feels. Then give each group a cup of water to slowly pour
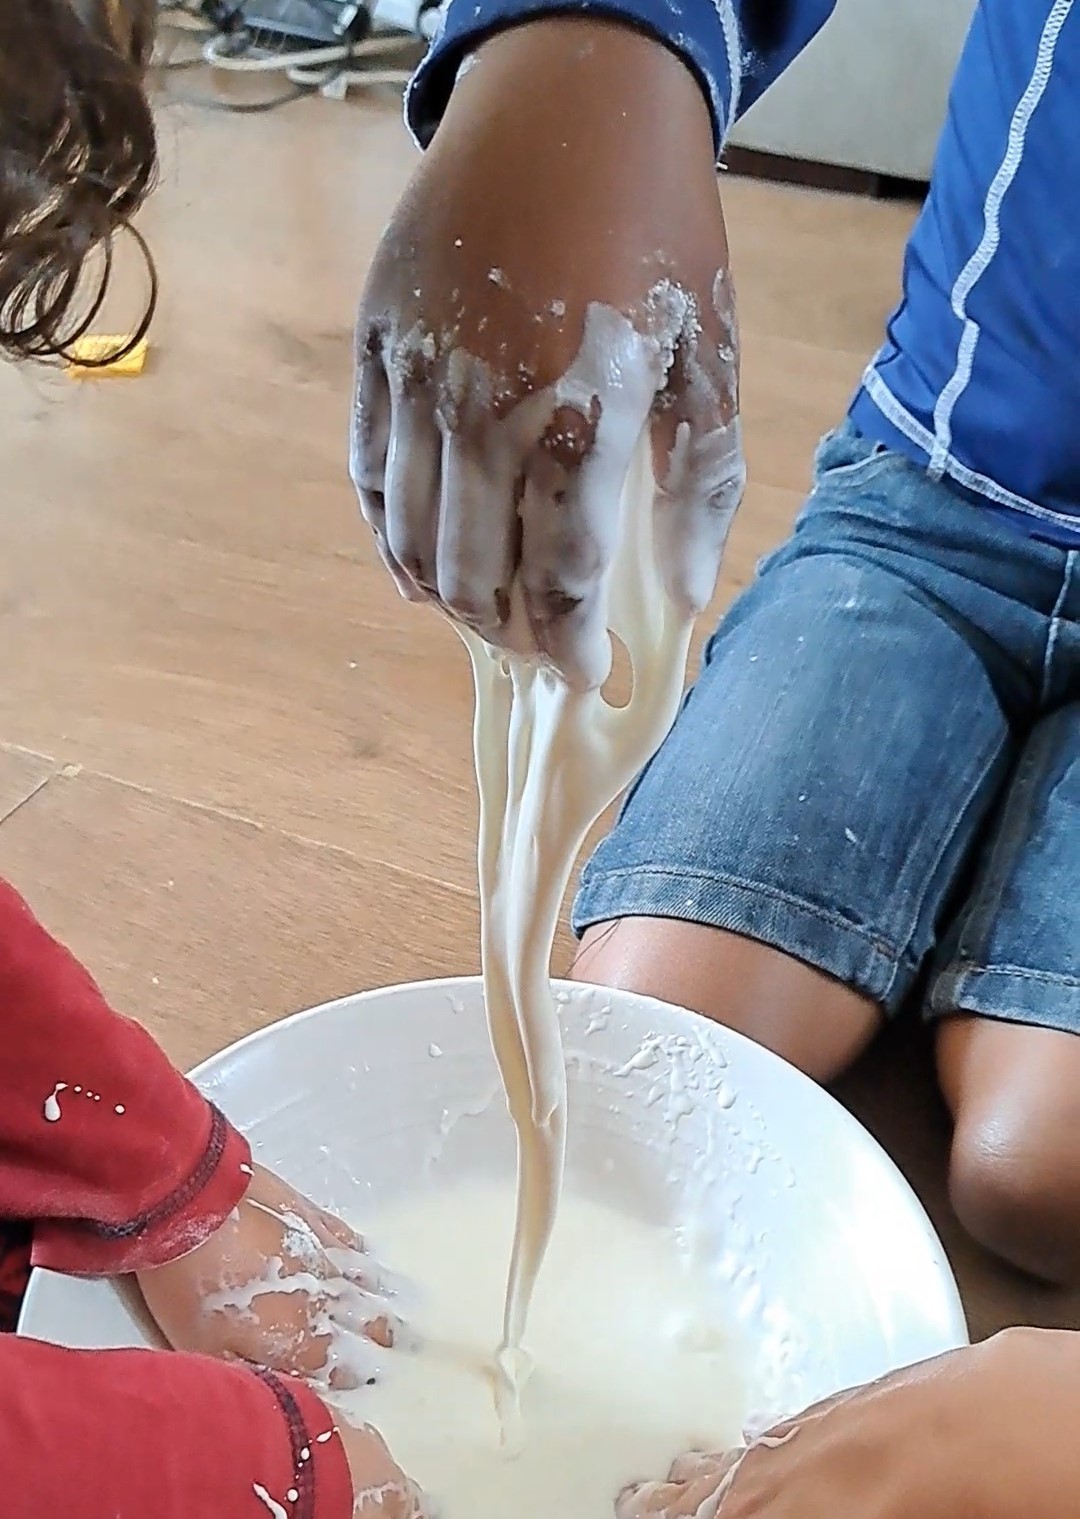
into the corn starch in the bowl. Ask the children to squish the mixture with their hands and comment on how the material feels
(note: some children may not want to touch the mixture - don't force them to if they don't want to).
Ask the children what usually happens if they push a sponge gently vs with more force: the children will know that pushing a
sponge harder makes the sponge squish down more. Ask the children to poke the Oobleck quickly and see how it feels (the Oobleck
will resist their finger and not deform). Then ask the children to slowly push on the Oobleck and see how it feels (the Oobleck
will allow fingers to go into the mixture and become more liquid-like). Then allow children to free-play with the Oobleck. This
was a favourite activity in our group - and don't worry about the resulting mess - it vacuums and wipes up easily!
8. Recap Activity: Have the children sit in a circle. Remind them of the different activities they have done in the session. Then ask the children which of the
activities was their favourite and why. (There are no right/wrong answers - this is just to help the children think through the potential options.)
9. Science Saturday Wrap-Up: If this is the last session, discuss whether families want to continue meetings for similar sessions. Plan
when and where the next session might be held - and if the children are interested, have the children "interview" the parents and each
other about what they liked best about Science Saturdays. Then the videos can be combined into a Celebration Video! Remind families
to take their plant home today!
Skills Learned/Practiced
STEM SKILLS
-Familiarity with different types, properties, and uses of everyday materials
-Identifying similarities and differences between materials families bring (relative sizes, shapes, etc)
-Understanding of "absorption" and "dissolving"
-Intuitive understanding of how force (generally) affect materials (ie, I push it, it squishes)
-Familiarity with the word "experiment"
NON-STEM SKILLS
-Reading: reading flash cards with material names and properties
-Public speaking: explaining materials to group
-Communication: talking about favourite activity
Outputs/Take-Homes from Session
-STEM Learning leaflet with suggested activities to learn more about Materials
-Material example(s) brought to session
-Pictures taken of families during session
-Interviews about Science Saturdays (if families want to do interviews)
-Plant from Session 1
Other Articles:
BodyWorks: Kinematics ToolA page with a javascript application where you can set body positions, calculate joint angles and animate human motion. |
|
Maths Exam GeneratorAuto-generated maths exams, with and without answers. Set at A-level / end of high school / beginning of university. |
AtmosphereA simple demo of a simulation of an atmosphere. It looks quite cool, but there's not a lot you can do with it yet, and the physics isn't yet all that accurate. |
|
© Hugo2015. Session @sessionNumber