Step-by-step instructions for putting shaders into a monogame project.
Background
Monogame is one way to make 3-d graphics for games or display applications. I chose to use Monogame as the platform because I had heard that XNA was about to stop being worked on, and I liked the idea of having a cross-platform library. I also think / thought that changing from monogame back to XNA wouldn't be all that difficult anyway, since they're virtually identical. I played around with Unity, but I didn't want to pay for a license and I did want to use visual studio to develop with. I also have an innate suspicion of any library that does too much for you. For anyone who isn't familiar with these technologies, Monogame (without custom shaders) does quite a lot: keys, mouse, timing, etc., come with it. You can load textures and 3d models and draw them on the screen. It does have fog, but in the (old) version I was using, it didn't work as well as it should have, and it was difficult to render a planet realistically with what Monogame-minus-shaders had.
|
|
|
Using shaders was on my to-do list. Partly because it's a good introduction to GPU computation, and partly because it should make the game look better. So I went for it last weekend, and this is the log of what worked and what didn't, and the difficulties involved. A word of caution: I am not really following the normal way to build things: There's no content project, there's no build pipeline for effects. I am doing this quite manually. Therefore this guide might be useful to someone completely stuck, but it might not be helpful if you're a design studio who need to do things "properly". Having said that, I have now got a series of scripts that build this all quite easily, so I don't think my way comes with big disadvantages either. The first thing is that it's hard to know where to start.
Step 0: Setup stuff.
I develop using visual studio express 2012, which is free. It has Nuget. Using Nuget, install monogame 3.4 (or latest). I already had a project that used monogame, and this article is not about how to set that up. This was tested using Monogame's OpenGL version, not the DirectX version. I do not know if this would need to be modified for that.Step 1: make an effect file.
Make a file called "Effect1.fx". The contents should be as follows:
float4x4 World;
float4x4 View;
float4x4 Projection;
struct VertexShaderInput
{
      float4 TexCoord : TEXCOORD0;
      float4 Position : POSITION0;
      float4 Normal : NORMAL;
      float4 Color :COLOR0;
};
struct VertexShaderOutput
{
      float4 Position : POSITION0;
      float4 Color : COLOR0;
      float2 TextureCordinate : TEXCOORD0;
};
VertexShaderOutput VertexShaderFunction(VertexShaderInput input)
{
      VertexShaderOutput output;
      float4 worldPosition = mul(input.Position, World);
      float4 viewPosition = mul(worldPosition, View);
      output.Position = mul(viewPosition, Projection);
      output.Color = input.Color;
      output.TextureCordinate = input.TexCoord;
      return output;
}
float4 PixelShaderFunction(VertexShaderOutput input) : COLOR0
{
    return input.Color;
}
technique Ambient
{
  pass Pass1
  {
      VertexShader = compile vs_2_0 VertexShaderFunction();
      PixelShader = compile ps_2_0 PixelShaderFunction();
  }
}
Note that the language that this is written in is called HLSL : High Level Shader Language.
Step 2: Compile it.
Compile with 2MGFX.exe, an executable that comes packaged with monogame."C:\Program Files (x86)\MSBuild\MonoGame\v3.0\Tools\2MGFX.exe\" Effect1.fx Effect1.mgfxoWhen I first tried this, it didn't work. The reason was that I had an old version of monogame. I then used nuget to install monogame 3.4. (latest as of 2016-01-23). That still didn't work. I then went to the monogame website (http://www.monogame.net/2015/04/29/monogame-3-4/) and ran the monogame setup.
That still didn't work because I was still using the 2MGFX.exe from the old (3.0) version of monogame. After a lot of pain, I discovered that the new version was under v3.0\Tools\2MGFX.exe - confusingly still under the 3.0 folder, but not in the same place as the 3.0 version of 2MGFX.
To summarize, install monogame 3.4, and make sure you're using the correct version of 2MGFX. It might be under v3.0\Tools\2MGFX.exe When this works, you'll get this output:
Effect1.fx(27,26): warning X3206: implicit truncation of vector type
Effect1.fx(27,26): warning X3206: implicit truncation of vector type
Compiled 'Effect1.fx' to 'Effect1.mgfxo'.
As far as I am aware, the warnings aren't important.
Another quick note is that you can't just copy the 2MGFX.exe file to wherever you want - it has to be with its baggage. Another thing is that some tutorials suggest that by now the 2MGFX.exe can be called just by typing "2MGFX.exe" because it'll be in the path environment variable. I did not find this to be the case.
Step 3: Load it in your game.
For simplicity, I just loaded this as a static object in a top level class:
public class Game1
{
public static Effect MyEffect;
public static string Path = "C:/results/";
public void LoadEffect() // only call this once, when the game loads.
{
MyEffect = new Effect(GraphicsDevice, System.IO.File.ReadAllBytes(Path + "Effect1.mgfxo"));
}
}
The Effect1.mgfxo that you made in step 3 needs to be somewhere accessible. For now, you could put it under C:/results/, and the code above will find it.
When you run this, it should load the shader: no errors, but it won't use the shader yet, so you'll get what you had before.
Step 4: Using the new shader.
I modified my code as follows: Before (monogame basicEffect):
      foreach (EffectPass pass in E.basicEffect.CurrentTechnique.Passes)
      {
        pass.Apply();
        gd.Indices = b.ib;
        gd.SetVertexBuffer(b.vb);
        gd.DrawIndexedPrimitives(PrimitiveType.TriangleList, 0, 0, b.vblen, 0, b.iblen / 3);
      }
After (myEffect):
      Effect ef = Game1.MyEffect;
      ef.Parameters["World"].SetValue(basicEffect.World);
      ef.Parameters["View"].SetValue(basicEffect.View);
      ef.Parameters["Projection"].SetValue(basicEffect.Projection);
      foreach (EffectPass pass in ef.CurrentTechnique.Passes)
      {
        pass.Apply();
        gd.Indices = b.ib;
        gd.SetVertexBuffer(b.vb);
        gd.DrawIndexedPrimitives(PrimitiveType.TriangleList, 0, 0, b.vblen, 0, b.iblen / 3);
      }
The only changes there were that firstly when we applied a pass, we used the new shader, and secondly, we set the parameters of the shader
to what the old shader used: World, View, and Projection. Note that these three variables are the three global variables in Effect.fx.
Step 5: Run it.
It should now just work.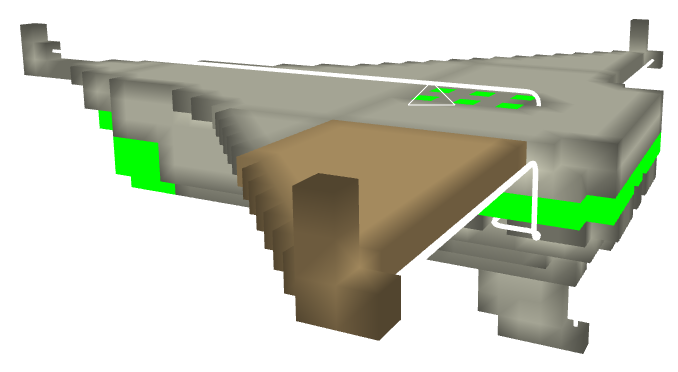
Step 6: Work out what's going on.
This particular setup is quite simple. We have global variables, in this case of type float4x4 (which are 4x4 matrices), which are set from your C# code.There is also a vertex shader - This is called for every vertex that is drawn. You are somewhat free to change its output structure: you can add new vectors to the VertexShaderOutput, and the pixel shader will be called with the VertexShaderOutput as its input. Each pixel gets an interpolated version of the VertexShaderOutput: The pixel shader input will be a merge of each of the 3 or more vertex shader outputs went into that pixel.
The pixel shader returns a colour (float4, which is a vector of 4 floats, the first three of which are R,G,B, from 0 to 1).
There are two further complications that are a nuisance to solve when they first hit you. Firstly, each field in the VertexShaderOutput needs to have a semantic. The semantic is the bit after ":" in the VertexShaderOutput. There are rules about what you can and can't call things, but you can just use TEXCOORD[X], where X is a number from 1 to 15. No two fields can have the same semantic, but you can call one TEXCOORD0 and the other TEXCOORD1, for instance.
Secondly, it seems that although the vertex shader returns its position, the pixelshader doesn't seem to be able to use it. Instead, just return two positions from the vertexshader, the second of which is labelled as a TEXCOORD. You can use that instead.
Step 6: Improve it.
The next version of Effect.fx:
float4x4 World;
float4x4 View;
float4x4 Projection;
float4 AmbientColor;
float4 LightDirection;
texture Texture;
sampler TextureSampler = sampler_state
{
        Texture = <Texture> ;
        };
        struct VertexShaderInput
        {
        float4 Position : POSITION0;
        float4 Normal : NORMAL;
        float4 Color :COLOR0;
        float2 TexCoord : TEXCOORD0;
        };
        struct VertexShaderOutput
        {
        float4 Position : POSITION0;
        float4 Normal : TEXCOORD2;
        float4 Color : COLOR0;
        float2 TextureCordinate : TEXCOORD0;
        float4 Pos2 : TEXCOORD1;
        };
        VertexShaderOutput VertexShaderFunction(VertexShaderInput input)
        {
        VertexShaderOutput output;
        float4 worldPosition = mul(input.Position, World);
        float4 viewPosition = mul(worldPosition, View);
        output.Position = mul(viewPosition, Projection);
        output.Color = input.Color;
        output.TextureCordinate = input.TexCoord;

        float4 n = input.Normal;
        n[3] = 0;                         // this prevents translation.
        output.Normal = = mul(n, World);  //not input.Normal, because that wouldn't be rotated.

        output.Pos2 = worldPosition;
        return output;
        }
        float4 PixelShaderFunction(VertexShaderOutput input) : COLOR0
        {
        float4 color = tex2D(TextureSampler, input.TextureCordinate);
        color = color * 1.0 + input.Color*0.7 - 0.6;
        float lighting = clamp(-dot(input.Normal, LightDirection), 0,1) * 0.7;
        float3 n = (float3)input.Normal;
        float3 l = (float3)LightDirection;
        float3 p = normalize((float3)input.Pos2);
        float3 a = n + l;
        float3 b = p + n;
        float delta = 0.5 / (1.0 + 3*length(b-a)) + 0.5 / (0.5 + 10*length(b-a));
        float c = clamp((delta-0.2)/(1.0-0.2),0,1) * 0.8;
        return float4(
        clamp(color[0] * (lighting + c*0.7 + AmbientColor[0]),0,1),
        clamp(color[1] * (lighting + c + AmbientColor[1]),0,1),
        clamp(color[2] * (lighting + c*1.5 + AmbientColor[2]),0,1),0
        );
        }
        technique Ambient
        {
        pass Pass1
        {
        VertexShader = compile vs_2_0 VertexShaderFunction();
        PixelShader = compile ps_2_0 PixelShaderFunction();
        }
        }
Since this has a few extra global variables, we should set them:
        ef.Parameters["World"].SetValue(basicEffect.World);
        ef.Parameters["View"].SetValue(basicEffect.View);
        ef.Parameters["Projection"].SetValue(basicEffect.Projection);
        ef.Parameters["Texture"].SetValue(basicEffect.Texture);
        ef.Parameters["LightDirection"].SetValue(basicEffect.DirectionalLight0.Direction);
        ef.Parameters["AmbientColor"].SetValue(basicEffect.AmbientLightColor);
It's worth pointing out that if you have a global variable in the effects file, but you don't use it, then the compiler will remove it from the
compiled effect. Then when you try to set it, you get a runtime error.
Step 7: Shader Model Version
The next thing that you'll run into is that the bit saying "compile ps_2_0" is instructing the compiler to use an old version of the shader model. The first limitation of that that I came across was that it restricts to 64 or 92 arithmetic instructions - which doesn't allow you to do that much beyond simple lighting things. You can probably, depending on your computer, change that to compile ps_3_0, though. I think that most people using your software will, nowadays, have a card that can use ps_3_0, but I don't know for certain. To change to ps_3_0, just change that line to "compile ps_3_0". Similarly for the vertex shader, you can go for "compile vs_3_0".Things that caught me out.
Now you can play around with it to heart's content. To summarise the things that caught me out:- Make sure you use an up-to-date version of monogame.
- Make sure that you have installed monogame from the monogamesetup.exe - I'm not sure that what nuget installs is enough to include 2MGFX.exe
- Make sure that the 2MGFX.exe that you're using is for the monogame version that you're using.
- I kept getting "invalid semantics" until I realised that everything that I'd added to the VertexShaderOutput structure could be labelled as "TEXCOORD[1-3]" (eg. TEXCOORD1)
- I had to switch to ps_3_0, rather than ps_2_0 when the shader got too complex.
- I ran into problems when I tried to use the input.Position field. That's a problem that is specific to input.Position. Just create another variable in the VertexShaderOutput with the same value and use that.
- You get runtime errors if you try to set global variables in the shader, if the shader doesn't use the global variables: It's not enough to just declare them.
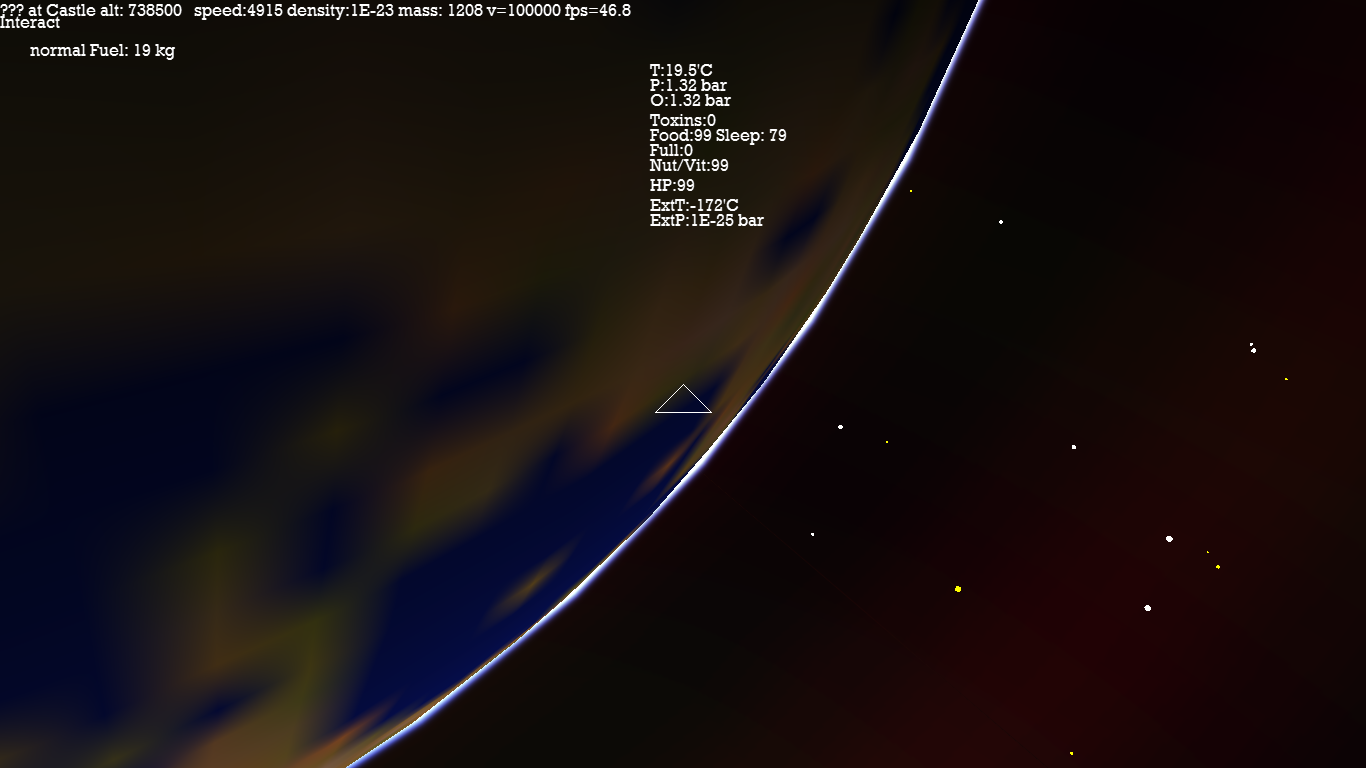
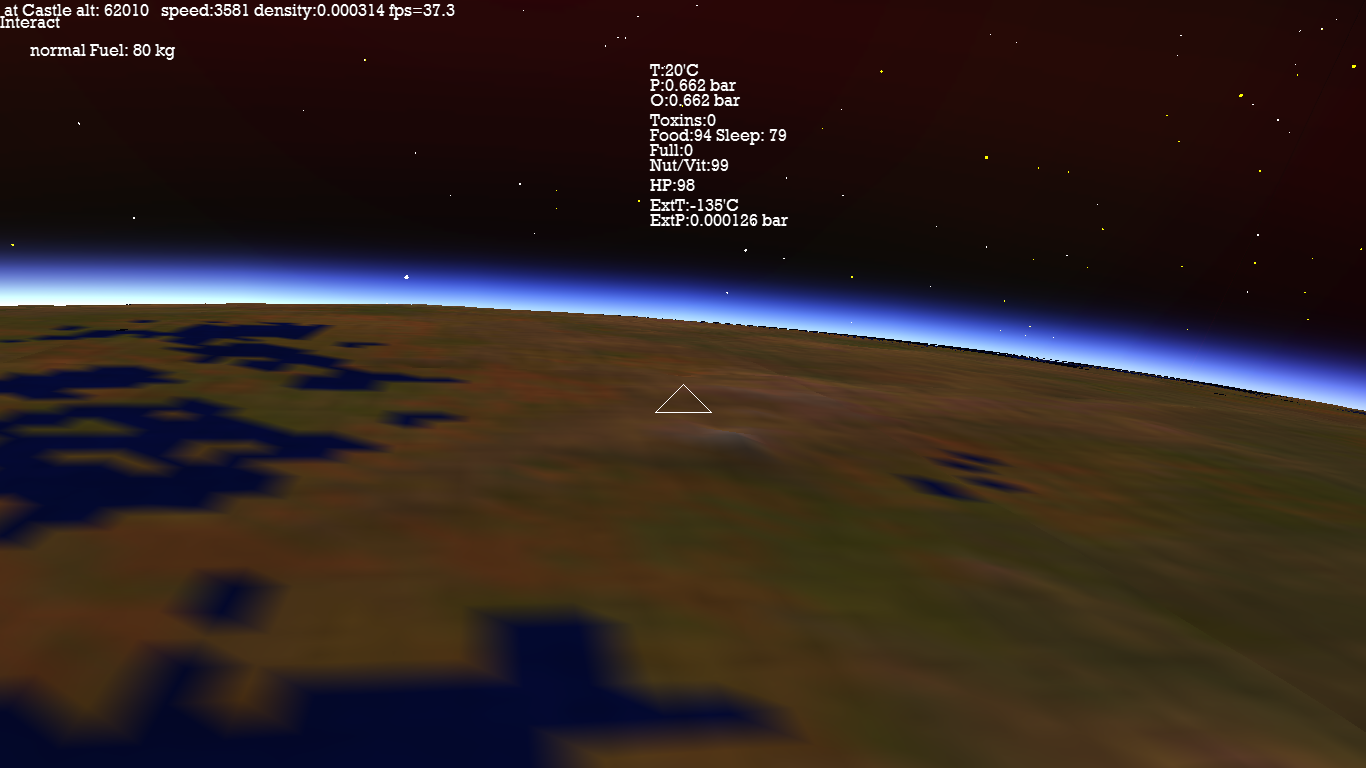
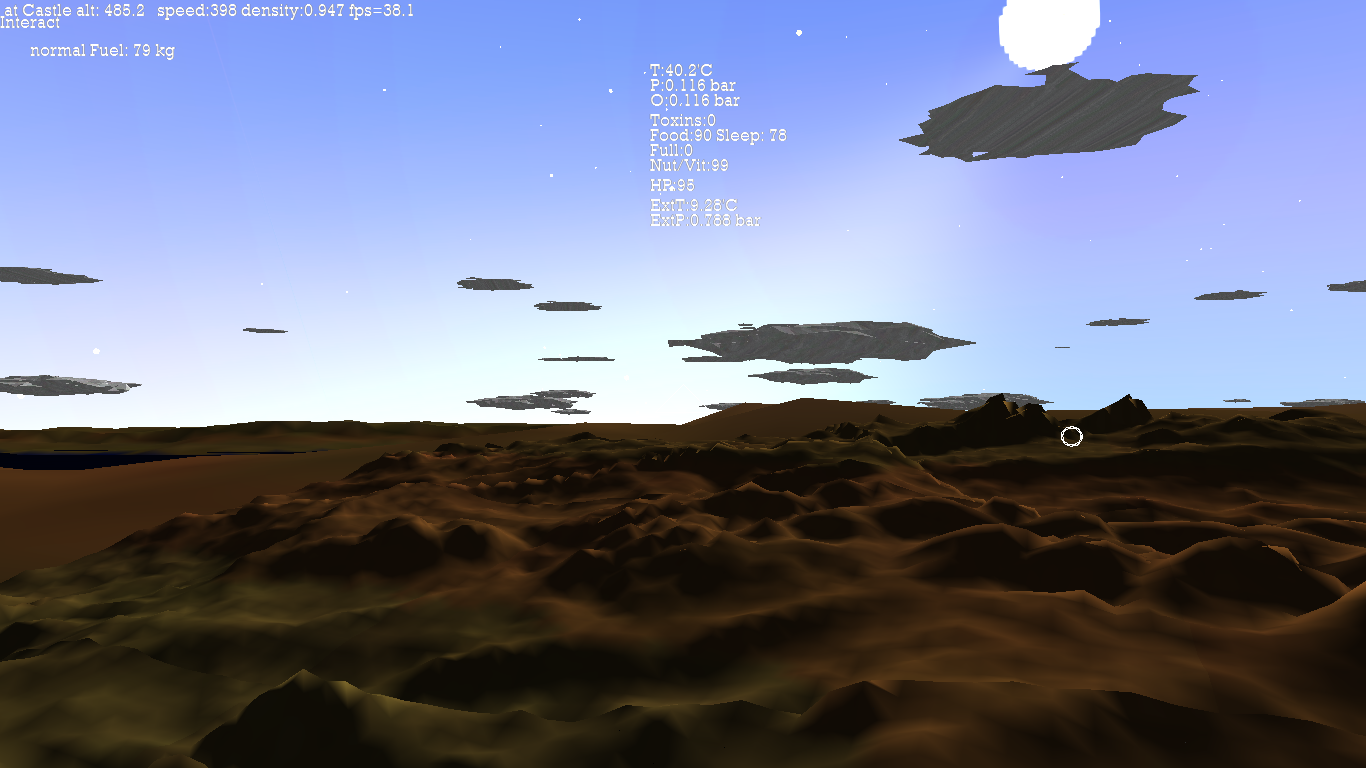
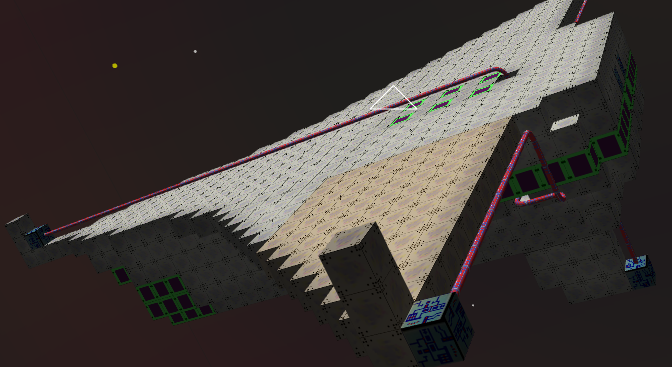
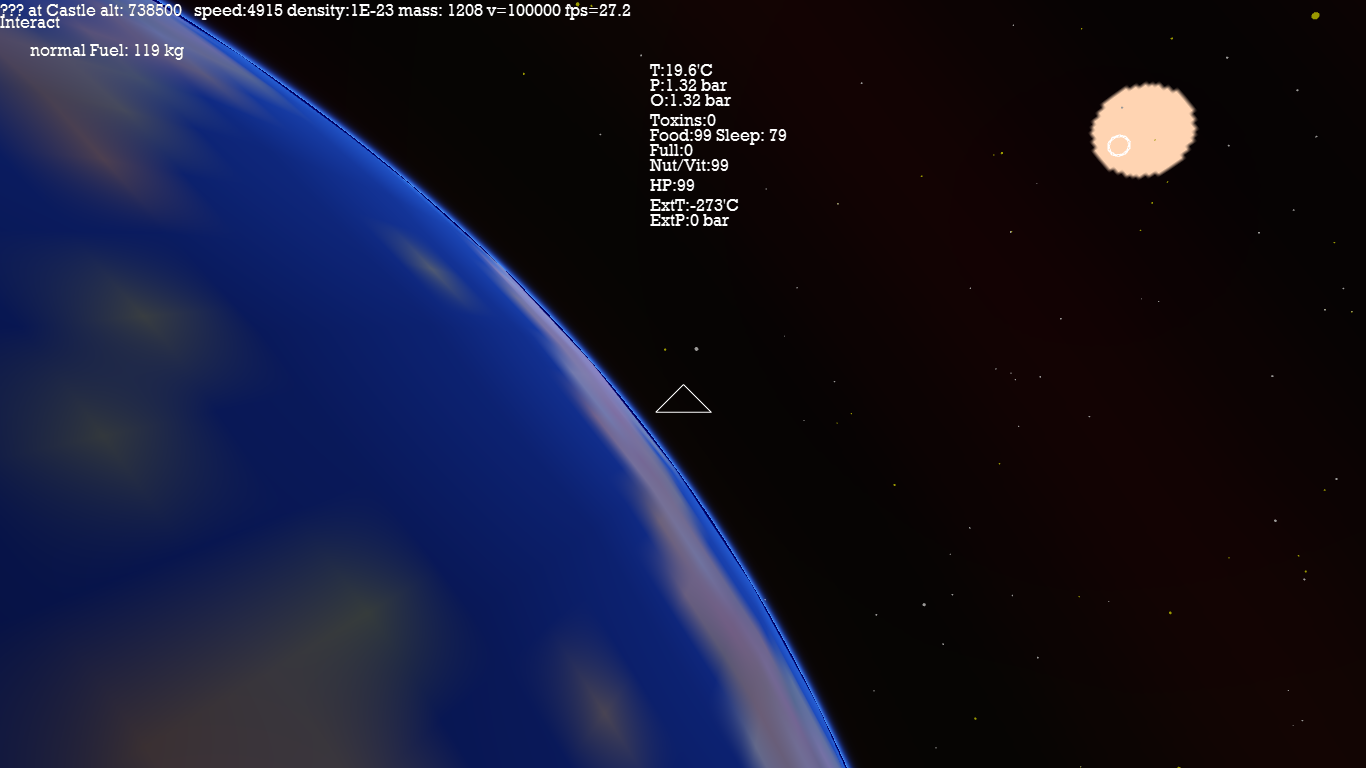
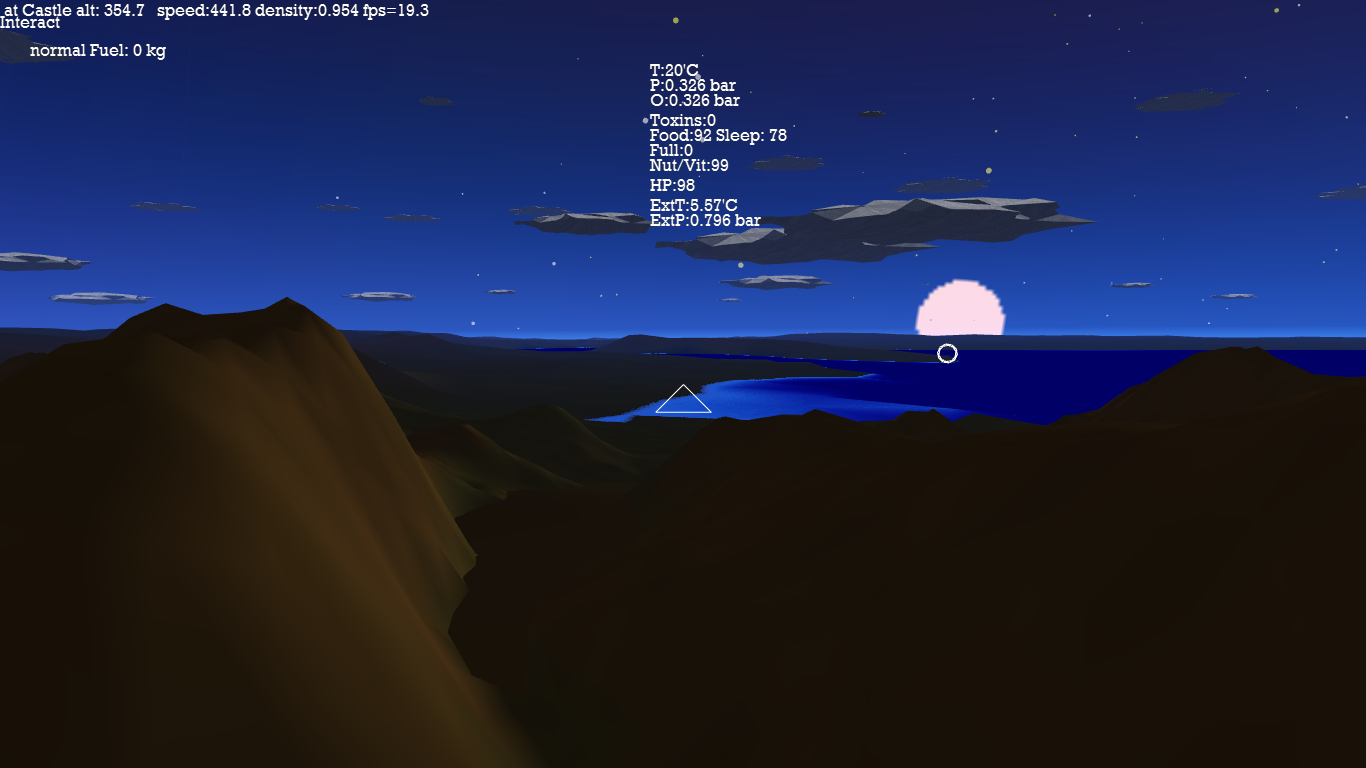
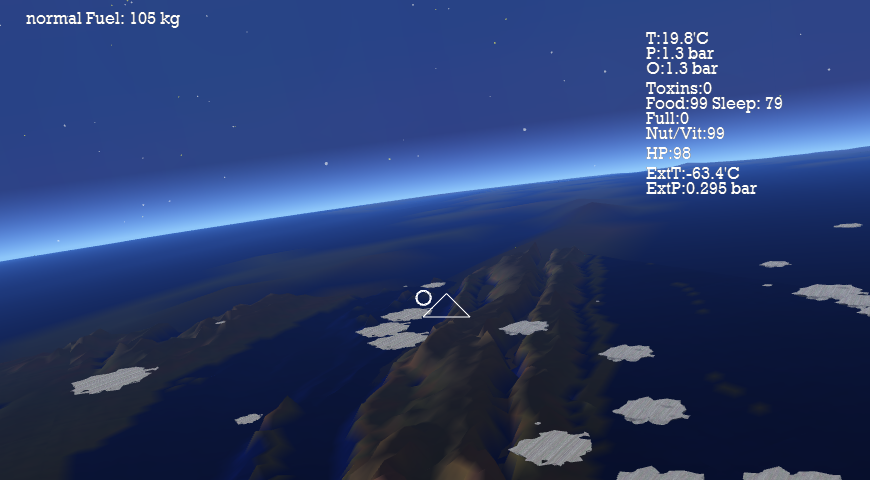
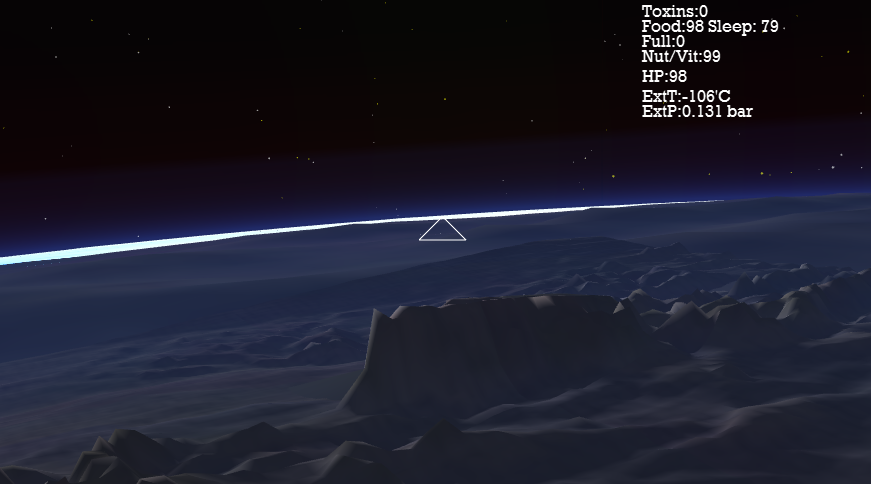
Planetary Atmospheres
This is a topic for a different article I think, but here are some screenshots.
|
|
|
|
Done. ---
Other Articles:

|
Atomistic Simulation of MetalsThis presents an interactive simulation of atoms making up a nanoscopic particle of metal. |
|
Quantum Mechanics for programmersA quick demo showing how to make simulations of simple quantum mechanics systems in javascript. |
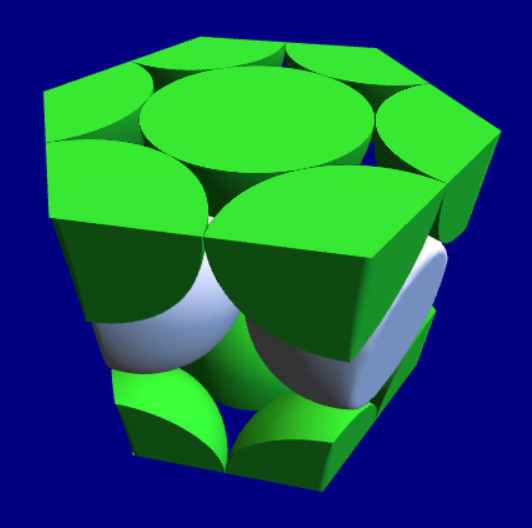
Three Crystal StructuresA ThreeJS model of three crystal structures |
|