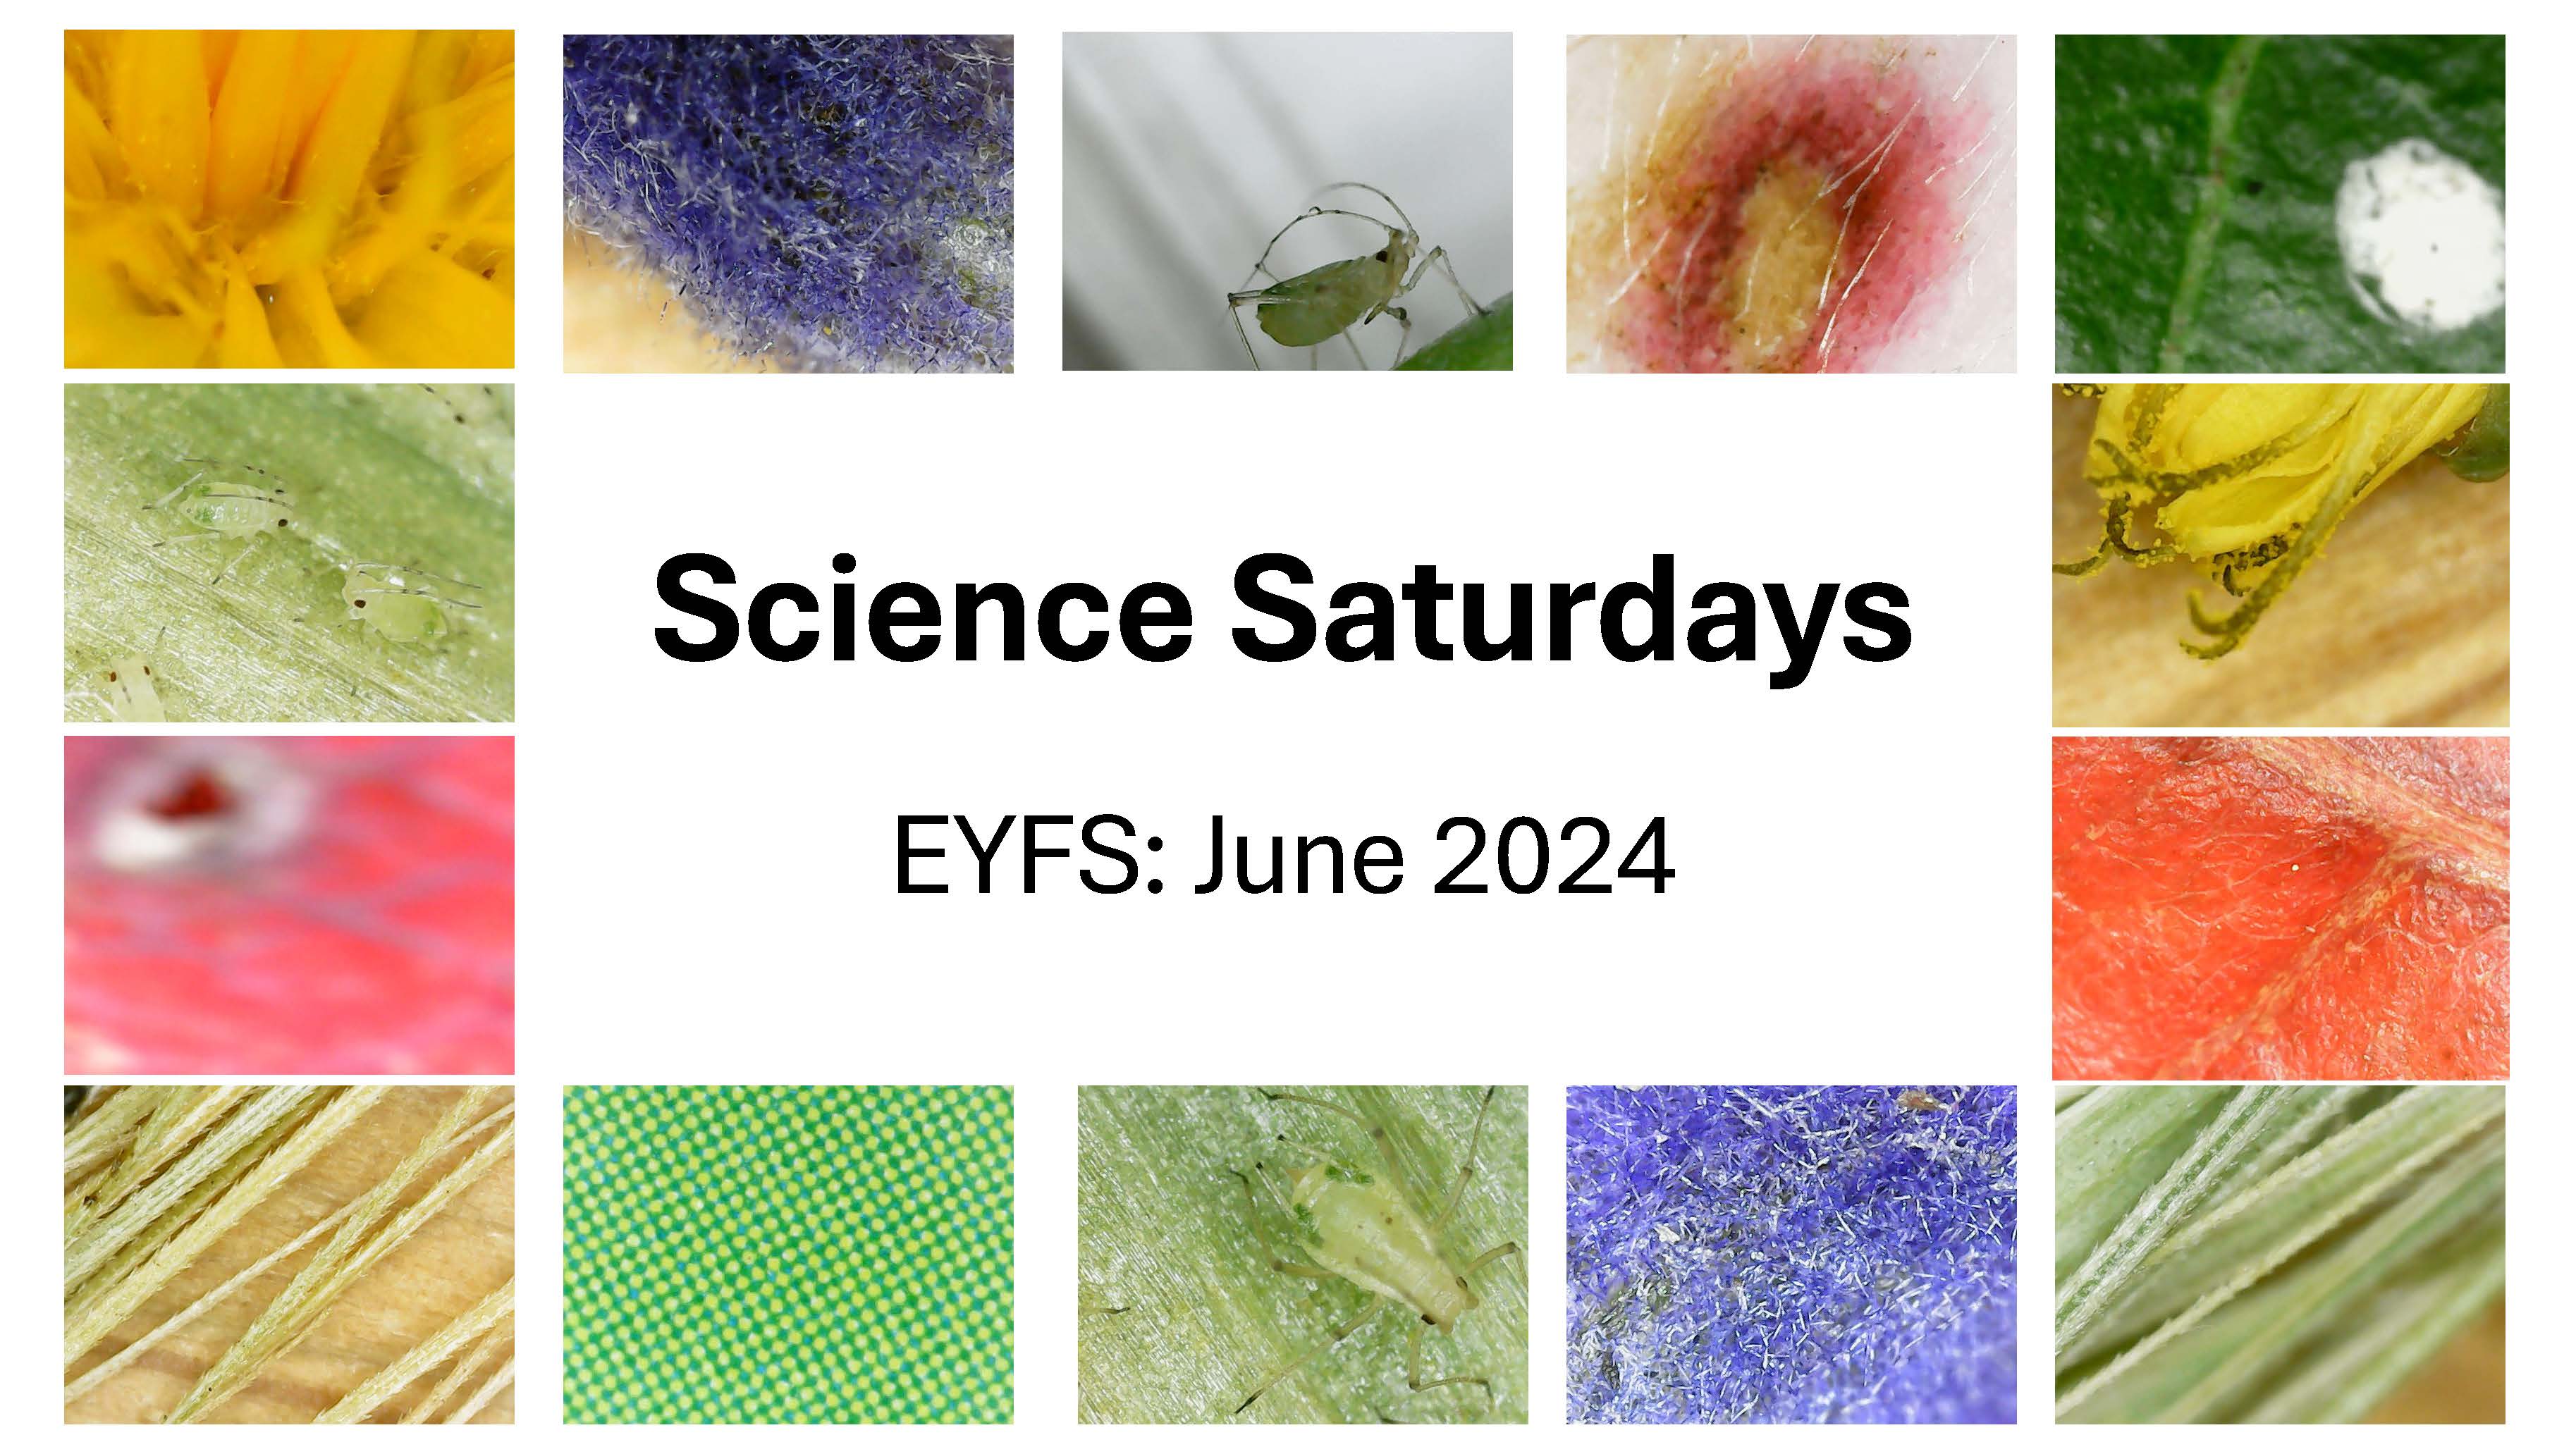
Science Saturdays, EYFS: Nature: Plants and Animals
Science Saturdays are sessions which teach parents/carers and children valuable STEM skills. Our goals are to increase parents' confidence in STEM skills and STEM
activities, while providing the children opportunities to play with STEM toys, such as magnifying glasses. Another goal is to increase the community
amongst the year-group families. These sessions are appropriate for schools to use in the classroom, families to do as extra learning outside school, and/or for
families who Home School / Home Educate.
This series of webpages is intended to help others set up their own Science Saturdays. We hope these webpages are helpful and help us grow our collective STEM skills
for the future!
Team:
Mridusmita Danciu: Medical Professional
Nicolae Danciu: Aircraft Engineer
Barbara Vohmann: Quantity Surveying and Construction Management Academic
Ephraim Zulu: Quantity Surveying Academic
Sarinova Simanjuntak: Mechanical Engineering Academic
Jennifer Martay: Biomedical Engineering Academic
We focused on "Nature: Plants and Animals" in our first Science Saturday. The reason we started with Nature was so that the children
could watch their plants grow over our 4 Science
Saturday sessions together. We used STEM Learning UK's "Science for Starters"
Natural World leaflet as a basis for the session.

Required Materials (for 10 Families)
- 10 STEM Learning leaflets on Natural World,
Cost = £0
- 1 backyard/garden/park with many types of flowers and minibeasts, Cost = £0
- Optional: Books about Plants and Animals borrowed from Local Library, Cost = £0
Celery Experiment
-
1 stick of celery with 6-10 ribs, Cost = £0.75
-
27 plastic coloured cups (or similar) [only really need 6-10 cups but this is a good set] , Cost = £9.99 or £0 if use ordinary cups
-
12 colours x 10 mL food colouring set, Cost = £5.29
Learning Parts of a Plant
- Plants (each family to bring one free plant from yard/garden/park/walk to session to discuss), Cost = £0
-10 Parts of a Plant worksheets, Cost = £0
-
Pens, crayons, highlighters, etc for drawing plants and animals, Cost = £11.50 for 187 piece art kit
Minibeast Hunt
- Animals (each family to bring one plastic/stuffed animal from home (NOT live!) to session to discuss), Cost = £0
-
4 magnifying glasses, Cost = £16.98 for set of 4
Nature Bookmark Activity
-
3 coloured sheets of paper, Cost = £6 for 100 sheets of 10 colours
-
2 USB microscopes, Cost = £18.99 each
-
Transparent tape and dispenser to hold/cut tape, Cost = £4.69
Planting Activity
-
10 small (10cm) flower pots, ideally with 10 name tags for pots and waterproof pen, Cost = £10.99 for 50 pots, 50 name tags, and 1 pen
-
10L of all purpose/potting compost, Cost = £7.50 for 50L of all-purpose compost (or £7.47 for 10L of potting compost)
-
2 ladels/scoops (or similar), Cost = £7.49 for pair or £0 if use ordinary spoons
-
1 watering can (or similar), Cost = £6.98 or £0 if use ordinary cup
One of the following to plant:
-
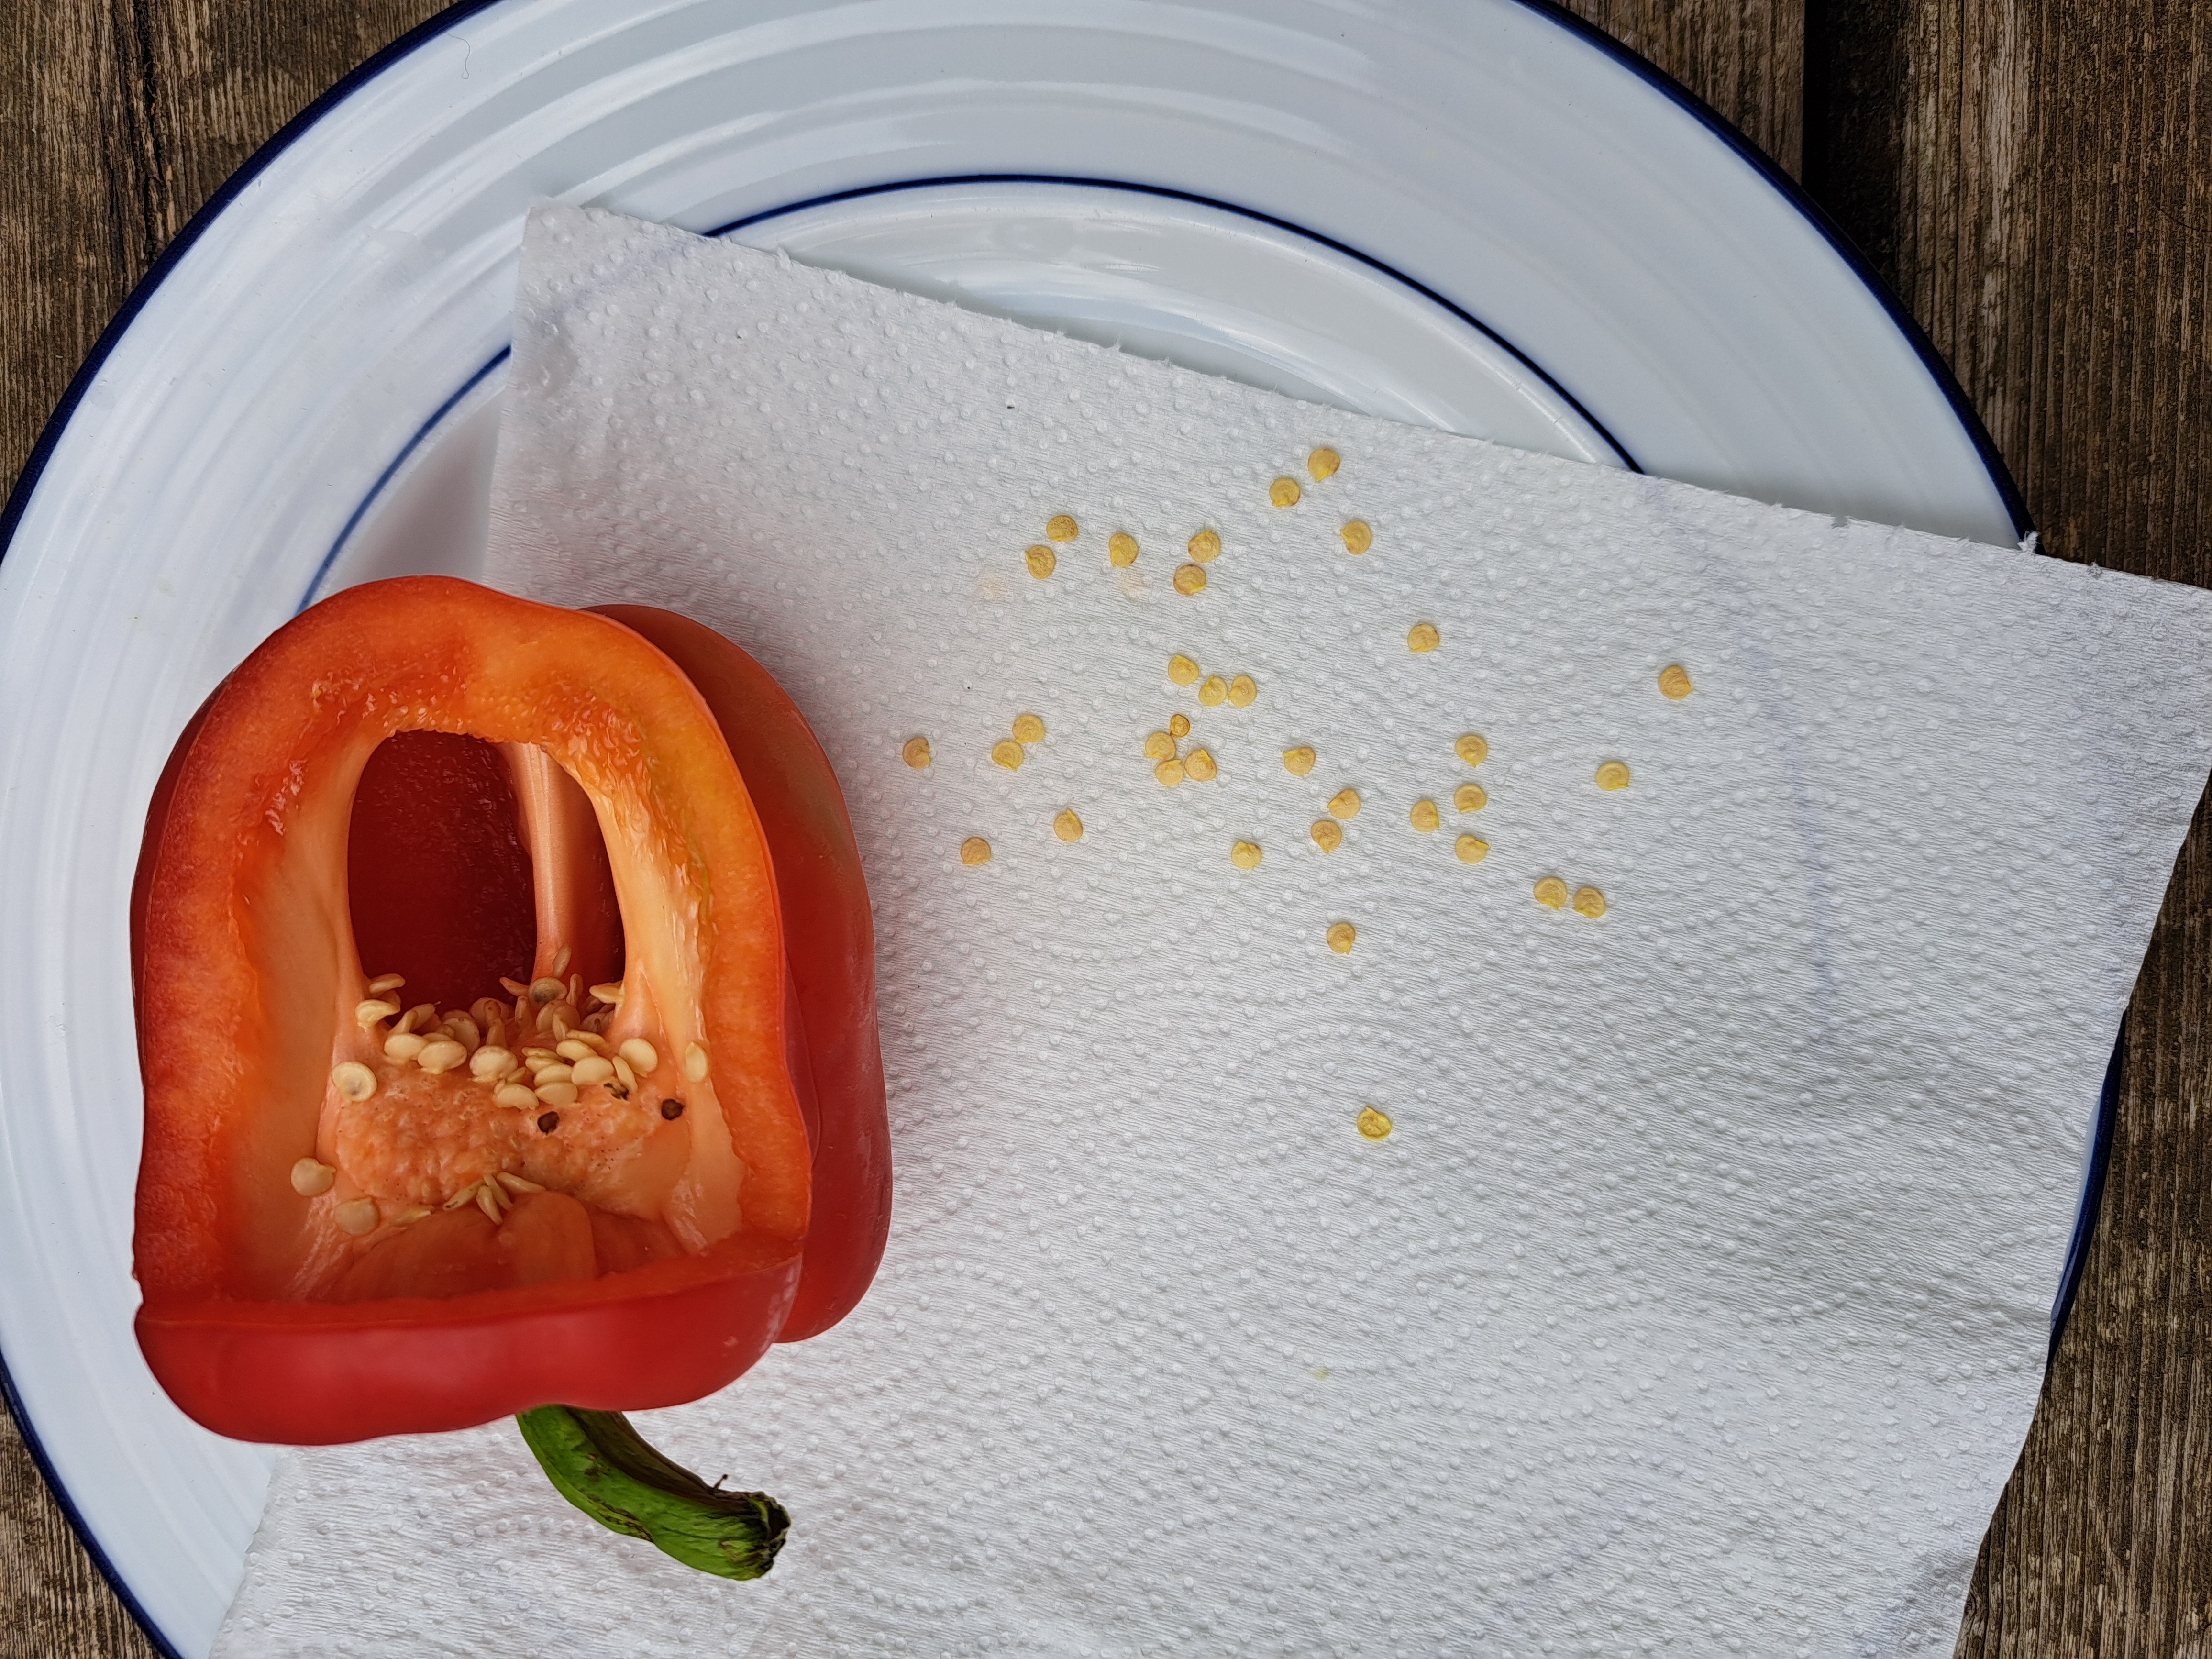
1 store-bought bell pepper (children can see where seeds come from, but perhaps these seeds are less likely to grow?), Cost = £0.59
-
1 package of sweet basil seeds (suggested due to being fast growing), Cost = £2.95
-
1 package of radish seeds (suggested due to being fast growing), Cost = £2.39
Total Cost = £126.73 if buy all supplies plus pepper
Total Cost per Child = £12.67
Total Cost = £97.58 if buy supplies above (but use own watering can, cups, tape, and ladels) plus pepper
Total Cost per Child = £9.76
Note: Will have many leftover pots, paper, compost, seeds, cups - and art supplies, magnifying glasses, microscopes, etc which
can be used in other activities or with different age groups
Plan for Day
0. Prep work to do before session!
A. Cut 3 coloured sheets of paper into at least 10 strips to make 10 nature bookmarks.
B. Ask if anyone has a celery allergy (see "Plan for Day" #2 and #11)!
C. Cut section out of pepper and remove most of the seeds. Place seeds on a towel and leave the seeds out to dry for at least 2 days before
the session. Keep the cut-open pepper in the refrigerator to show at the session.
1. Welcome families: Have books available for kids to read when they arrive. Ask parents to put on name tags so people can learn names. Ask if families
are ok with pictures being taken/shared. Explain plan of day/sessions to parents. Ask parents to complete pre-sessions survey.
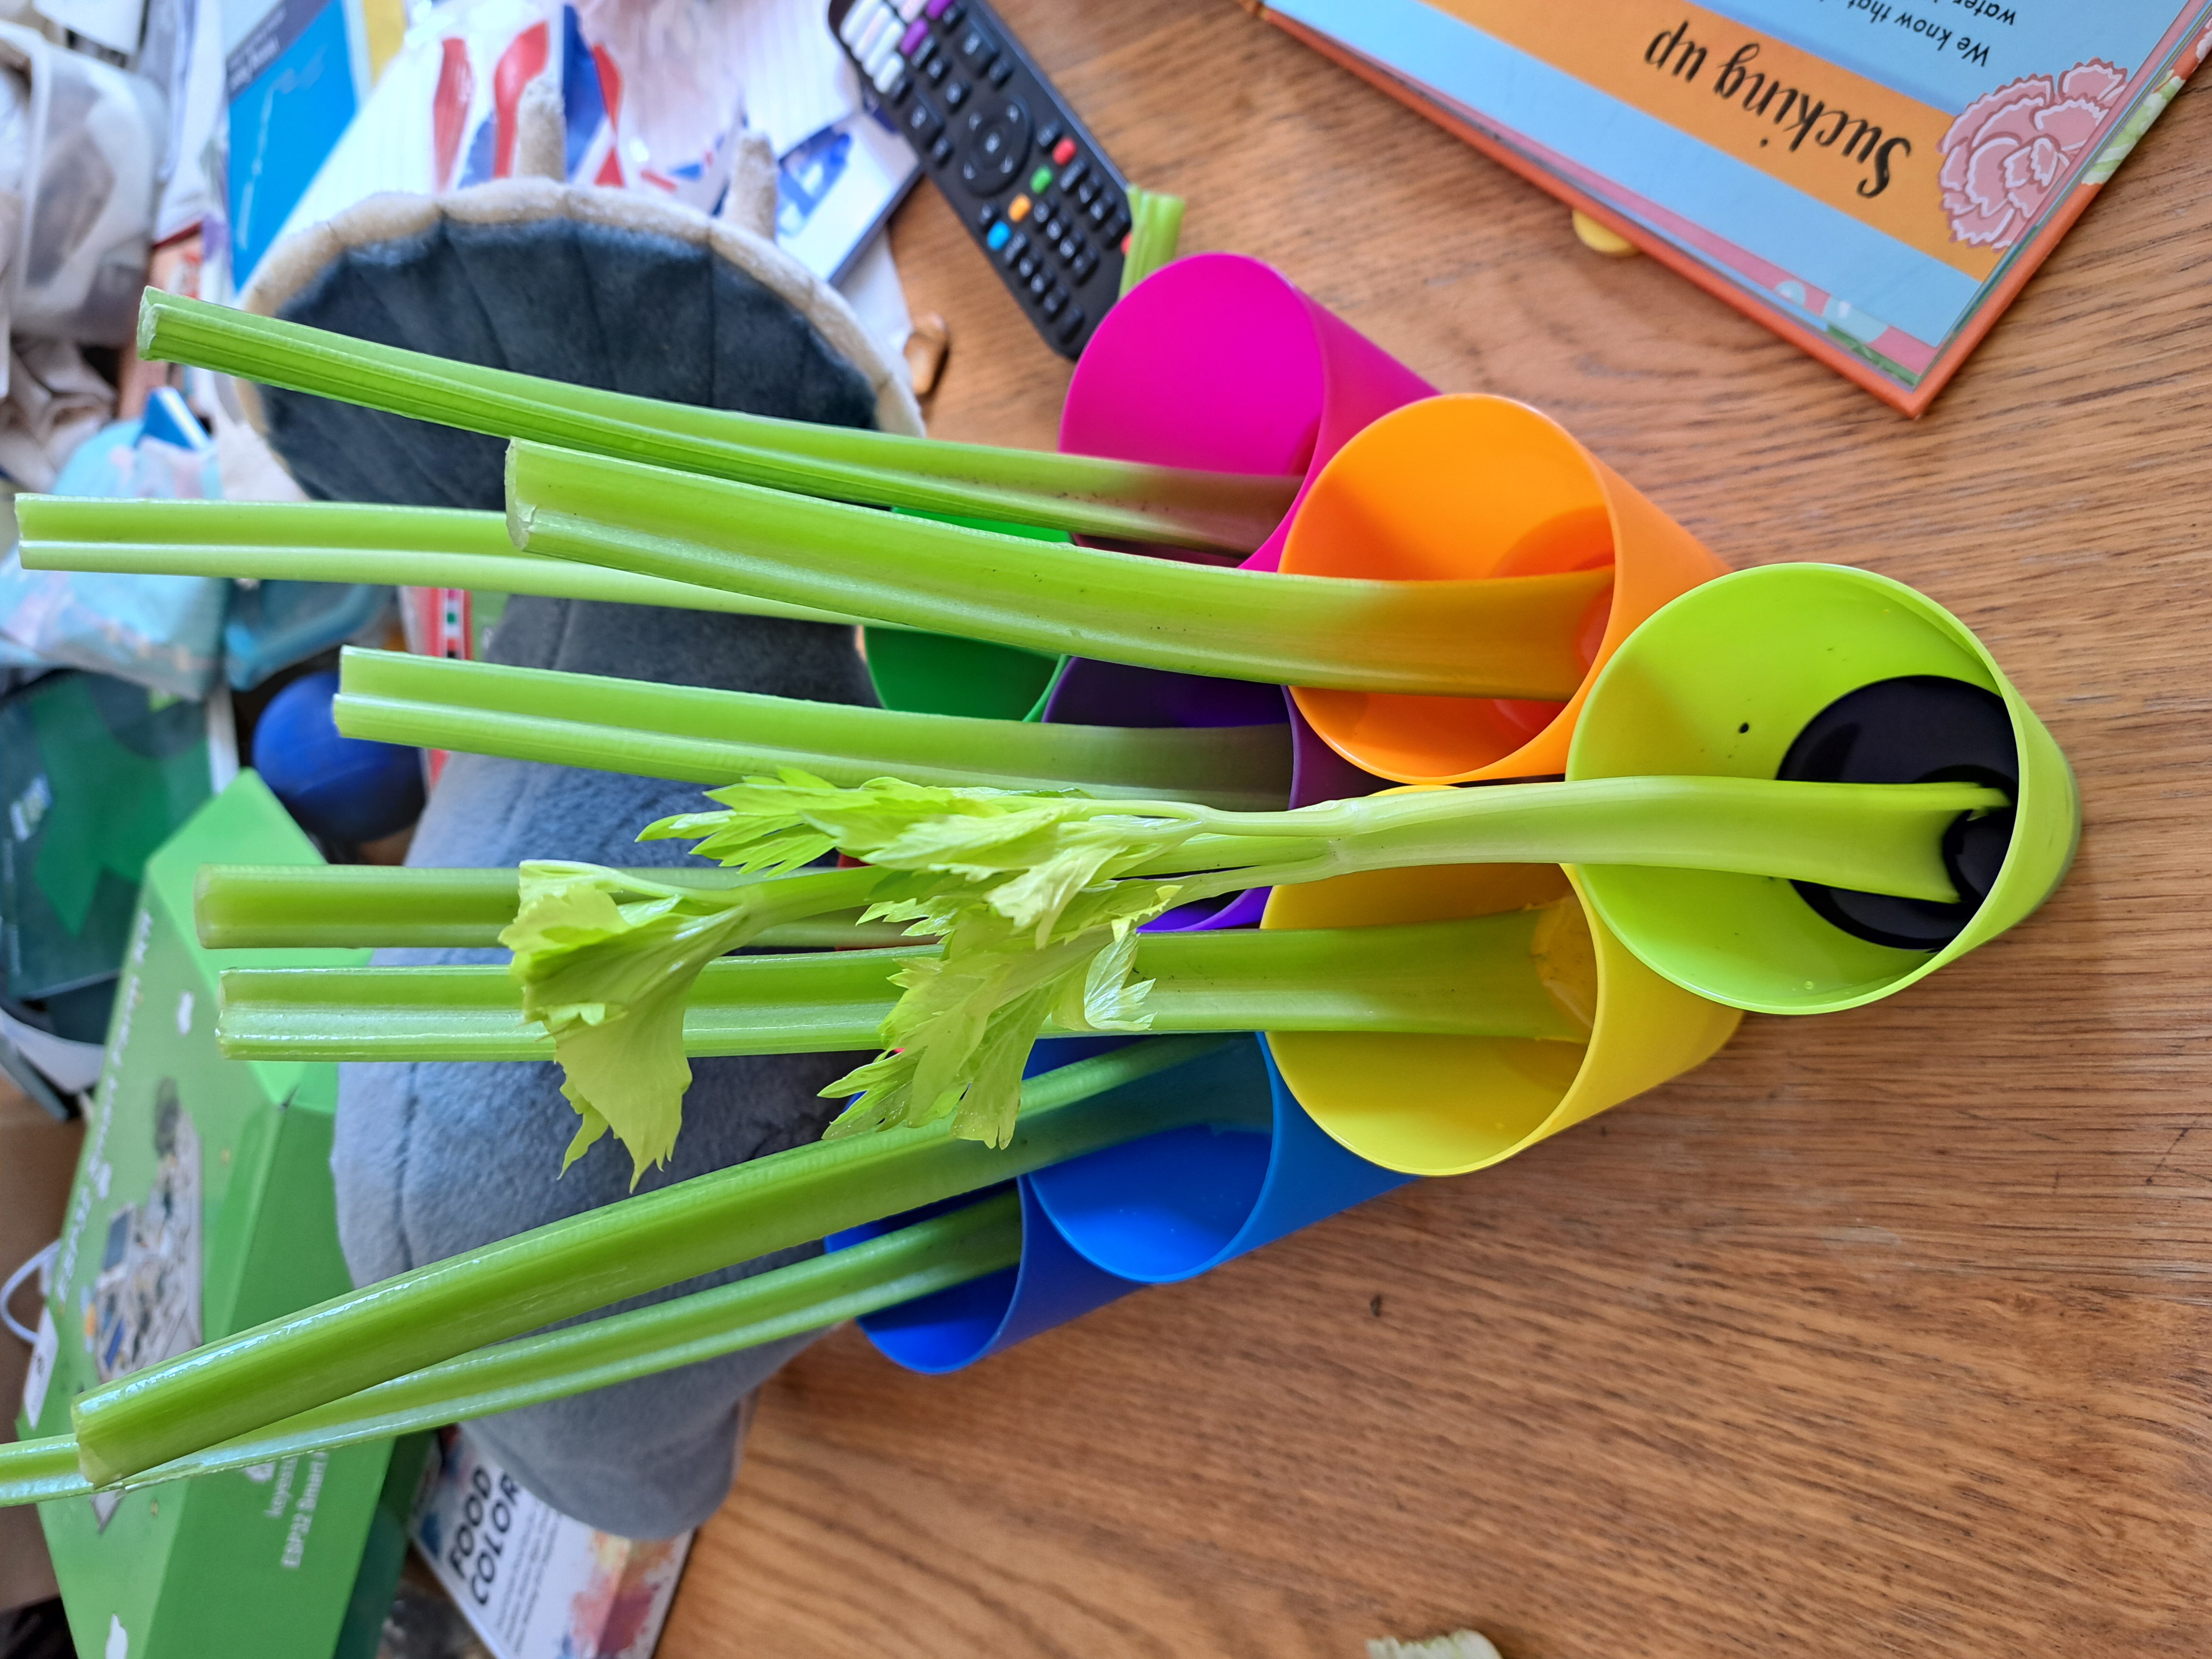
2. Prepare the celery experiment: This experiment needs at least 1 hour to work so I suggest doing this preparation at the beginning of the session and then
letting it run during the other activities. Separate celery stick into separate ribs. Cut bottom 2cm off each rib. Set out the 6-10 plastic cups. Let children take turns
chosing which cup and food colouring colour to use next. Let children squirt ~1mL of food colouring into each cup. Add ~3mL water to each cup. Put 1 celery
rib into each cup. Move cups somewhere safe (ie, where the cups won't be knocked over!) to stay for the next hour.
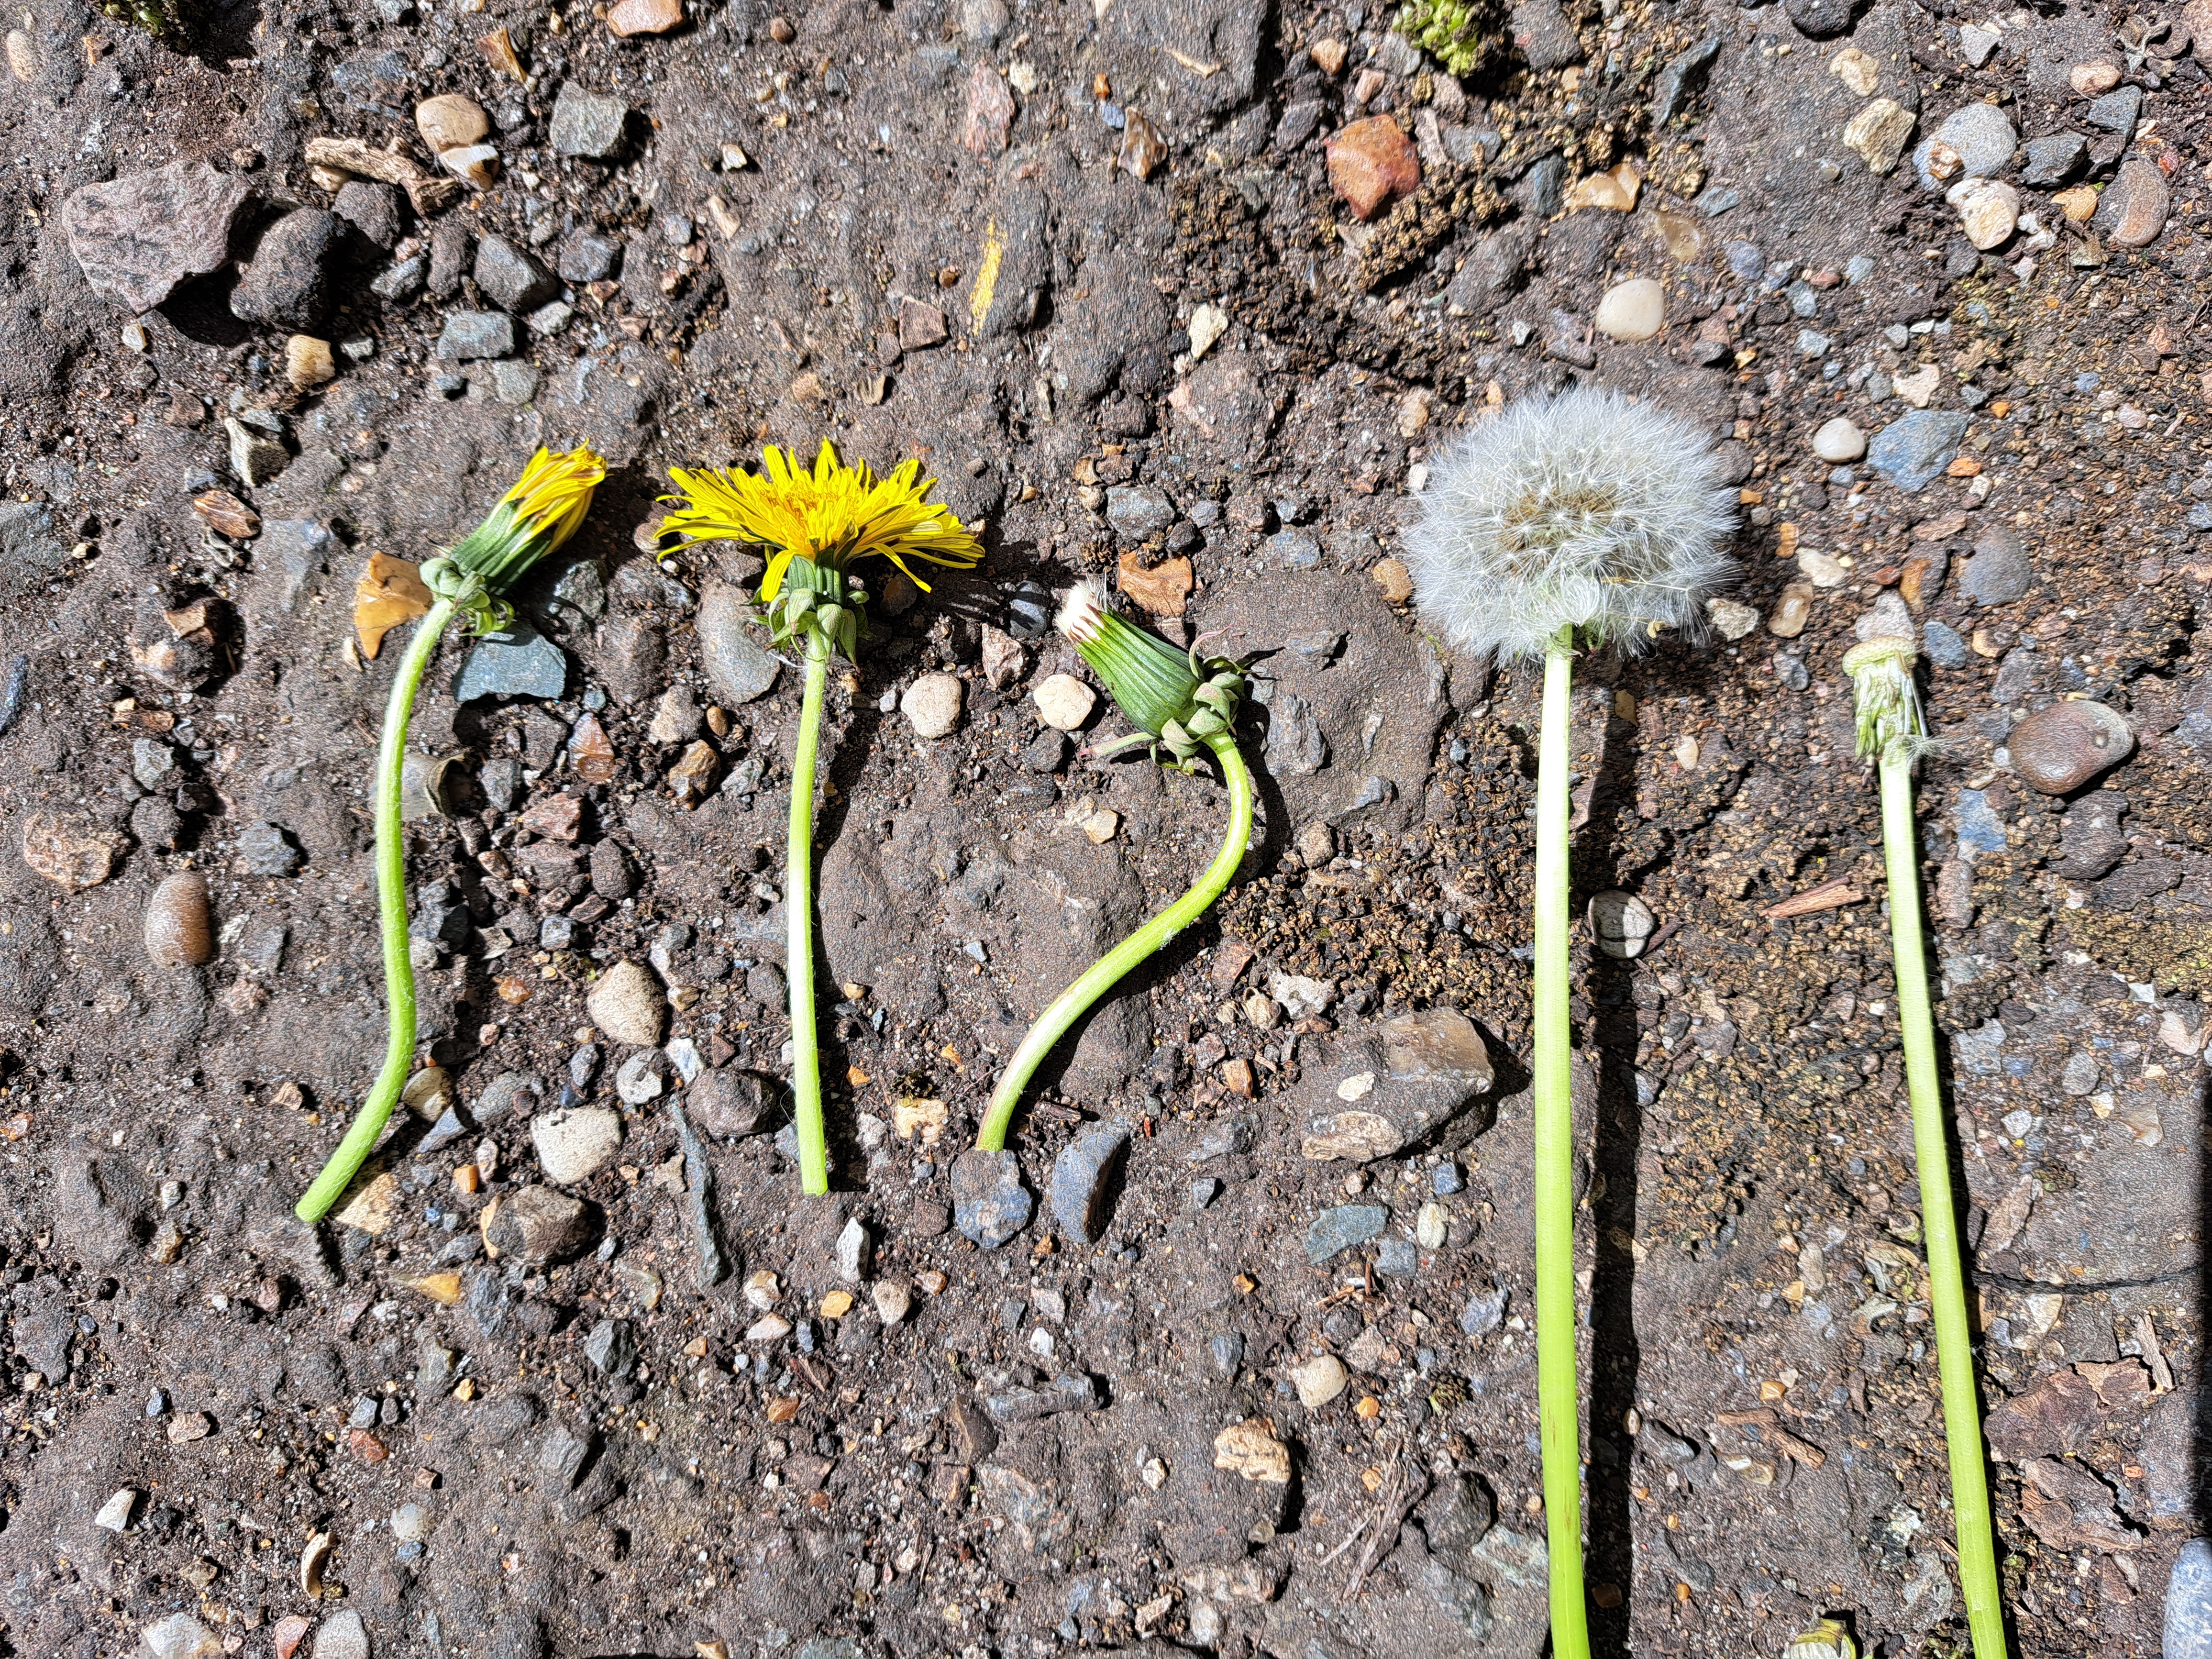
3. Ask each family to introduce the plant they brought: What is plant called, where they found it, why they chose it, etc. If multiple families bring the same
kind of plant (often happens with dandelions), have kids count plants, talk about relative sizes and different parts of plant life cycle (unopened dandelion,
yellow petals, white seeds).
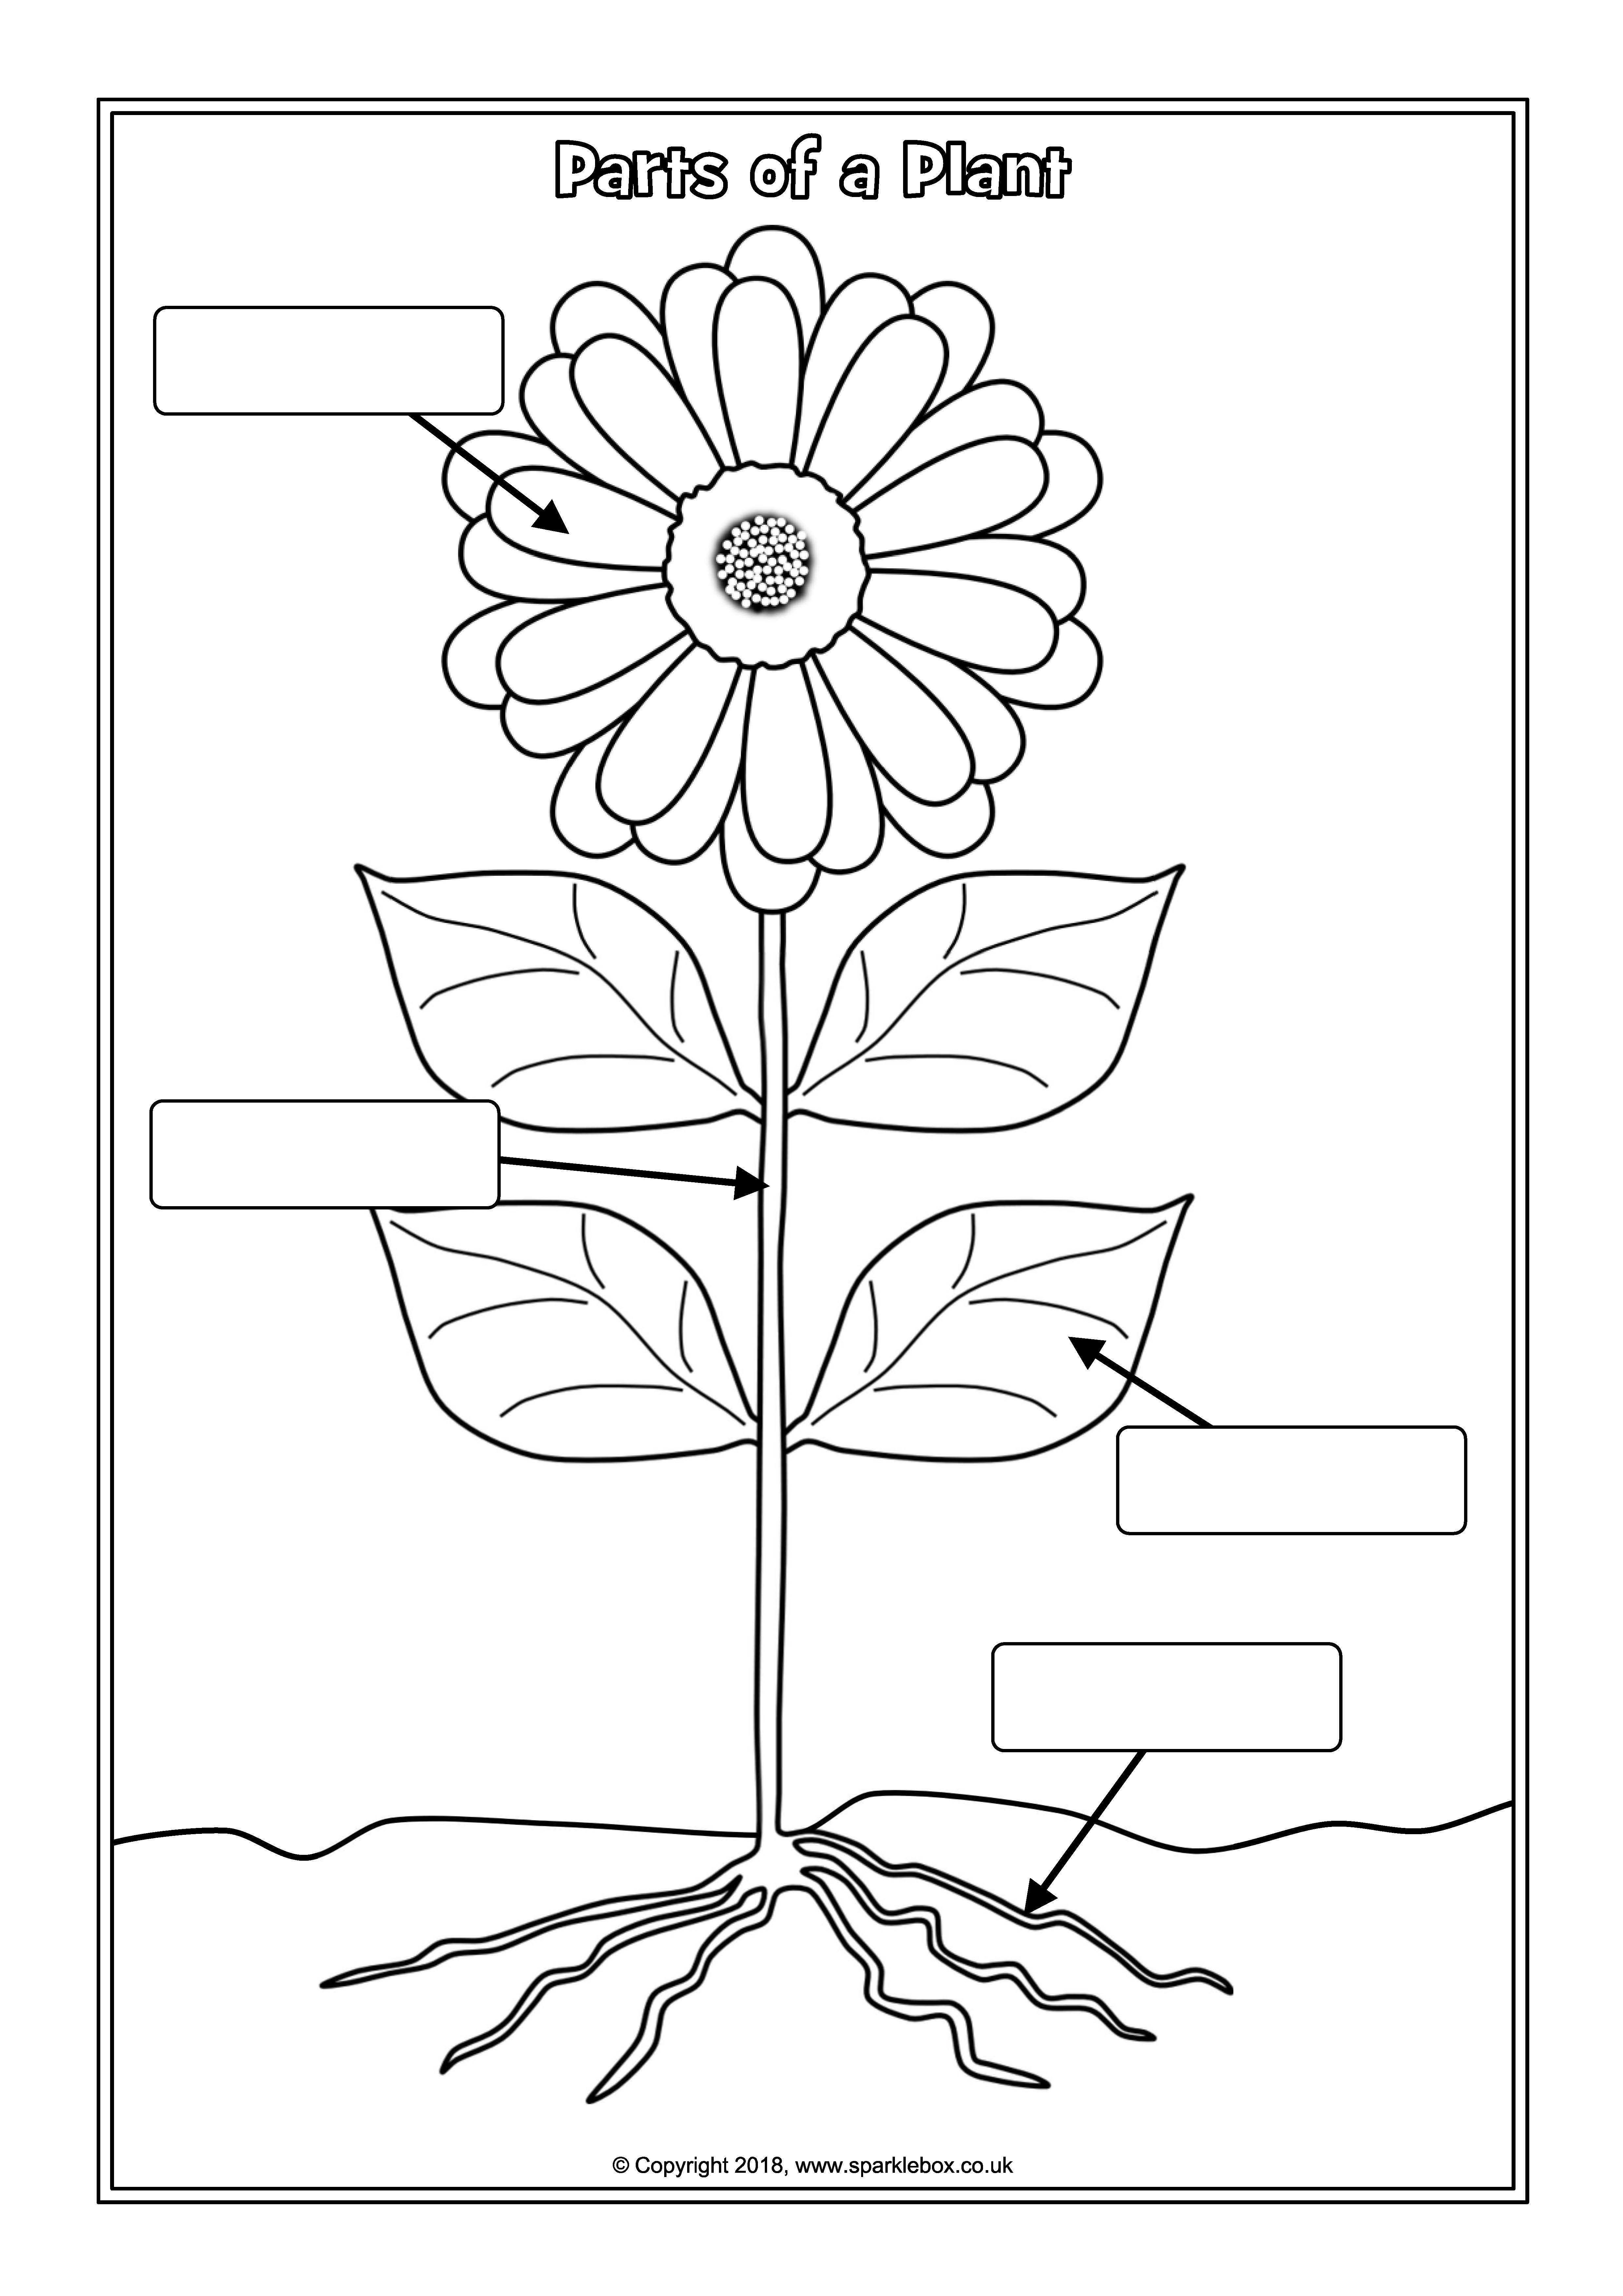
4. Introduce common vocabulary associated with plants (root, stem, petal, leaf, flower, seed). I showed a labelled picture of a plant from a Library book. Point
out each vocabulary word in the picture, sound out the word (phonics), and then talk about where each part is in a plant. Ask the children to point out where
the various parts of a plant are in the plant they brought to the session.
5. Have the children label a picture of a plant. In our session, I asked the children to draw their own plant on the coloured paper and label the parts. This
was too difficult a task for EYFS/Reception students' drawing ability. Instead, I suggest printing copies of
this plant worksheet, and then helping the
children fill in the blanks and colour the plant.
6. Explain that Nature involves both plants and animals. Segway to the next section by asking each family to introduce the animal they brought: what is the animal
called, where does the animal typically live, what does the animal typically eat, etc.
7. Introduce different categories of animals: pets, animals typically found at a zoo, animals typically found at a farm, and finally minibeasts. For each category,
have children volunteer types of animals within the categories. Ask children to classify the animals they have brought to the session into the correct categories.
The next activity is a minibeast hunt so make sure to explain many examples of these: ants, bees, beetles, slugs, snails, spiders, woodlice, etc. I used a book
borrowed from the Library to show examples of any unfamiliar minibeasts to the children. I had also planned to read more about each minibeast but we did not have
time!
8. I suggest doing the Minibeast Hunt (8A) and Plant Hunt (8B) at the same time. (The children will find interesting minibeasts and plants interchangably anyway!)
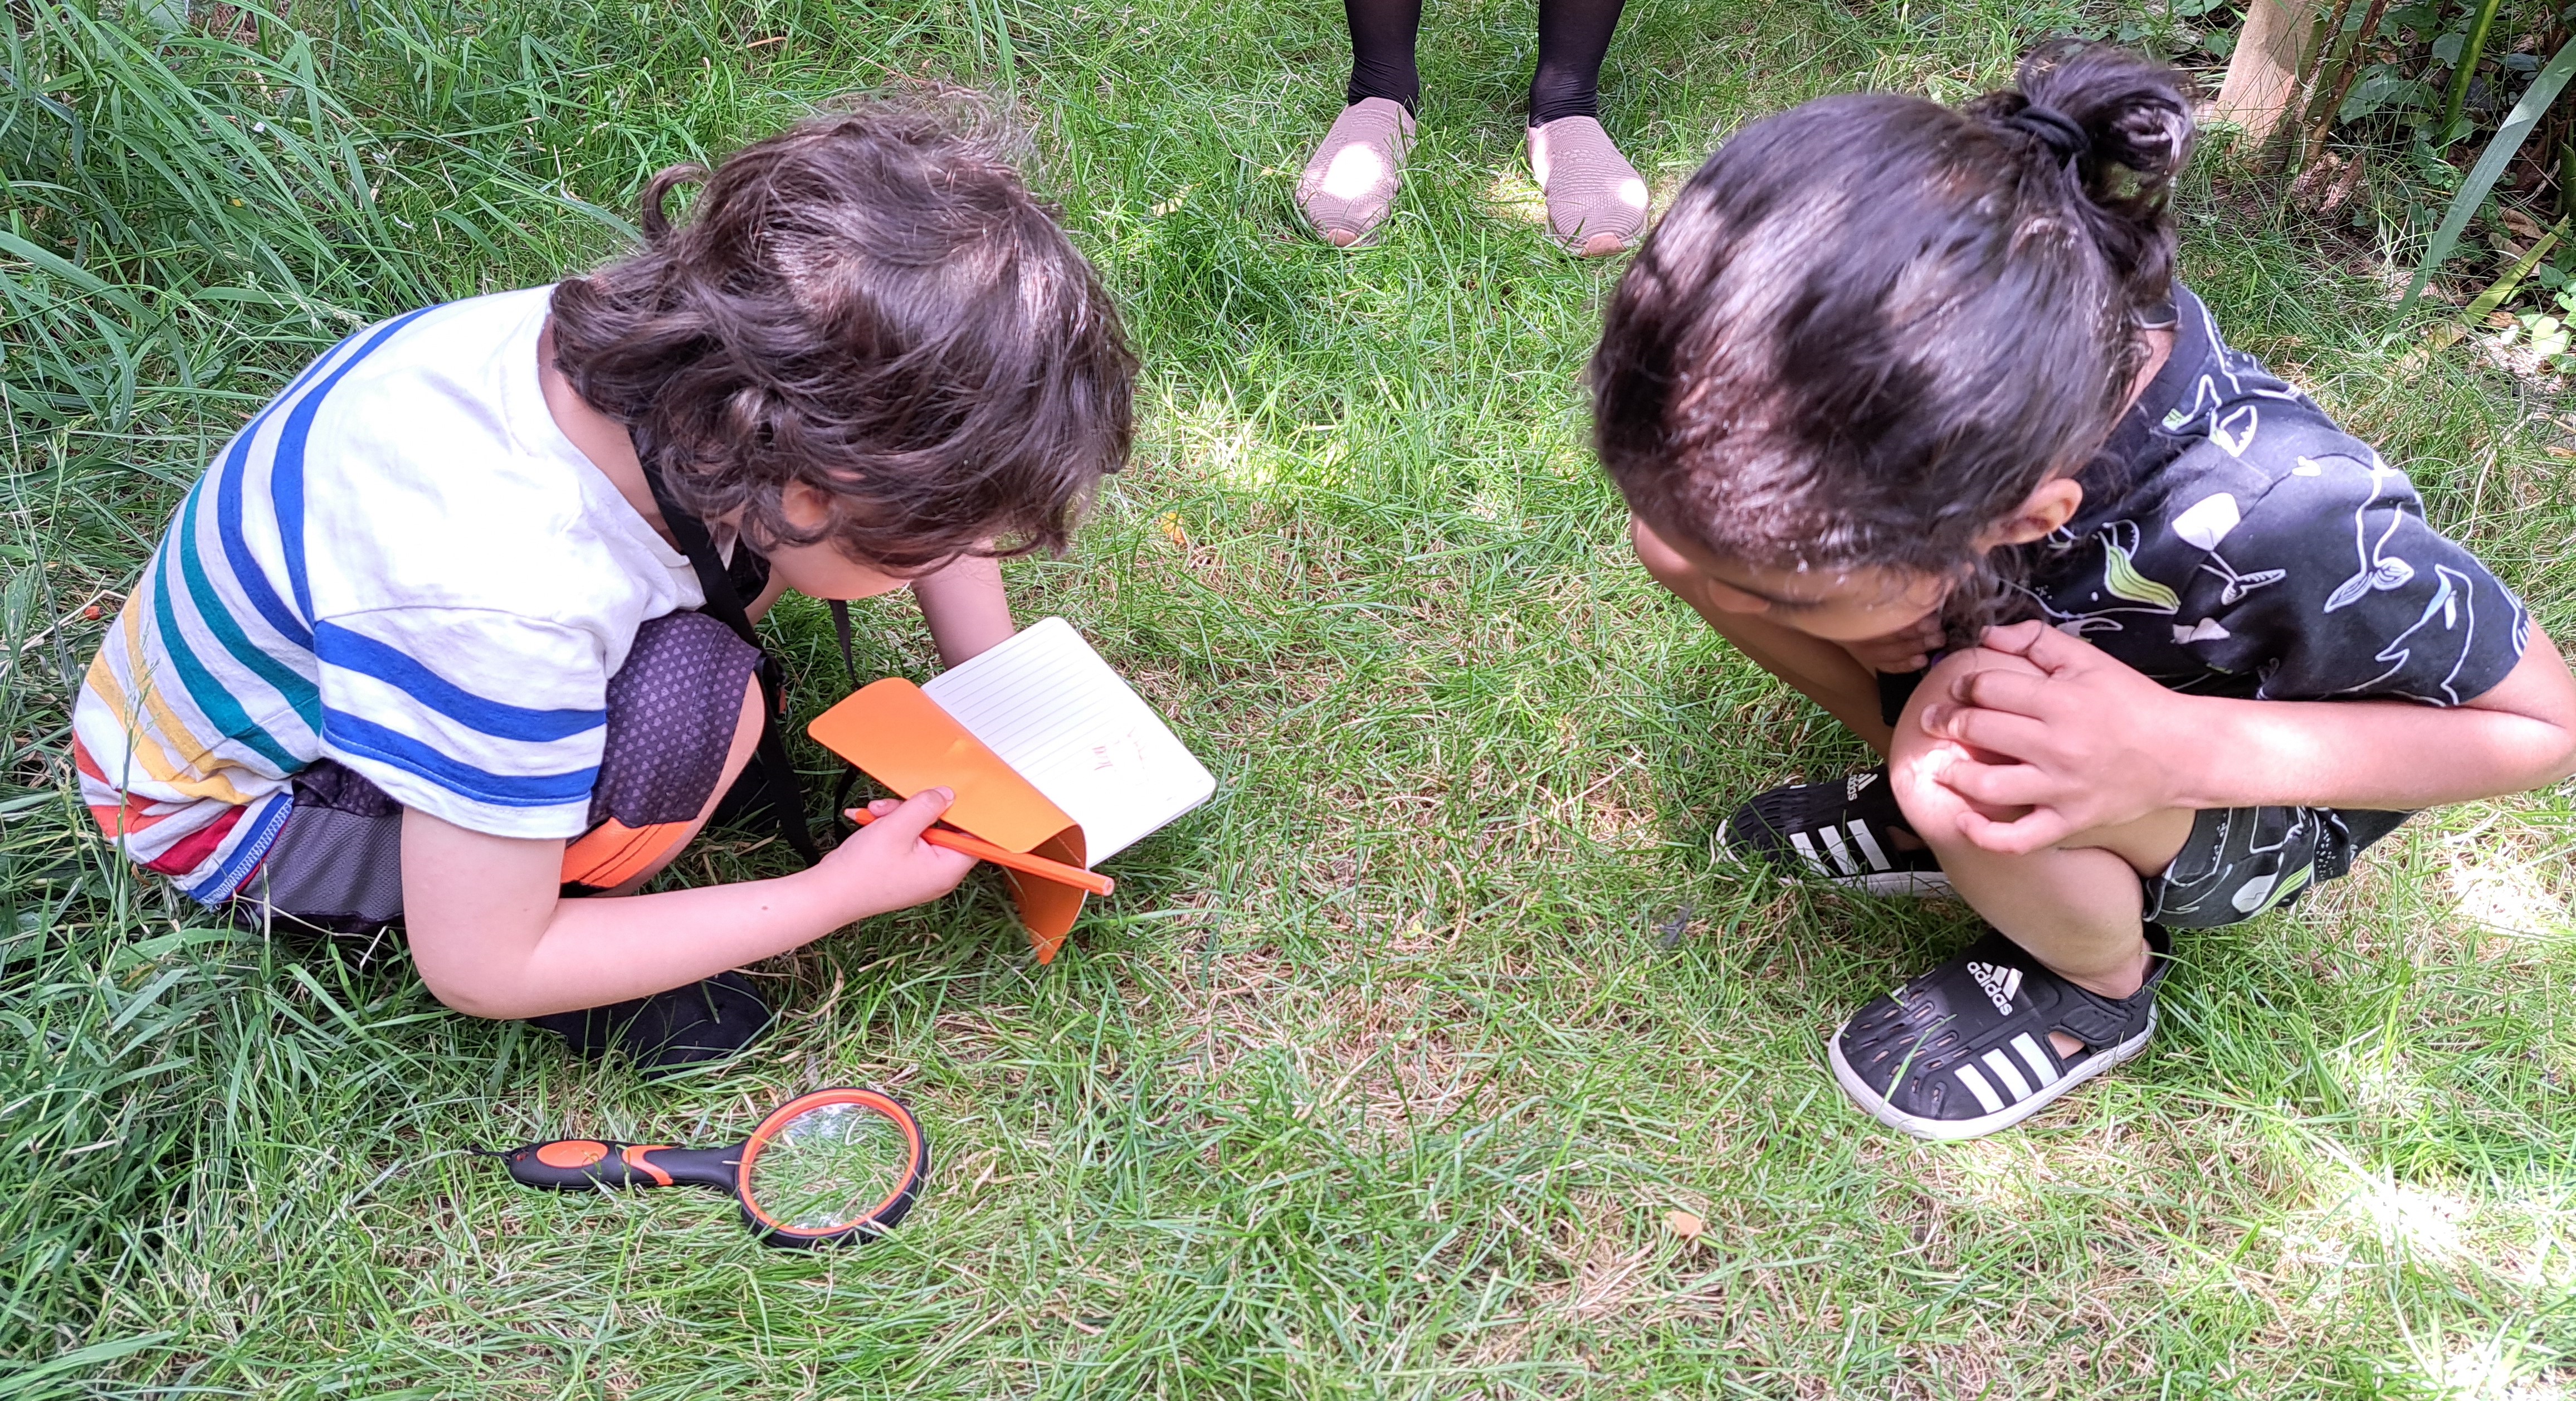
Before beginning the hunts, show the children how to use the magnifying glasses and then hand these out to the families. Also, hand out the nature bookmarks,
tape, coloured sheets of paper, and pens/pencils.
8A. Minibeast hunt: Let the families walk around the backyard/garden/park looking for minibeasts. You may need to suggest likely places to find minibeasts at first.
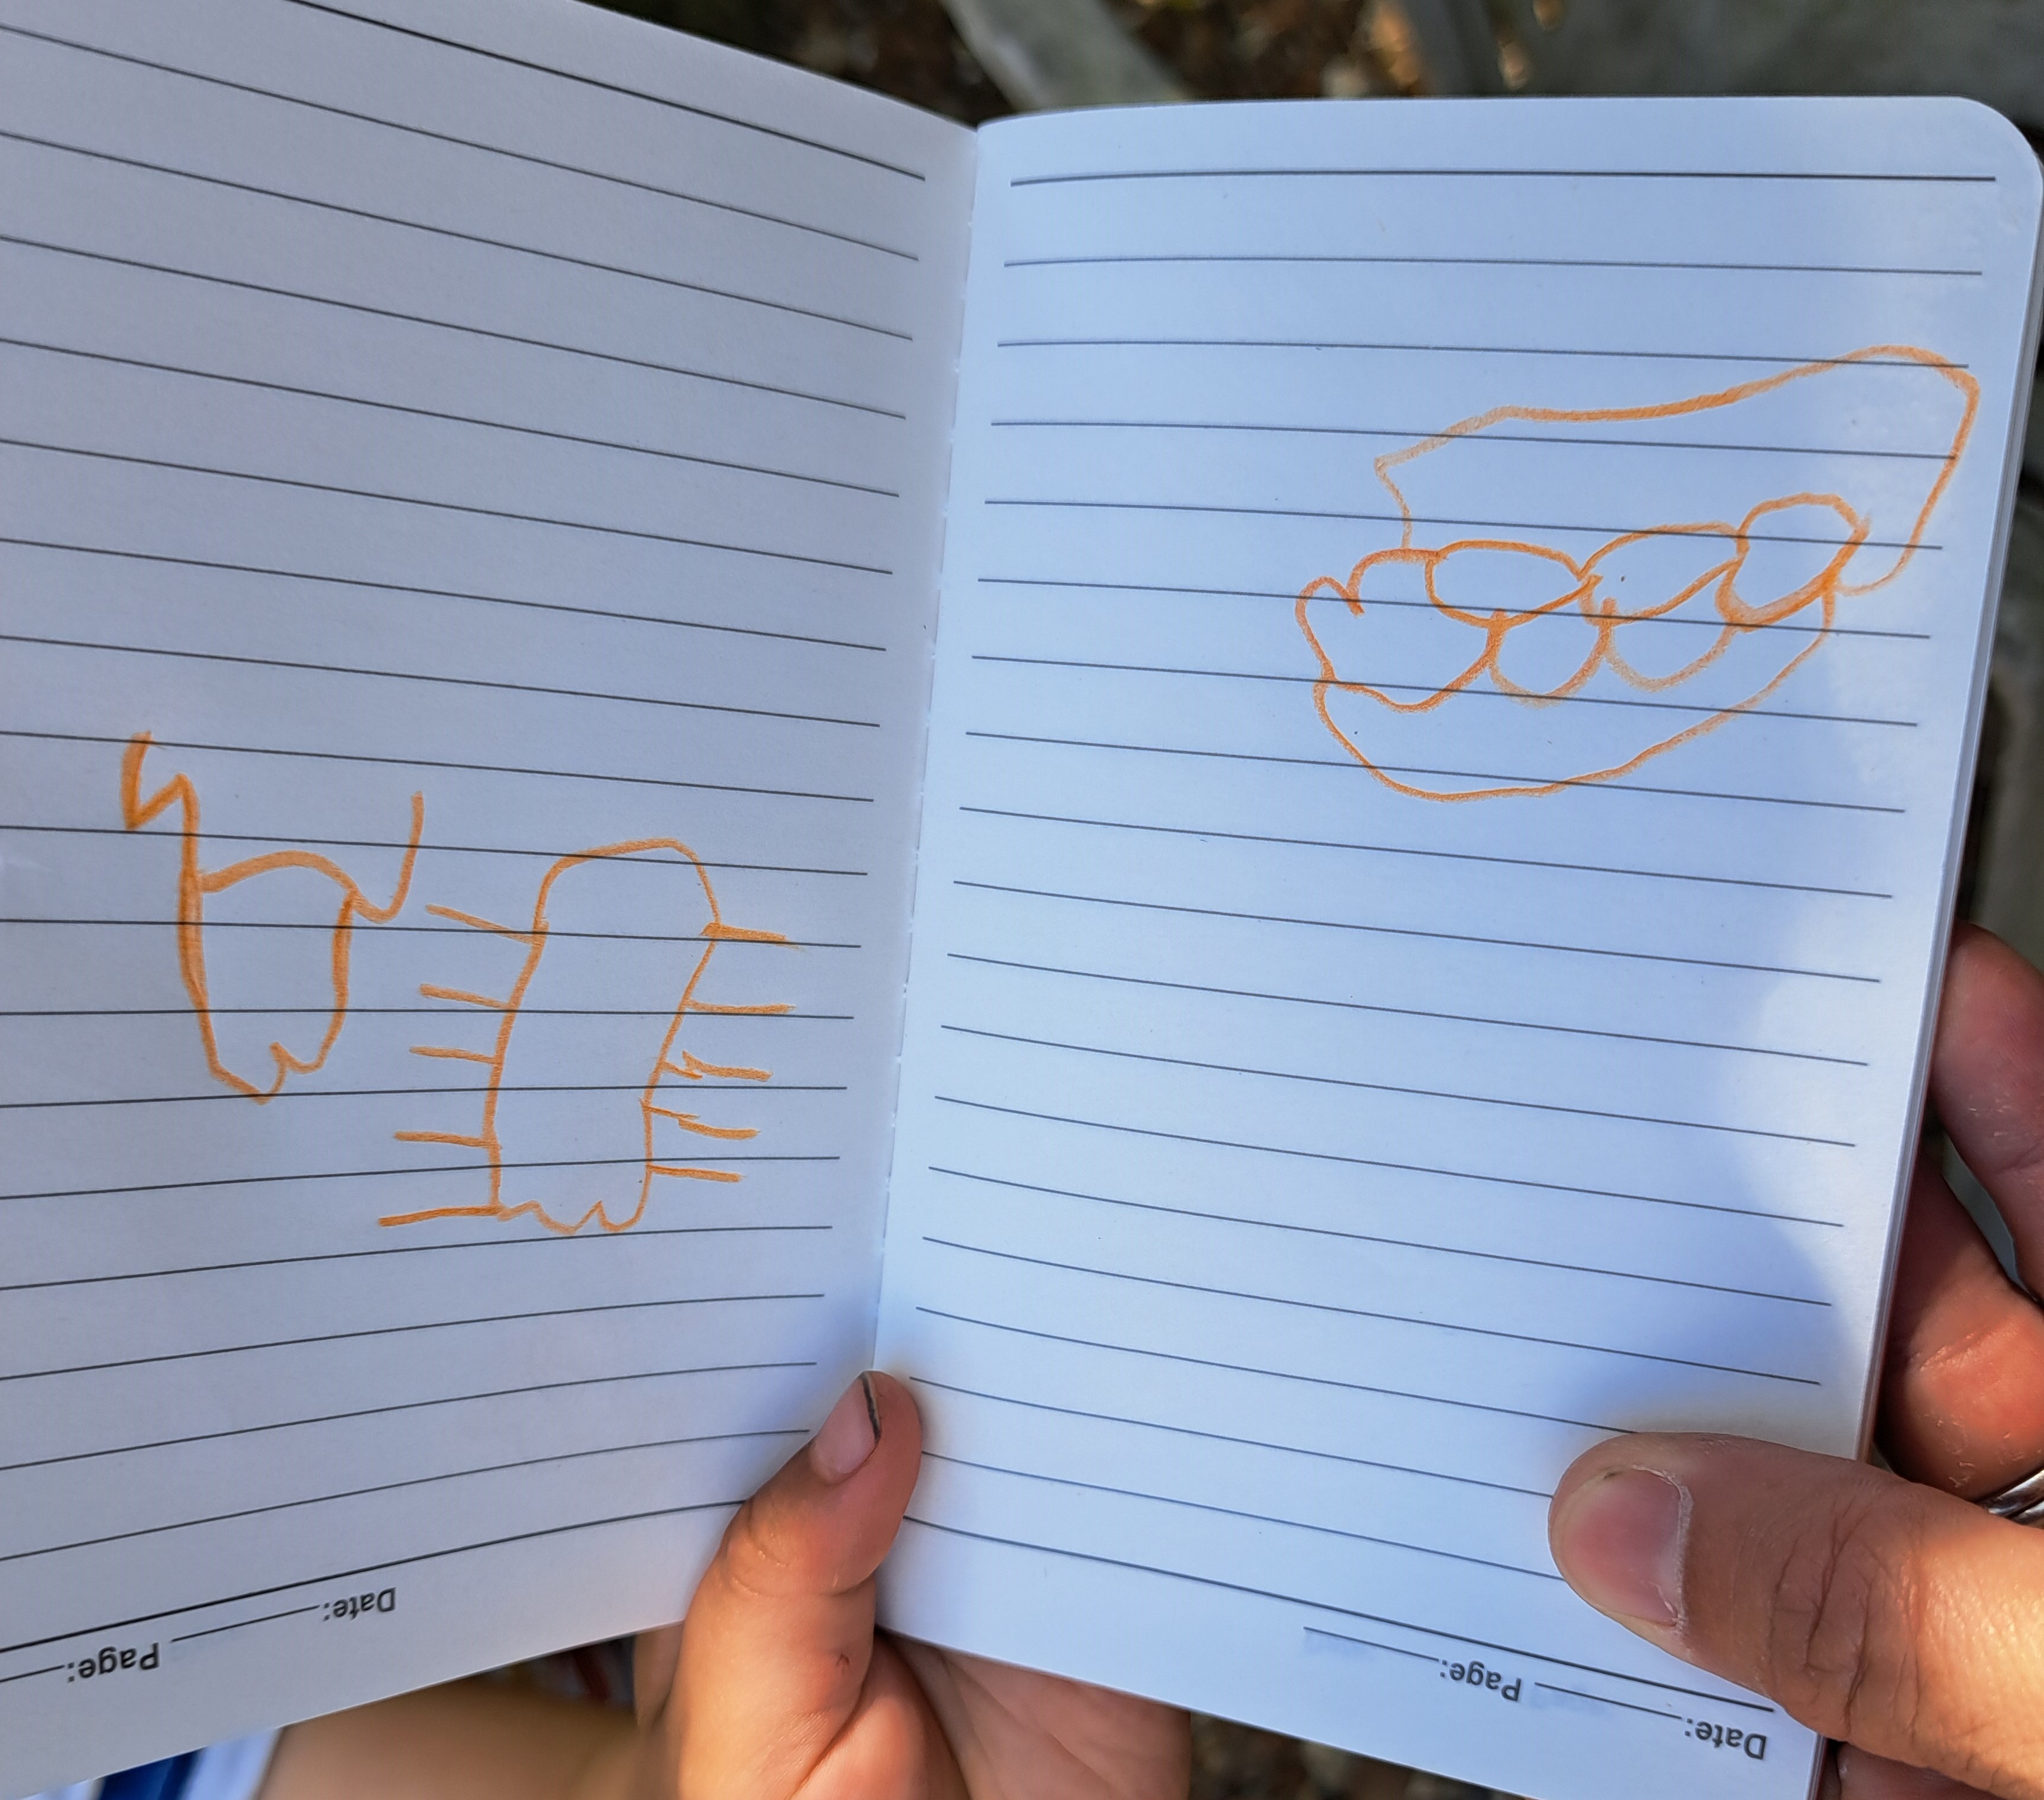
Once the children have found a minibeast, have the children use the magnifying glasses to inspect the minibeasts. Also ask the children to draw pictures of the
minibeasts onto their coloured paper. Don't expect perfect drawings -- below is an example of a slug, woodlouse, and grasshopper we found in our session.
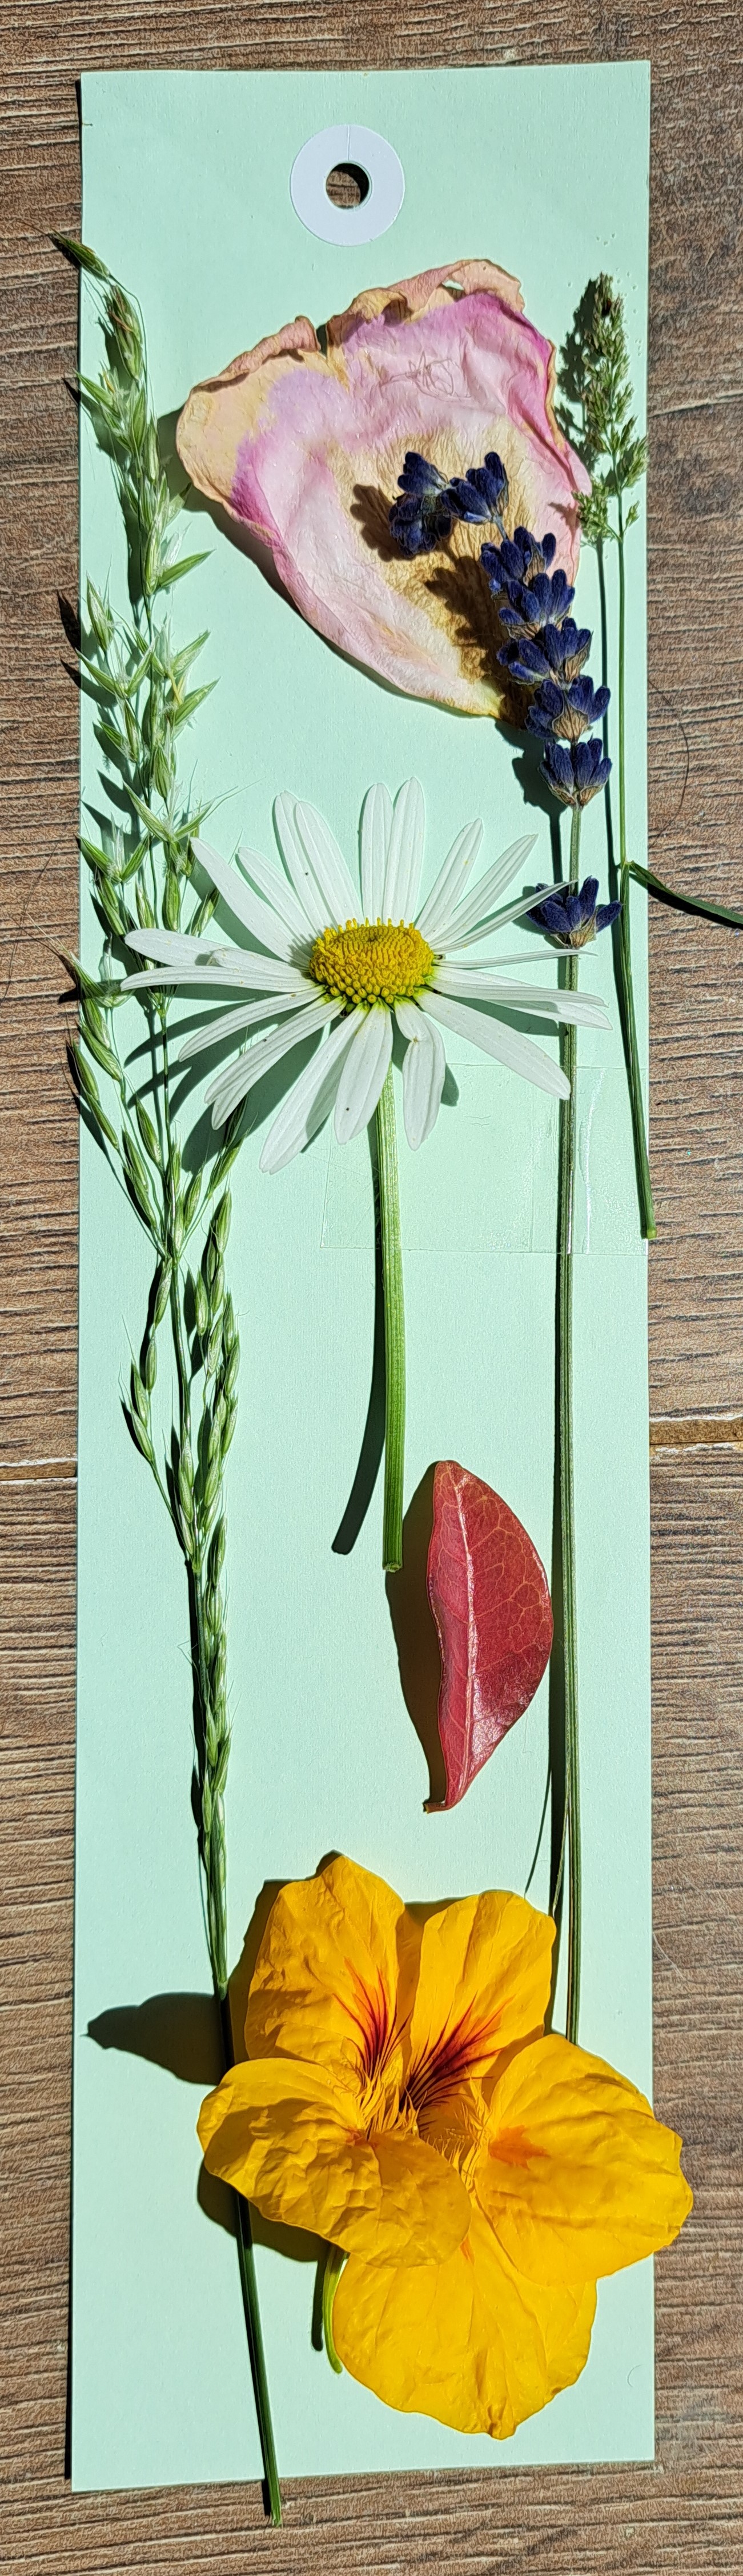
8B. Plant hunt: Ask families to collect interesting plants they find while walking around the backyard/garden/park. Have the children tape the interesting plants
onto their nature bookmarks. (In our session, I asked the children to bring the interesting plants back into the house rather than immediately taping the plants
to the nature bookmark - the children kept losing their plants and getting upset about this - so I suggest just giving them tape to immediately put them on the
bookmark!)
9. Let families have closer look at interesting plants using the USB microscopes. Explain that the magnifying glasses help us see things closer up than our eyes -
and that the microscopes help us see things even closer up than that. You will need to demonstrate how to use the microscopes at the beginning (mostly
how to use the twist dial on the side to adjust the focus, but also how to save the images to the computer). Find a few interesting things to start the group off.
Soon, the children will be happily using the microscopes themselves. Check in with the groups occasionally to answer any questions.
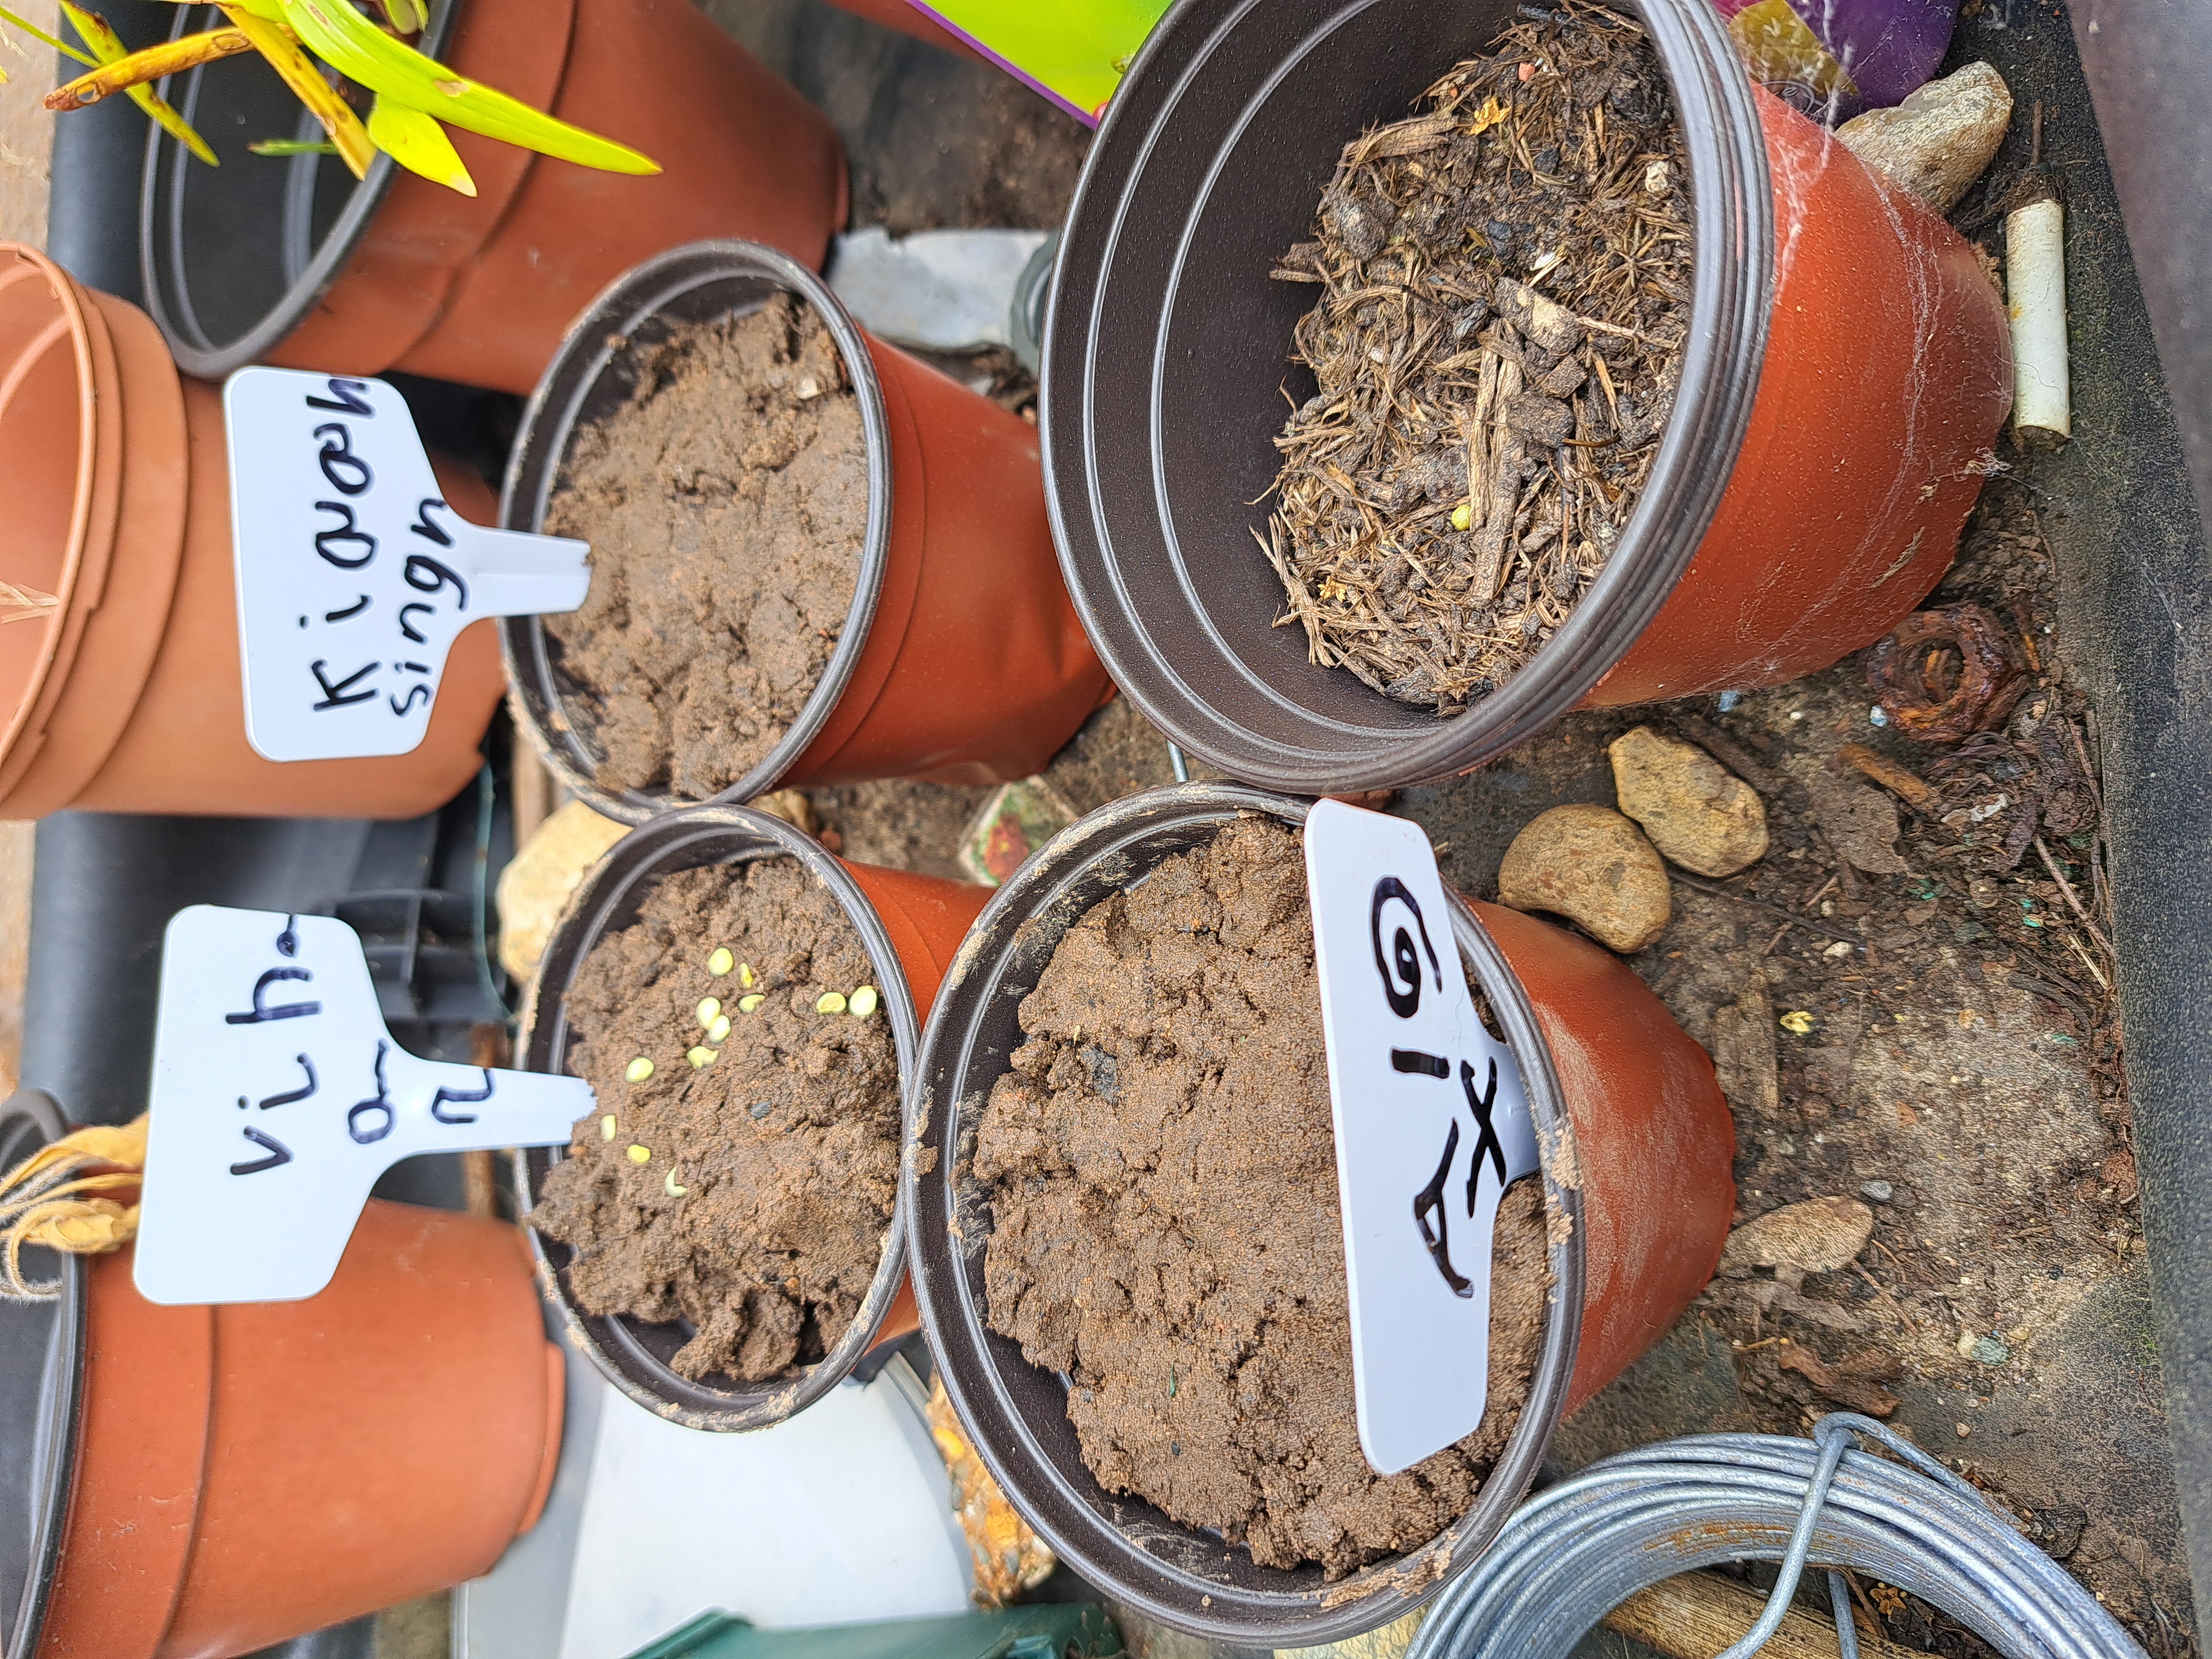
10. Have families plant the pepper/basil/radish seeds. Give each family a plant pop and a name tag stick. Add some soil to the plant pot, then some seeds, then
more soil, and finally a bit of water. Have the children write their name on the name tag stick and add it to the edge of their plant pot. Leave the pots
somewhere safe (families to leave until end of last Science Saturday, then families to take home). Remember to plant extras for anyone who could not attend the
session - plus a few extra in case someone's original plant pot doesn't sprout!
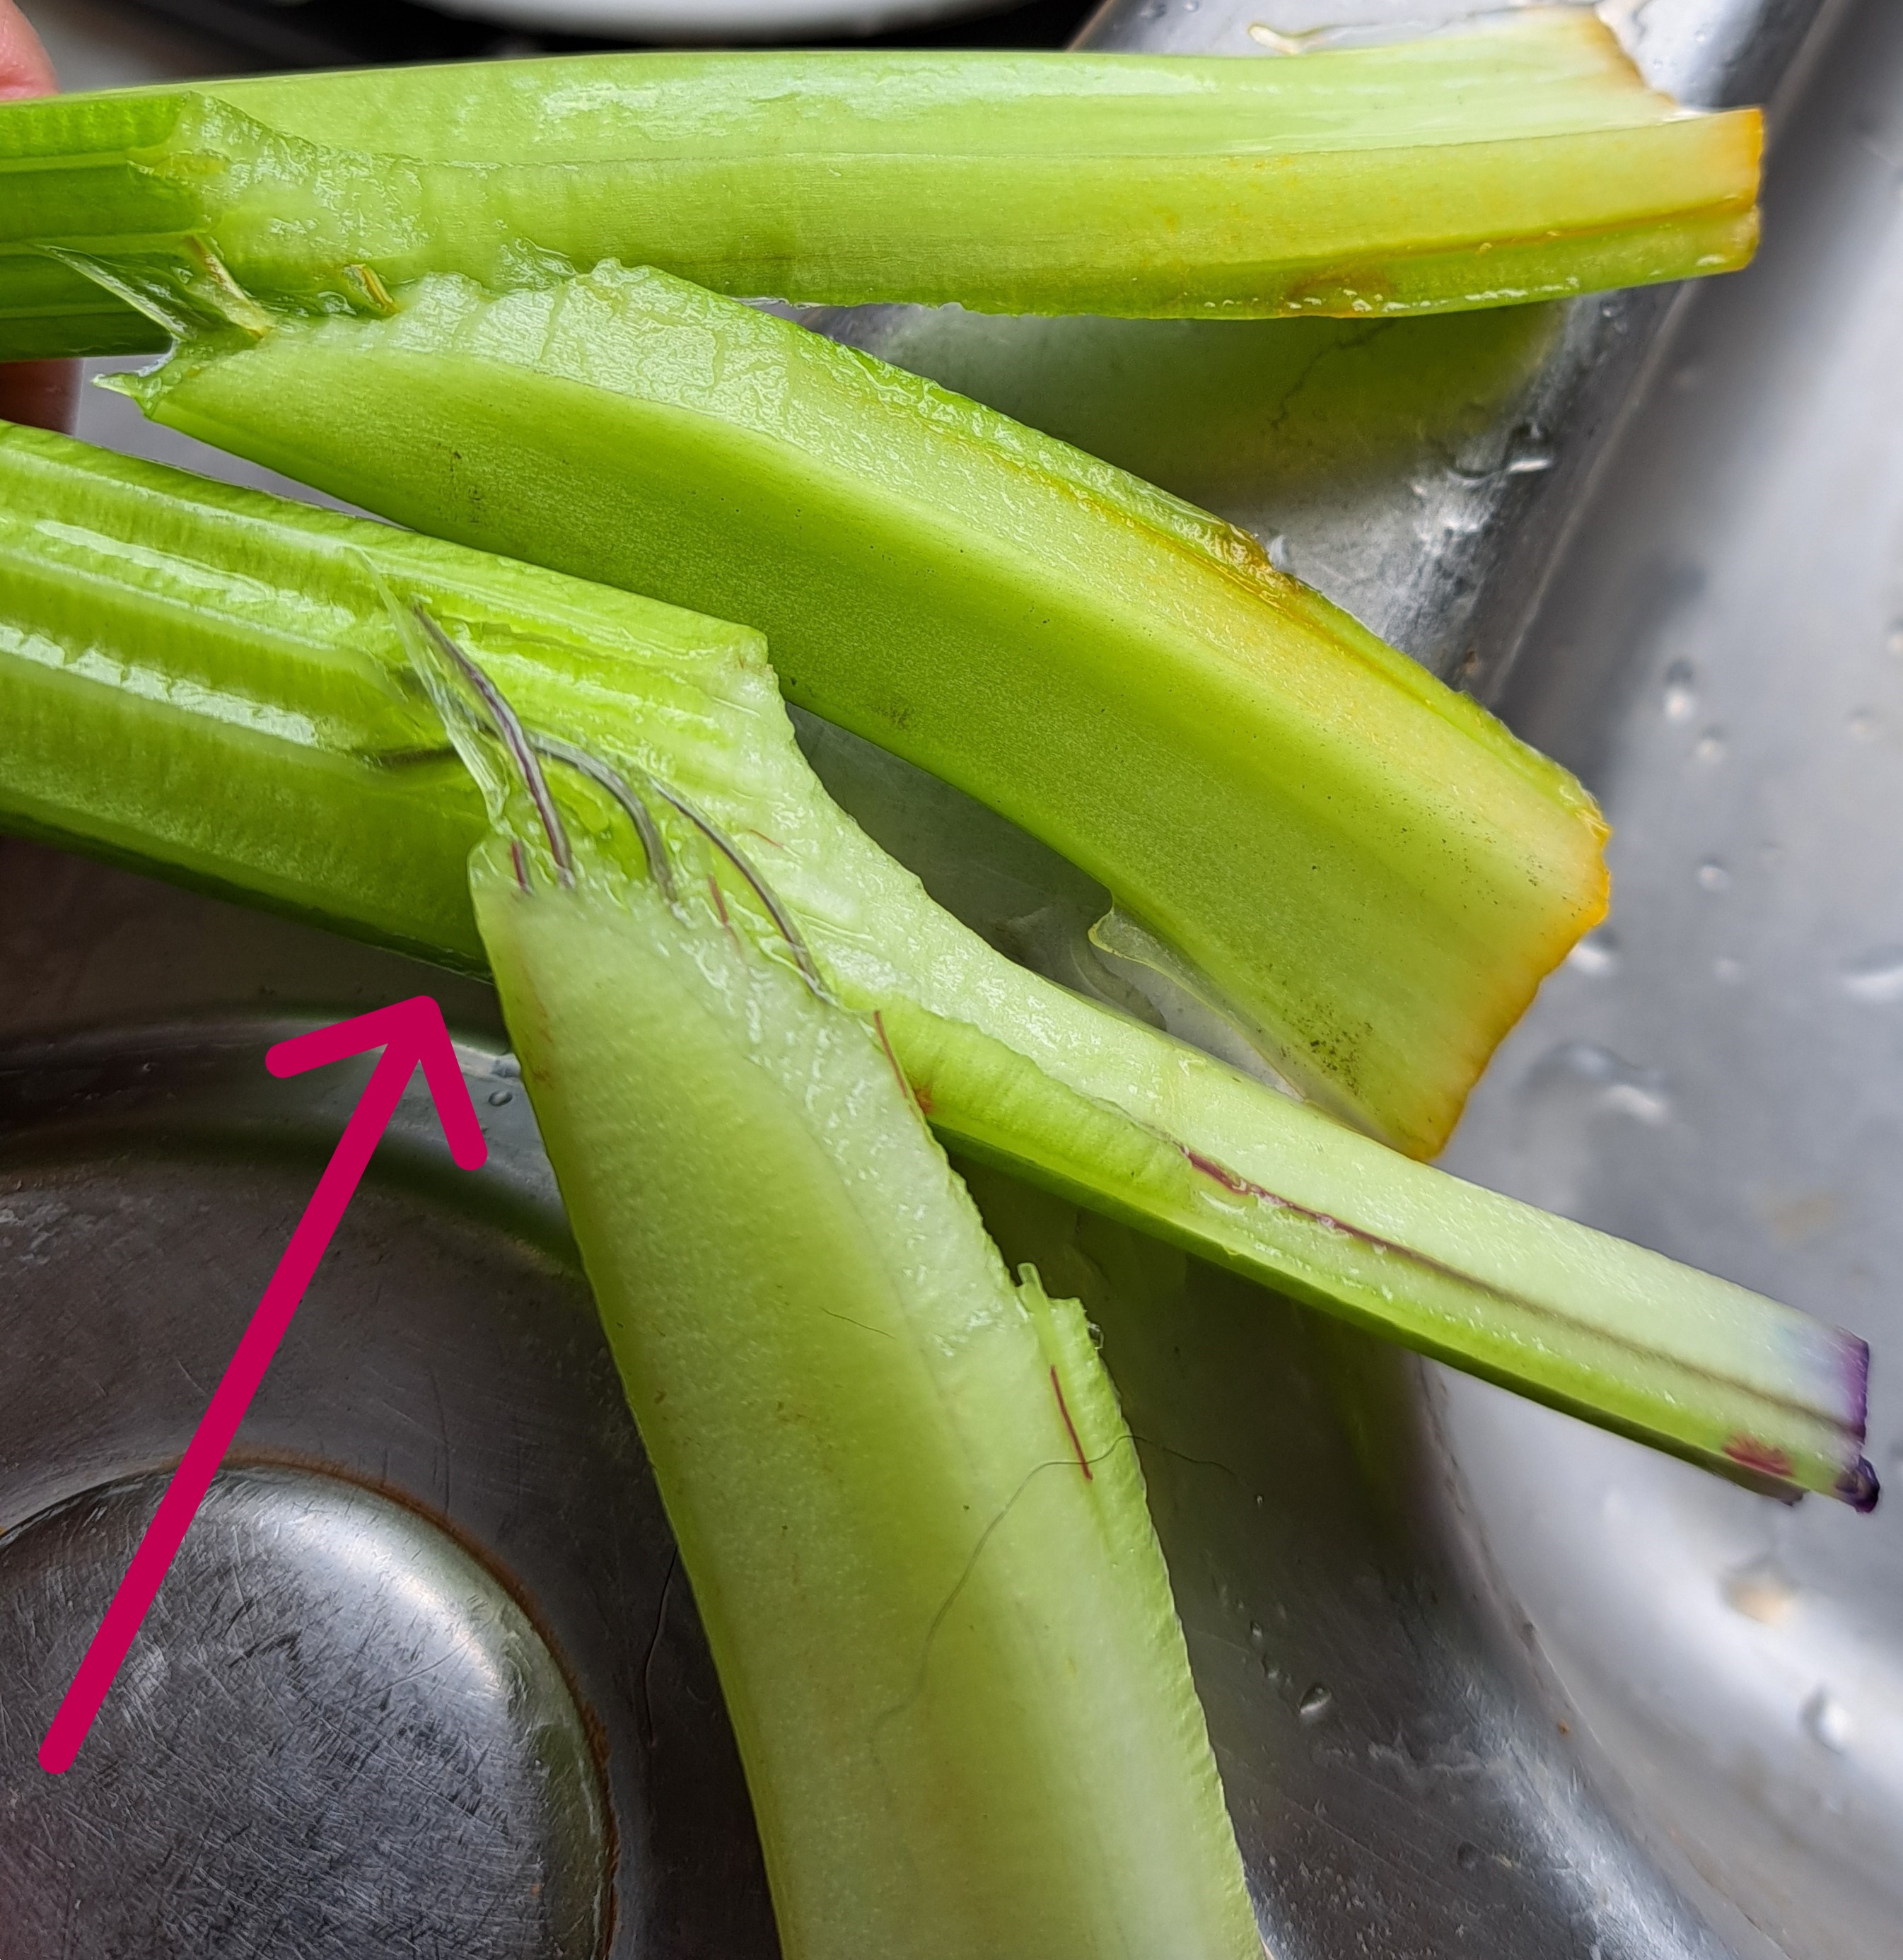
11. Check on the celery experiment! Take the ribs out of the food colouring cups. Rinse off any extra food colouring. Then cut along the axis of the rib (from
bottom to top). You should see the veins are now coloured from the food colouring. This is because the plant has sucked up the water (and food colouring) from the
bottom and moved this towards the top of the plant.
12. At the end of the session, mention a highlight of the next Science Saturday session to keep families interested in attending!
Skills Learned/Practiced
STEM SKILLS
-Being familiar with common plant vocabulary (root, stem, petal, etc)
-Being familiar with different kinds of animals (pets, farm animals, zoo animals, minibeasts)
-Being familiar with the word "experiment"
-Knowing what a magnifying glass is/does and how to use it
-Knowing what a microscope is/does and how to use it (focusing, small-scale of plant structures and possibly bugs)
-Having practical experience/knowledge of how plants grow from seeds (need seeds, dirt, water, sun)
NON-STEM SKILLS
-Public speaking: introducing plant and animal brought to group
-Reading/writing different parts of a plant
-Teamwork: working together to find minibeasts
-Drawing plants and minibeasts
-Writing name on plant pot stick
Outputs/Take-Homes from Session
-Plant and animal brought to session
-STEM Learning leaflet with suggested activities to learn more about the Natural World
-Drawing of plant, with different parts of a plant labelled
-Nature bookmark with plants collected during session (from garden/backyard/park/etc)
-Pictures taken from USB microscope
-Group collage of USB microscopes
-Pictures taken of families during session
-Potted plant at end of Science Saturday sessions (will take a while to grow, families can check on plants' growth from weekend to weekend)
Other Articles:
|
Saturn's ringsA simulation of Saturn's rings --- a few thousand particles are simulated, in a repeating tiled region. You use the mouse and keys to fly in it. |

|
BodyWorks: EMG AnalysisA page with a javascript application where you can interact with EMG data using various filters. |
How SpaceX land first stage boostersThe algorithms that SpaceX (probably) use to control their first stage boosters. Several animations. |

|
© Hugo2015. Session @sessionNumber