Science Saturdays, EYFS: About Me
Science Saturdays are sessions which teach parents/carers and children valuable STEM skills. Our goals are to increase parents' confidence in STEM skills and STEM
activities, while providing the children opportunities to play with STEM toys, such as magnifying glasses. Another goal is to increase the community
amongst the year-group families. These sessions are appropriate for schools to use in the classroom, families to do as extra learning outside school, and/or for
families who Home School / Home Educate.
This series of webpages is intended to help others set up their own Science Saturdays. We hope these webpages are helpful and help us grow our collective STEM skills
for the future!
Team:
Mridusmita Danciu: Medical Professional
Nicolae Danciu: Aircraft Engineer
Barbara Vohmann: Quantity Surveying and Construction Management Academic
Ephraim Zulu: Quantity Surveying Academic
Sarinova Simanjuntak: Mechanical Engineering Academic
Jennifer Martay: Biomedical Engineering Academic
We focused on "About Me" in our third Science Saturday. We used STEM Learning UK's "Science for Starters"
About Me leaflet as a basis for the session.

Required Materials (for 10 Families)
- 10 STEM Learning leaflets on About Me,
Cost = £0
Discussing Sense Organs and Body Parts Activity
-
5 coloured sheets of paper for making flash cards, 5 sheets of paper for body outline and parts , Cost = £6 for 100 sheets of 10 colours
-
Pens for making flash cards and drawing/colouring, Cost = £11.50 for 187 piece art kit
Drawing and Labeling Body Parts Activity
Outside in nice weather:
-
Crayola Washable Sidewalk Chalk (Box of 48), Cost = £8.00
Inside in bad weather:
- 10 empty cardboard cereal boxes to draw body outline on, Cost = £0
-
Pens for making flash cards and drawing/colouring, Cost = £11.50 for 187 piece art kit
Measuring in "Feet" Activity
- 5 empty cardboard cereal boxes, Cost = £0
-
Pens for making flash cards and drawing/colouring, Cost = £11.50 for 187 piece art kit
-
Set of Scissors, Cost = £7.59 for 5
Washing Hands Activity
-
Plain Flour, Cost = £0.45 for 500g (only need ~200g)
-
3 large, plastic, non-slip bowls, Cost = £12.99
-
Hand Wash Soap, Cost = £0.65 for 500 mL (only need ~30 mL)
Total Cost = £47.18 if buy all supplies
Total Cost per Child = £4.72
Total Cost = £29.68 if buy supplies above (and already have paper and pen sets from Nature Session)
Total Cost per Child = £2.97
Plan for Day
1. Welcome families: Encourage children to check on their plants (ours weren't growing yet). Put out magnets from previous session for kids to play with as they
arrive. Ask parents to put on name tags so people can learn names, any first-time families if they are ok with pictures being taken/shared, and for parents to
complete pre-session survey.
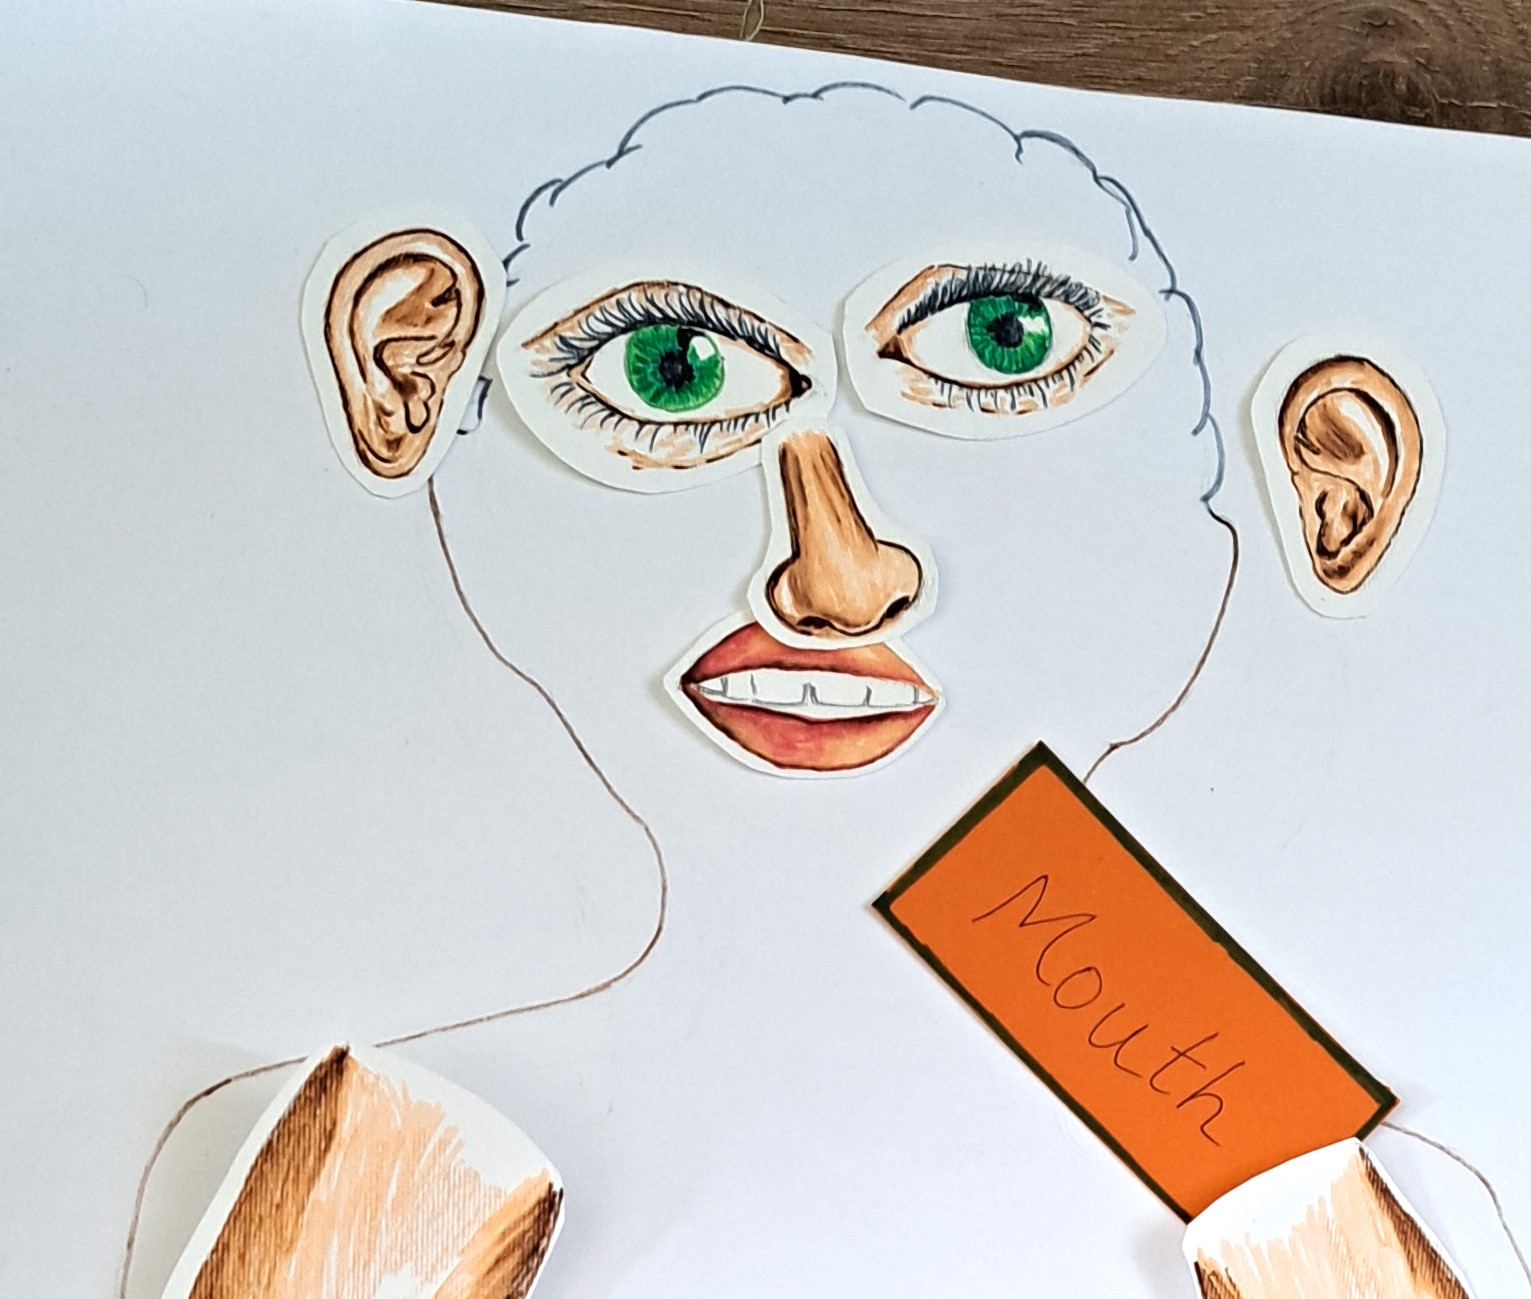
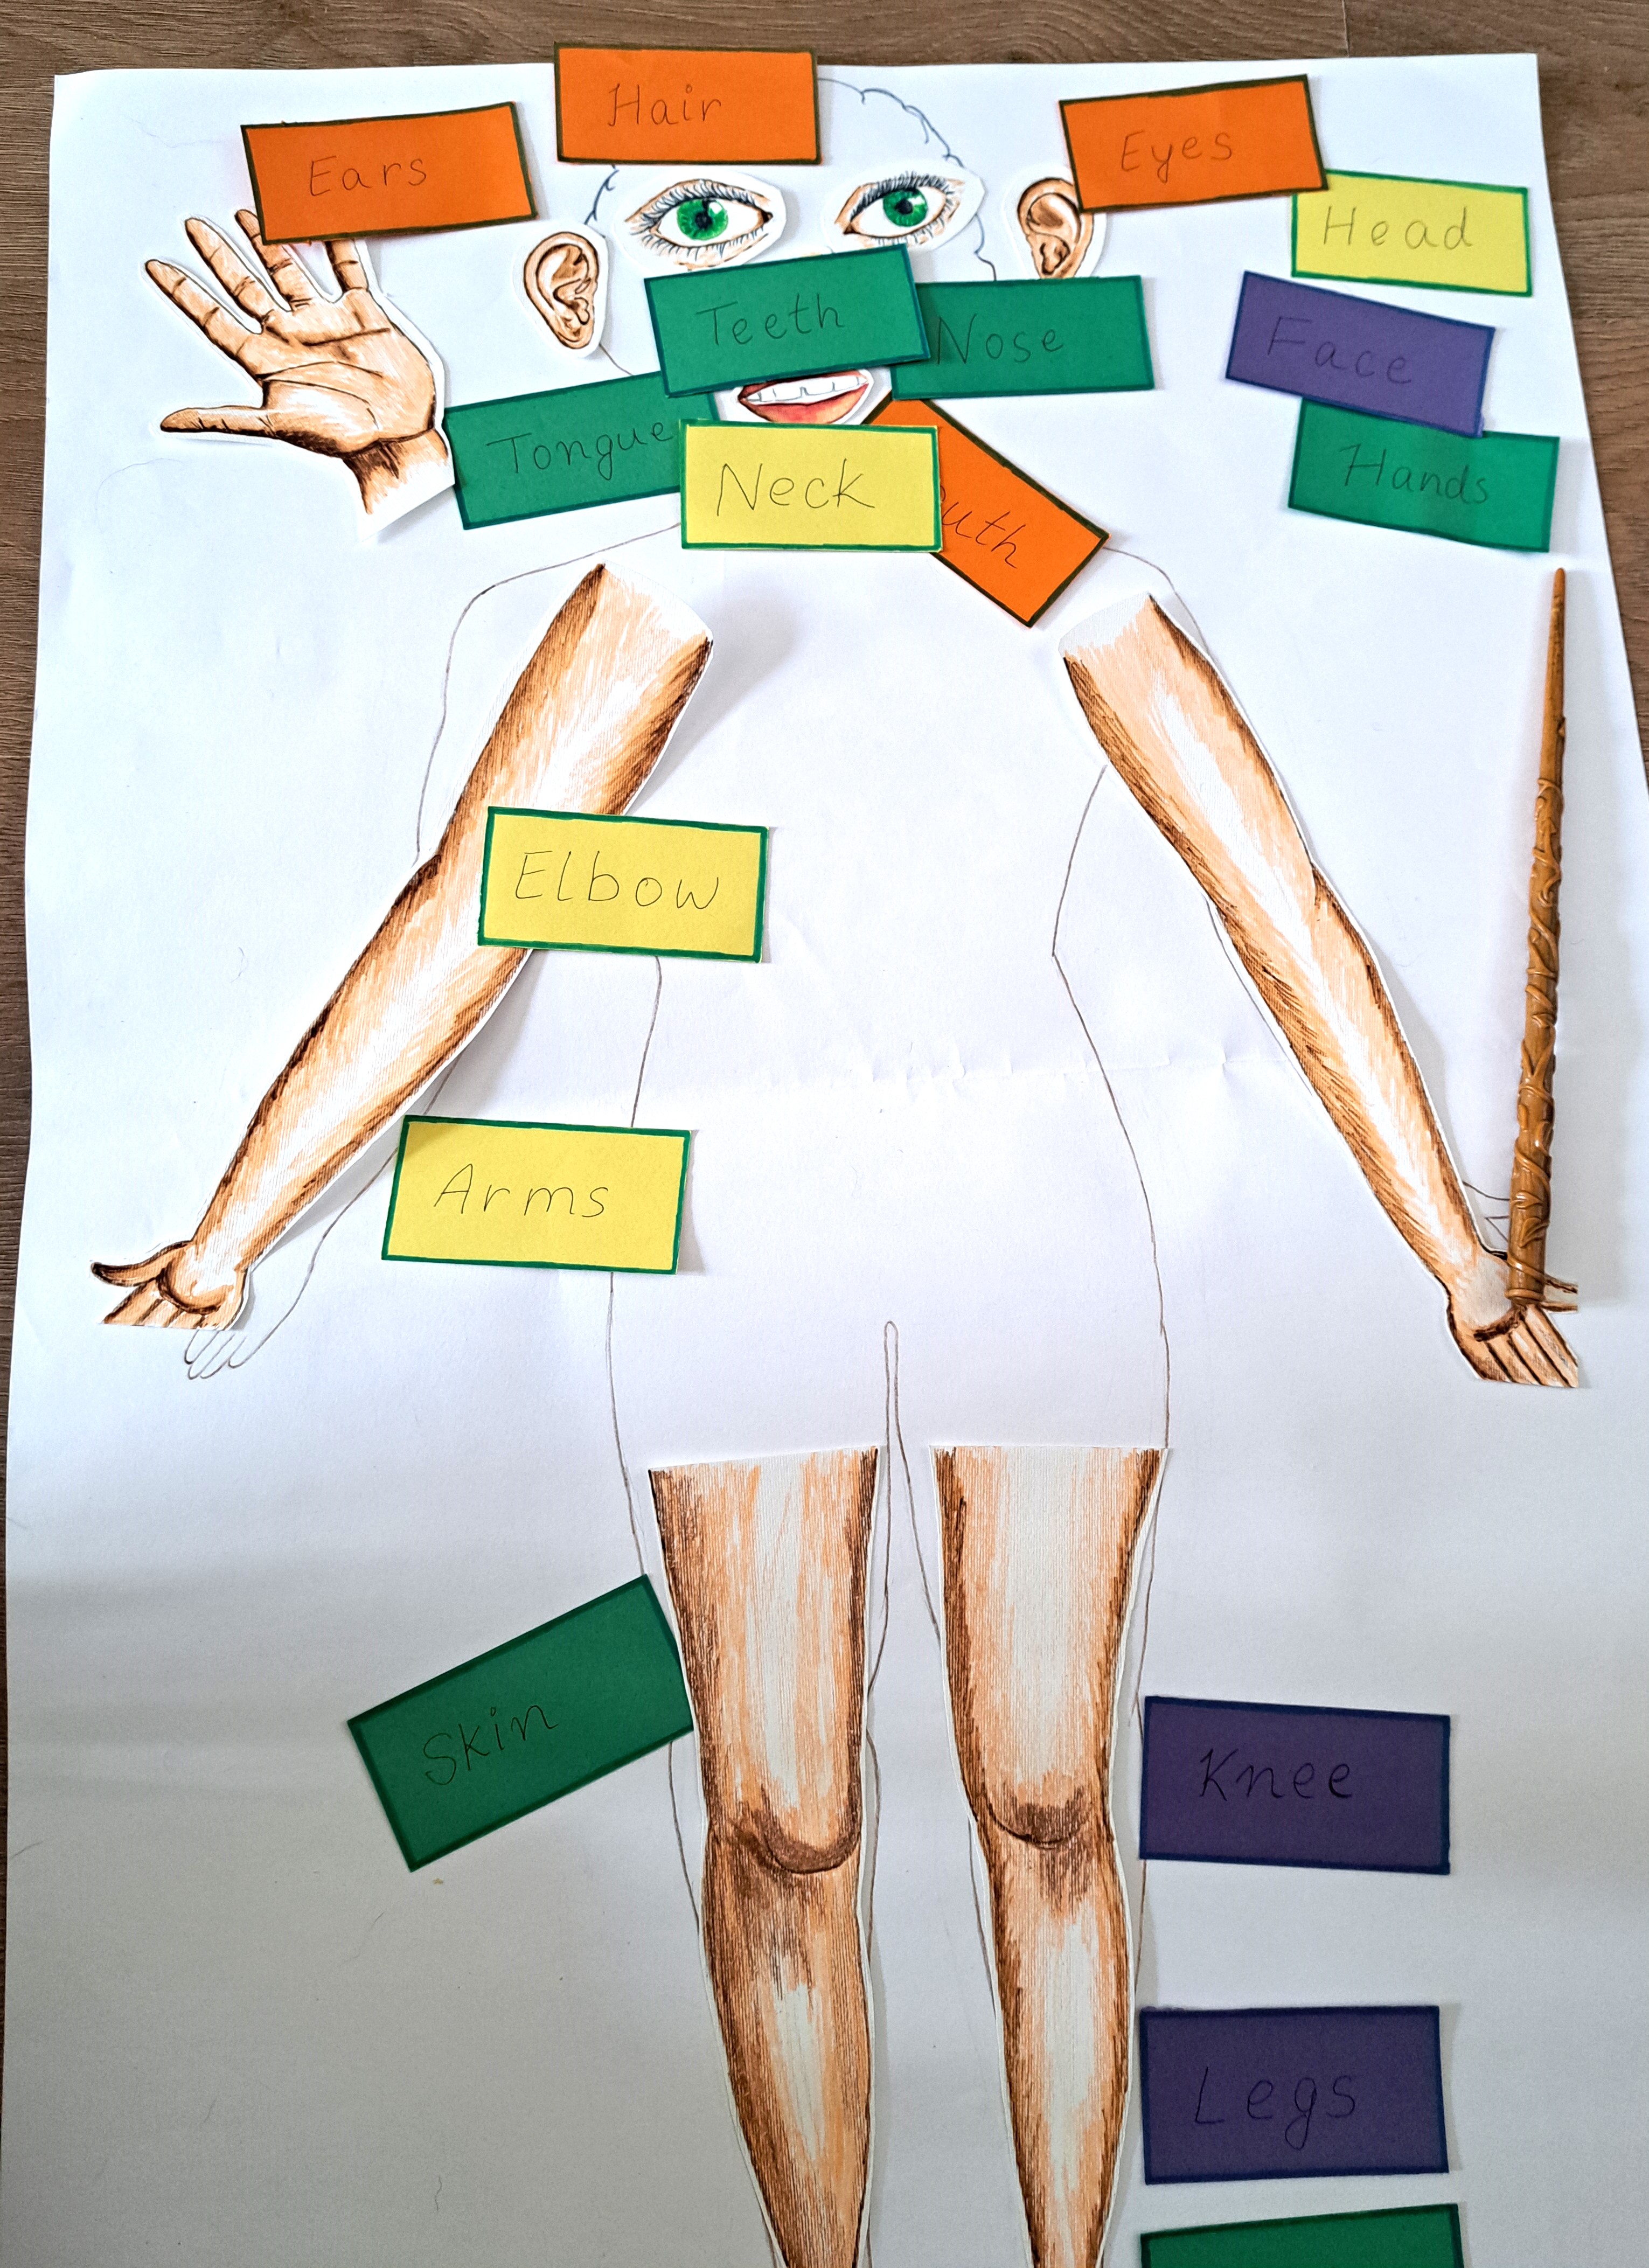
2. Discussing Sense Organs and Body Parts Activity: Explain that humans have 5 senses (taste, sight, hearing, feel/touch, smell) to help explore the world. Ask the
children to name any of the senses that they know. If the children know a sense, ask what the associated part of the body is - and hand the picture of that sense organ
(mouth, nose, eyes, ears, and hands) to the children to place on the body outline. Continue until the children run out of senses they know (if they know any - they
may not!). Once the children run out of senses they know, hand the children a picture of a sense organ, ask what the sense organ is called and what it does, and let
the children place the sense organ in the correct location. After the sense organs are placed, ask the children to place the arms and legs on the body outline.
Finally, help sound out the flash cards of the body parts and place the flash cards next to their associated body part on the body outline.
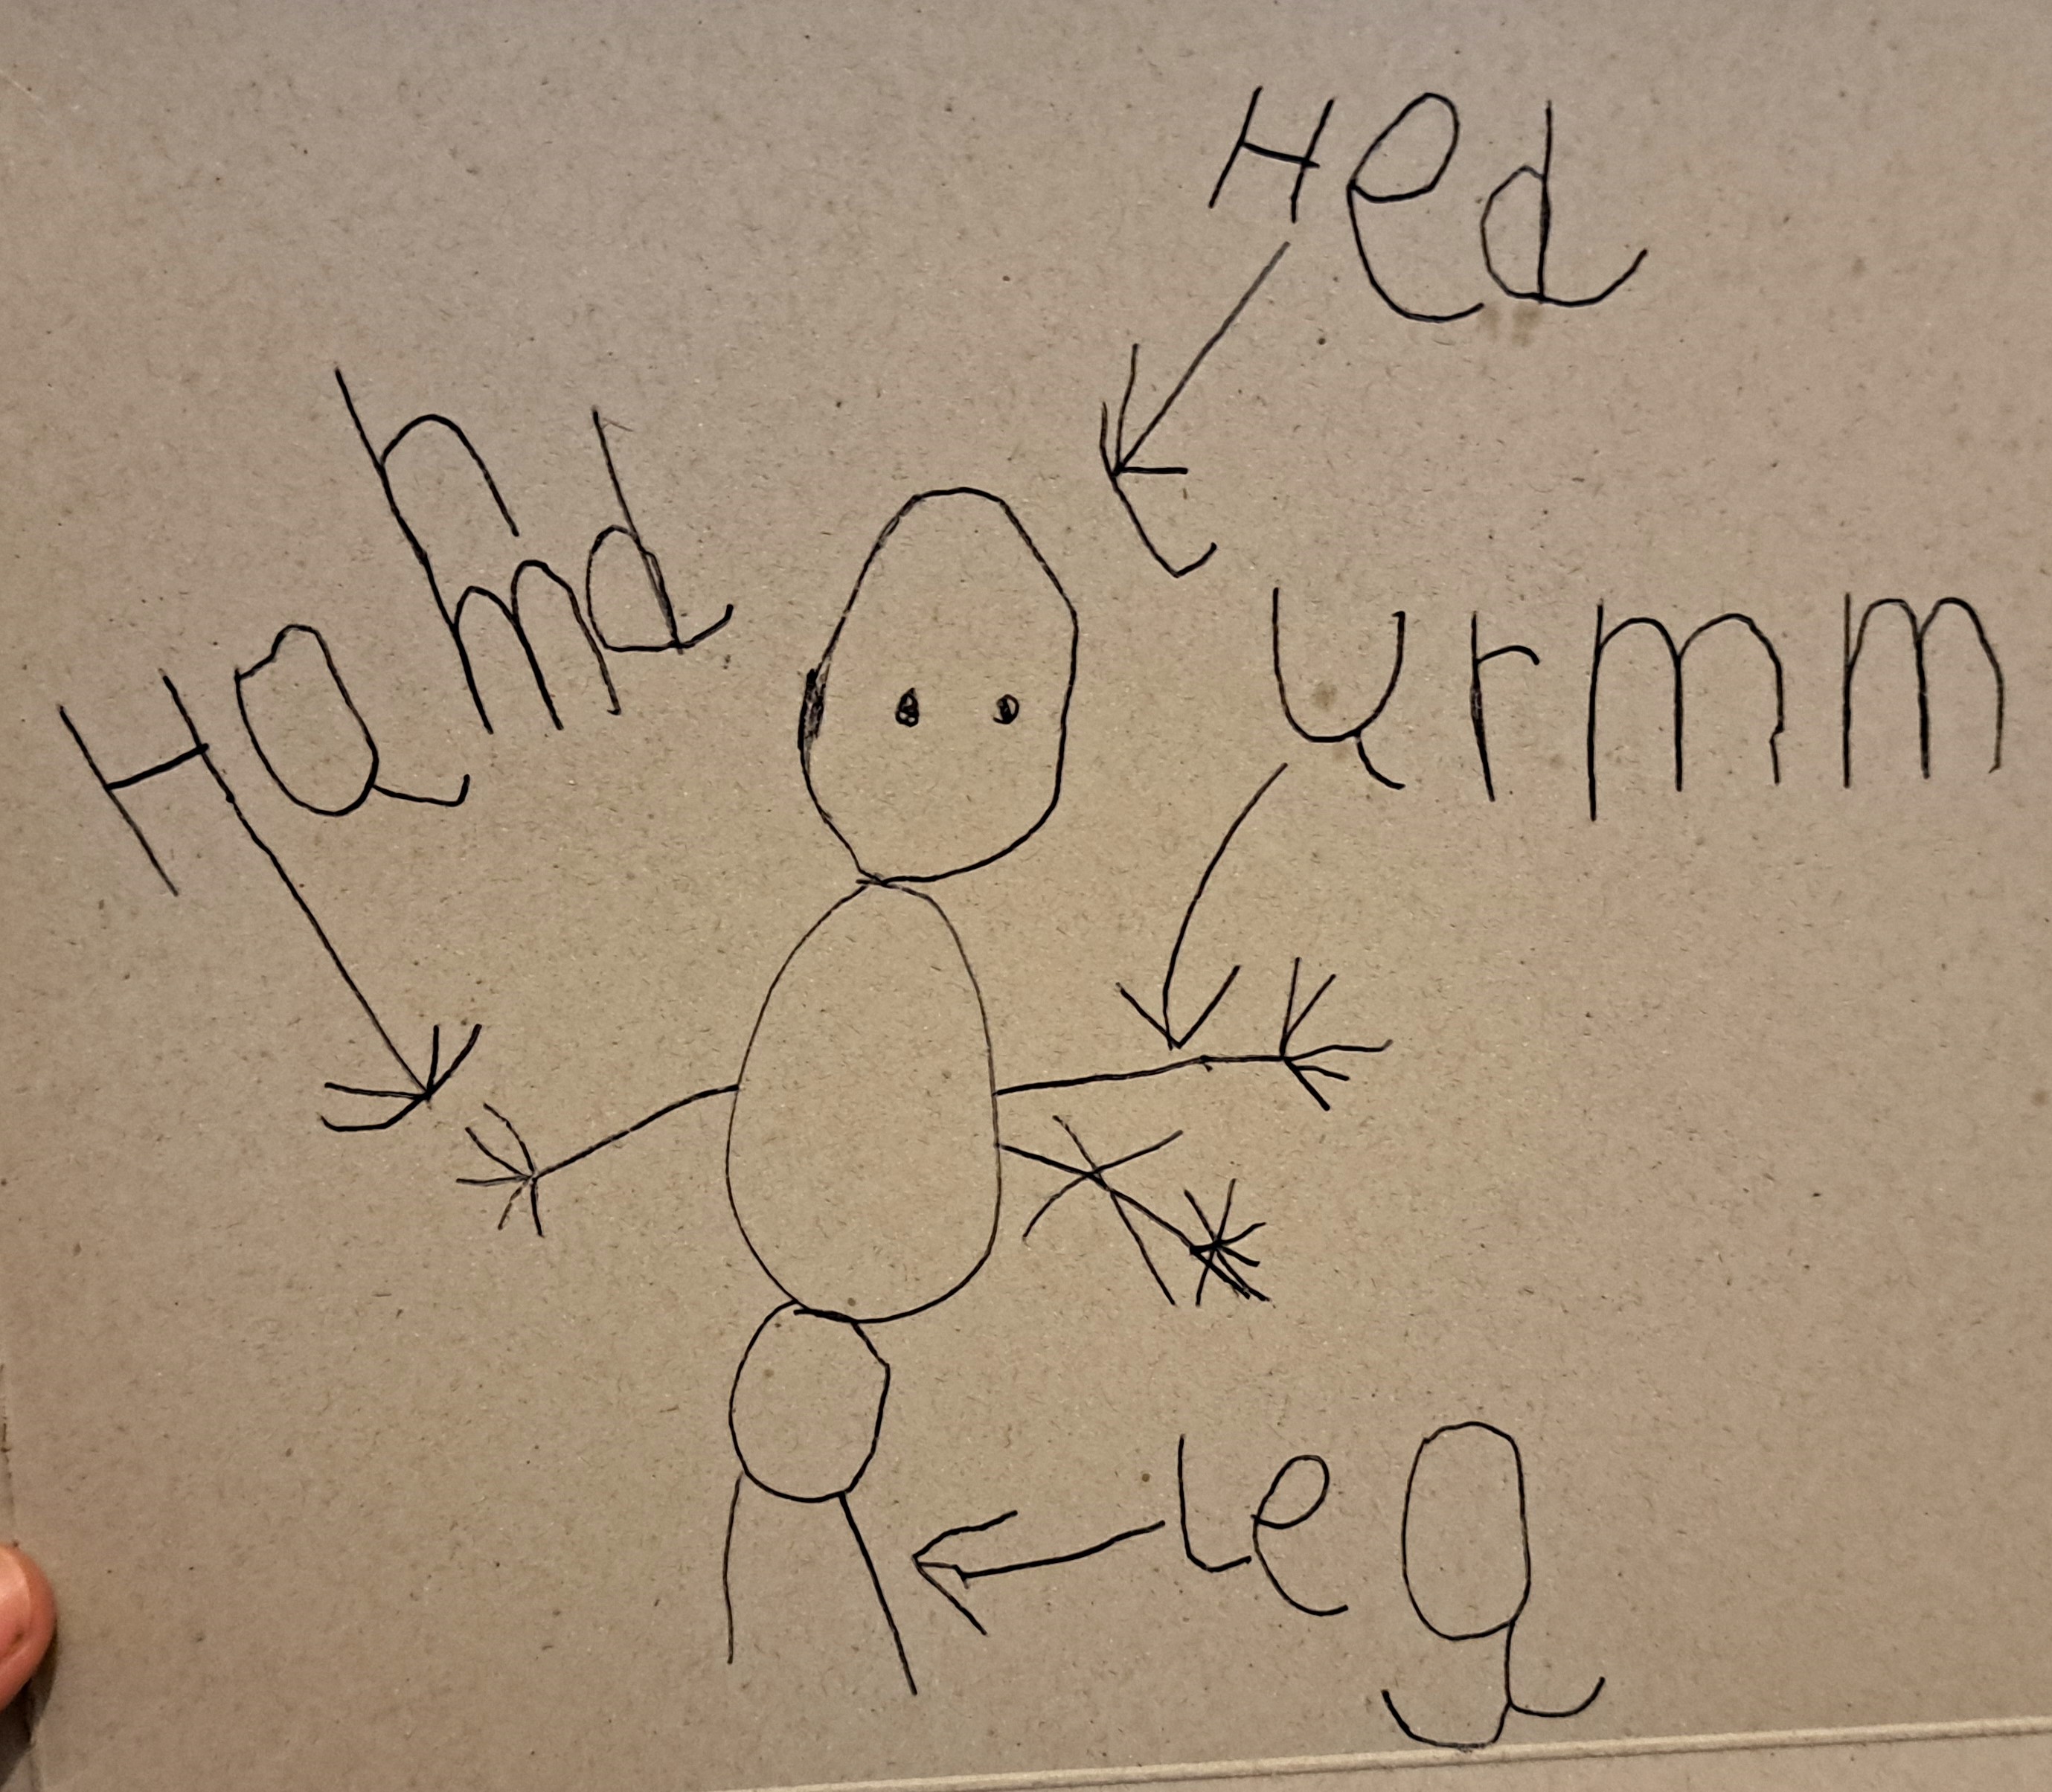
3. Drawing and Labelling Body Parts Activity:
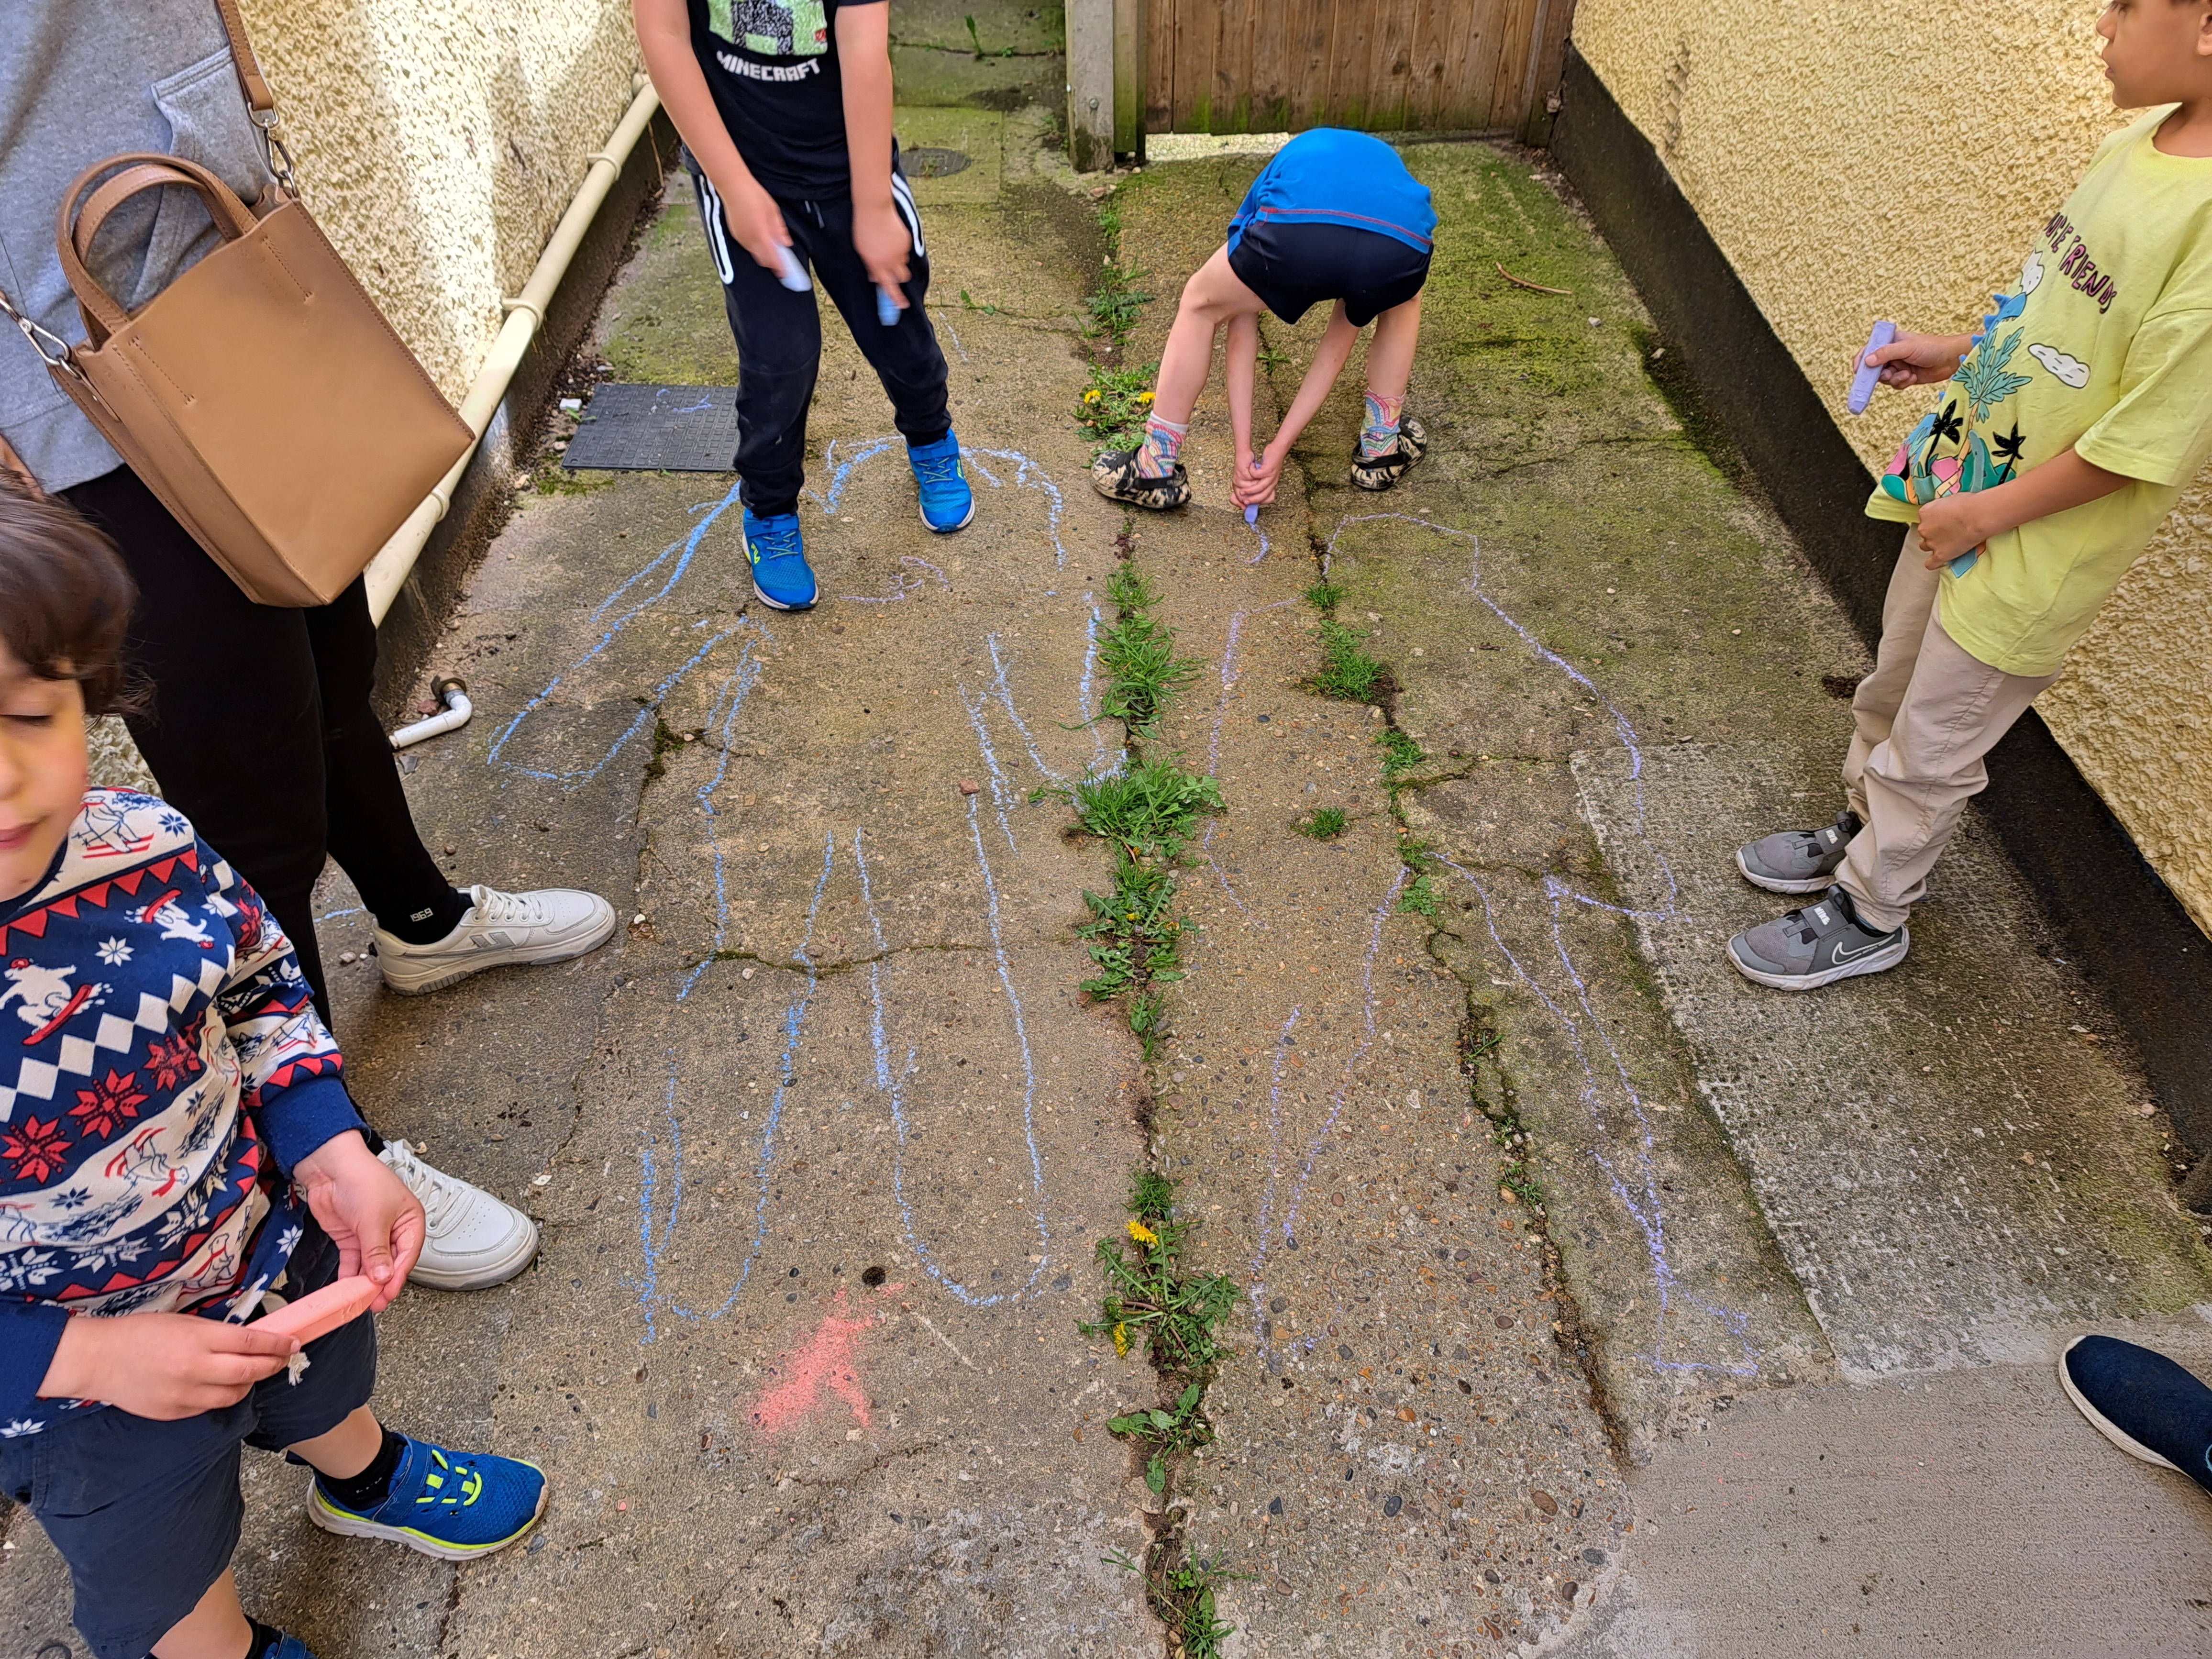
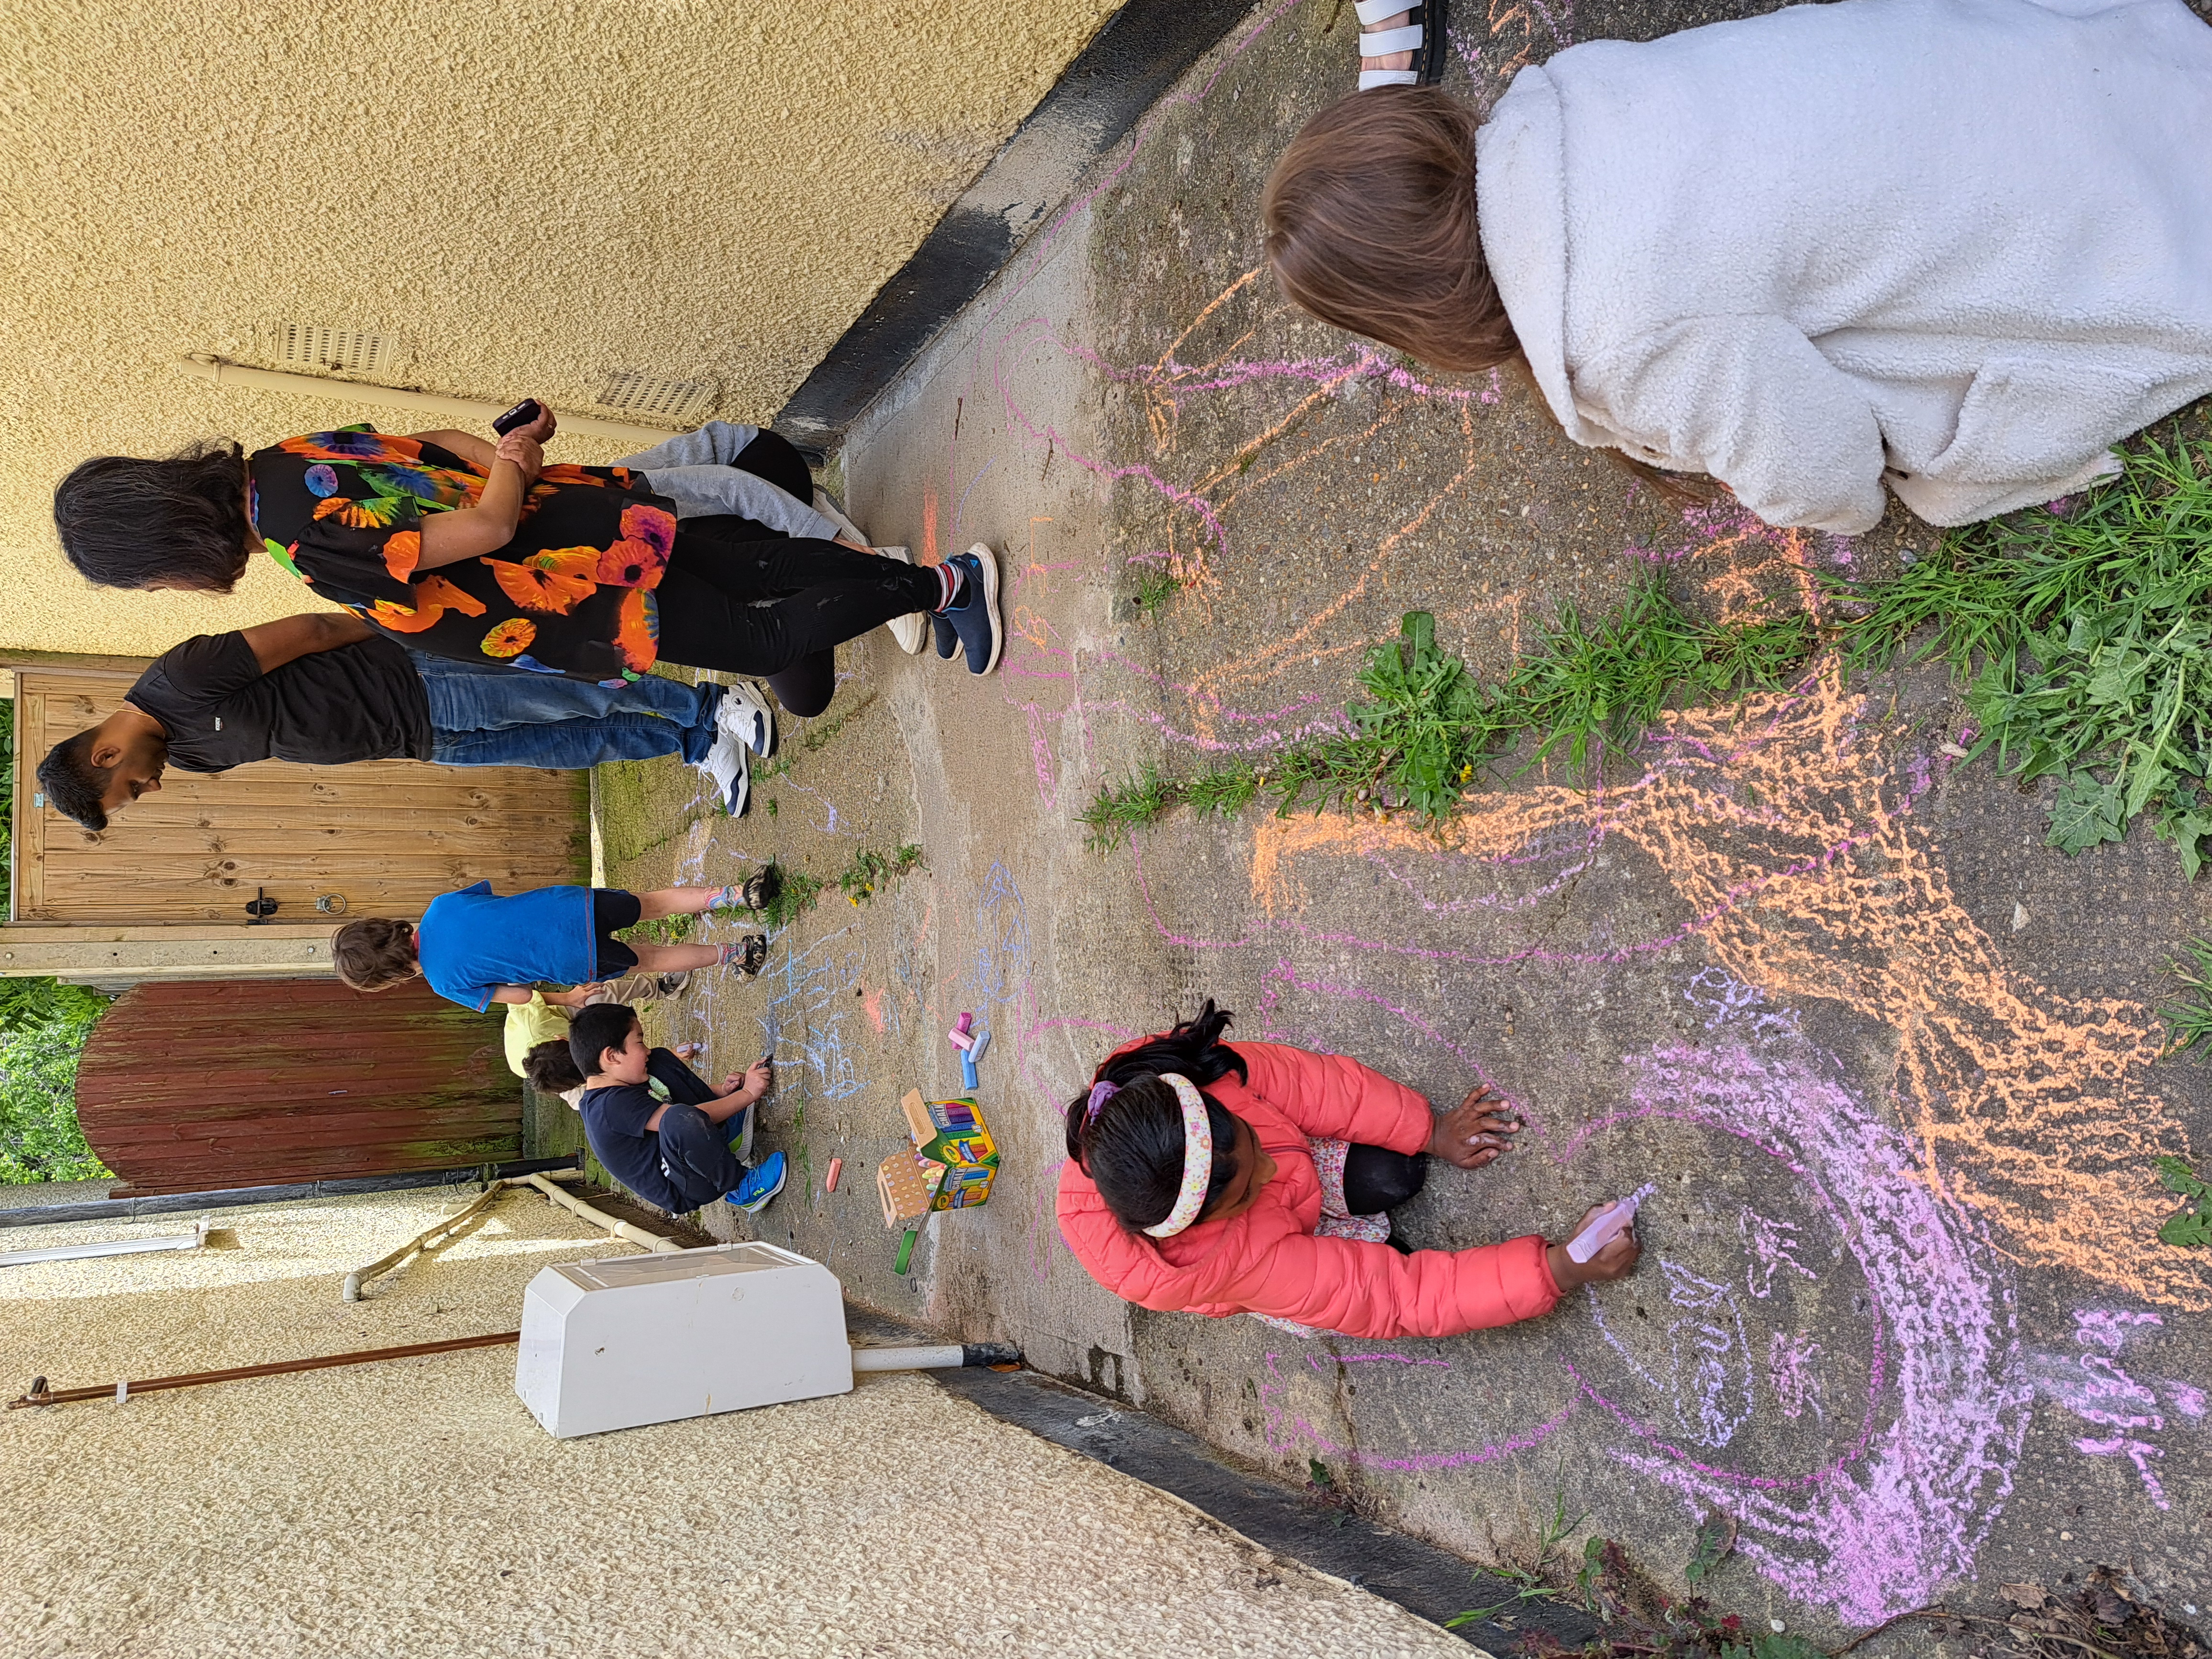
3A. If outside in good weather, ask the children to use chalk to draw outlines of their/their parents' bodies on the ground. Then have children label the body parts
and allow creative drawing with chalk. The children love chalk!
3B. If inside in bad weather, ask children to draw outlines of a body on the inside of an empty cardboard box. Then have the children label the body parts on
their body outline. Don't expect drawings or spellings to be perfect - it's about the effort and fun!
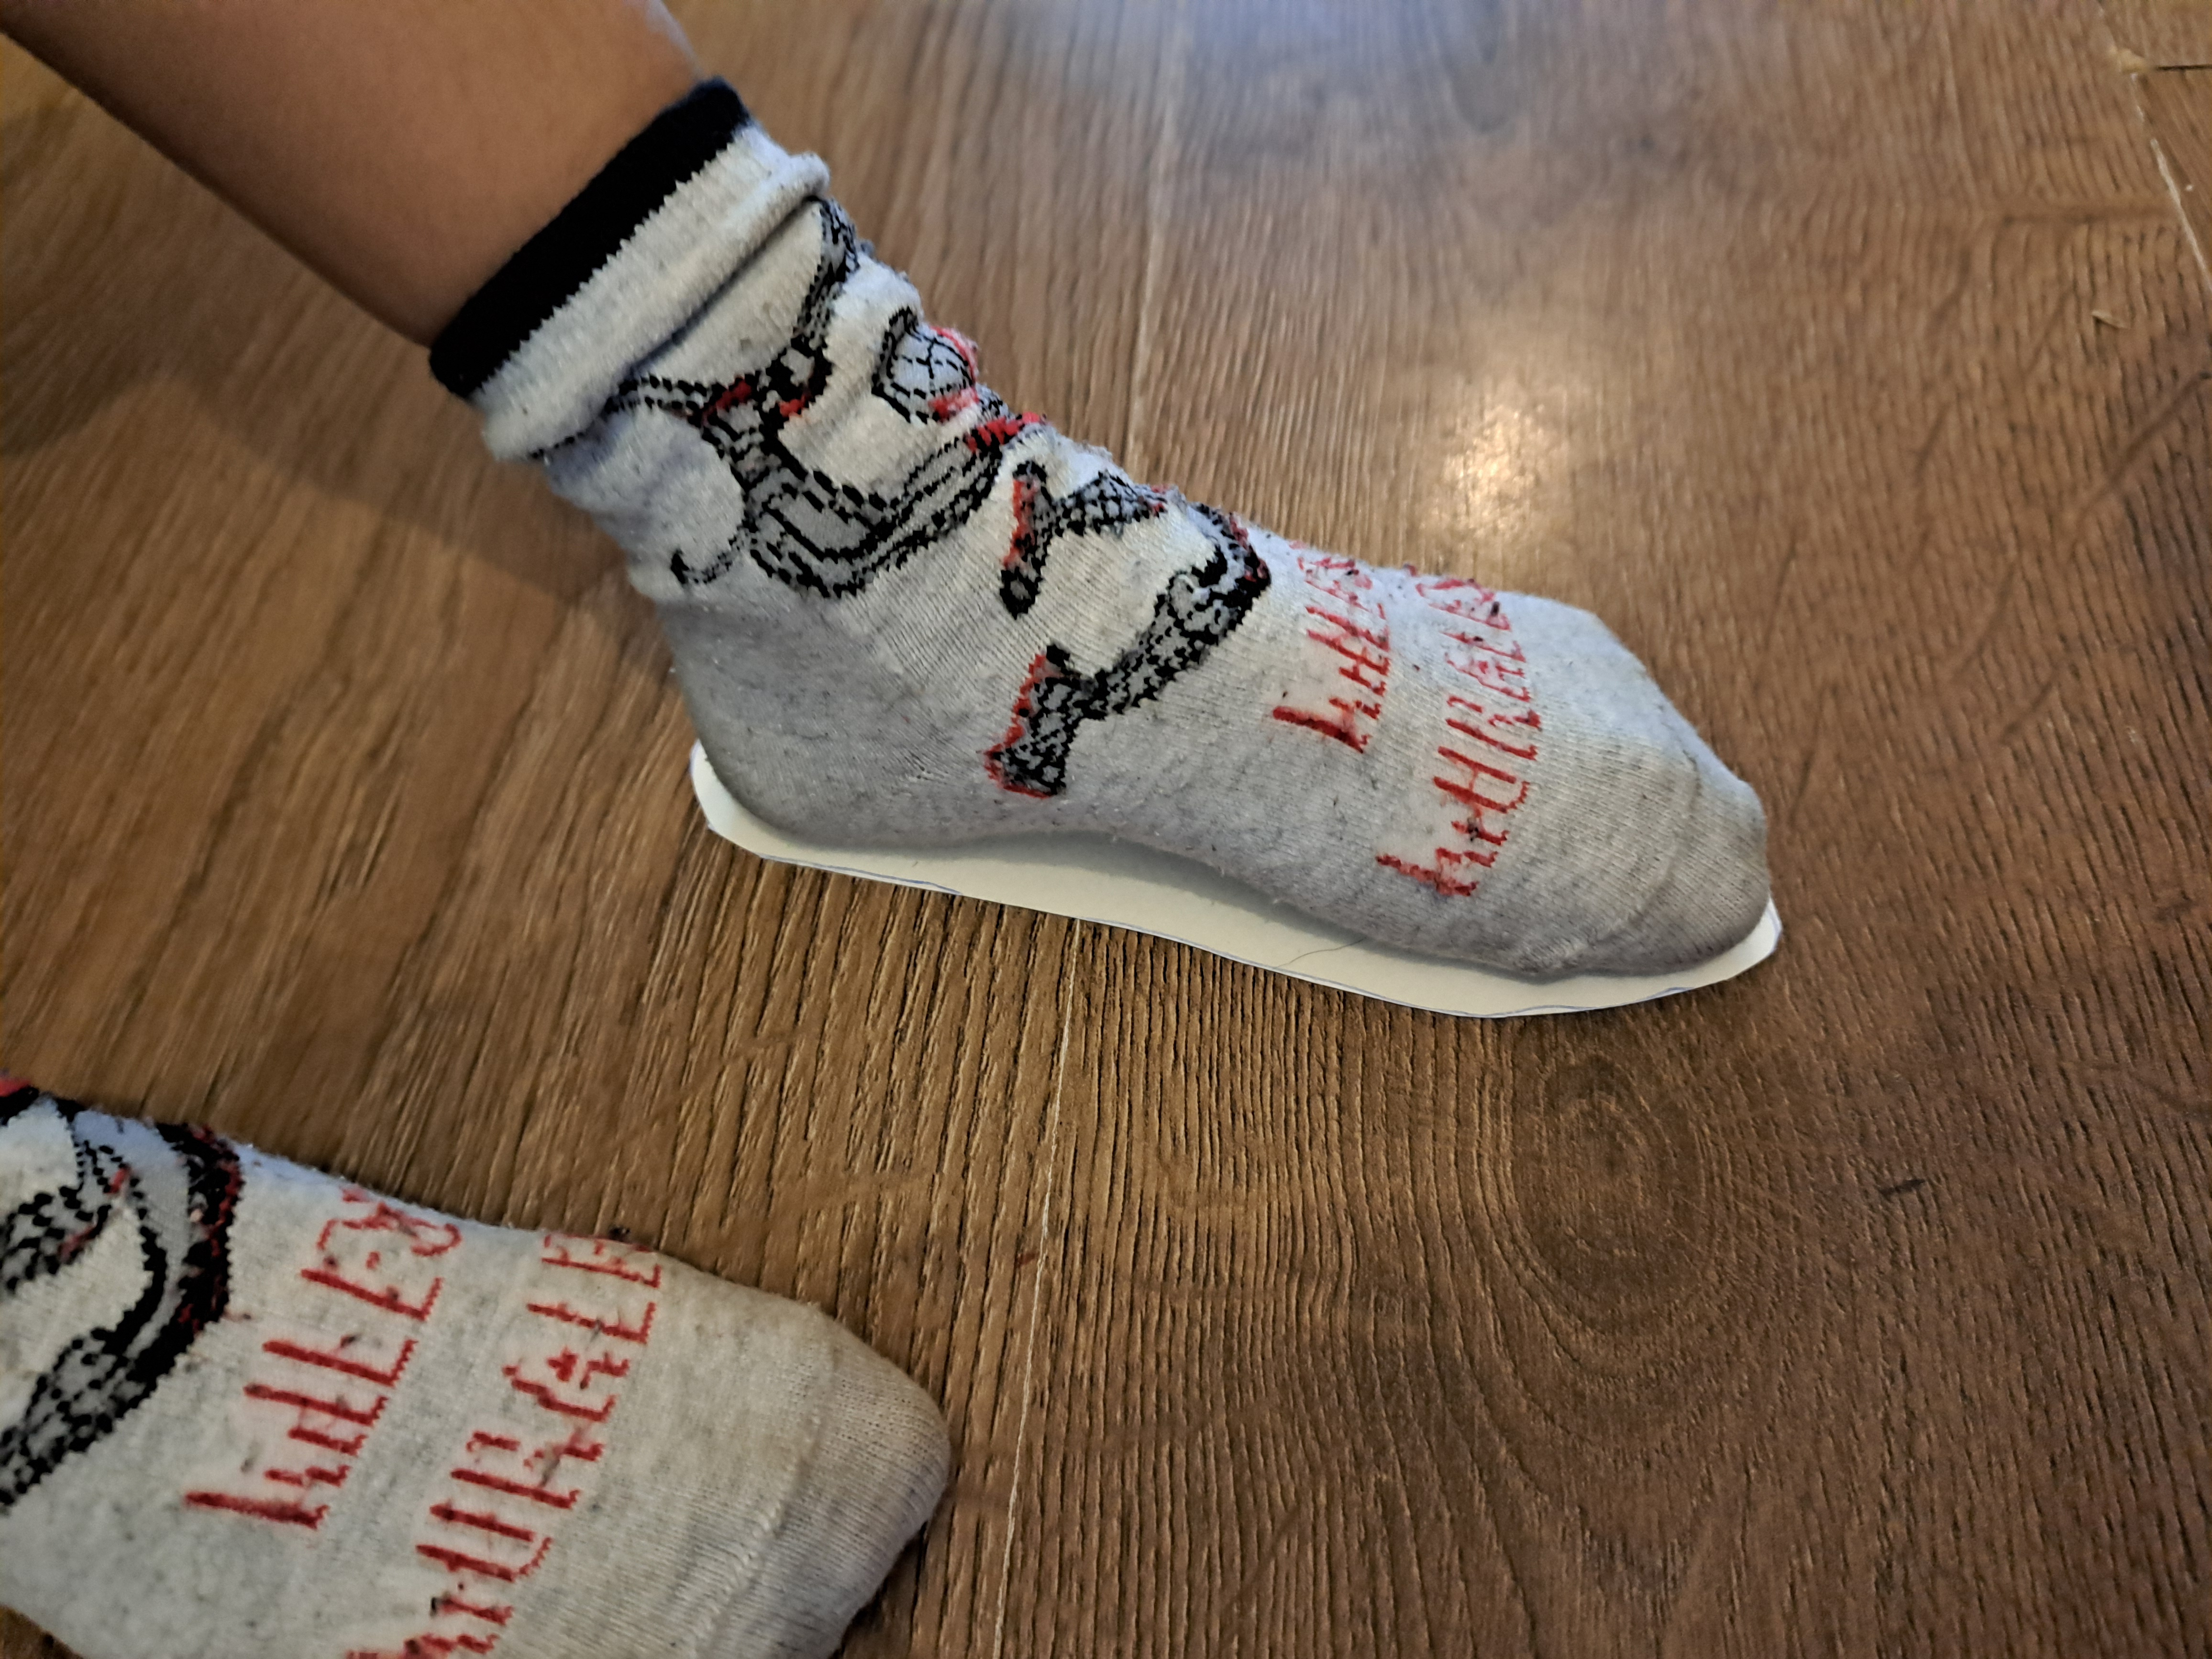
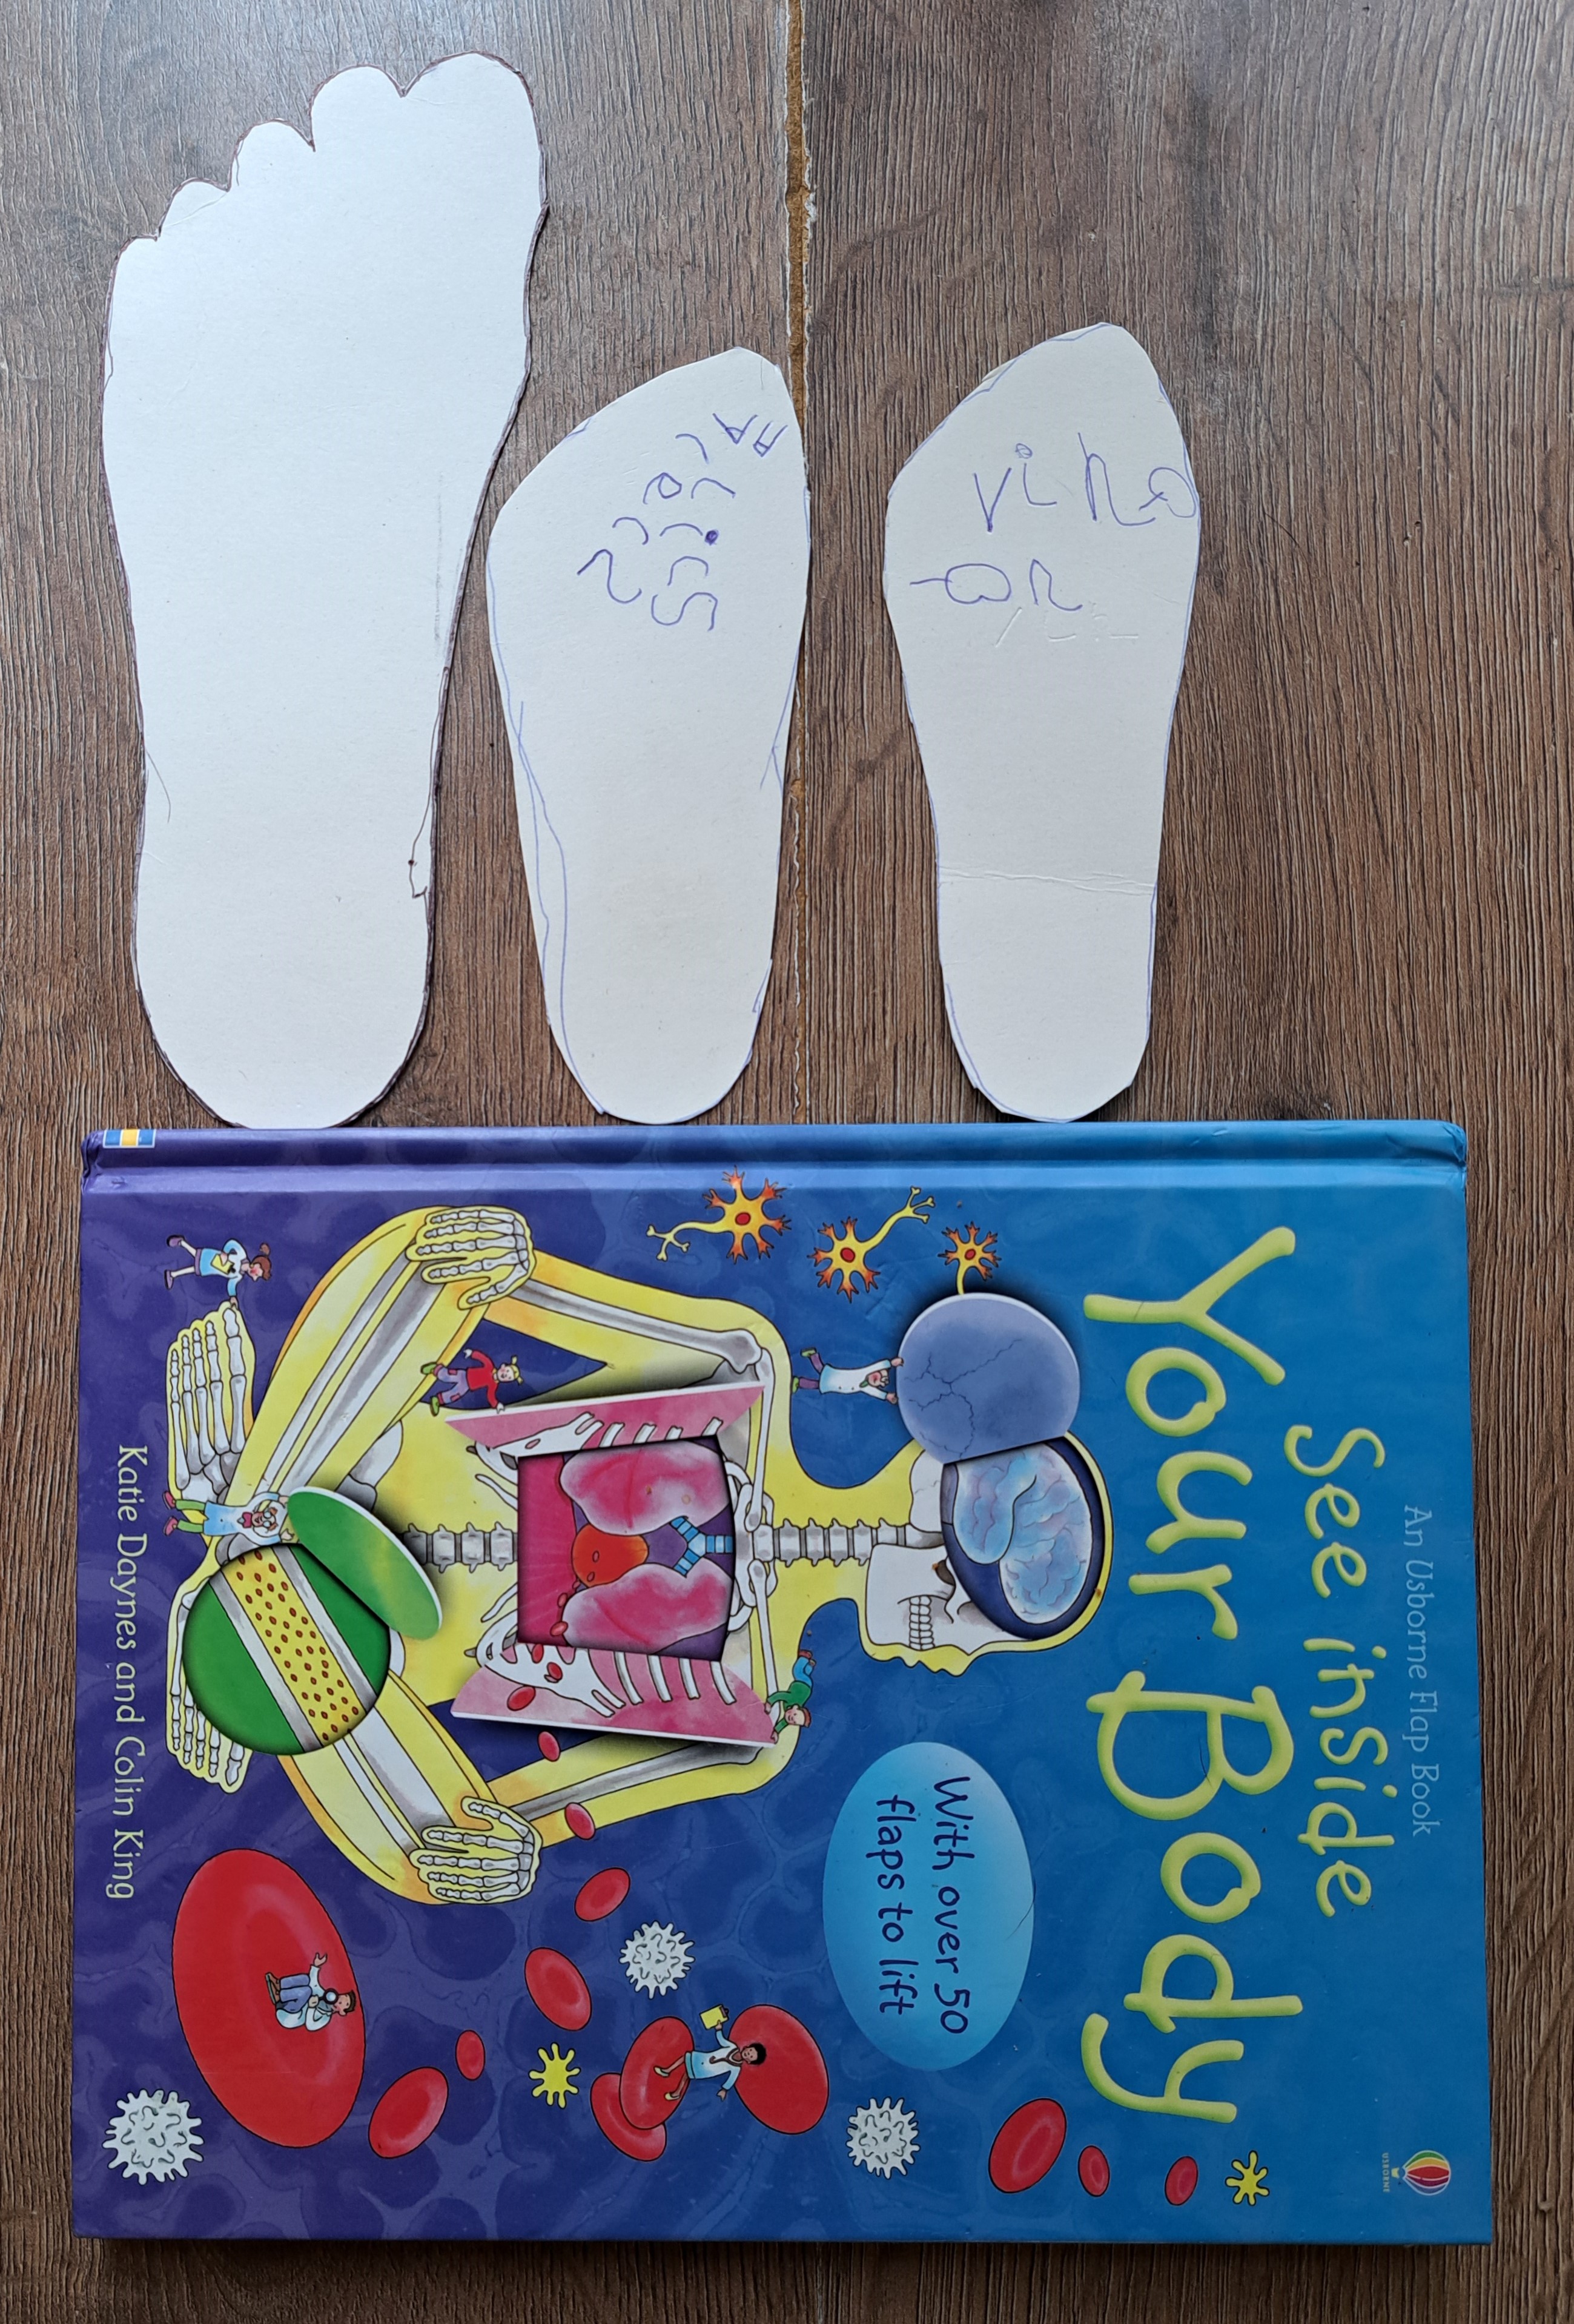
4. Measuring in "Feet" Activity: Ask each parent to trace the outline of their child's foot on the inside of an empty cardboard cereal box. Then ask the parent to cut
the foot outline out and for the child to write their name on the outline (otherwise the foot outlines get mixed up!). Ask the children to compare the different
foot outlines - are they all the same size?
4A. If you did Activity 3A outside, measure a chalk body outline with the biggest and smallest foot outlines. Put a foot outline at the bottom of the chalk outline,
say "1 Foot", mark the end of the 1st foot with your finger, slide the foot outline up and say "2 Feet". Continue sliding and counting feet until you
reach the other end of the chalk outline. Point out that the chalk outline is a different number of feet depending on the size of the foot outline you use (more
total feet for smaller foot outlines). Explain that saying "1 foot" based on different foot outlines is a non-standardized unit - it's different for each person.
Explain that normally, when we talk about "1 foot", it is a standardized unit which is the same everywhere and for everyone (this is less confusing!) - and that this
length was the length of King Henry I's foot! Then let the children measure their own chalk body outline with their foot outline.
4B. If you did Activity 3B inside, have a child lie on their back and put an object (a book, bag, etc) at their feet and at their head. Ask the child to stand
up and measure their height using their foot outline. Put the foot outline at the foot object, say "1 Foot", mark the end of the 1st foot
with your finger, slide the foot outline up and say "2 Feet". Continue sliding and counting feet until you reach the head object. Then measure the child's height
again using another child's
foot outline. Point out that we need a different number of feet depending on the size of the foot outline we use (more total feet for smaller foot outlines).
Explain that saying "1 foot" based on different foot outlines is a non-standardized unit - it's different for each person. Explain that normally, when we talk
about "1 foot", it is a standardized unit which is the same everywhere and for everyone (this is less confusing!) - and that this
length was the length of King Henry I's foot! Then have each child lie on their back, place foot and head objects, and let the children measure their own
heights using their own foot outlines.
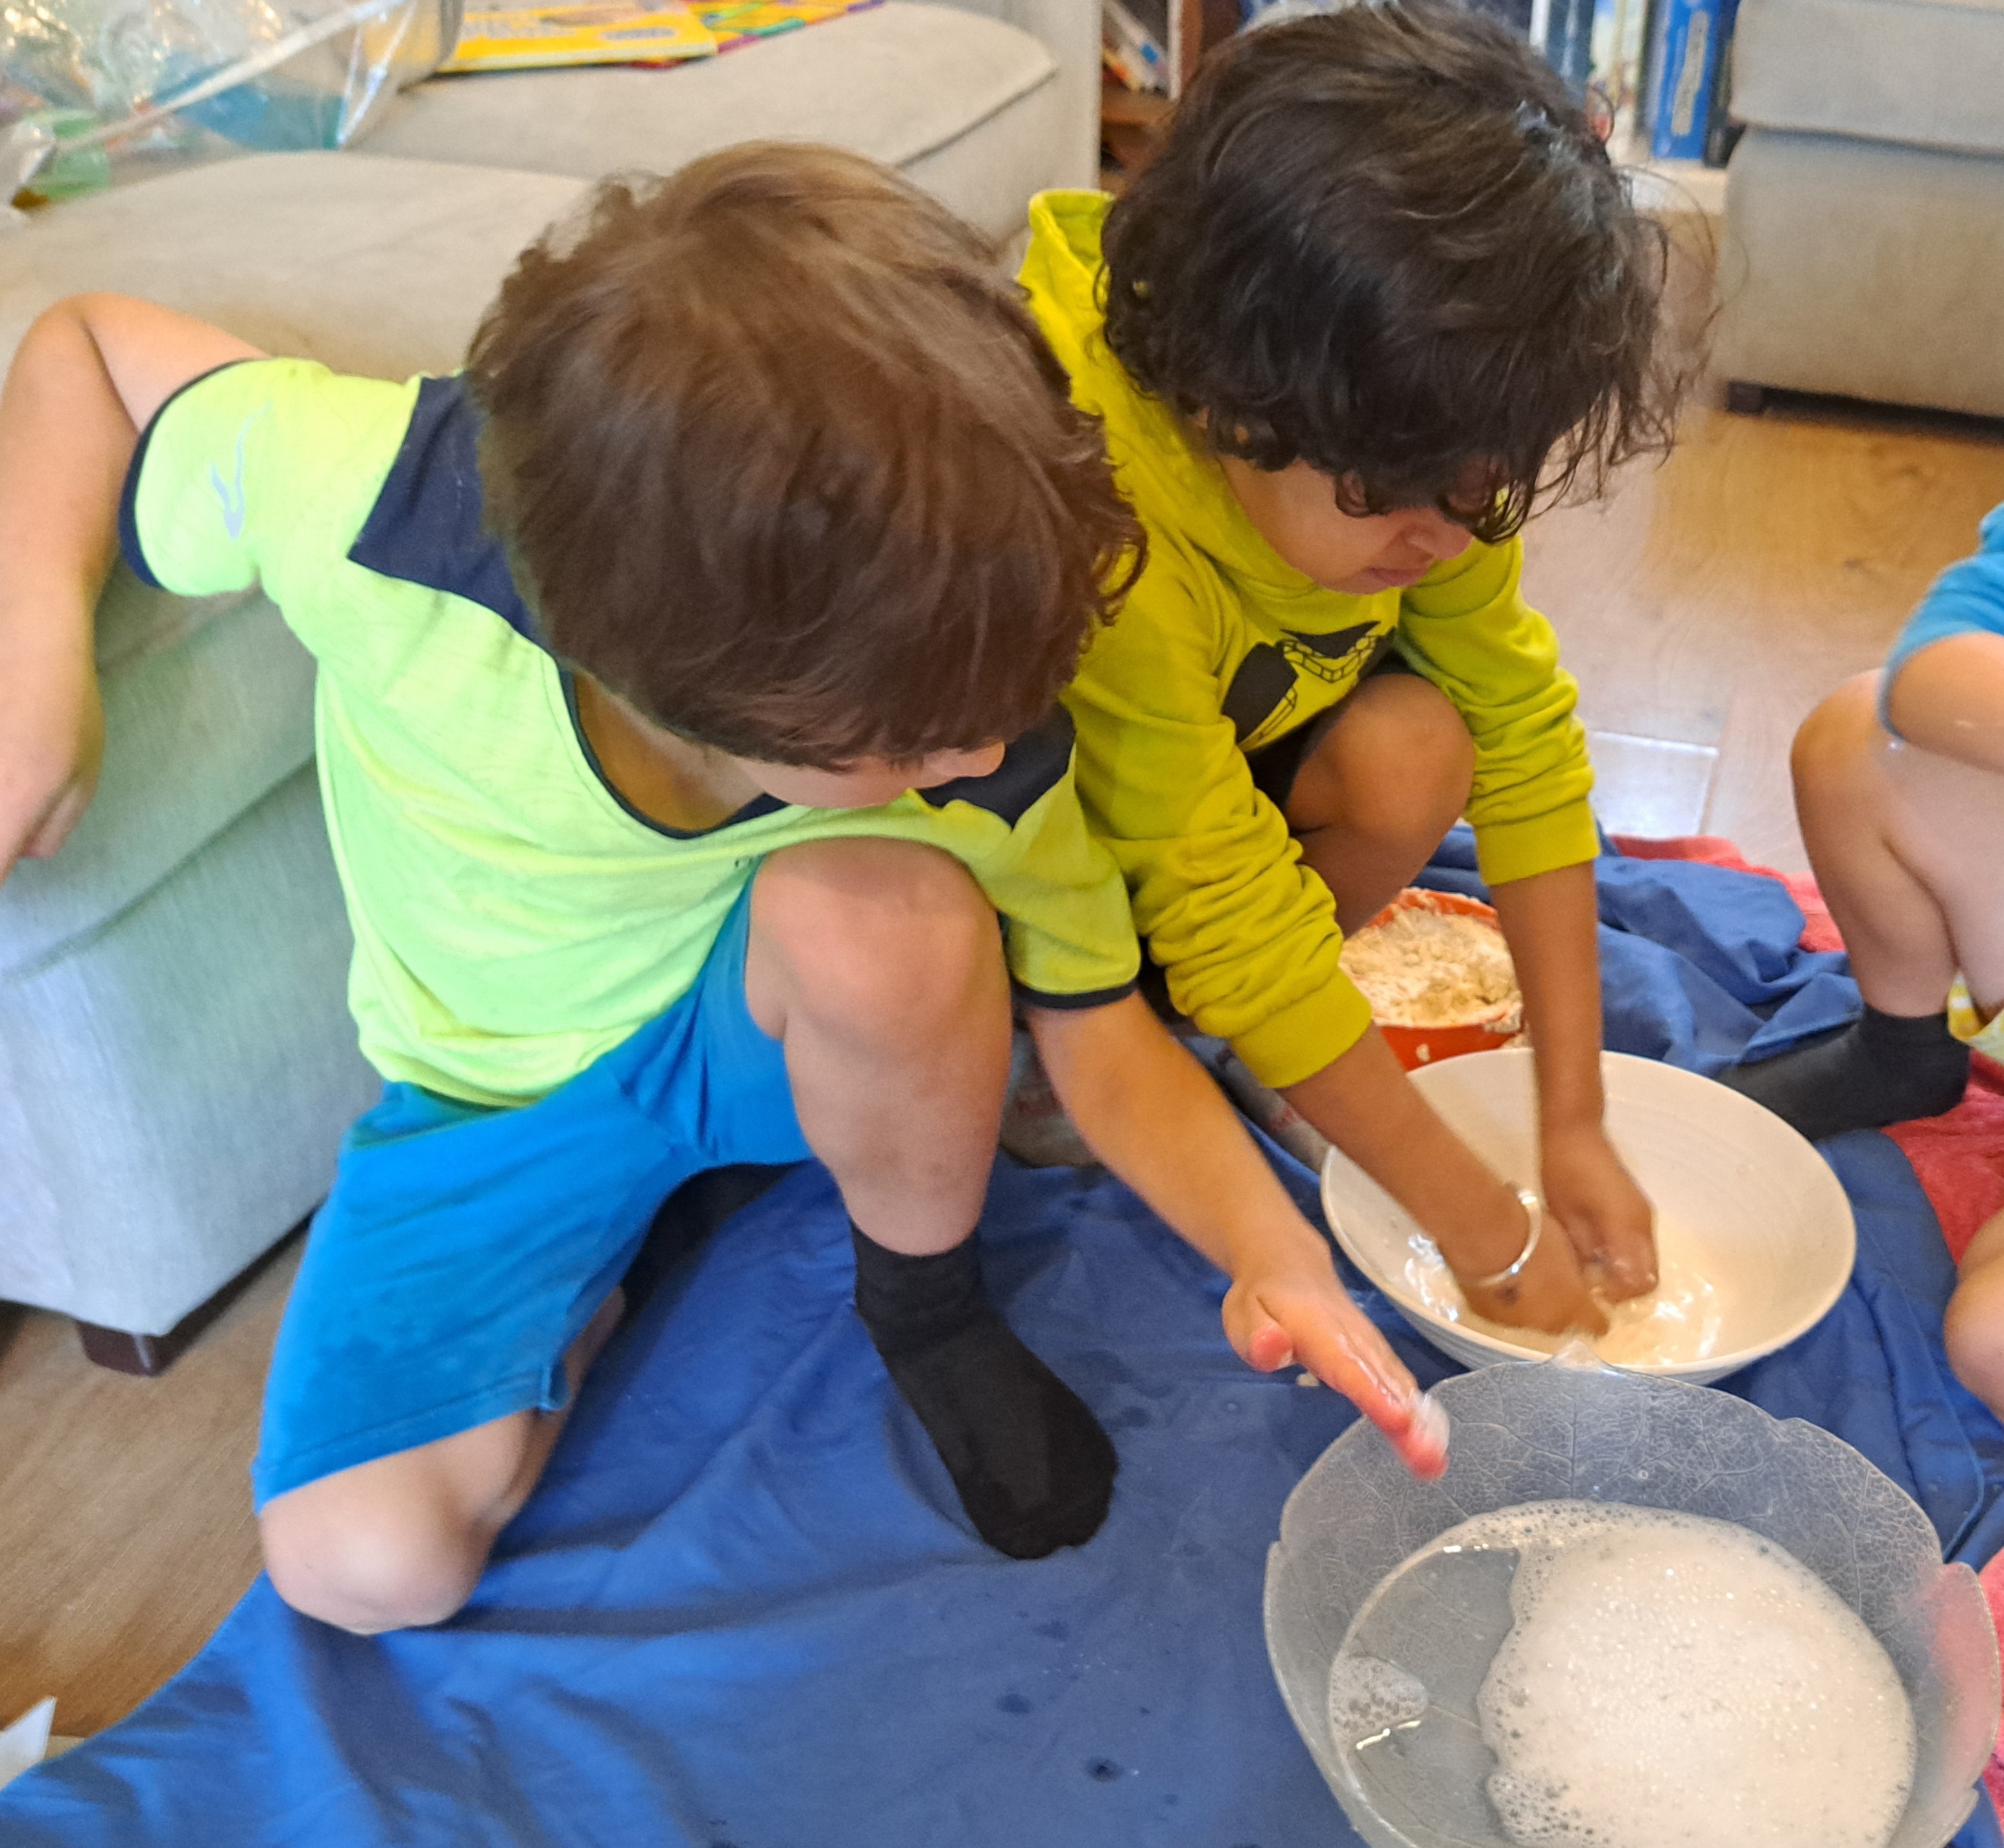
5. Washing Hands Activity: Remind the children that we use our hands to touch/feel the world around us - but that doing this can get our hands dirty with germs. Discuss
how putting dirty hands into our mouth can let germs into our body and make us feel sick. This is why it's important that we wash our hands after playing outside and
before eating. Introduce the next activity as the "Washing Hands Experiment". Emphasize the word "experiment" and explain that scientists use experiments to
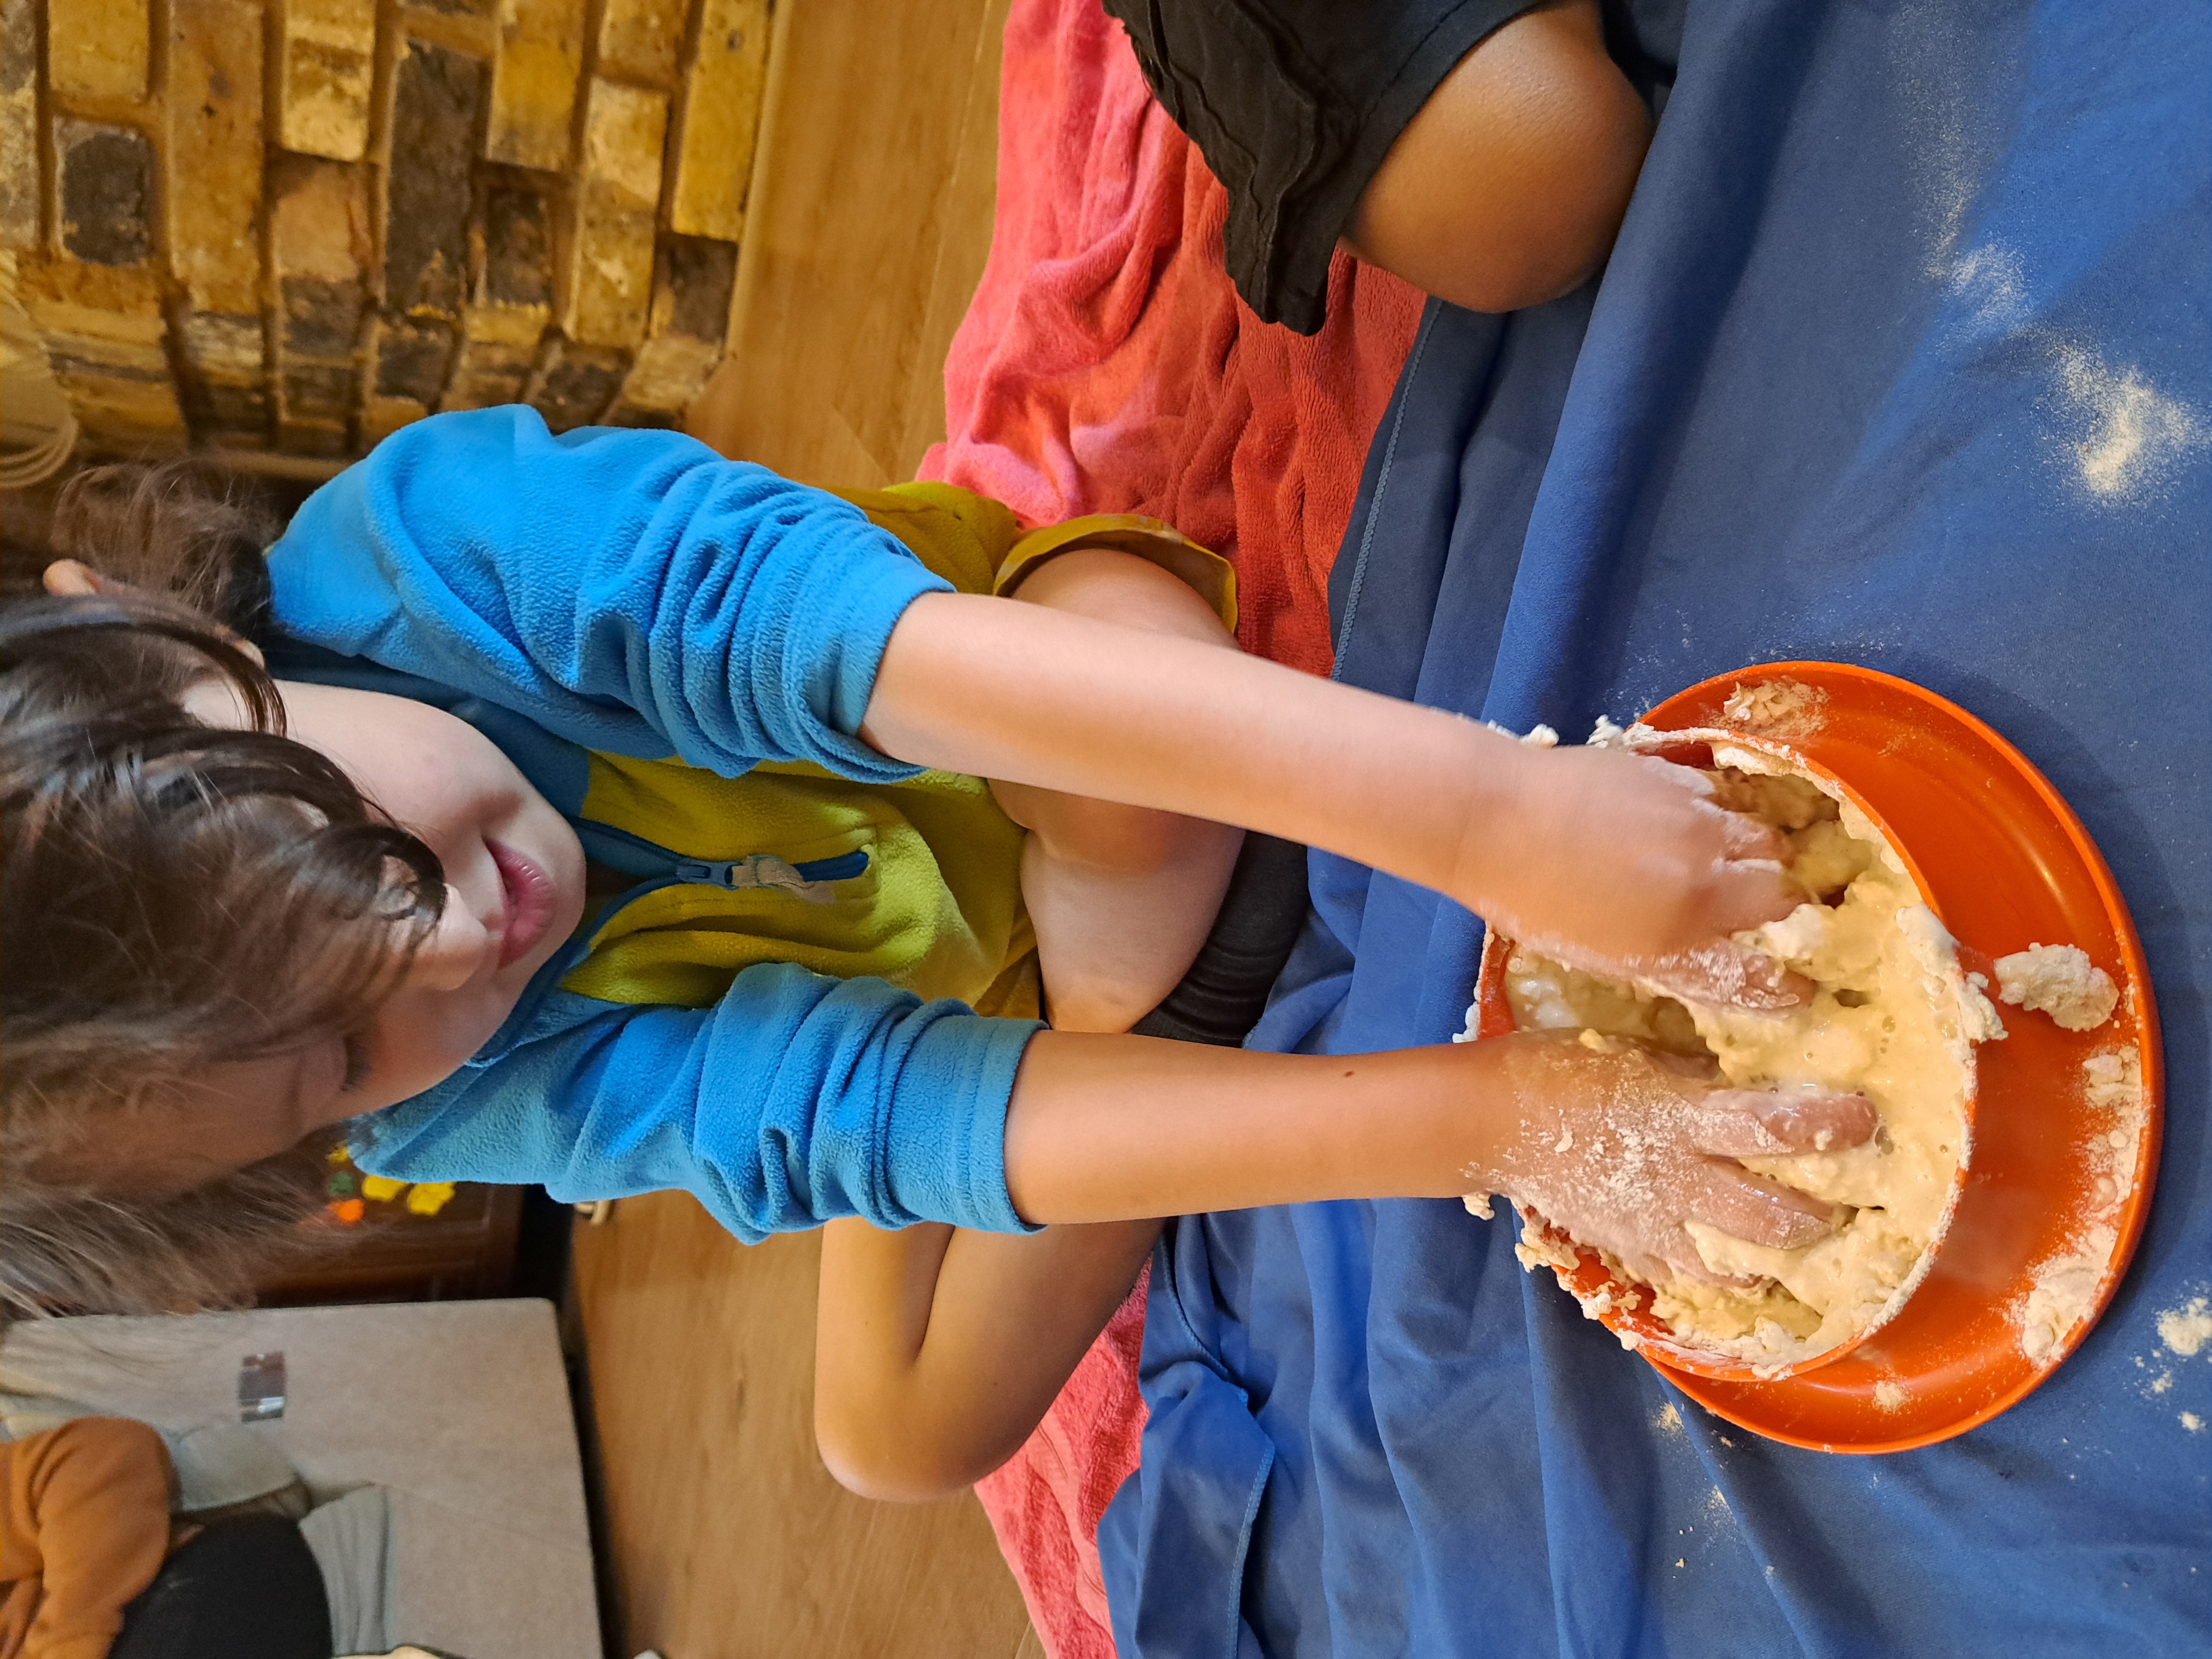
investigate questions we have. Explain that in this experiment, we will investigate the best way to clean our hands. First, the children will get their hands dirty
in the gloopy flour and water mixture -- then they will put their dirty hands in the cold water and then put their dirty hands in the warm water with soap to see
which of these options cleans their hands better. Put out the three bowls of flour and water, and encourage the children to squish their hands in the flour bowl and
then try both water bowls. Ask the children which bowl of water cleans their hands better. After all children have had a chance to do the experiment, explain
to the children that this is why they should use both warm water and soap to clean their hands (not just cold water).
6. Recap Activity: Have the children sit in a circle. Remind them of the different activities they have done in the session. Then ask the children which of the
activities was their favourite and why. (There are no right/wrong answers - this is just to help the children think through the potential options.)
7. At the end of the session, mention a highlight of the next Science Saturday session to keep families interested in attending! Remind parents that they can take
home their plant at the end of the next session.
Skills Learned/Practiced
STEM SKILLS
-Familiarity with names of human senses and names and locations of sense organs
-Familiarity with names and locations of body parts
-Understanding process of measuring (starting from 1 end, adding one foot, then another foot, then another foot, etc until reach the end)
-Counting and addition ("1 more foot than 4 feet is .... 5 feet!")
-Understanding of standardized vs non-standardized measurement units (my foot vs 1 foot), plus mini history lesson!
-Familiarity with the word "experiment"
NON-STEM SKILLS
-Reading: sounding out/reading flash cards
-Drawing: drawing body outlines using chalk or on A4 paper
-Writing/spelling: writing body parts onto body outline
-Communication: talking about favourite activity
-Cleaning: awareness of personal hygiene (washing hands)
Outputs/Take-Homes from Session
-STEM Learning leaflet with suggested activities to learn more About Me!
-Body outline with labelled body parts if did Activity 3B
-Foot outline
-Pictures taken of families during session
Other Articles:
|
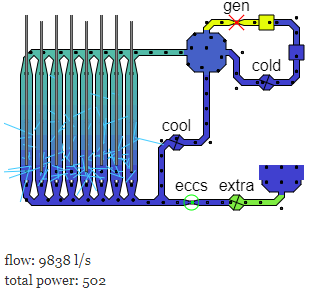
Chernobyl SimulationAn attempt to simulate the normal running, and then accident of the Chernobyl nuclear reactor. |
How SpaceX land first stage boostersThe algorithms that SpaceX (probably) use to control their first stage boosters. Several animations. |

|
|
How to simulate fractal ice crystal growth in PythonThis presents python code to draw snowflakes, simulating a diffusion process with Fourier transforms. |
© Hugo2015. Session @sessionNumber