Review of Machine Works's 4-Cylinder Engine Kit
Also called Haynes' Build Your Own Internal Combustion Engine
By Dr Jennifer Martay PE, Course Leader for Medical Engineering at Anglia Ruskin University
I am a Biomedical Engineer, working alongside many Mechanical Engineers. I felt like an engineering imposter for not understanding
how things like car engines work - so I got this kit to learn the basics.
I also loved previous Haynes kits I've done so I had high hopes for this one!
What did I think about it? The kit was relatively easy to build and taught me about car engines. Some small changes would improve the experience, especially for people not already familiar with car engines. For more details, watch the below video and/or keep reading!
First Impressions
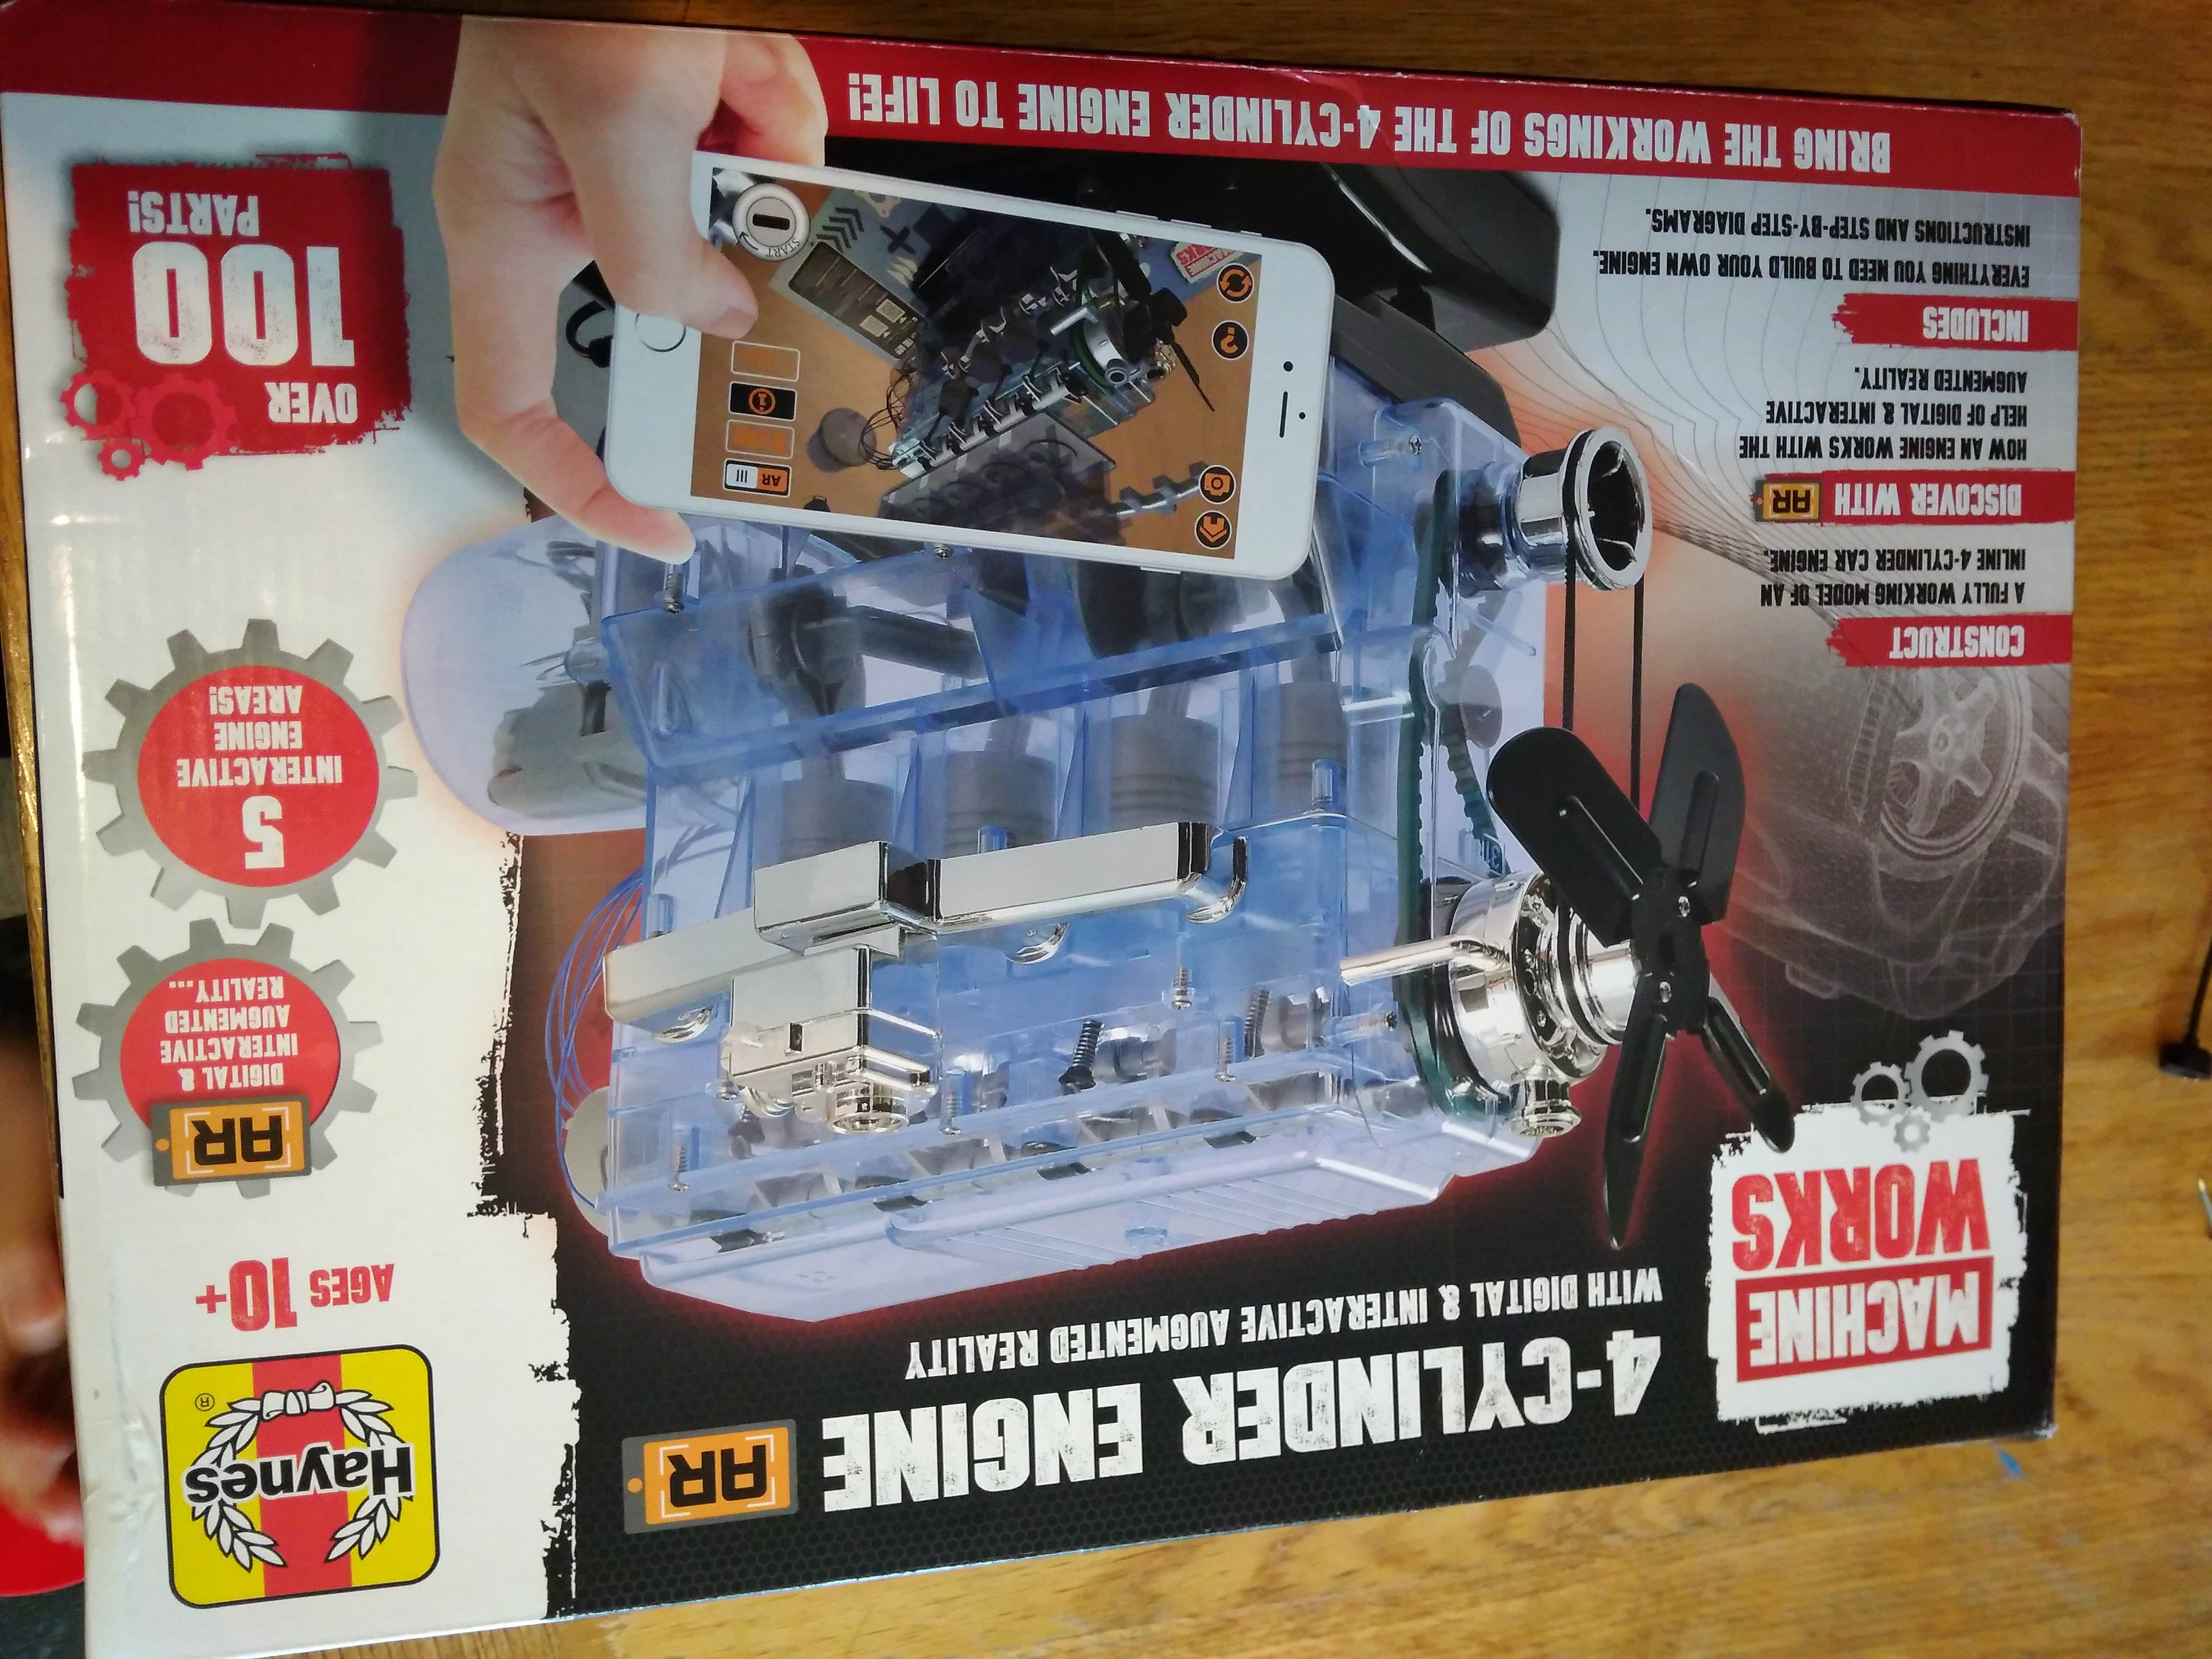
The kit comes with an instruction manual and multiple sheets of parts (don't take the parts off of their sheets yet!). I don't understand why the sheets arrive within plastic bags - in most cases, these bags are unnecessary and environmentally unfriendly. The kit also has an augmented reality app which shows and explains the moving engine parts in more detail.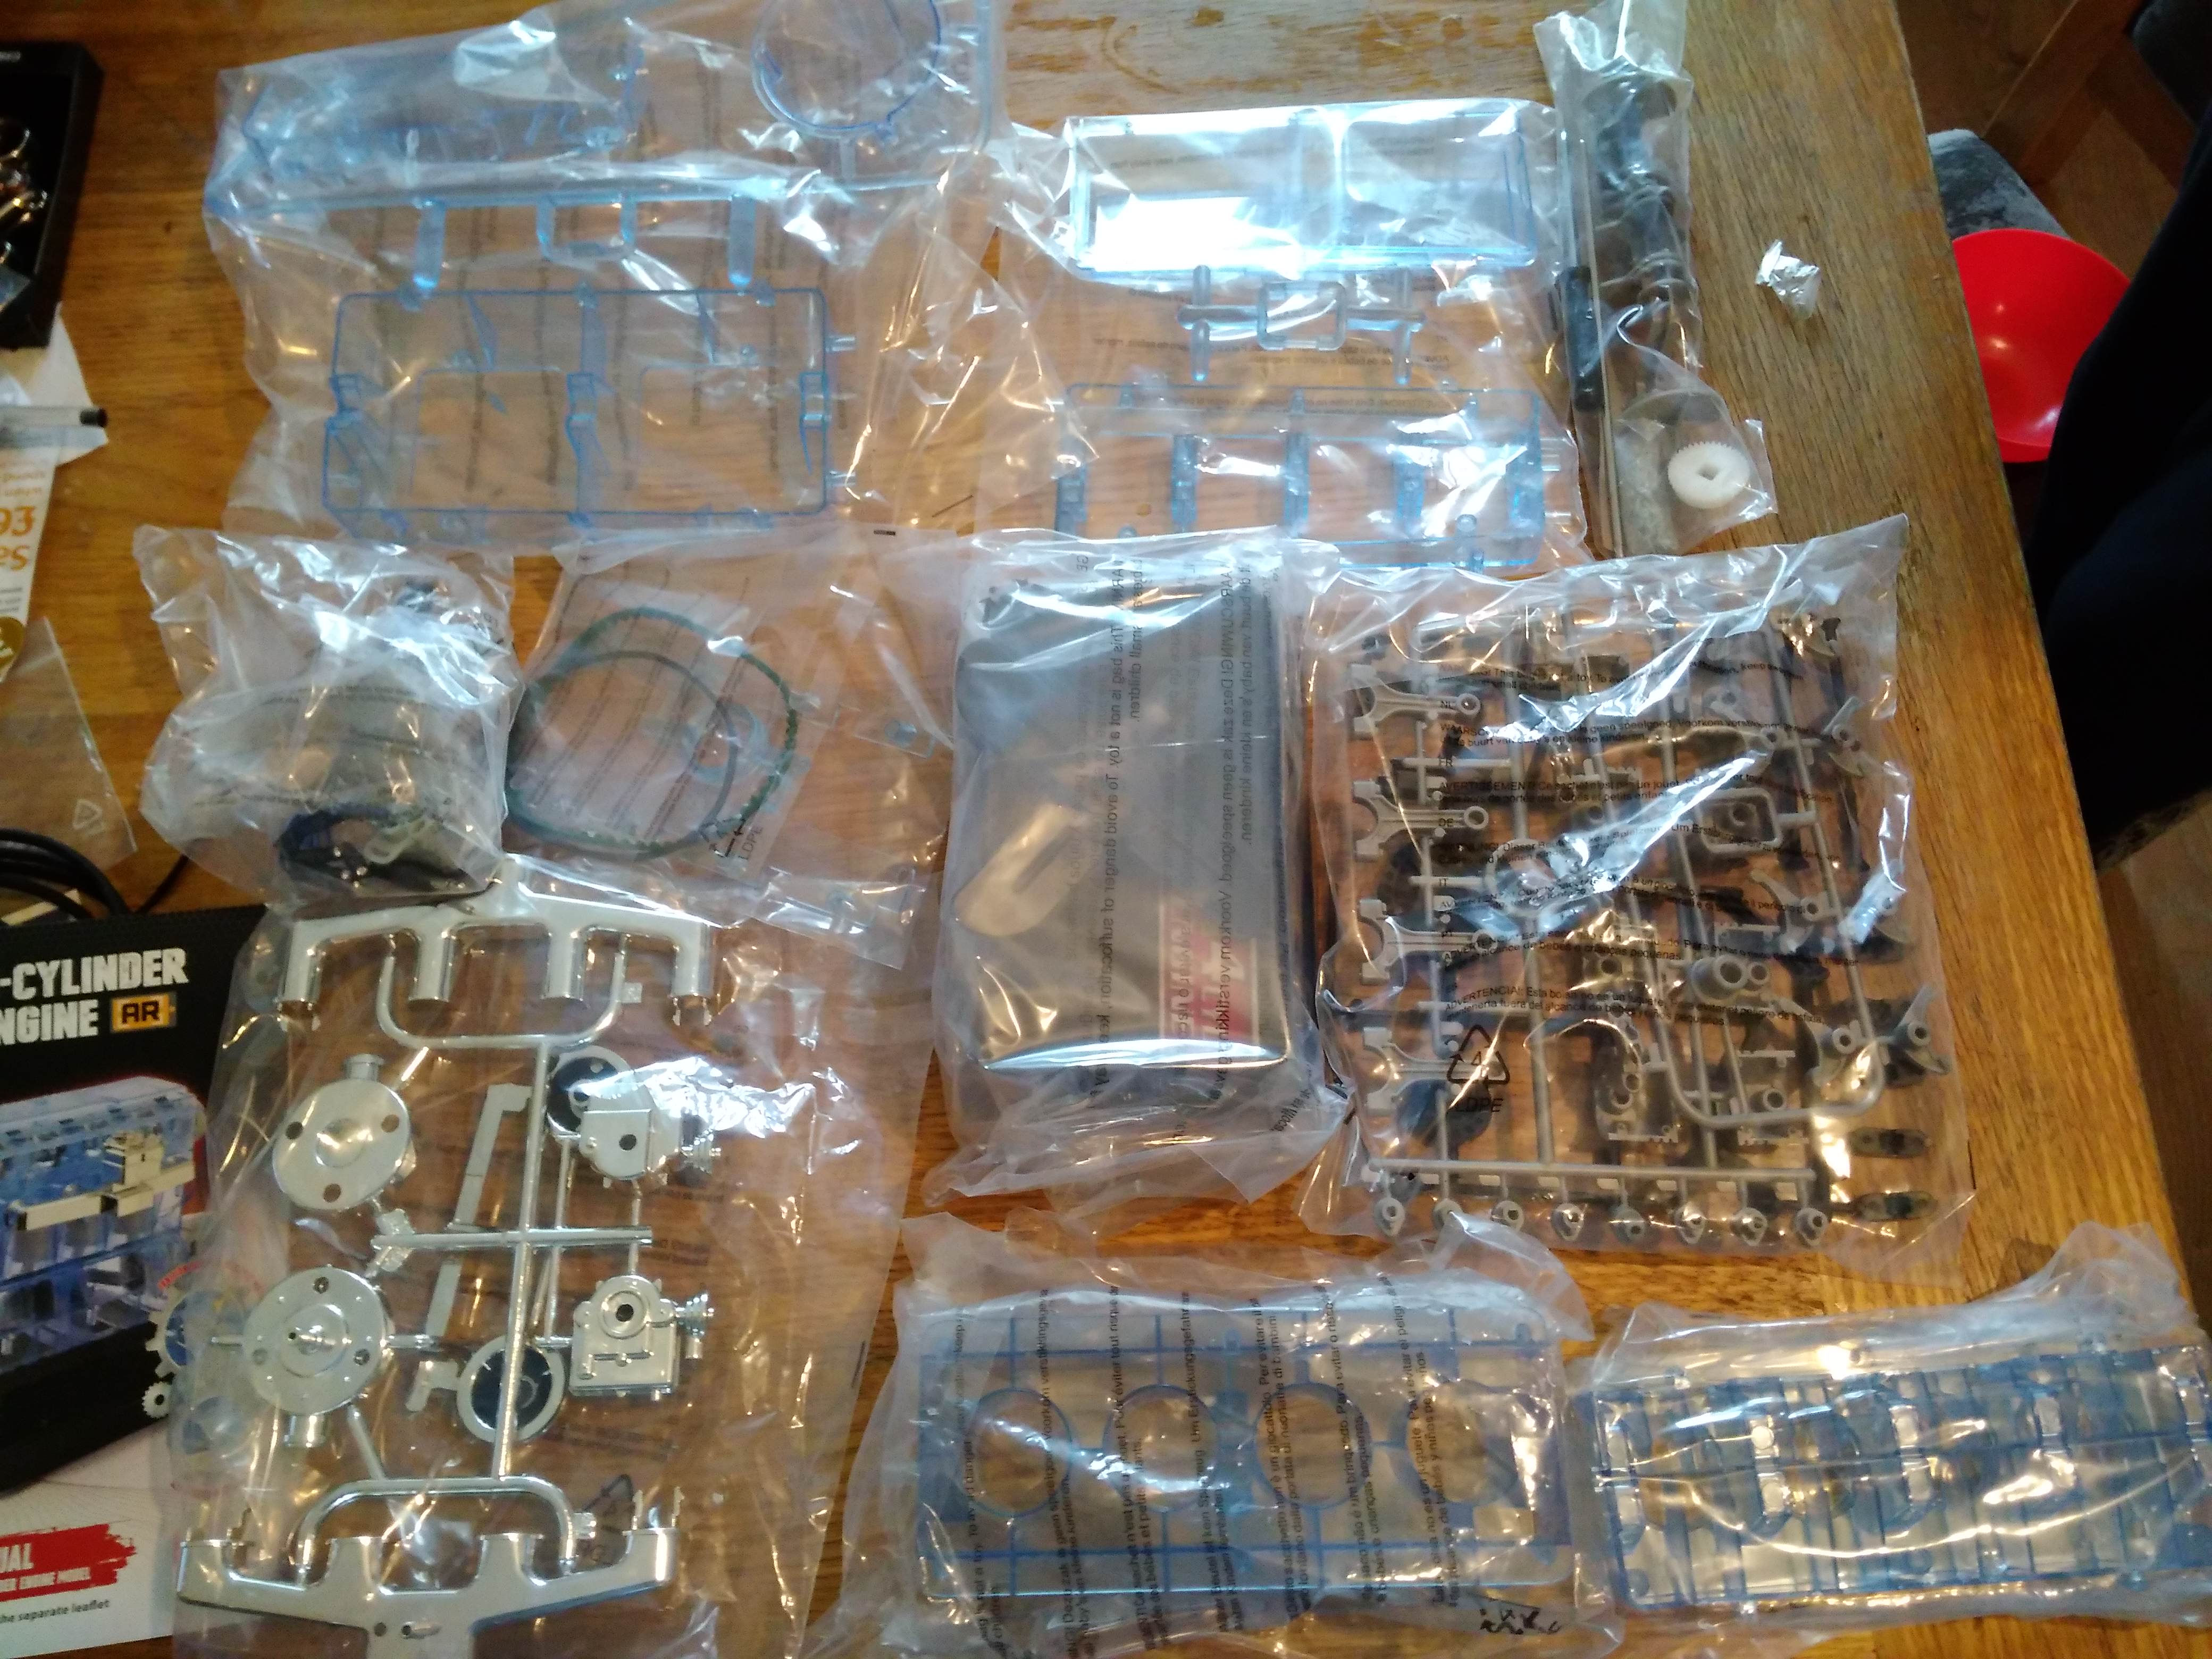
The instruction manual begins with a Table of Parts. Each part in the kit is named and given a number. The manual then both explains in text and shows in pictures how the various parts need to be combined. The manual is generally easy to follow. Text explanations usually use both part name and number. Pictures almost always show part numbers.
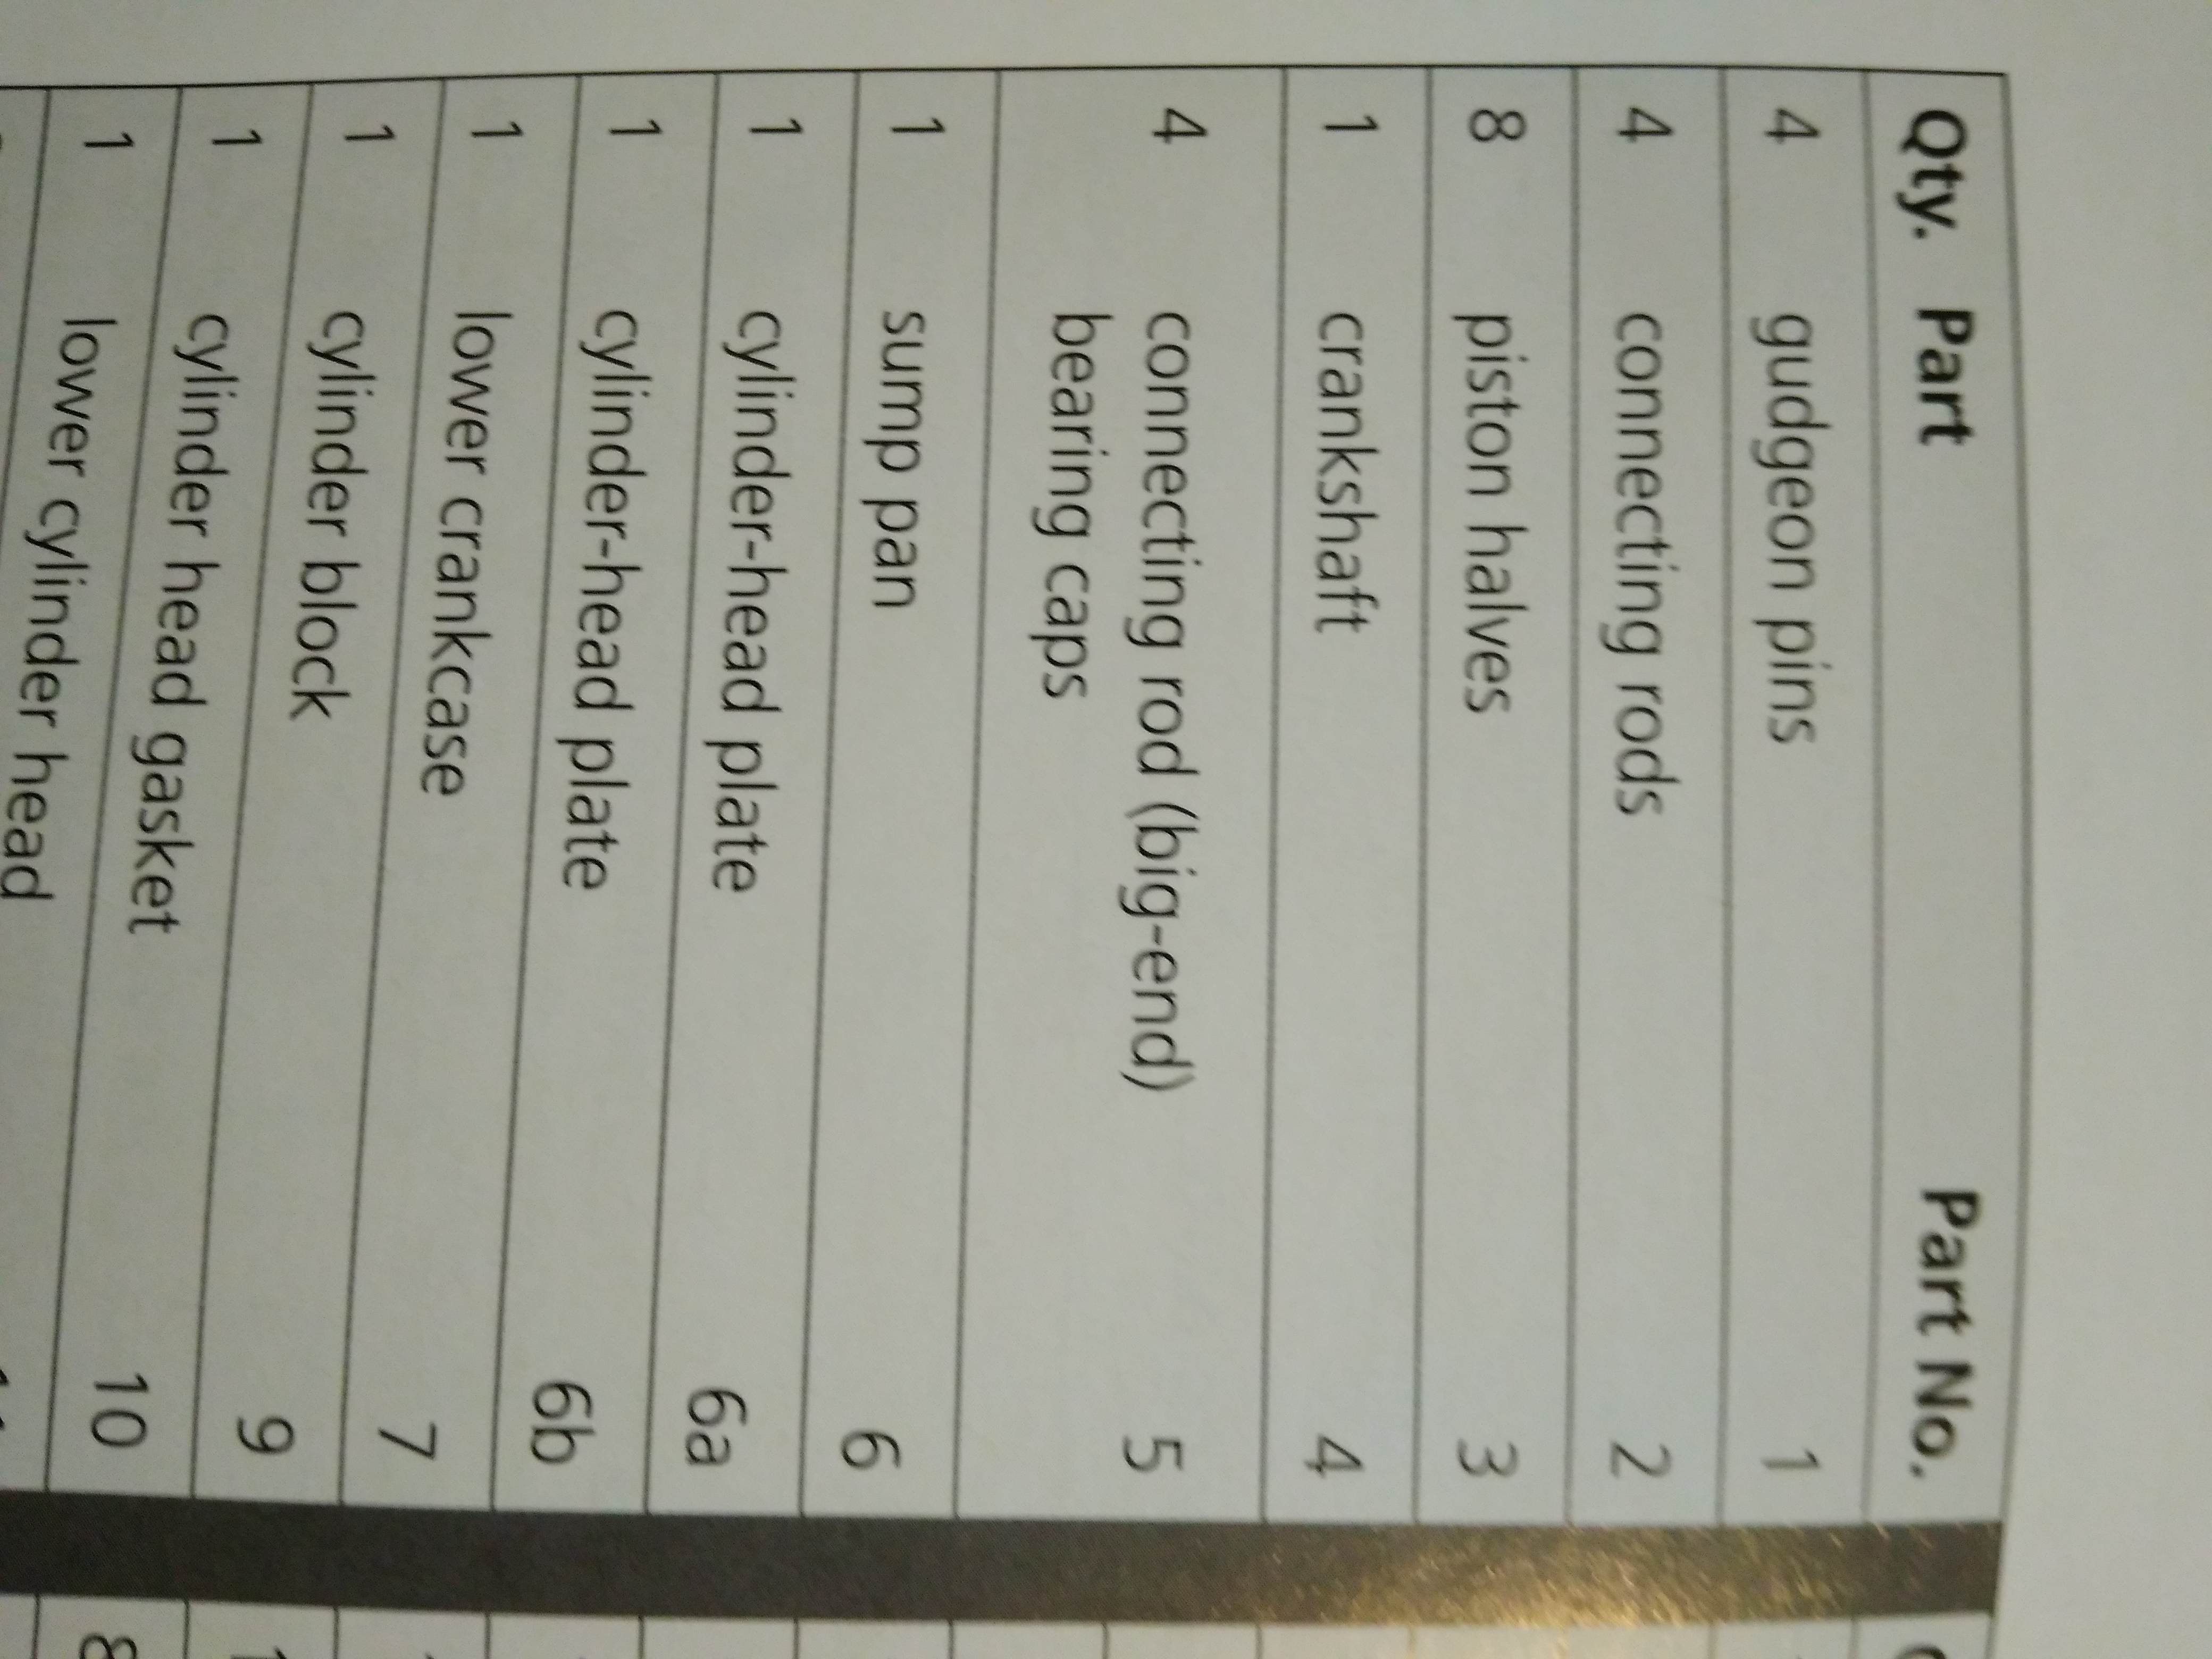
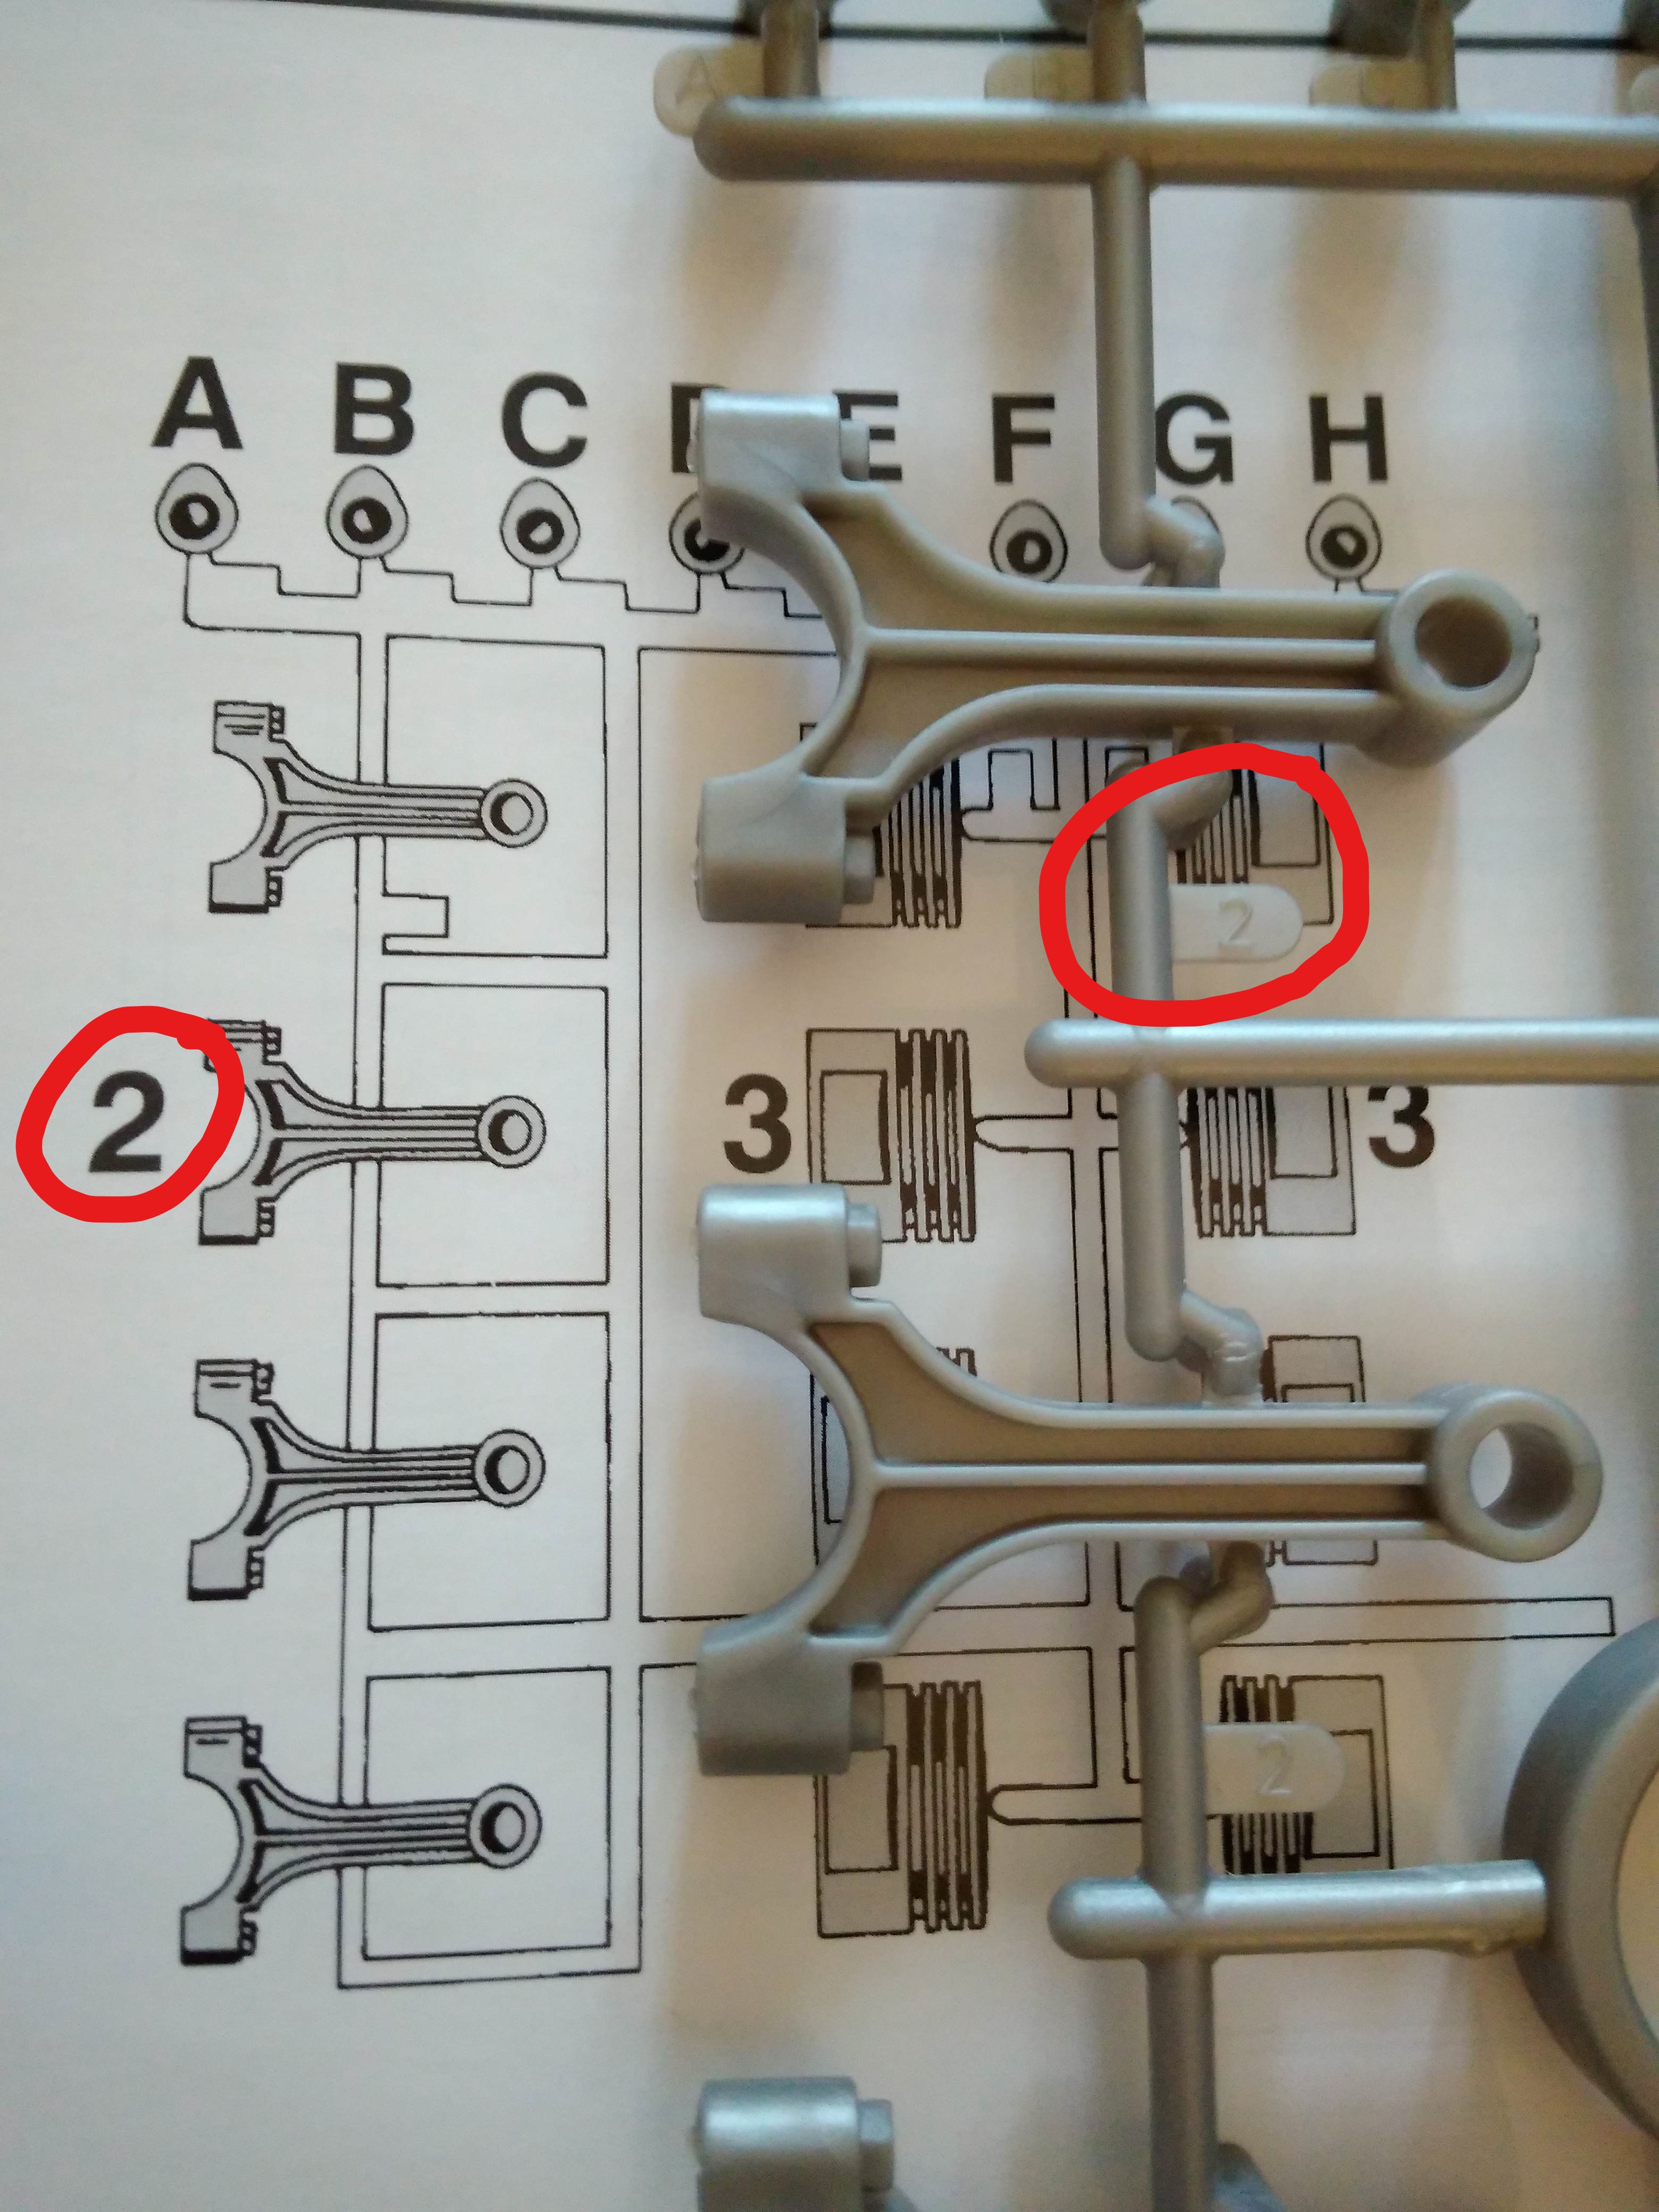
The physical parts are sometimes hard to locate. Only ~50% of the physical parts have part numbers printed on or near the parts. The remaining 50% of the physical parts are unlabelled. You need to match shapes to the Table of Parts to identify the parts. Part identification is especially difficult for people without previous experience with car engines. An example of the labelled "Part 2" is shown below.
Step 1: Constructing the Cylinder Block, with Pistons and Crankshaft
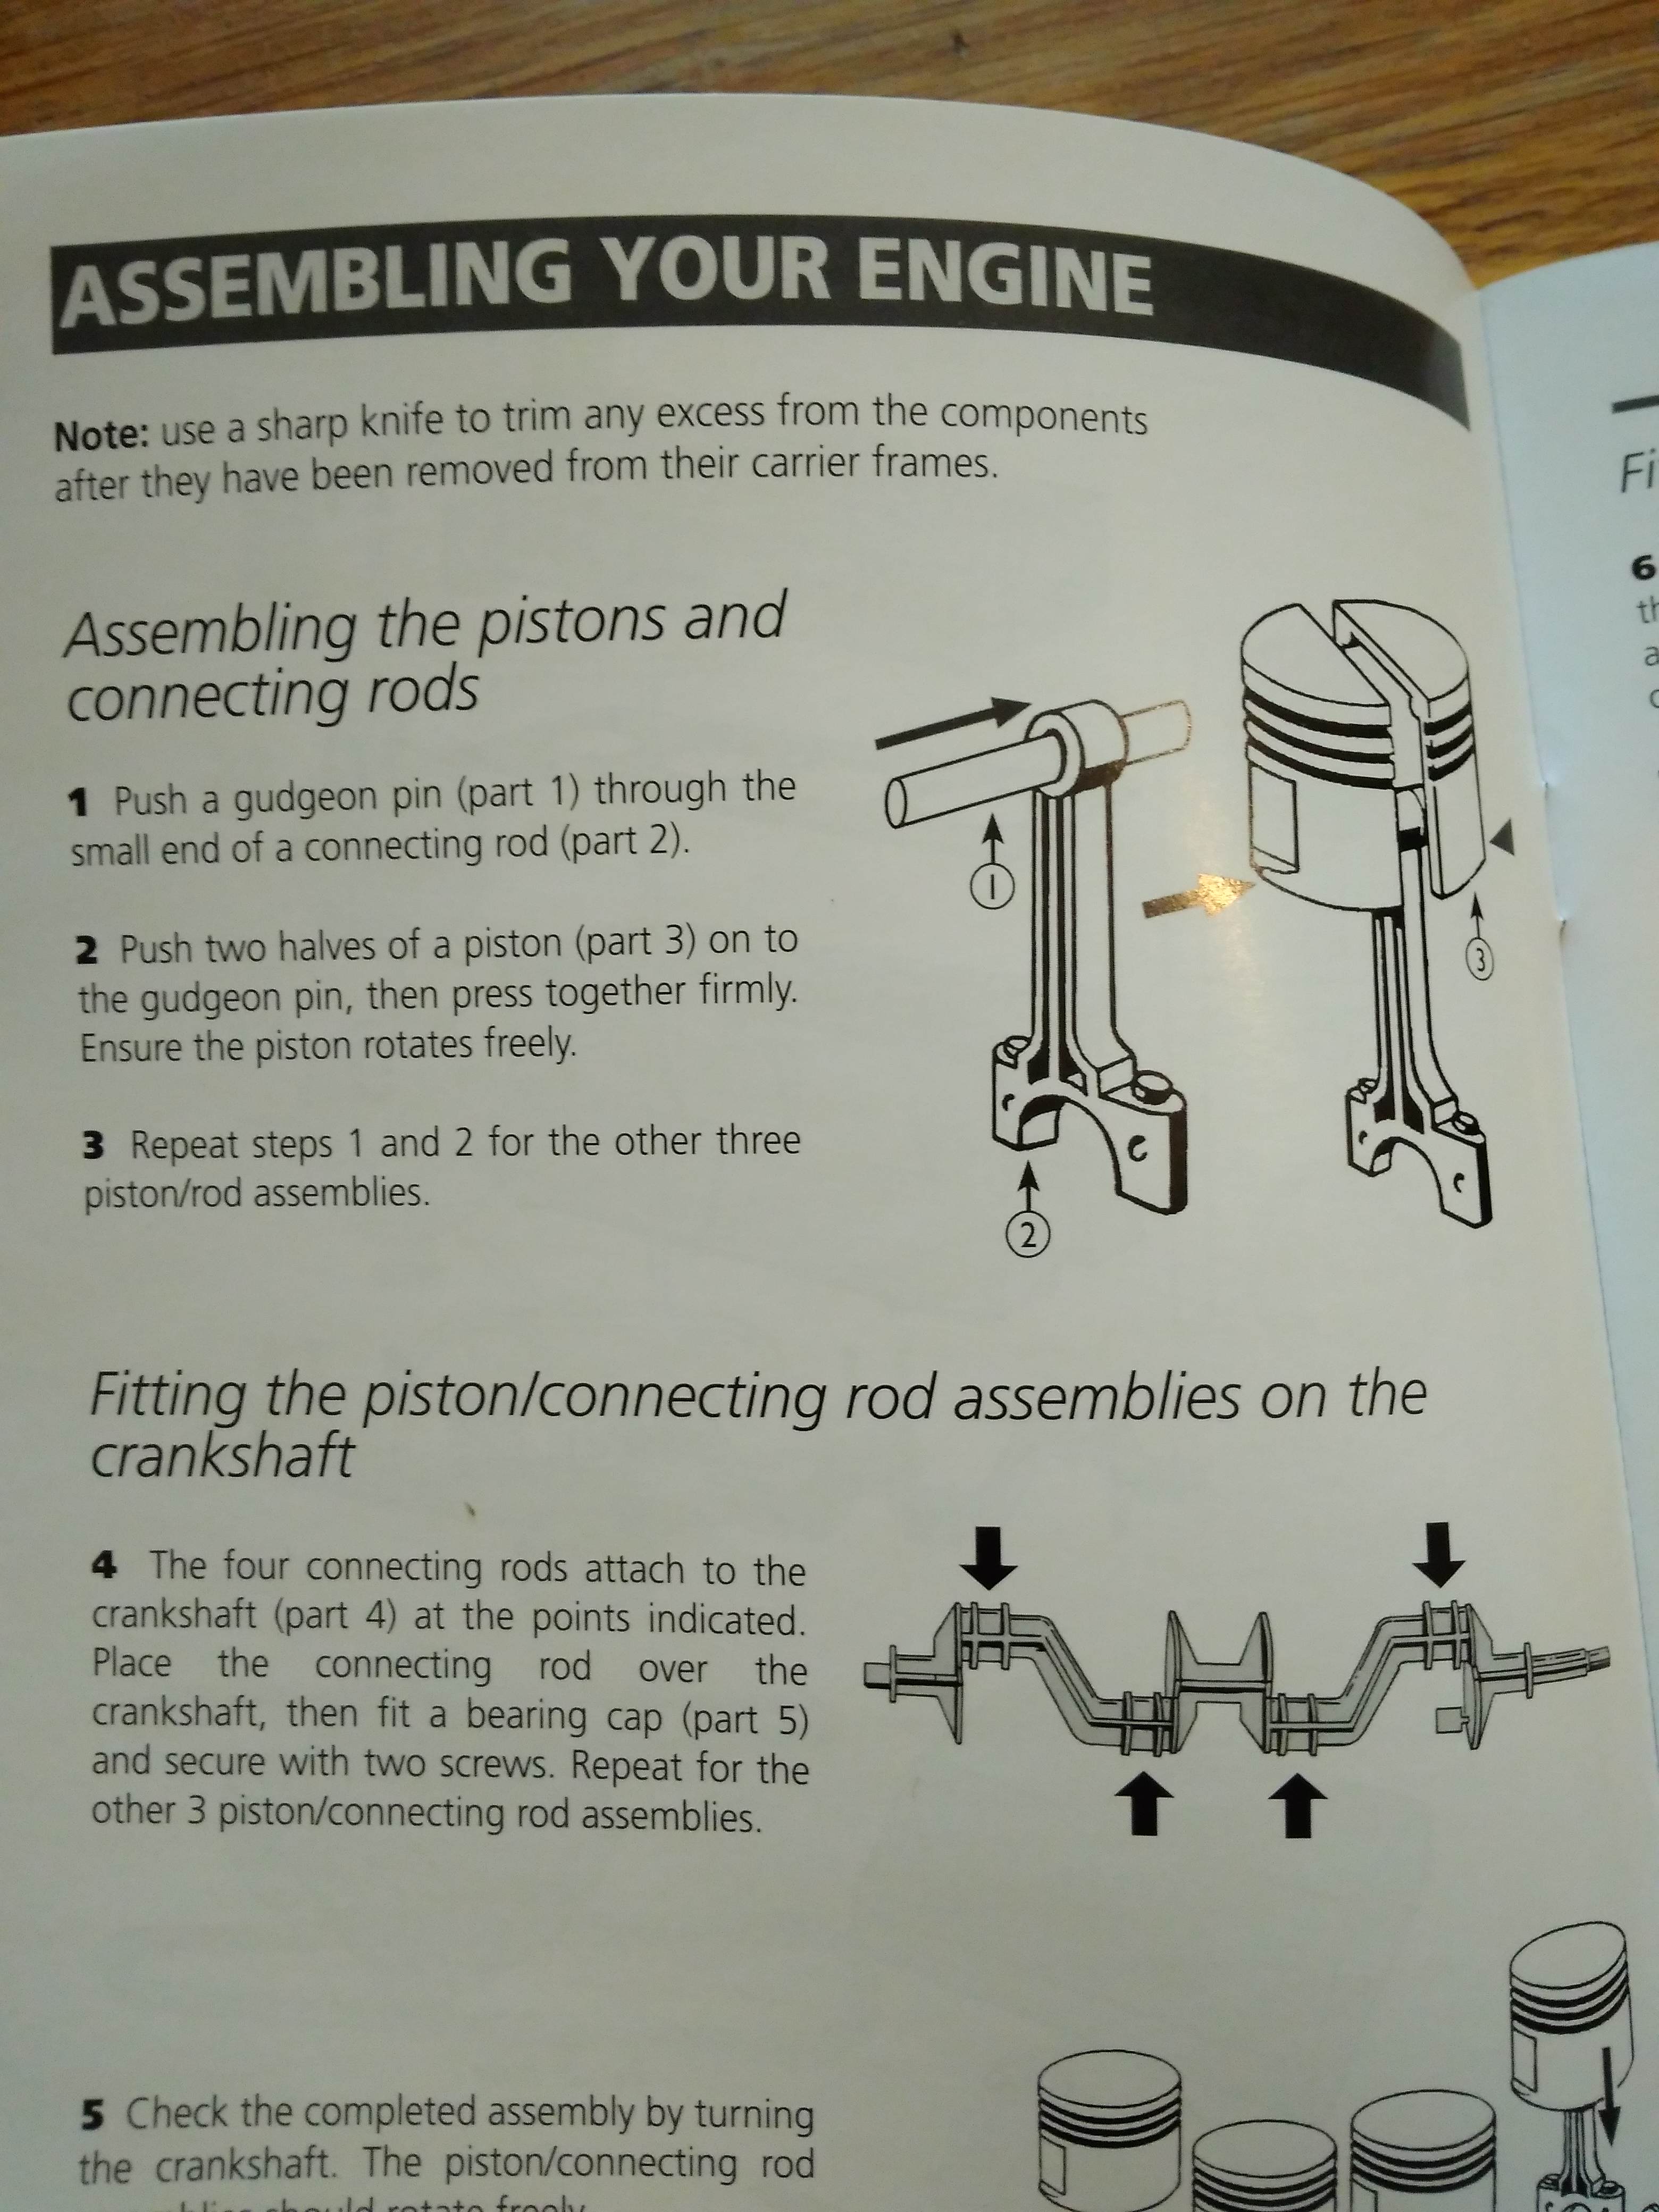
The build starts with making the pistons, which are then attached to the crankshaft. The manual highlights common problems during the build, for example, checking that the pistons rotate freely around the crankshaft.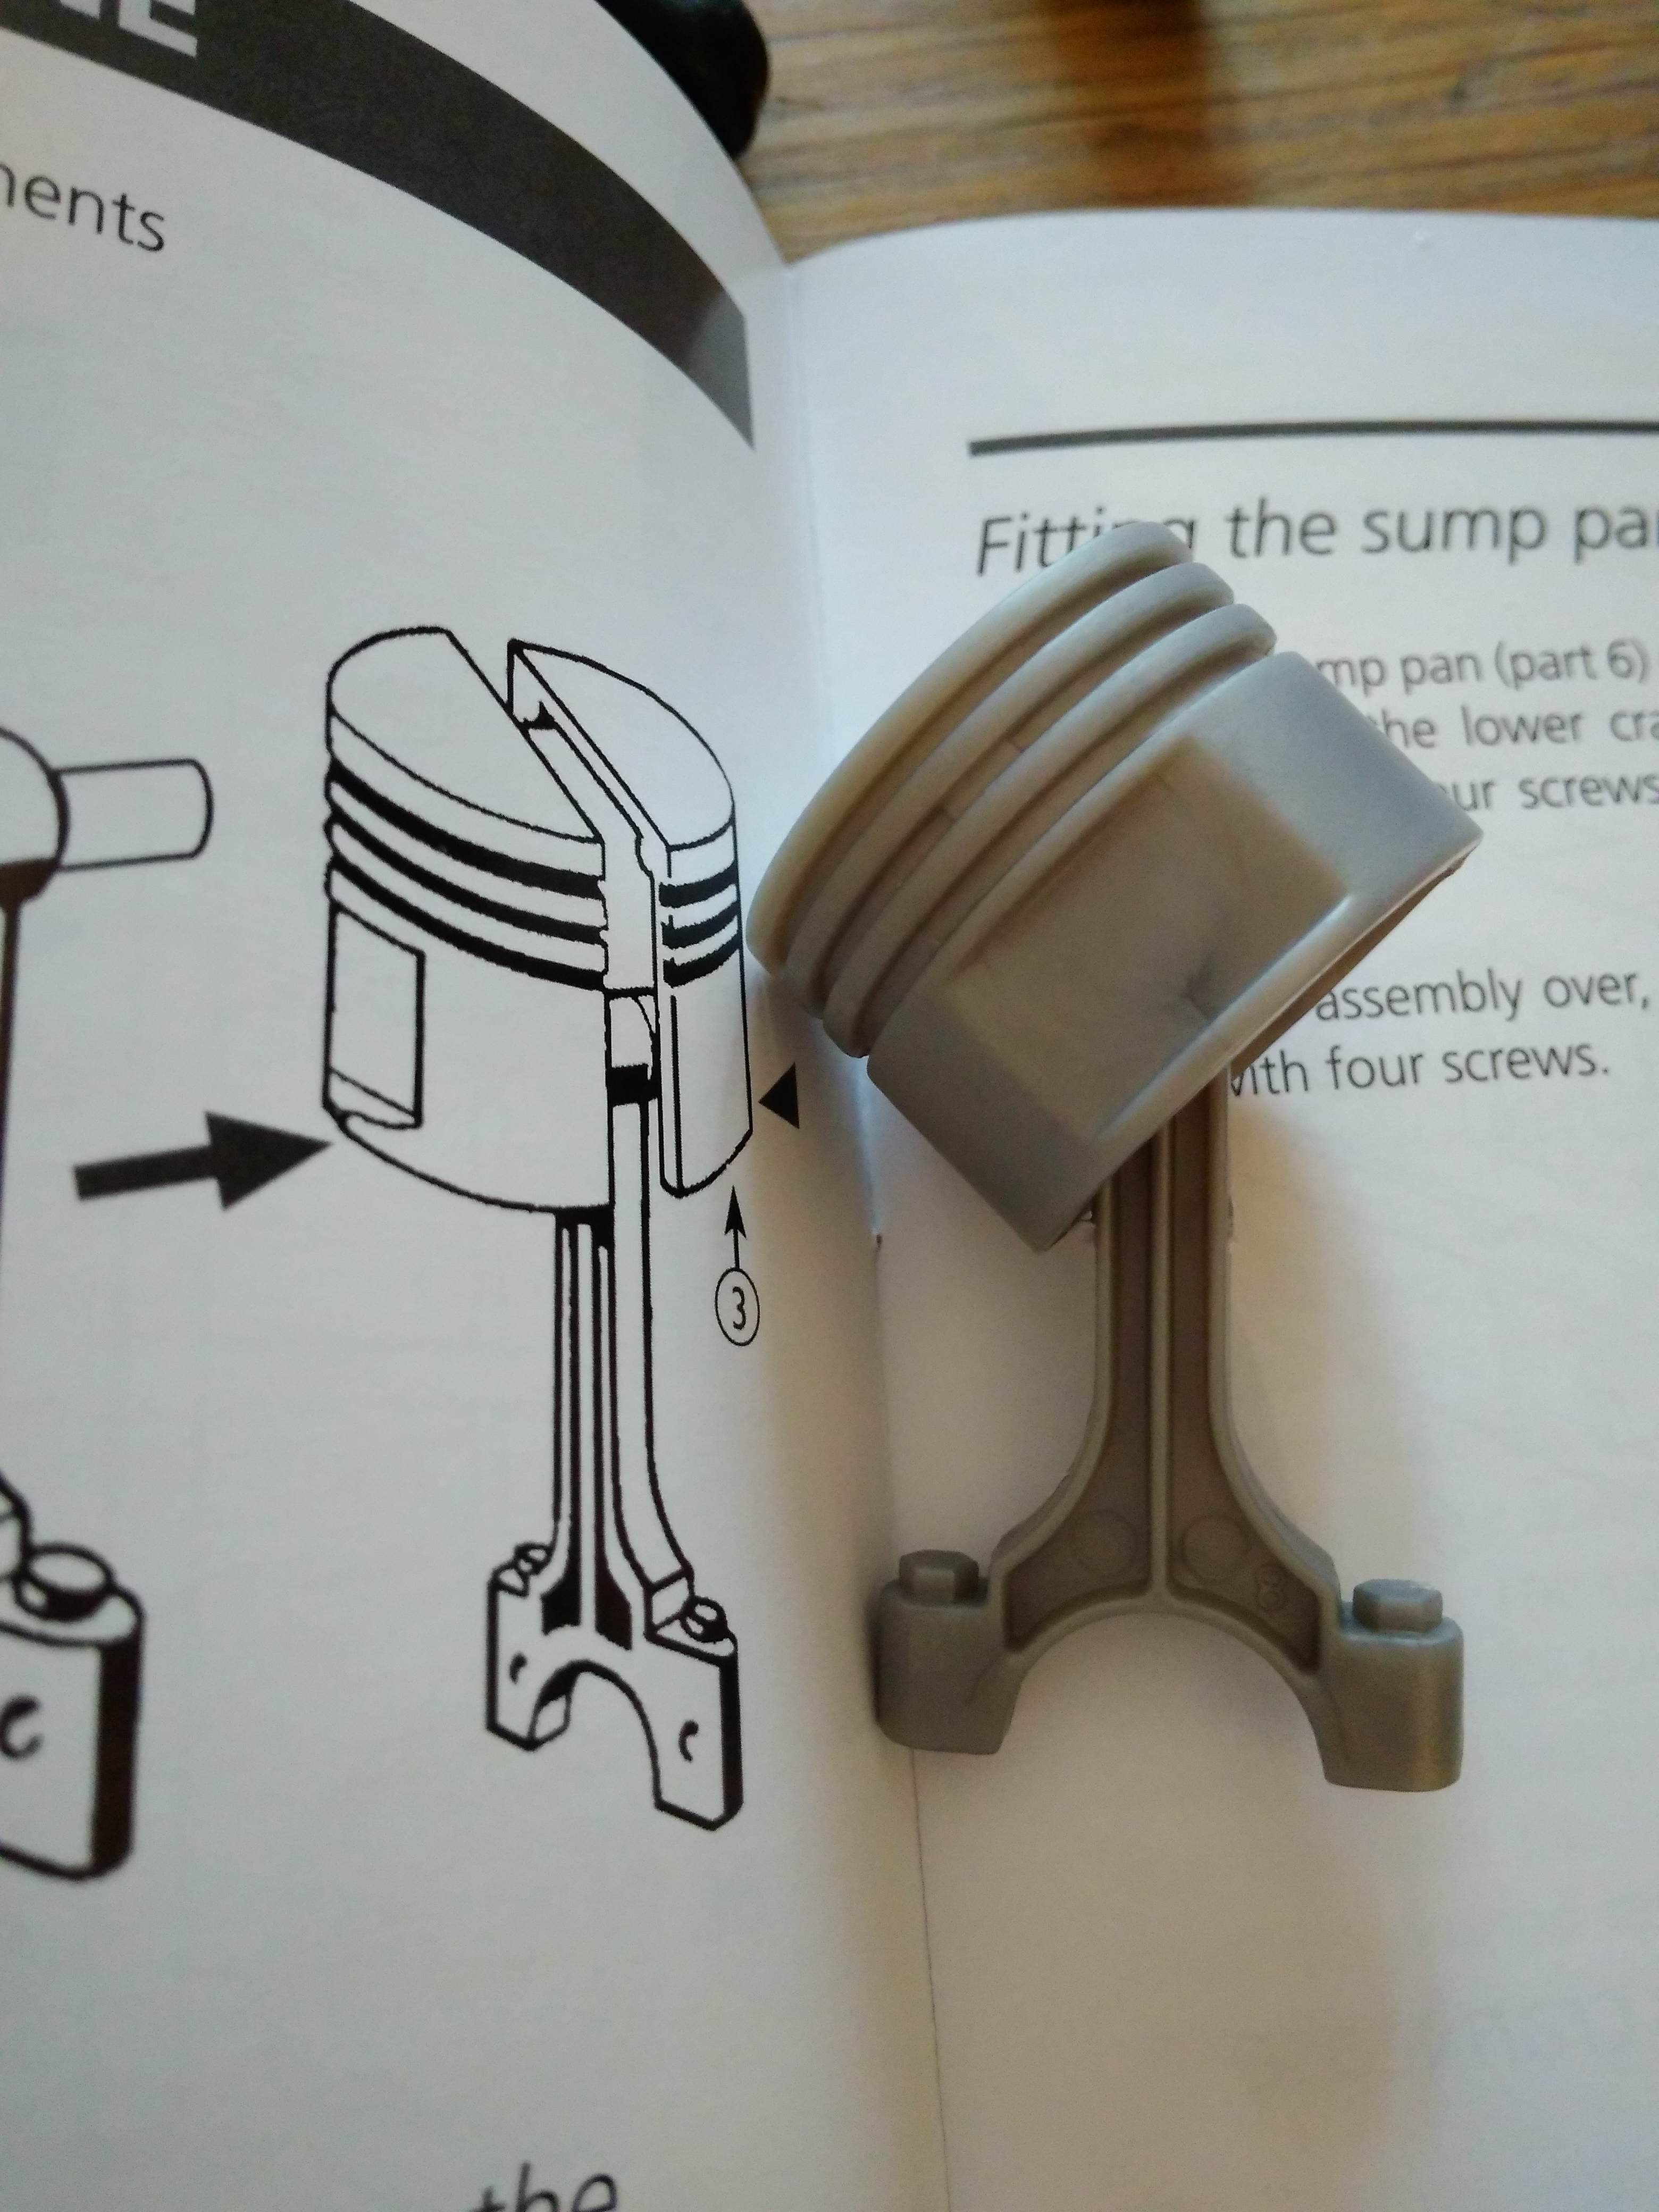
The pistons are then inserted into the cylinders. This was the trickiest part of the build. Originally, the fit between the pistons and cylinders was too tight, and the pistons needed to be forced into the cylinders. The motor would not be strong enough to generate this force. Therefore, I sandpapered the insides of the cylinders to remove some of the cylinder material. Then the pistons moved more easily.
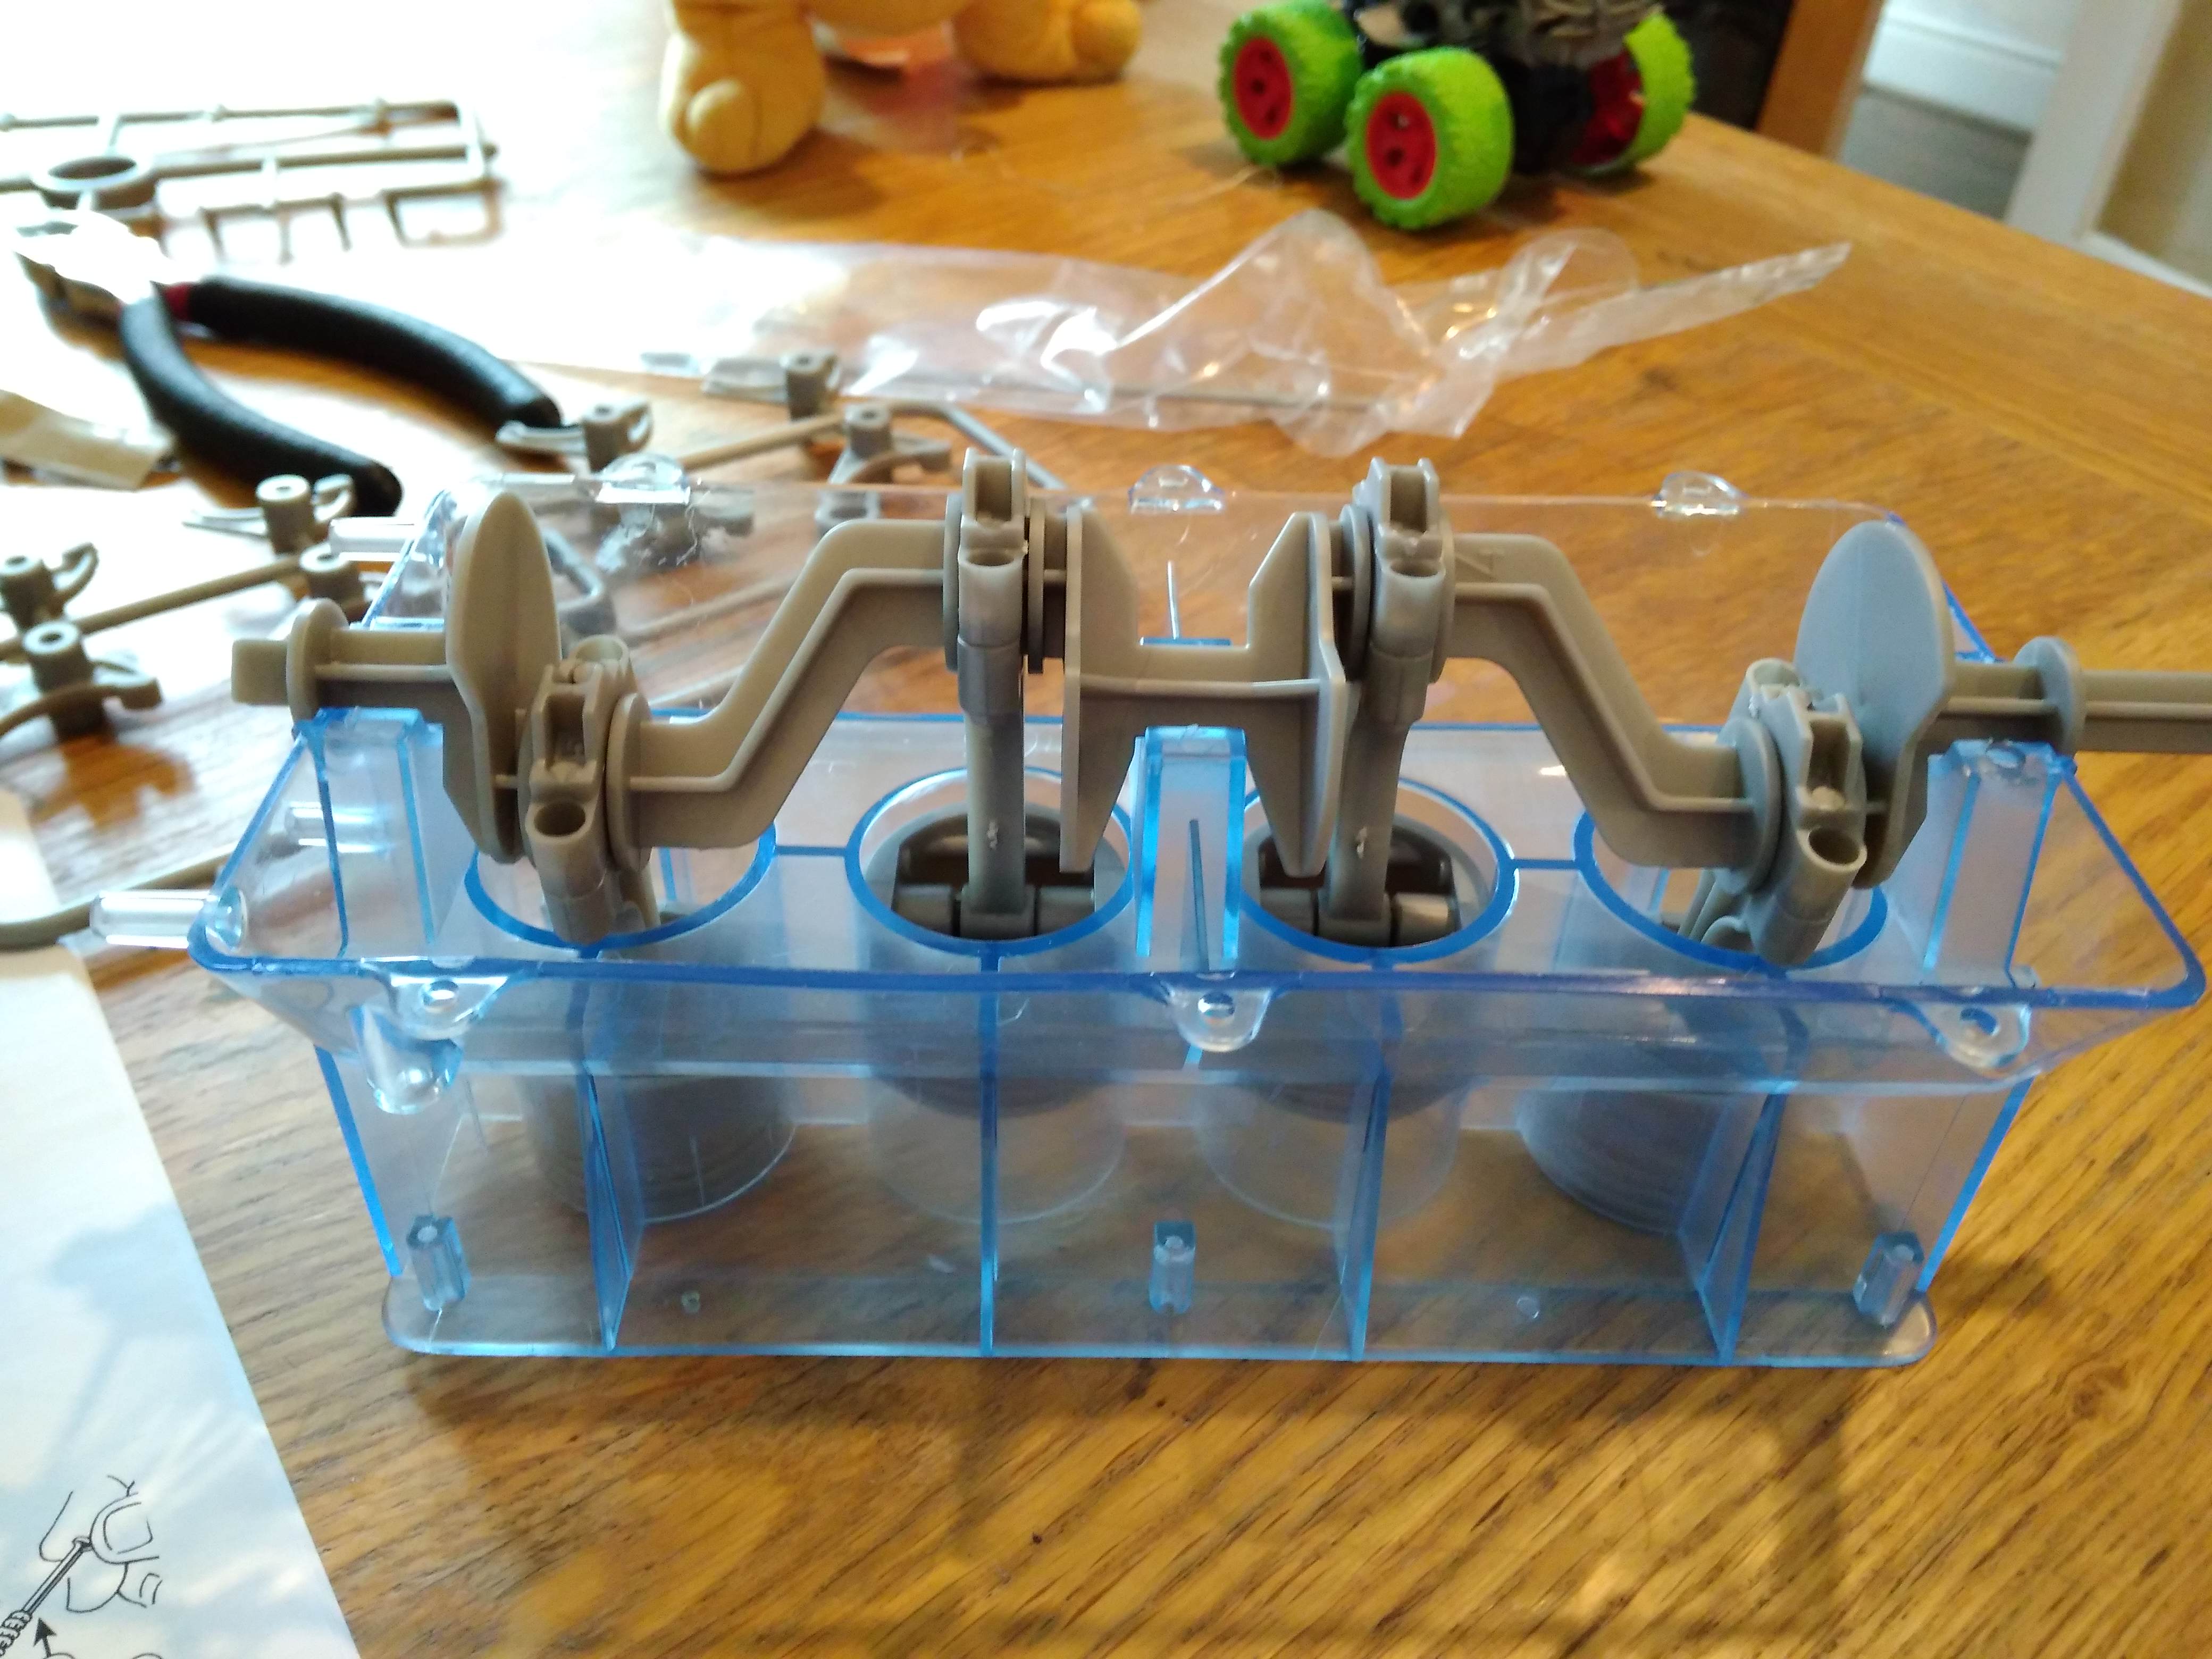
Next, the base of the engine is built, and the cylinder block is added to the base.
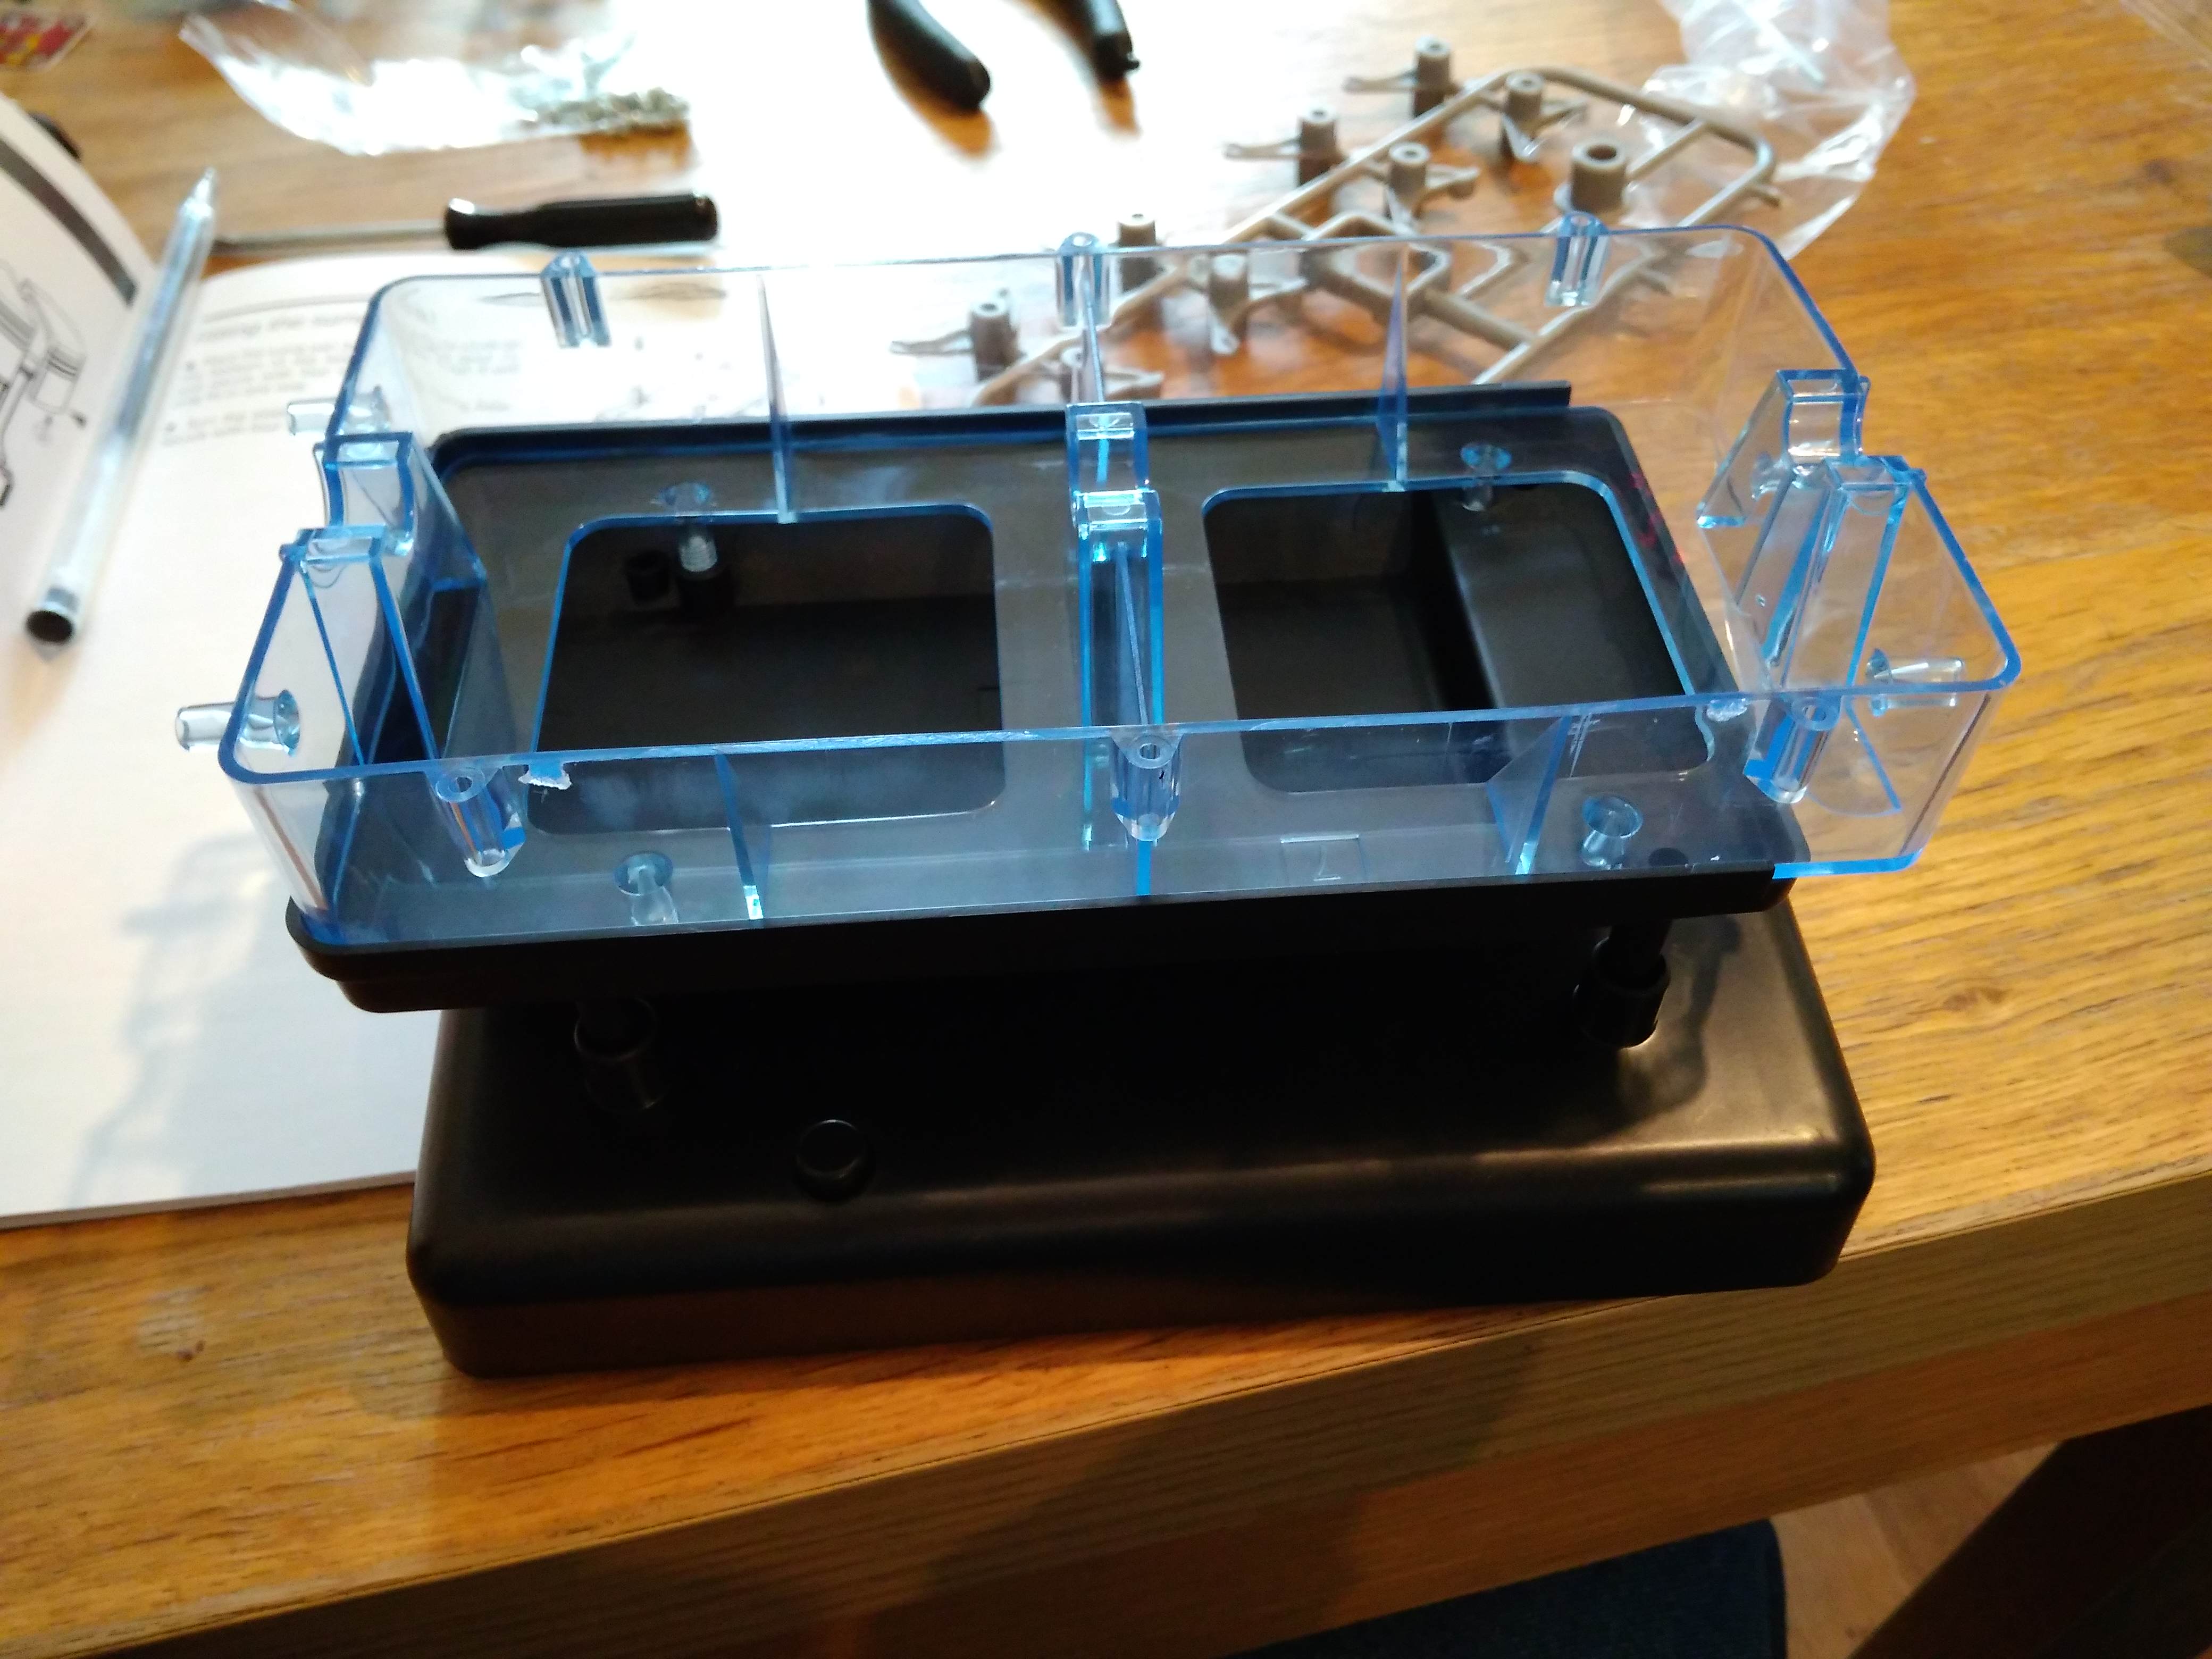
Step 2: Constructing the Cylinder Head, with Valves, Camshaft, and Rockershaft
Onto the cylinder head! The hardest part of this step is understanding that "part 6a" and "part 6b" in the manual are NOT simply areas of part 6 but completely different parts! I have no idea why they weren't called parts 7 and 8. In case you also struggle to find these parts, I've shown parts 6a and 6b in the picture below. Needless frustration.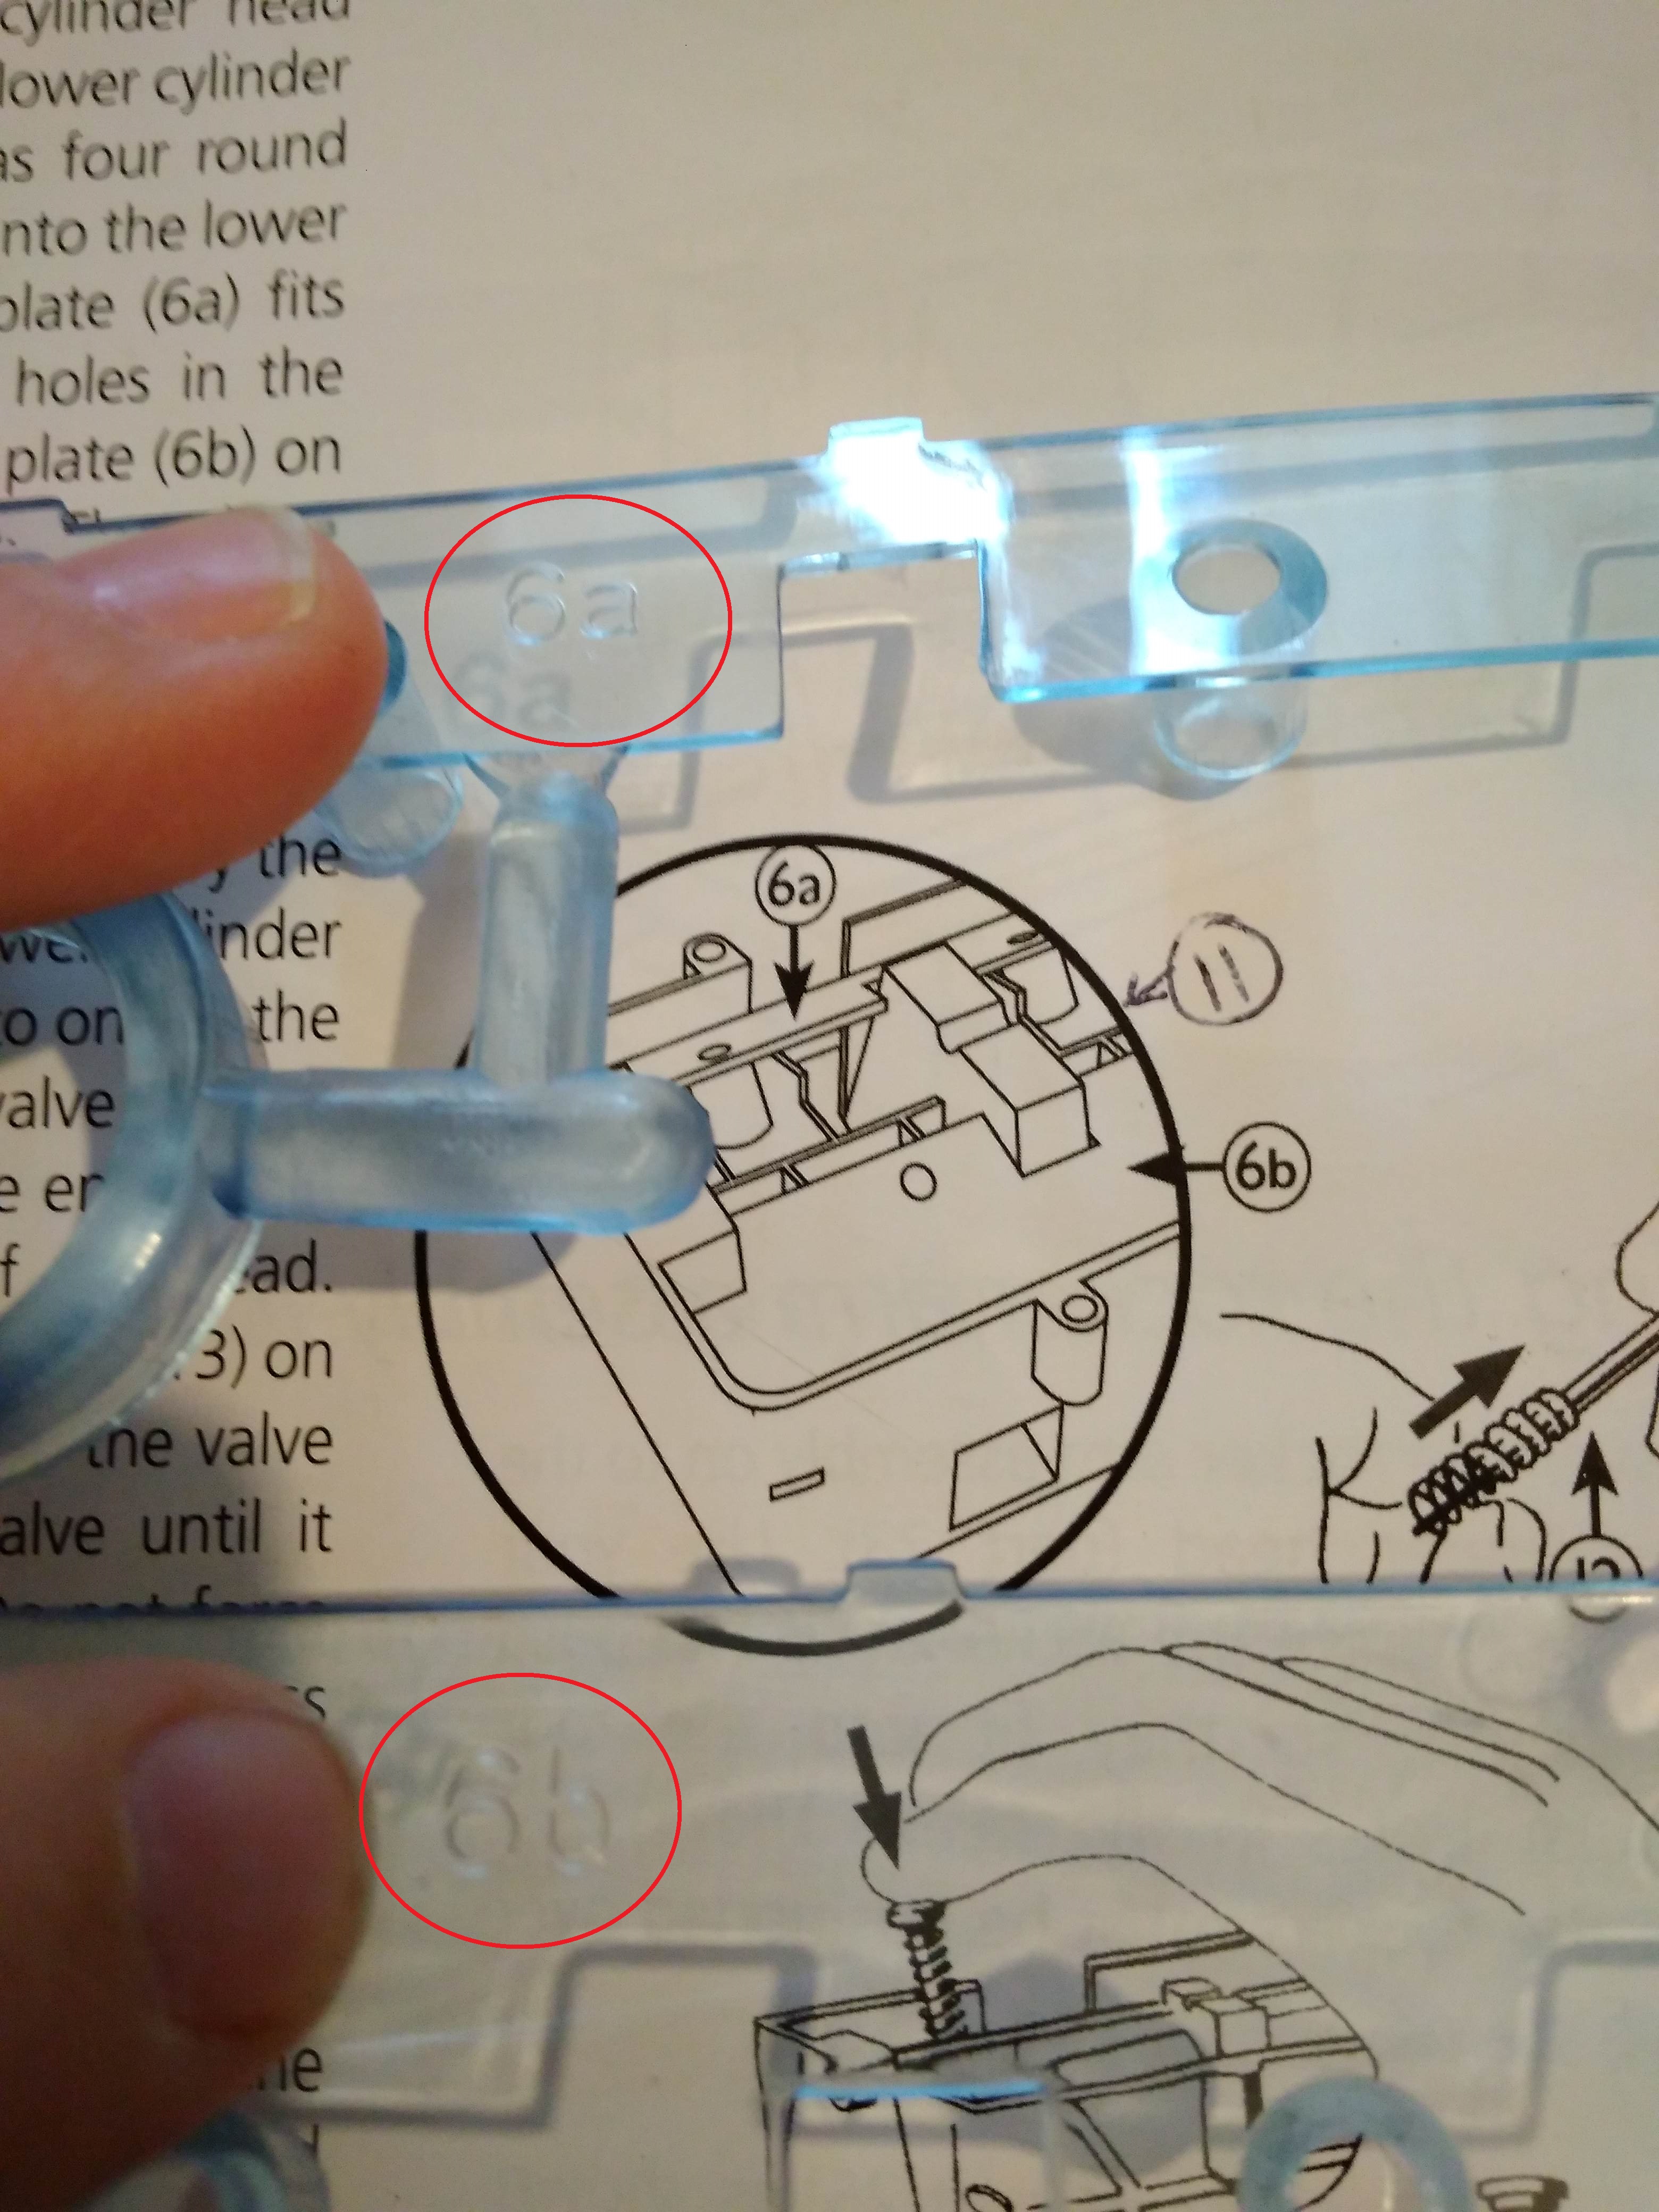
One of the most satisfying parts of the build is putting in the valves! The springs are a bit fiddly but it is loads of fun to ping the valves up and down.
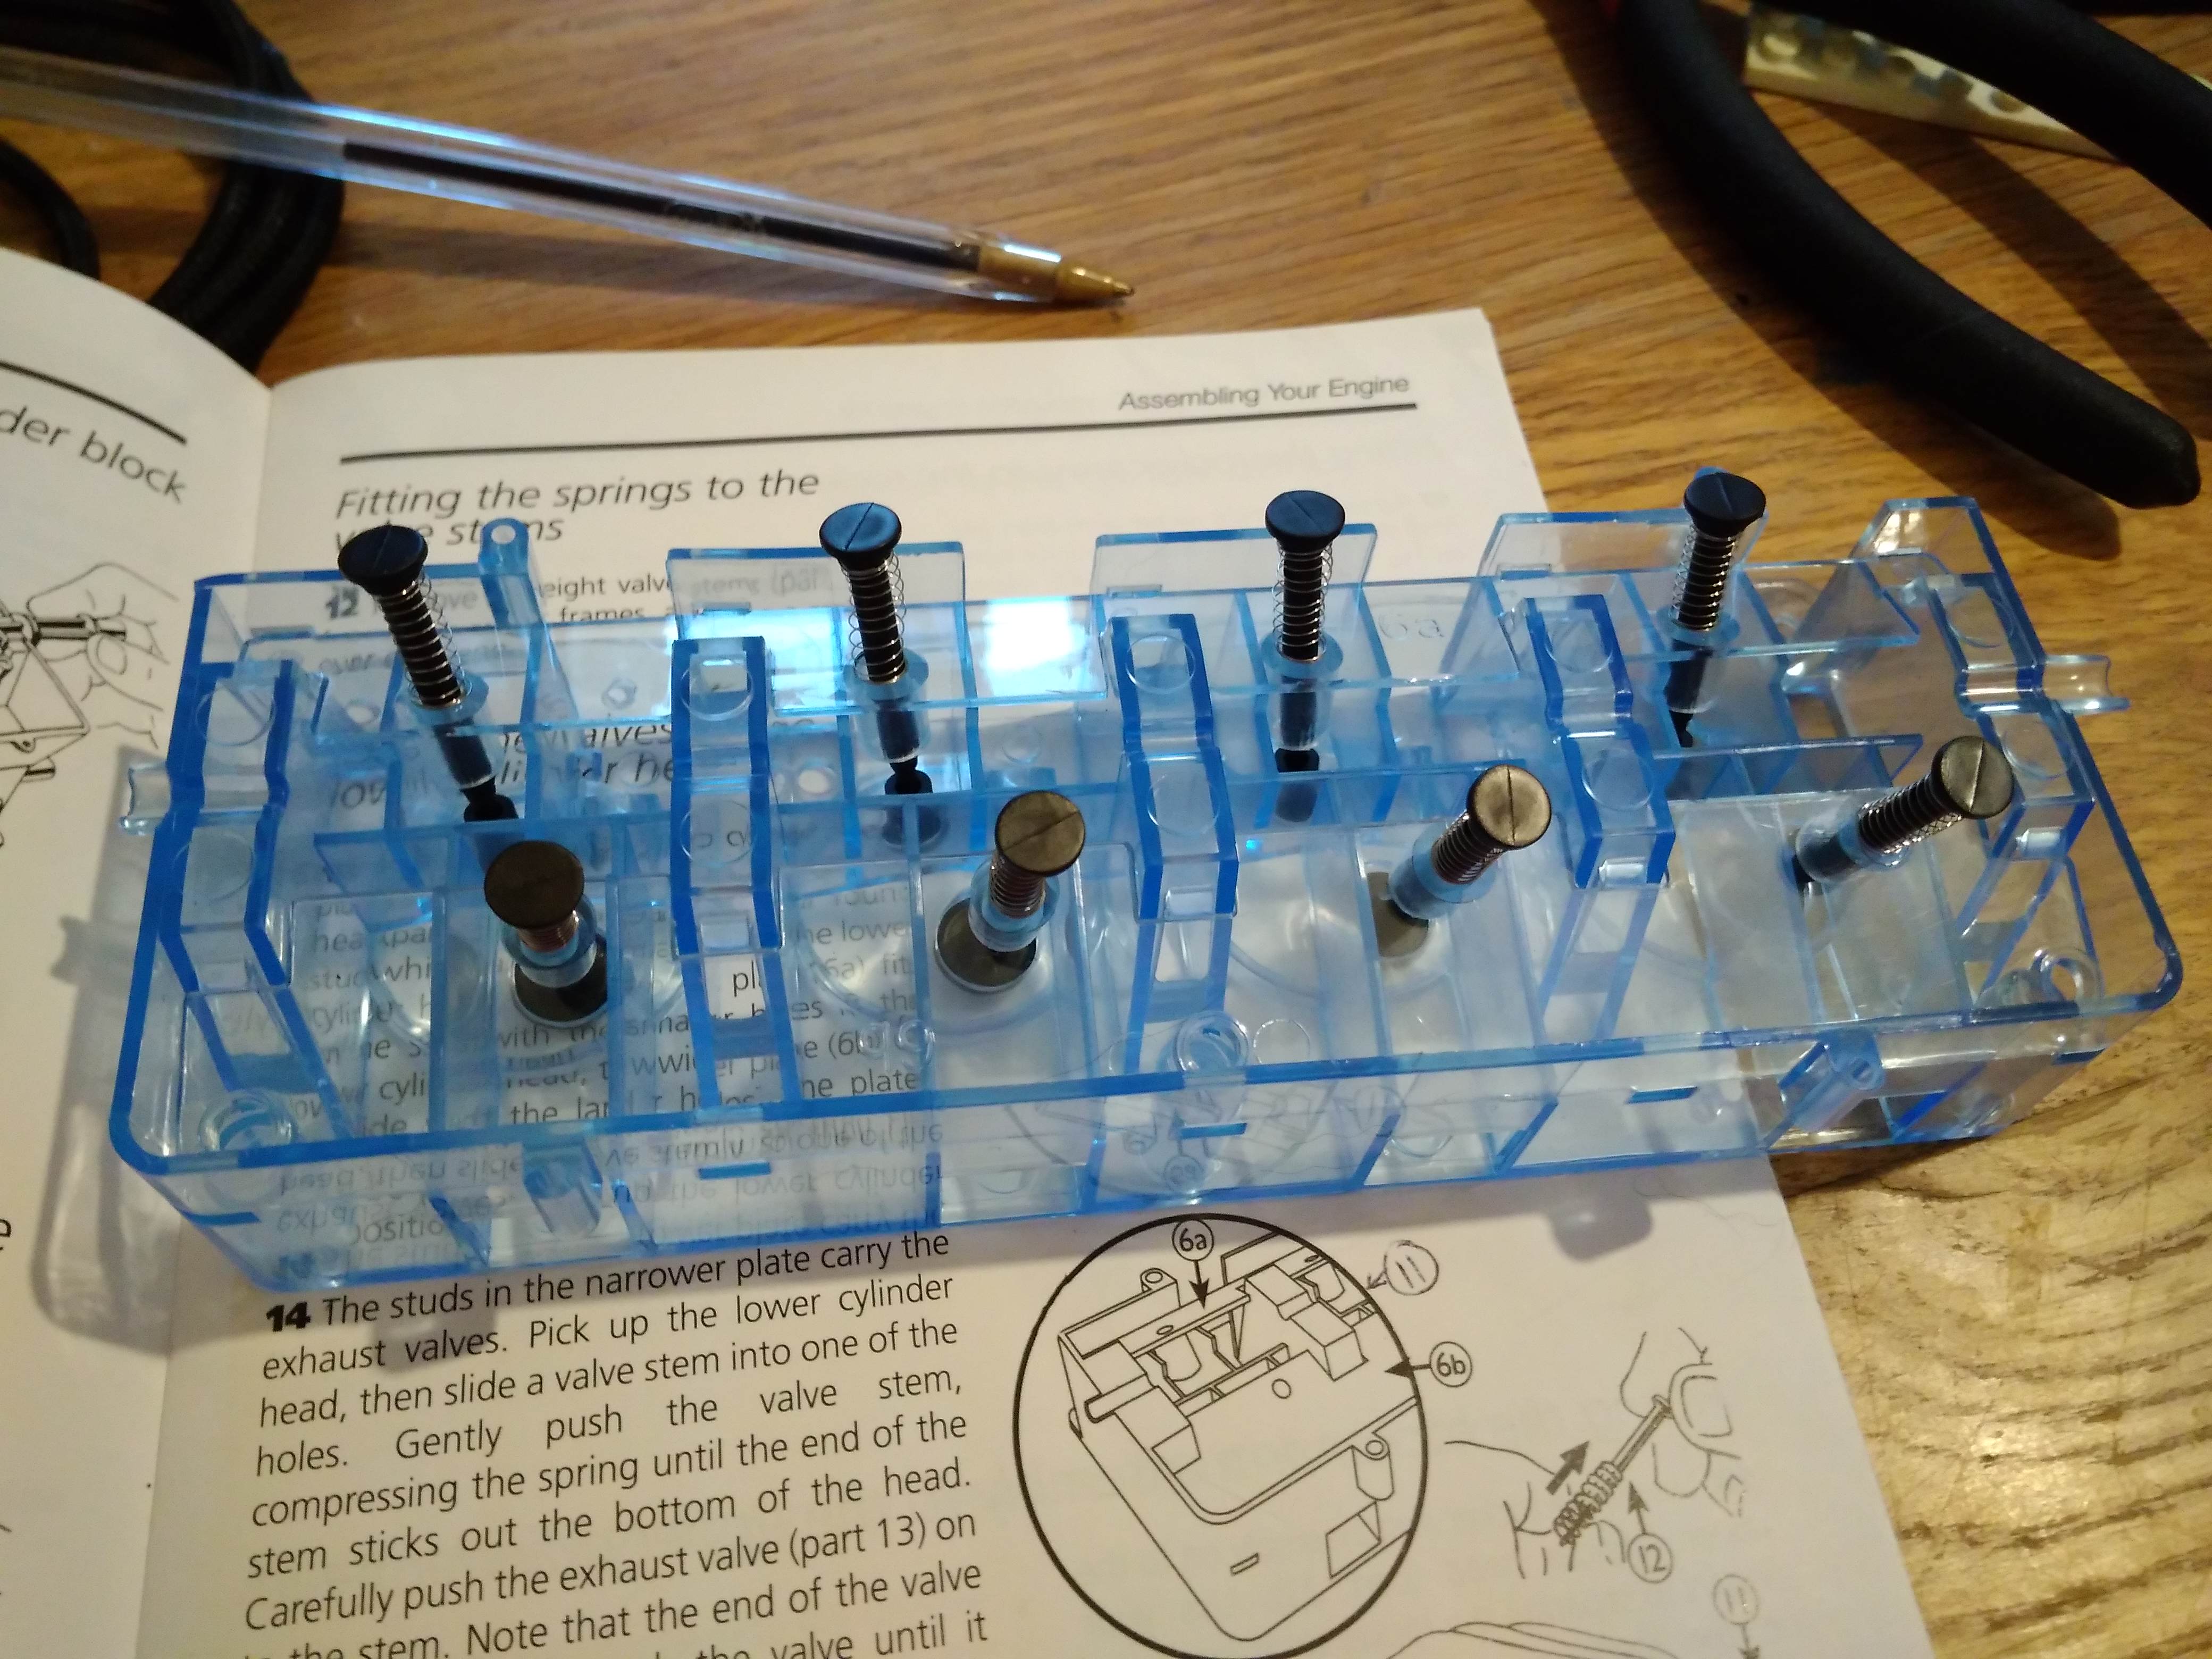
The assembled camshaft is added between the valves, and the rockershaft is positioned above this. The manual makes assembling the camshaft and rockershaft easy. At this point, the rockers can be pushed down to compress the springs - then released to ping the valves back up. So satisfying!
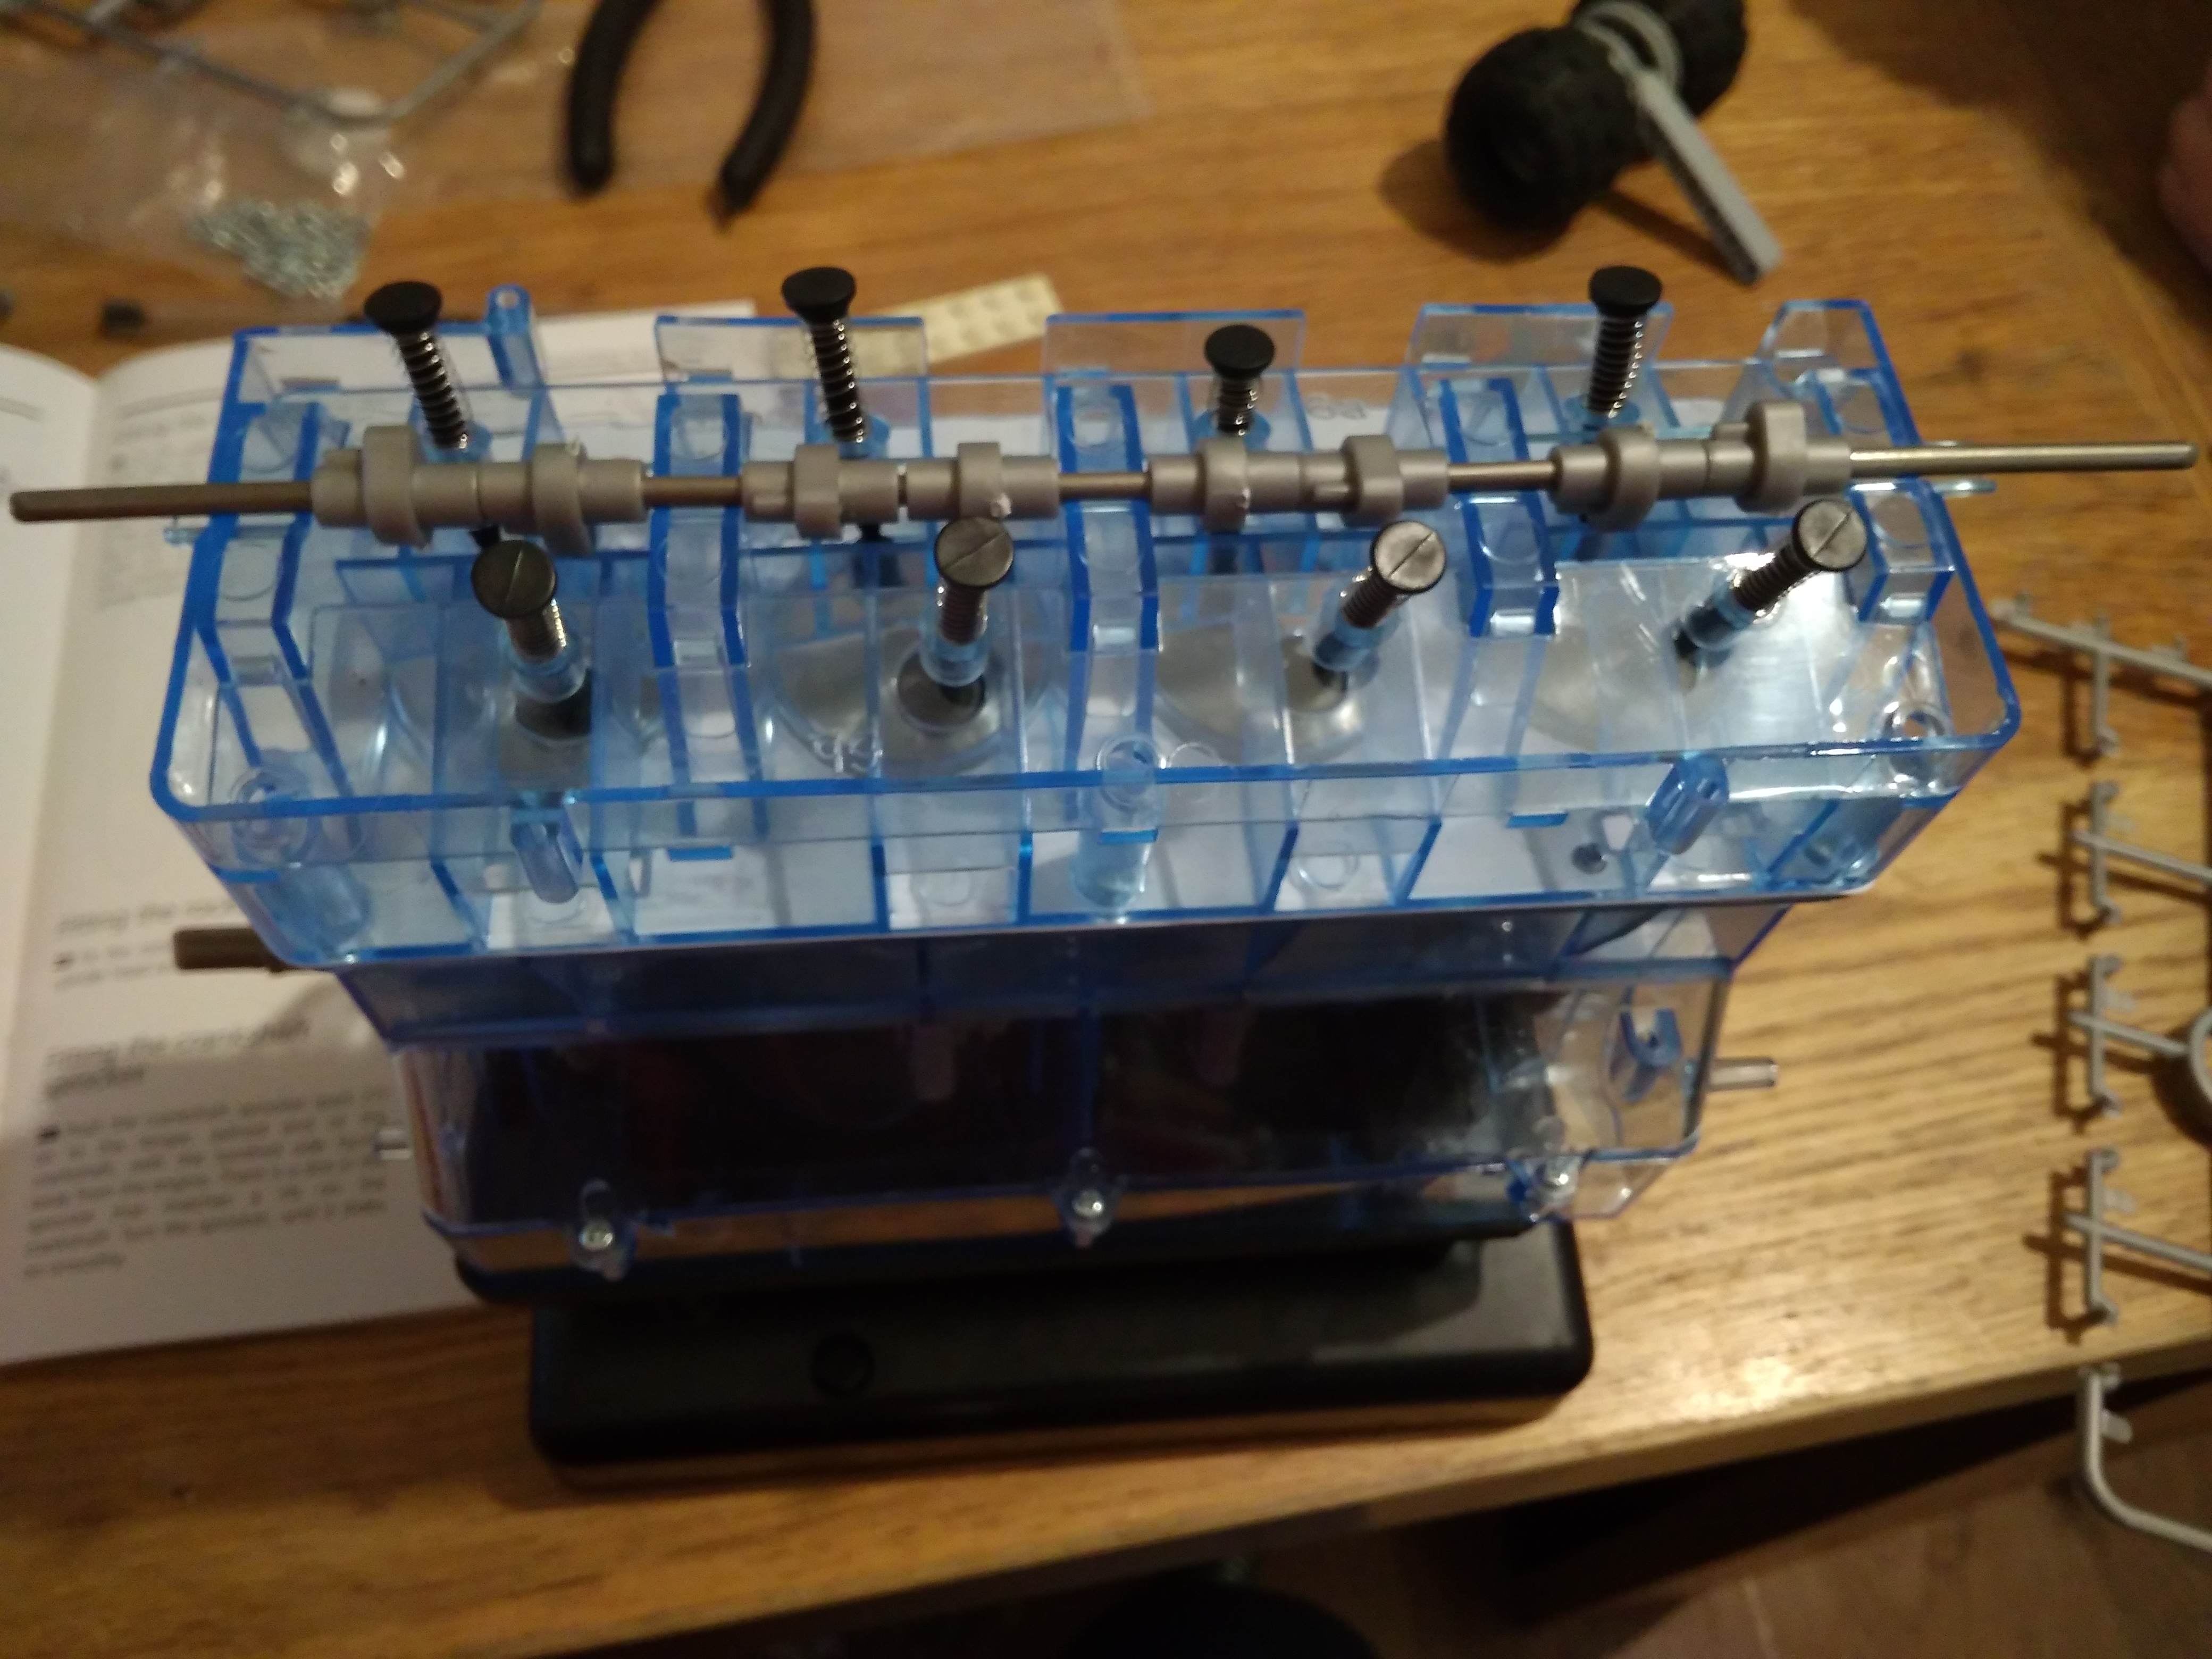
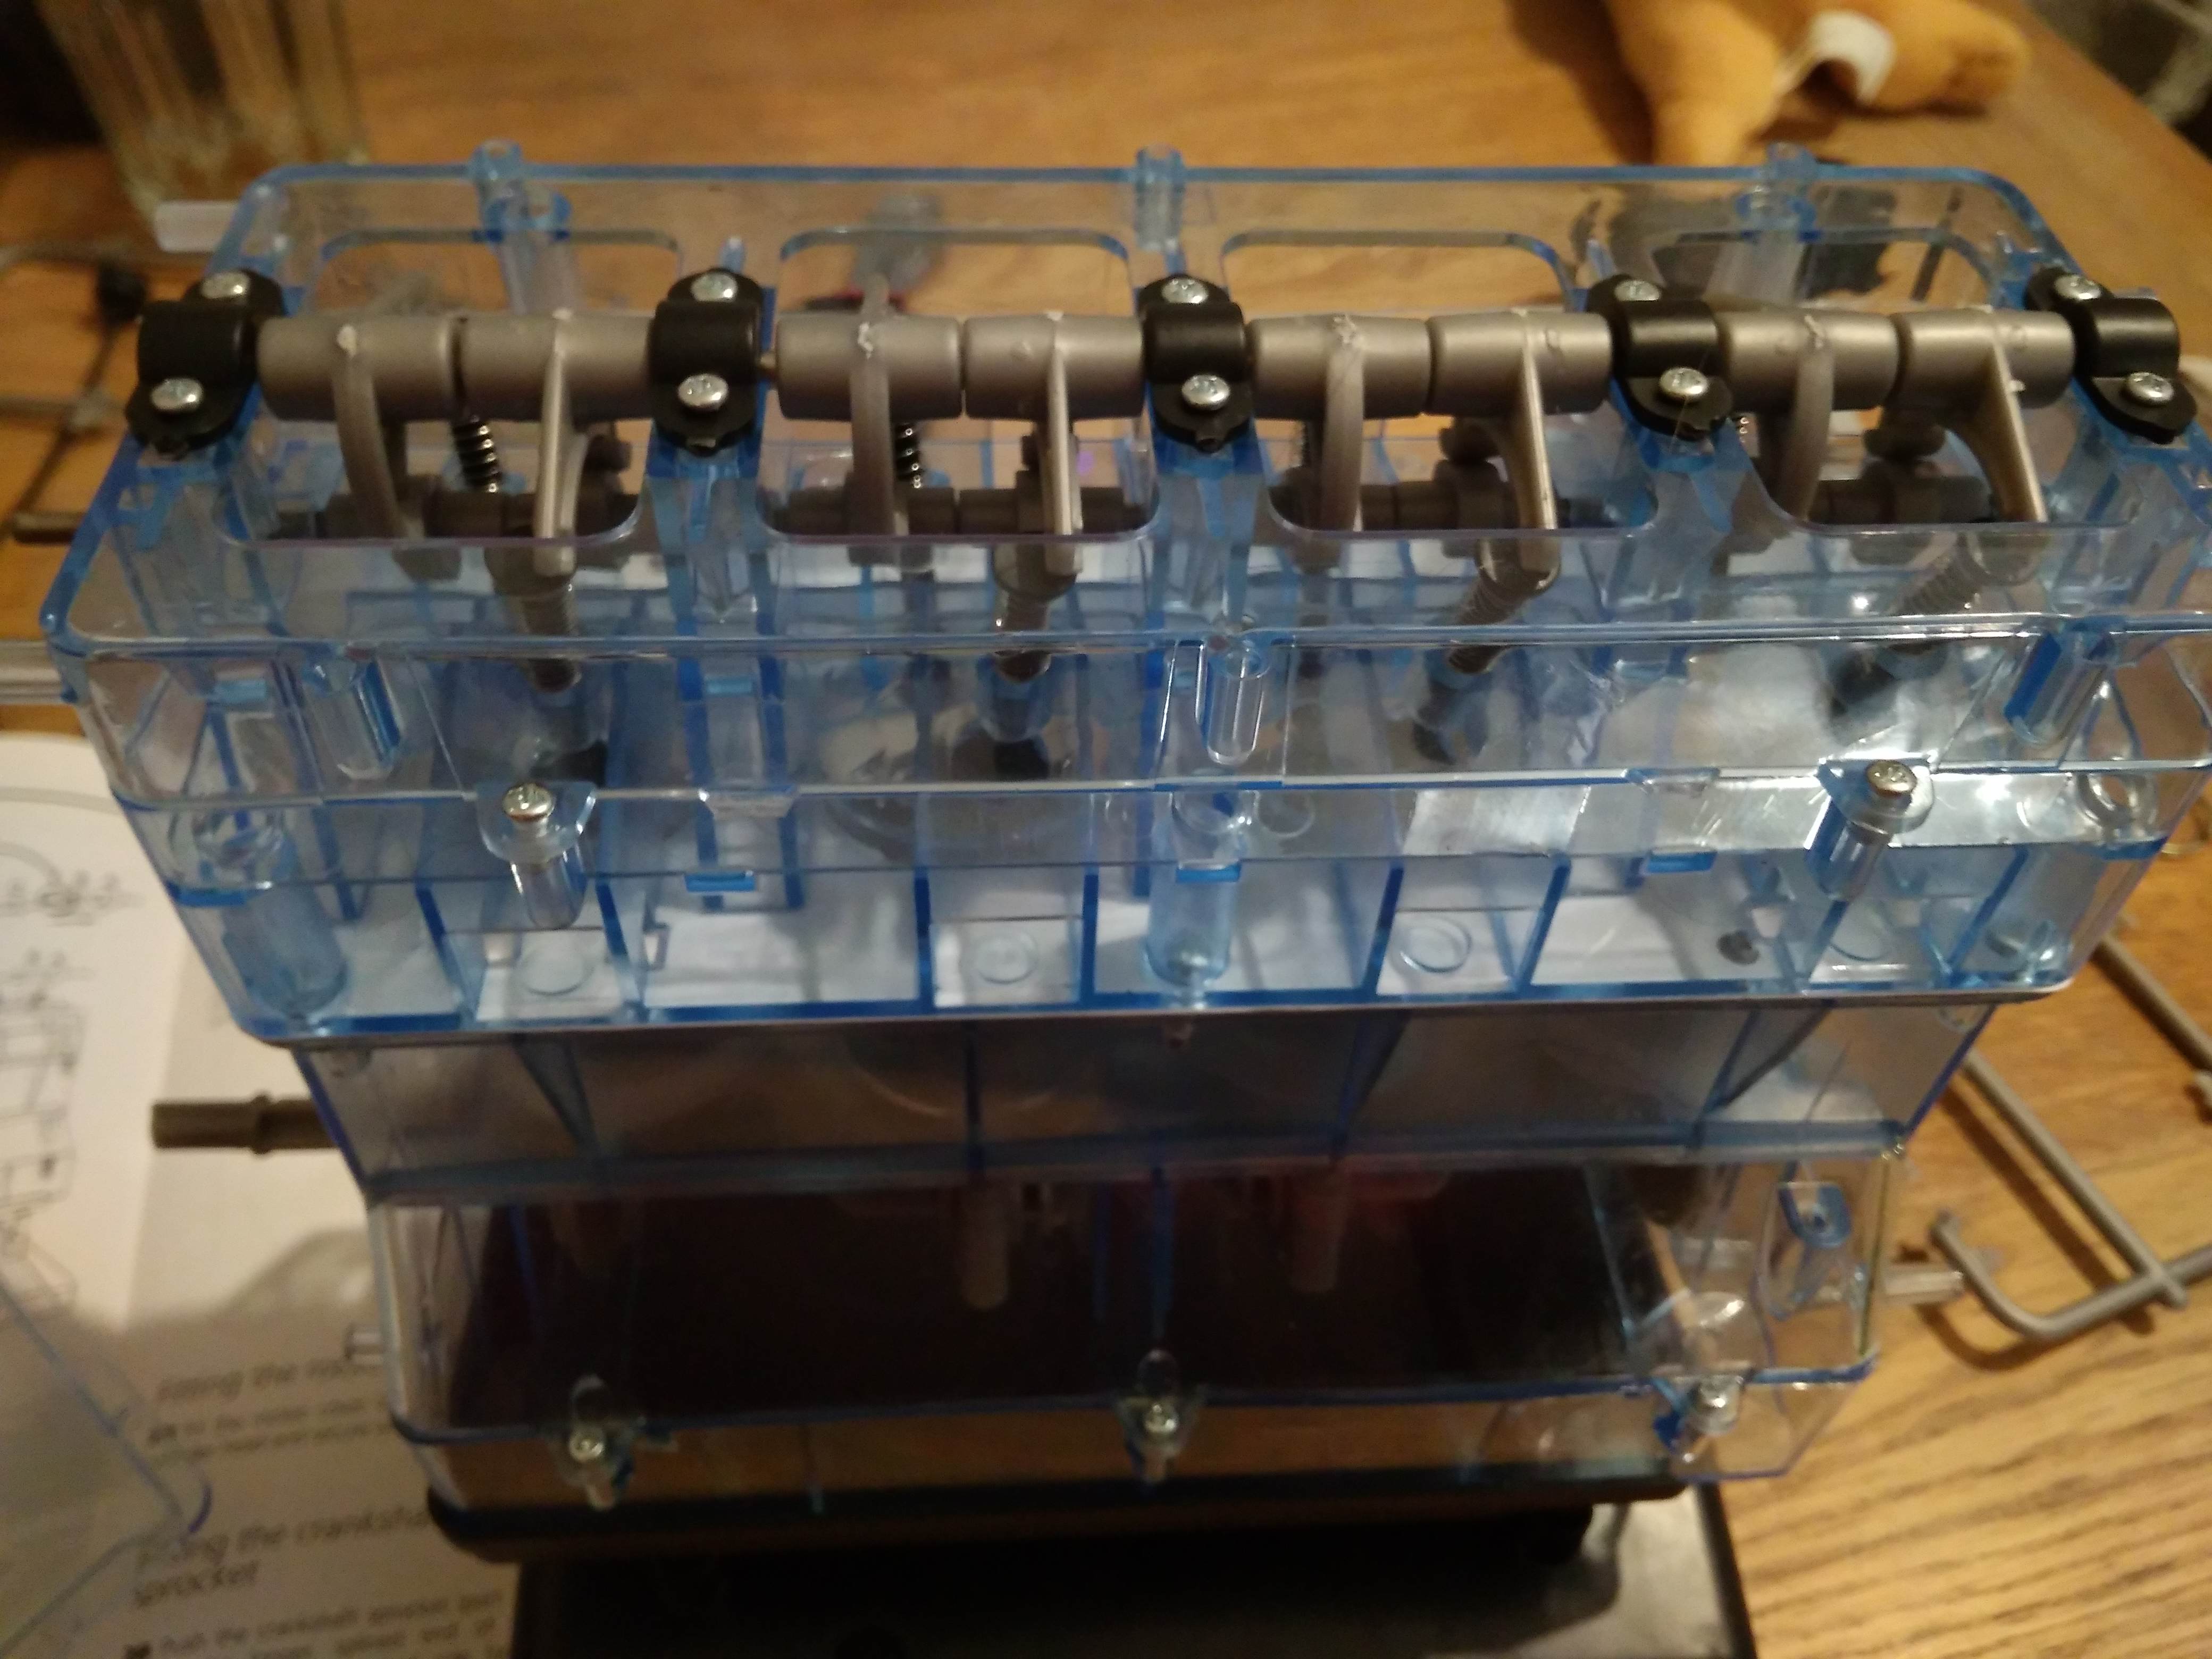
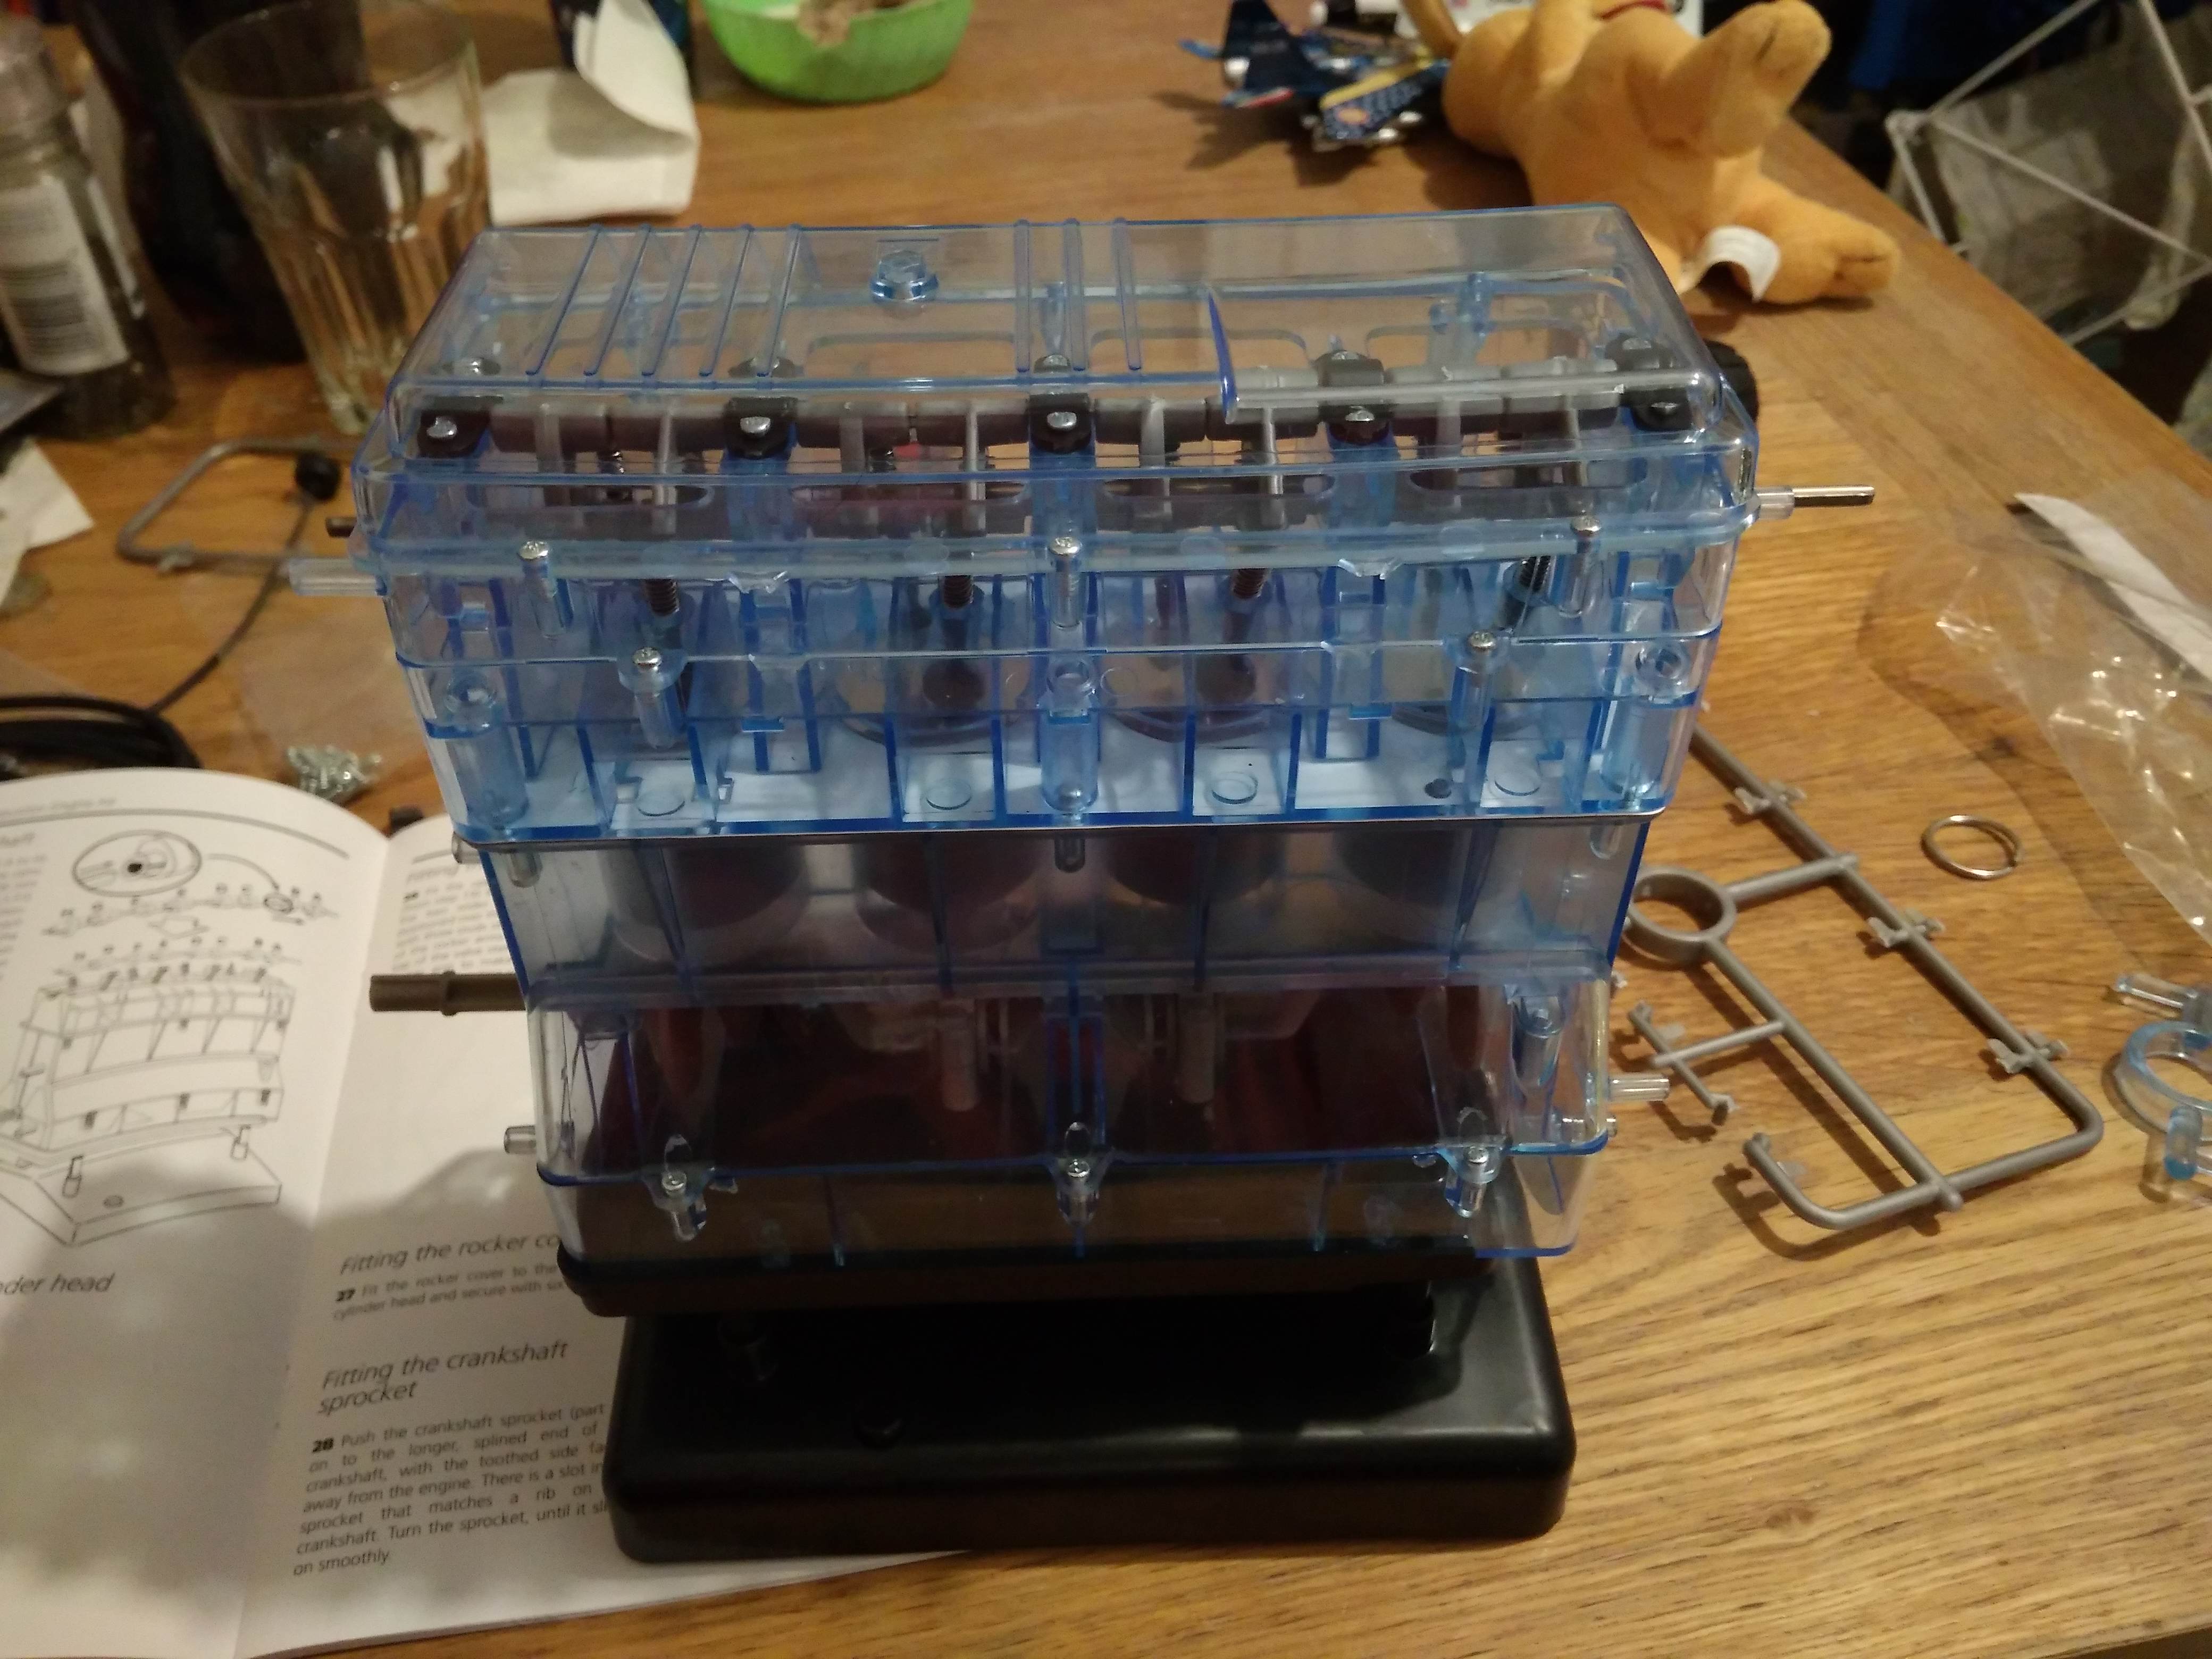
Finally, a cover tops the cylinder head to prevent rockers from accidentally moving off their corresponding valves. The assembled cylinder head is shown below.
Step 3: Assembling External Parts, with Belts, Fan, Motor, Distributor, and Spark Plugs
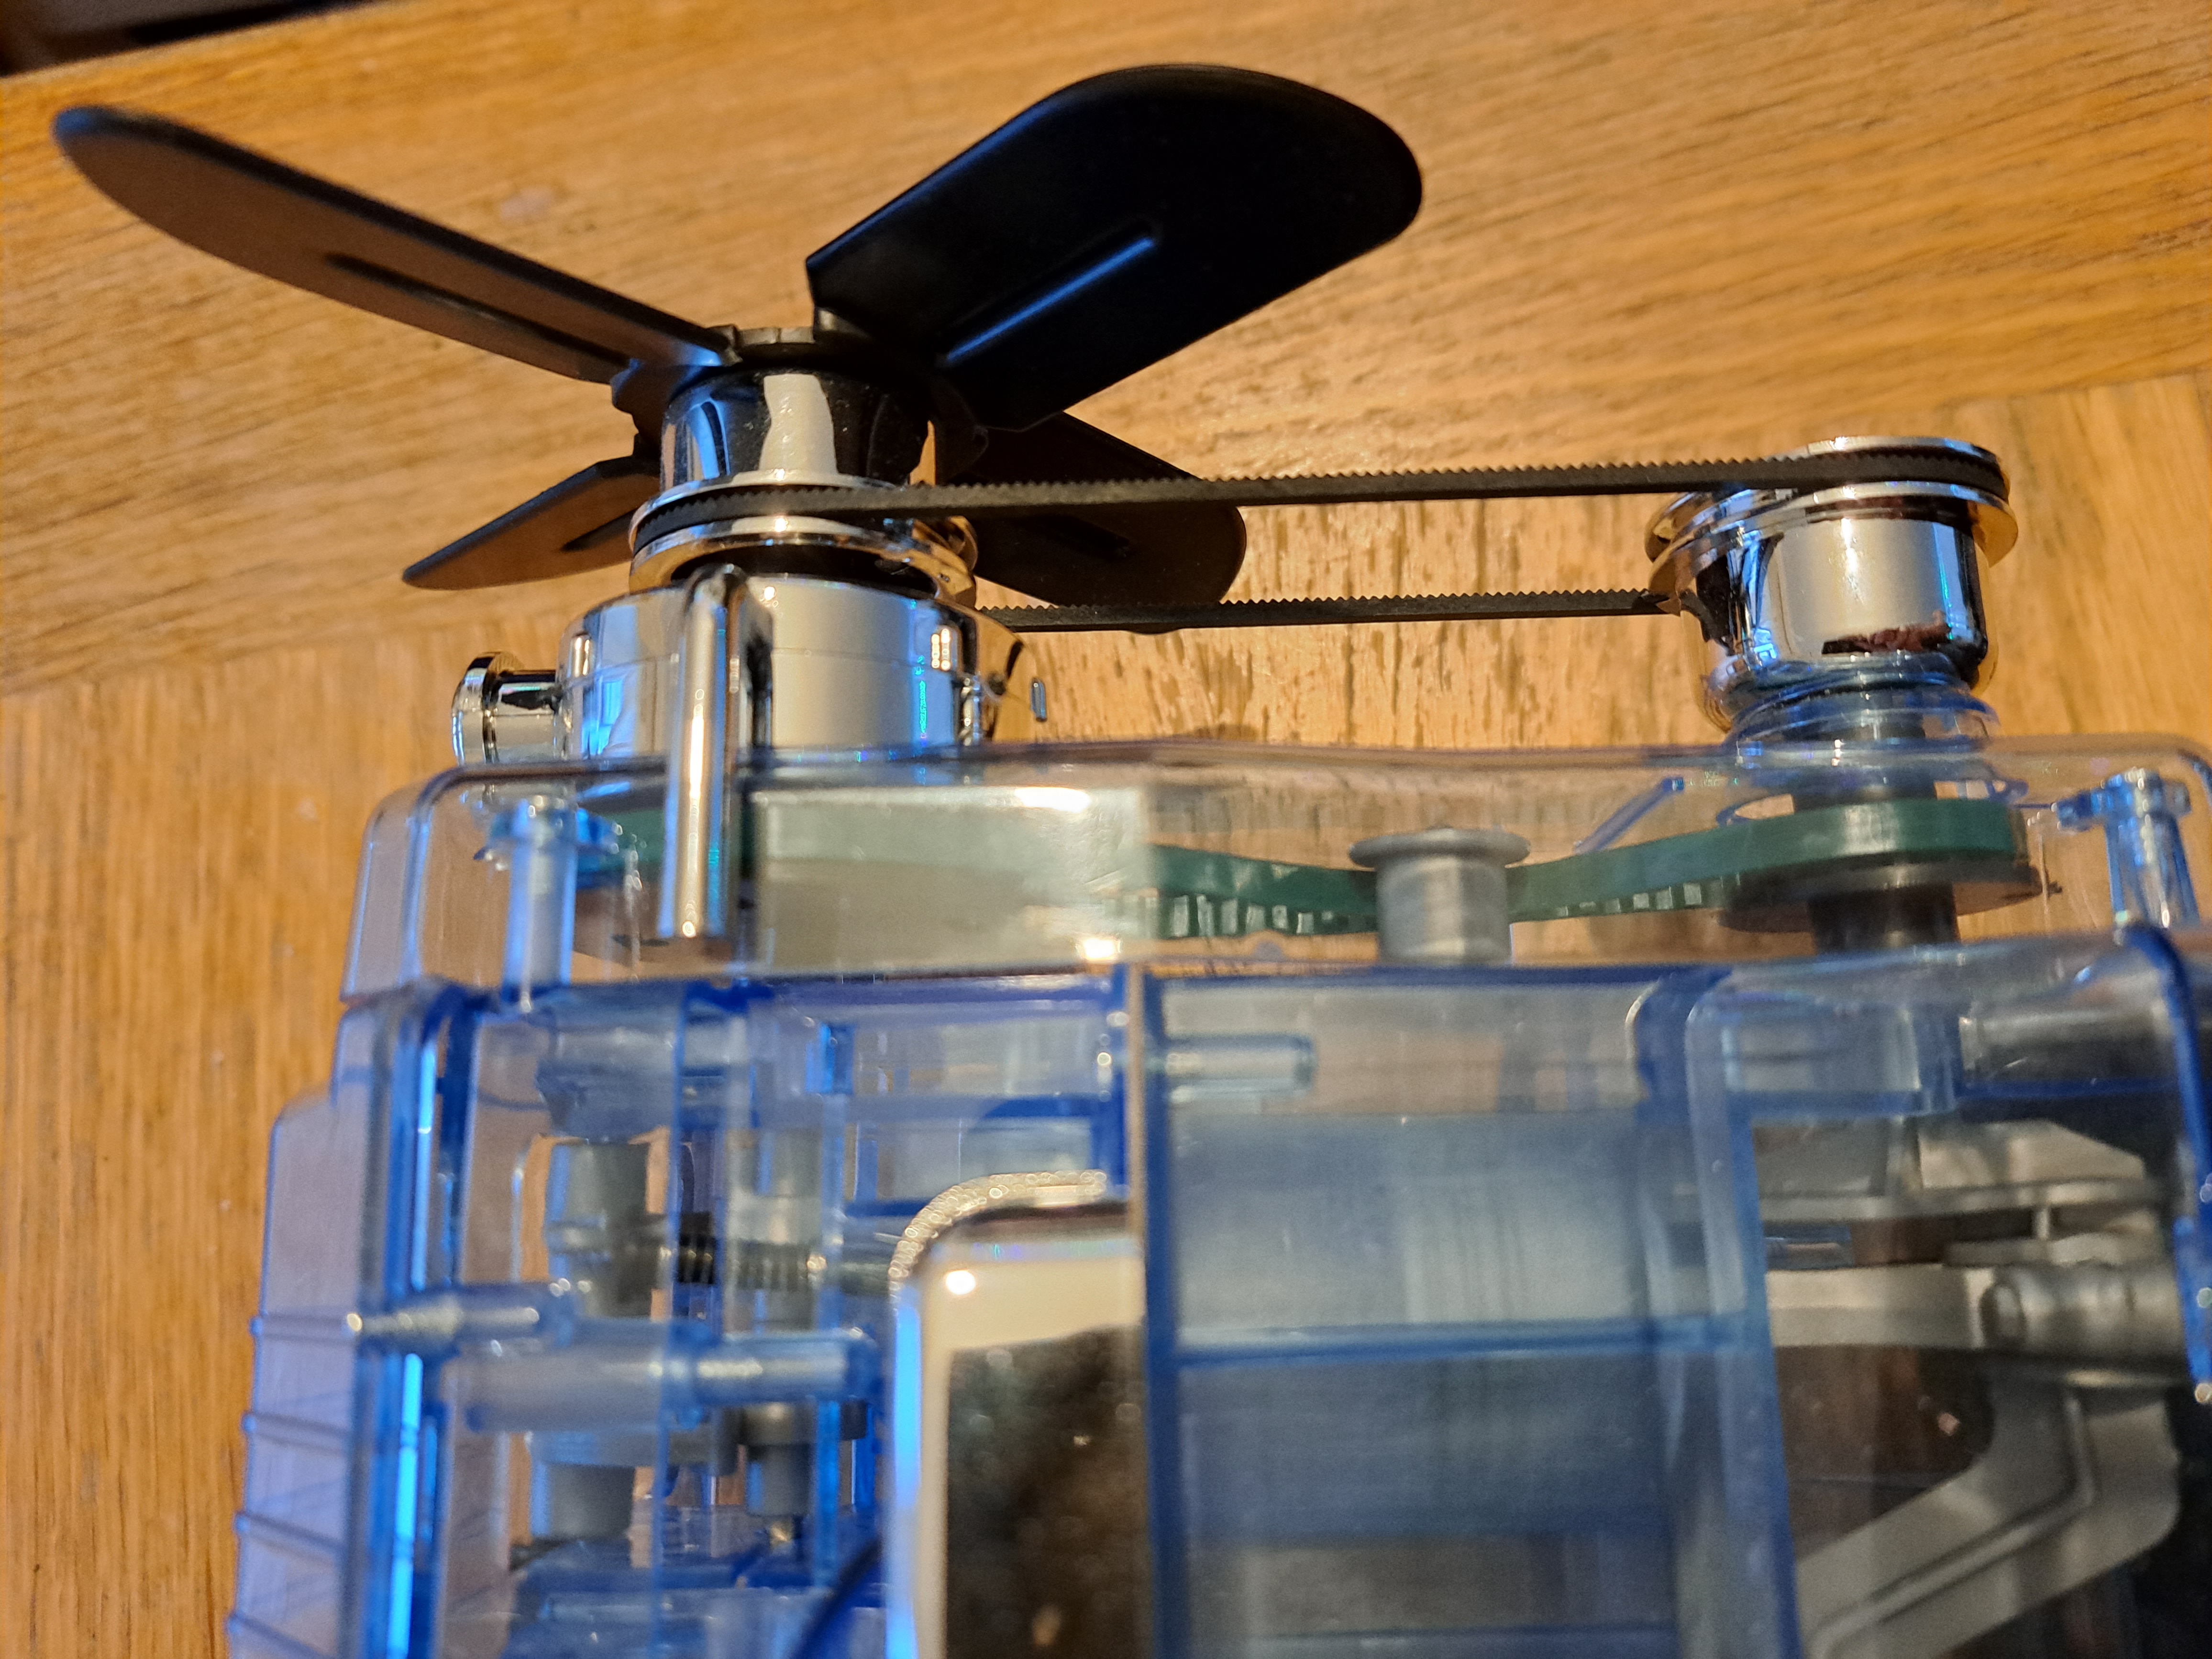
Two belts connect the top and bottom halves of the engine. The timing belt is added first (shown on left). The timing belt connects the crankshaft and camshaft, and is fitted with the help of the provided timing alignment tool and idler. The timing belt kept popping off for me so be careful! Use the timing belt cover to prevent the belt coming off again. The fan belt is added second (on right). This belt connects the crankshaft to the fan (which is itself connected to the camshaft). The instructions don't explain the purpose of the fan. In a real car engine, the fan keeps the engine cool.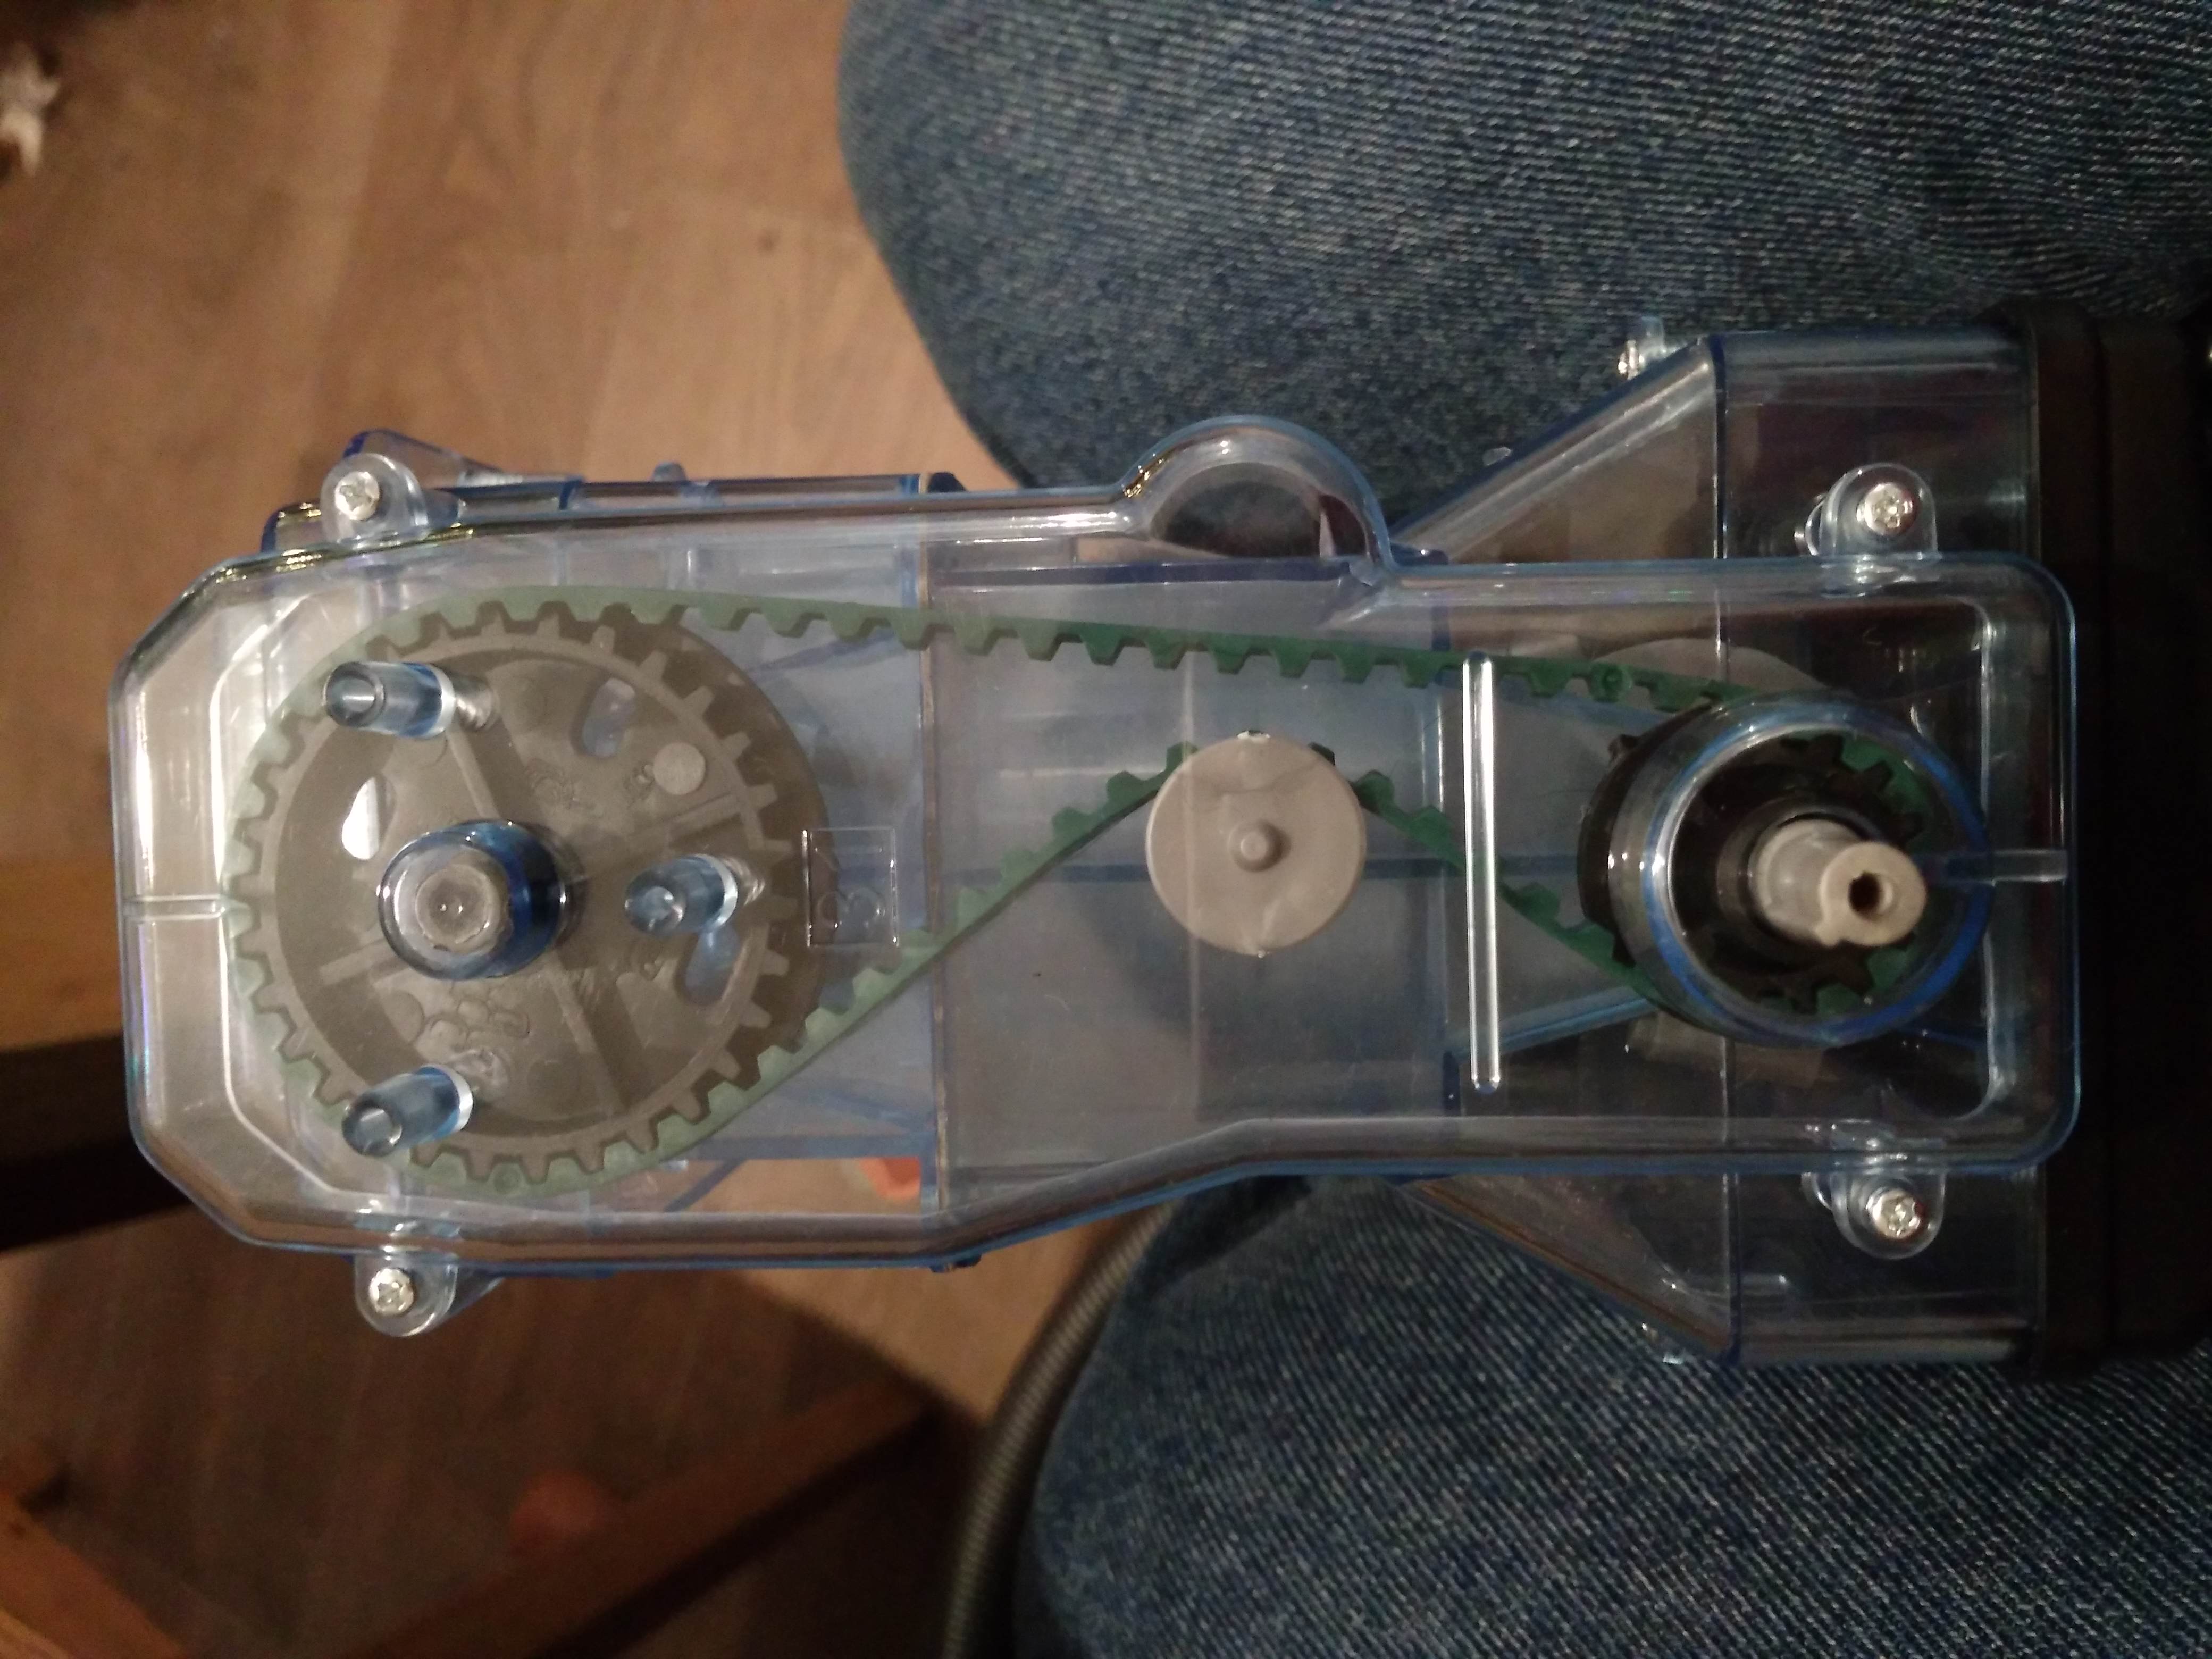
All of the parts are now connected. Next, we need something to make the parts move!
A motor (powered by 2 AA batteries not provided in kit) is added to the crankshaft. It is incredibly satisfying to watch the rotational motion of the motor transform into linear motion of the pistons and rotational motion of the camshaft and fan through the belts. At this point, we have a functional engine model!
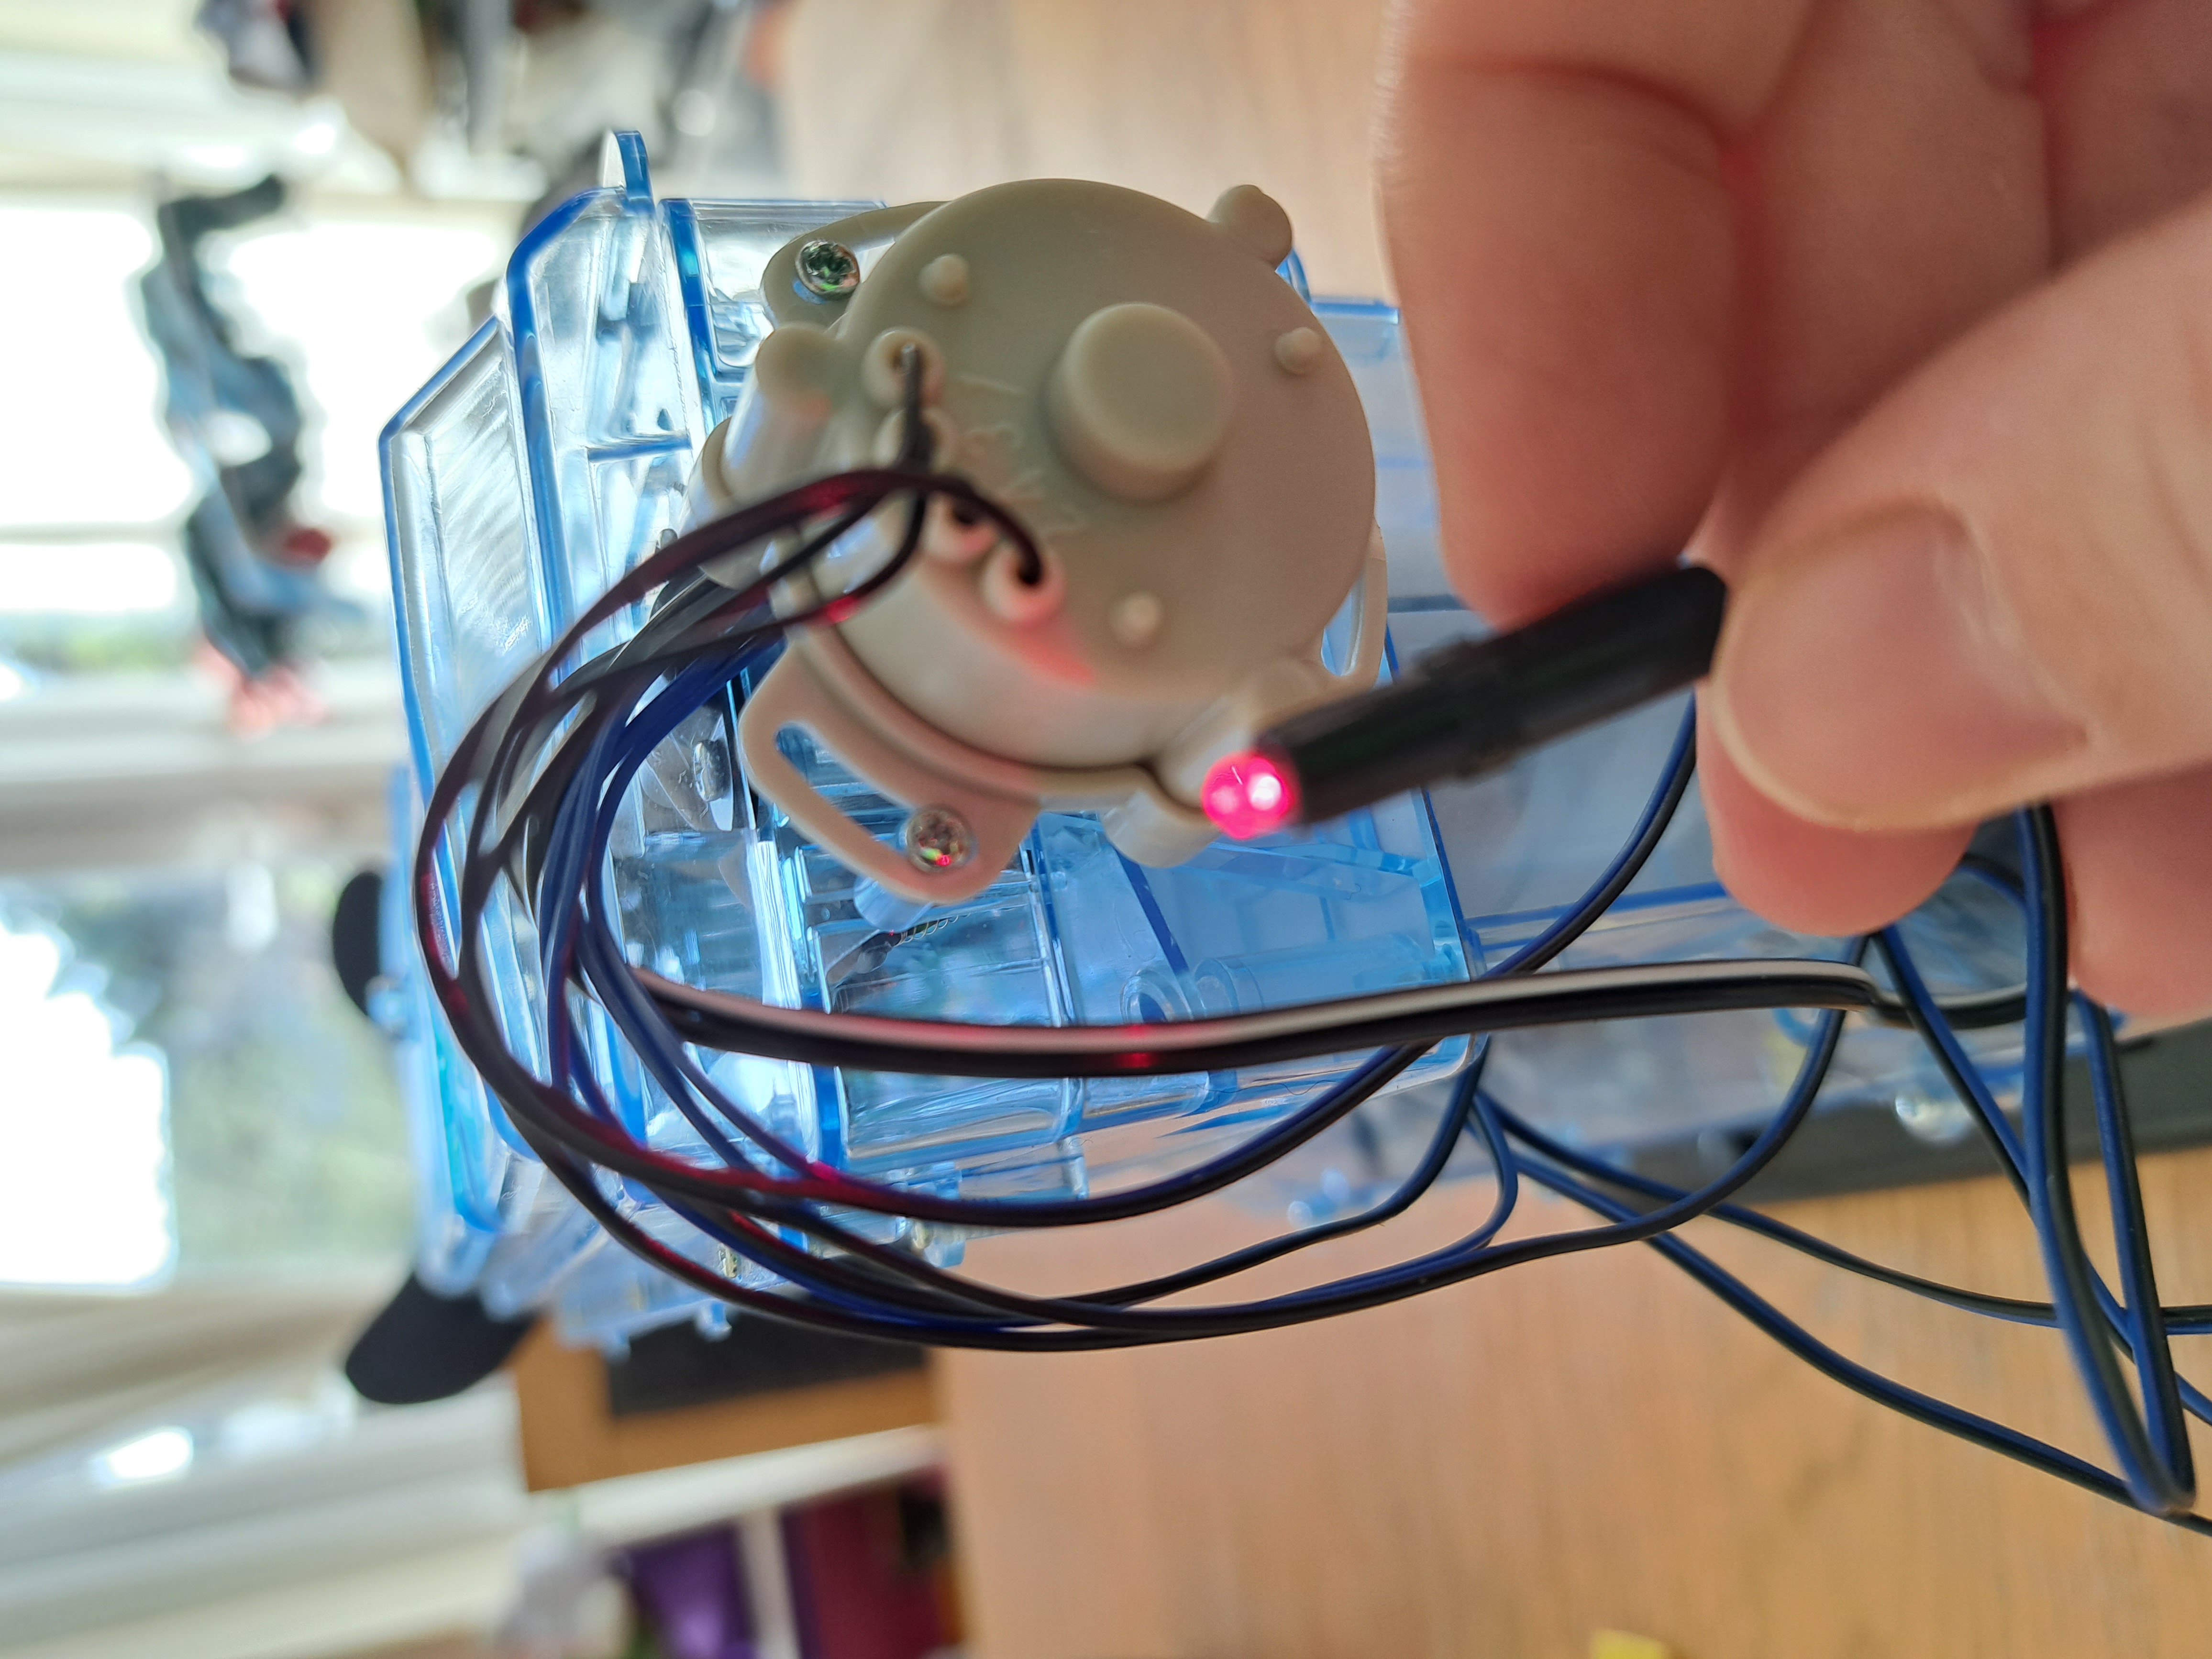
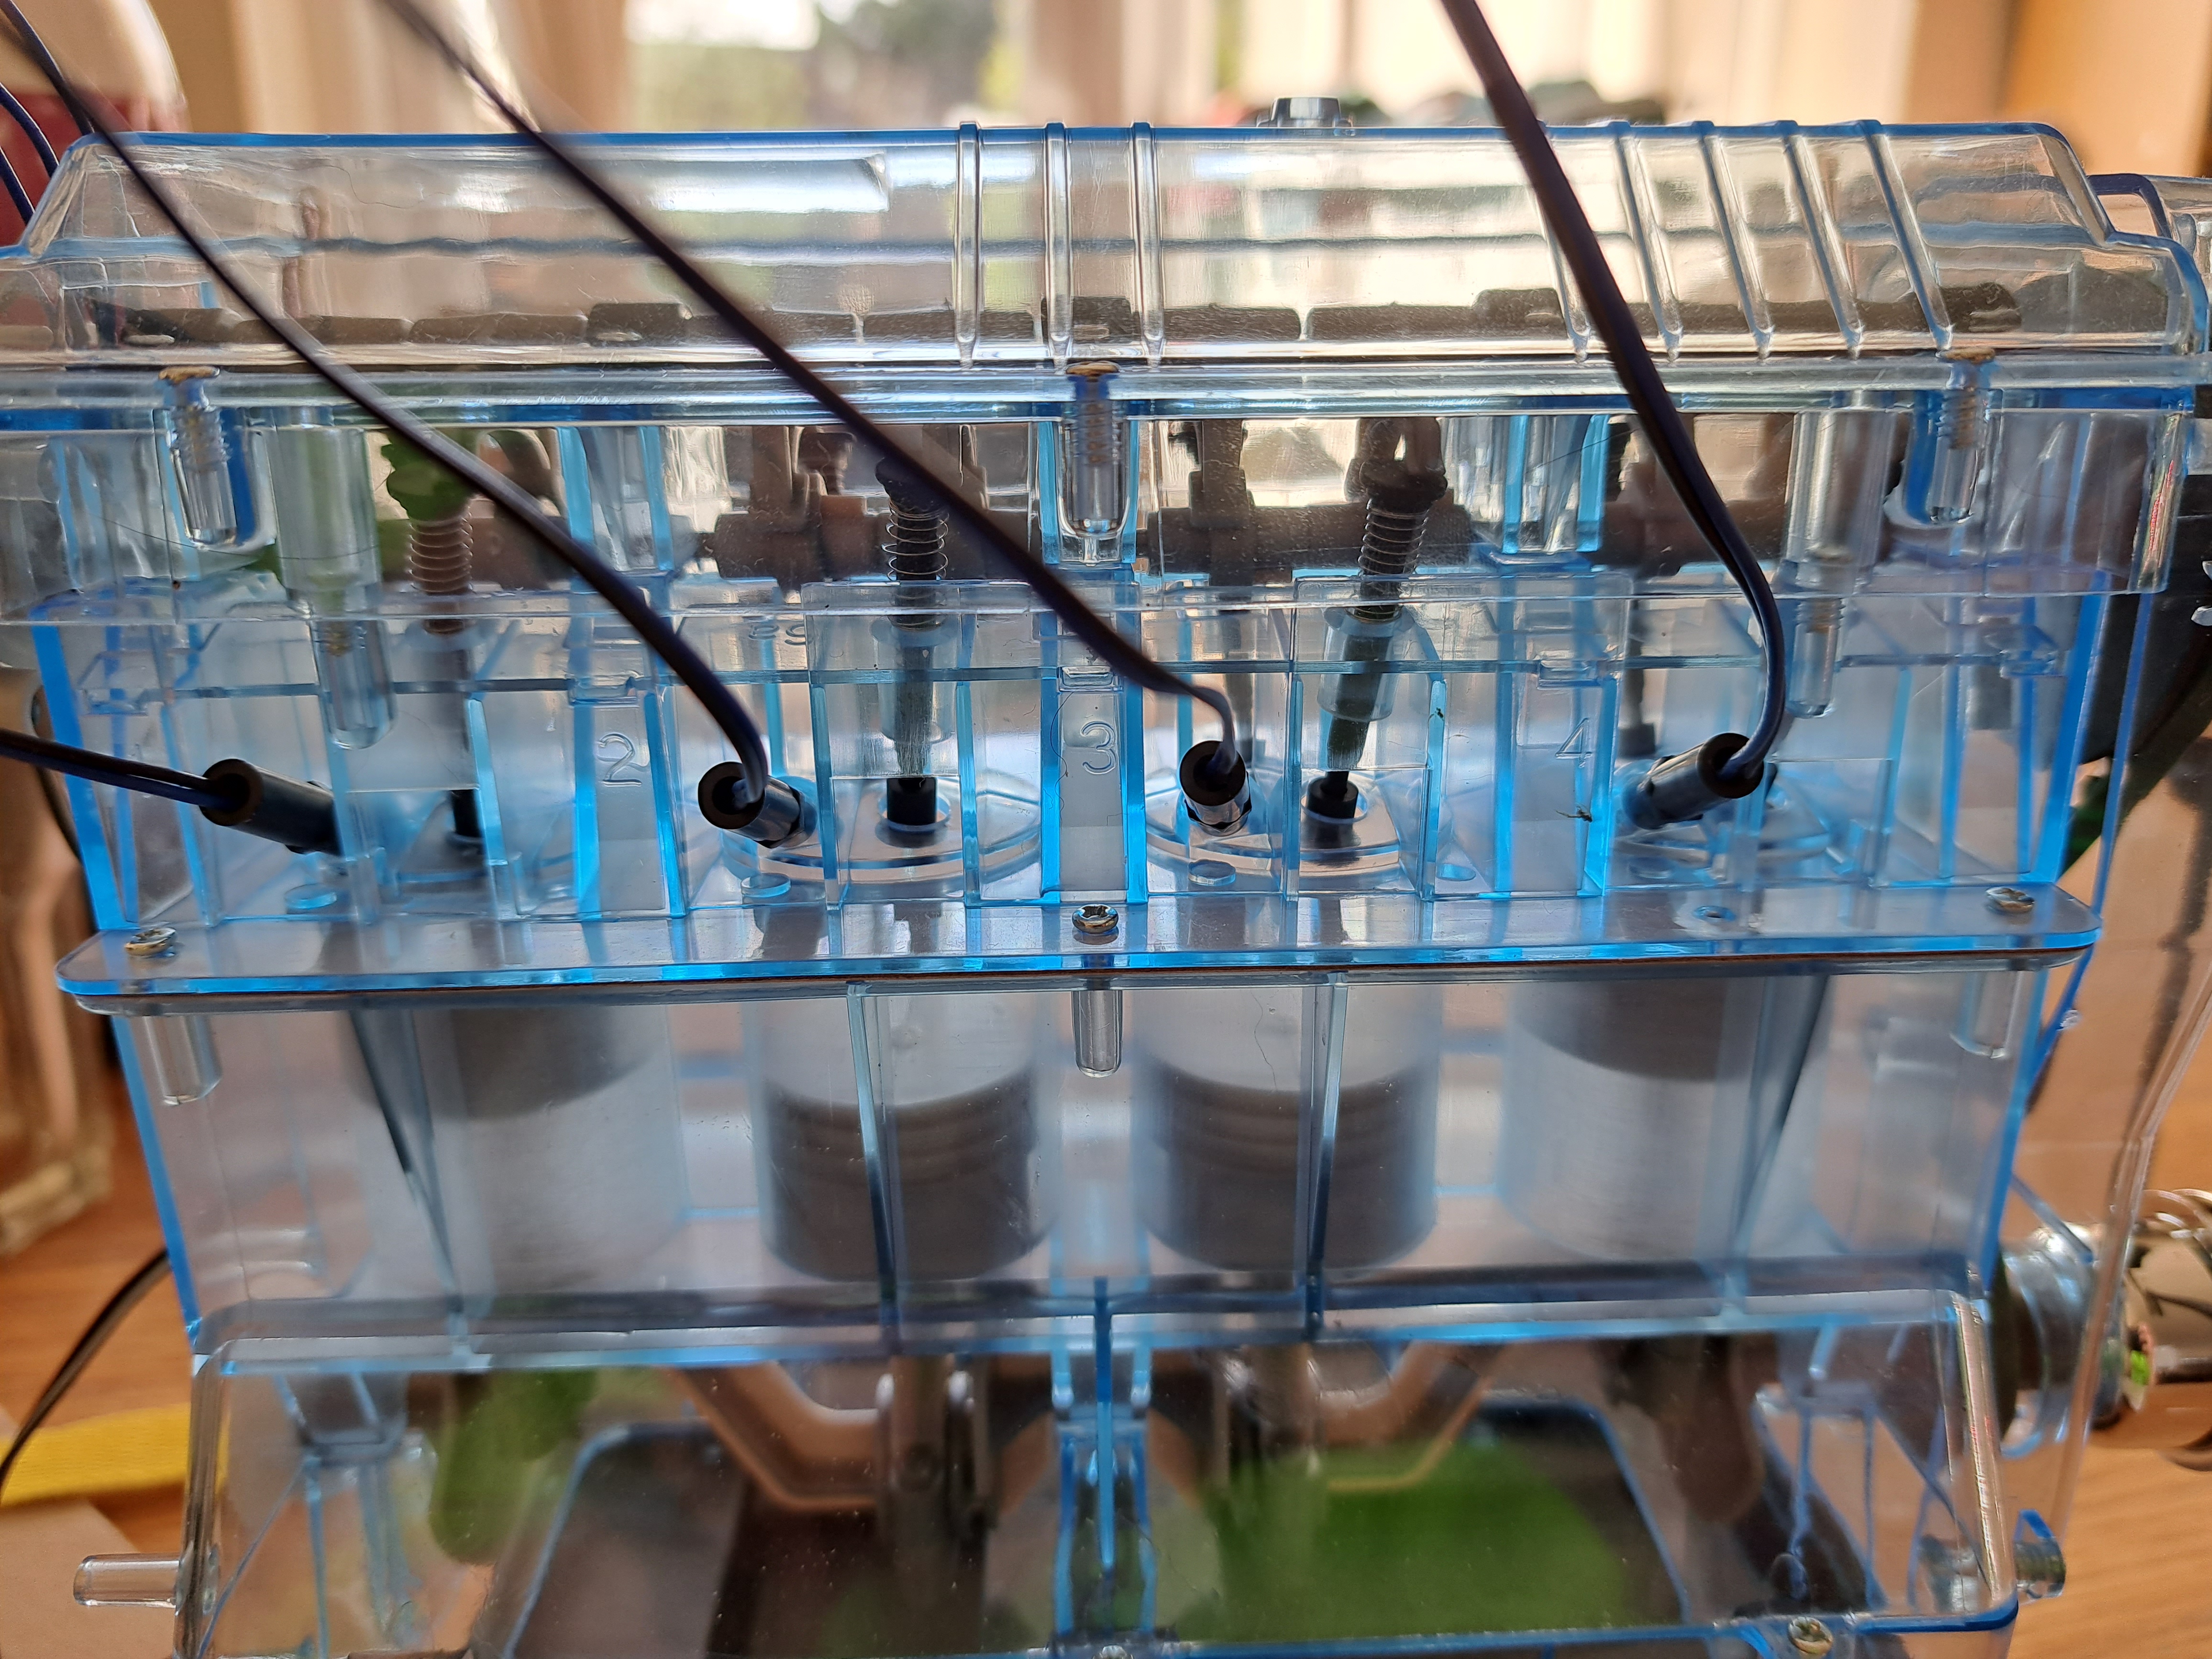
The distributor and 4 "spark plugs" (represented by LEDs) are added next. The spark plugs/LEDs insert above the cylinders and light up to show the order of combustion within the 4 cylinders.
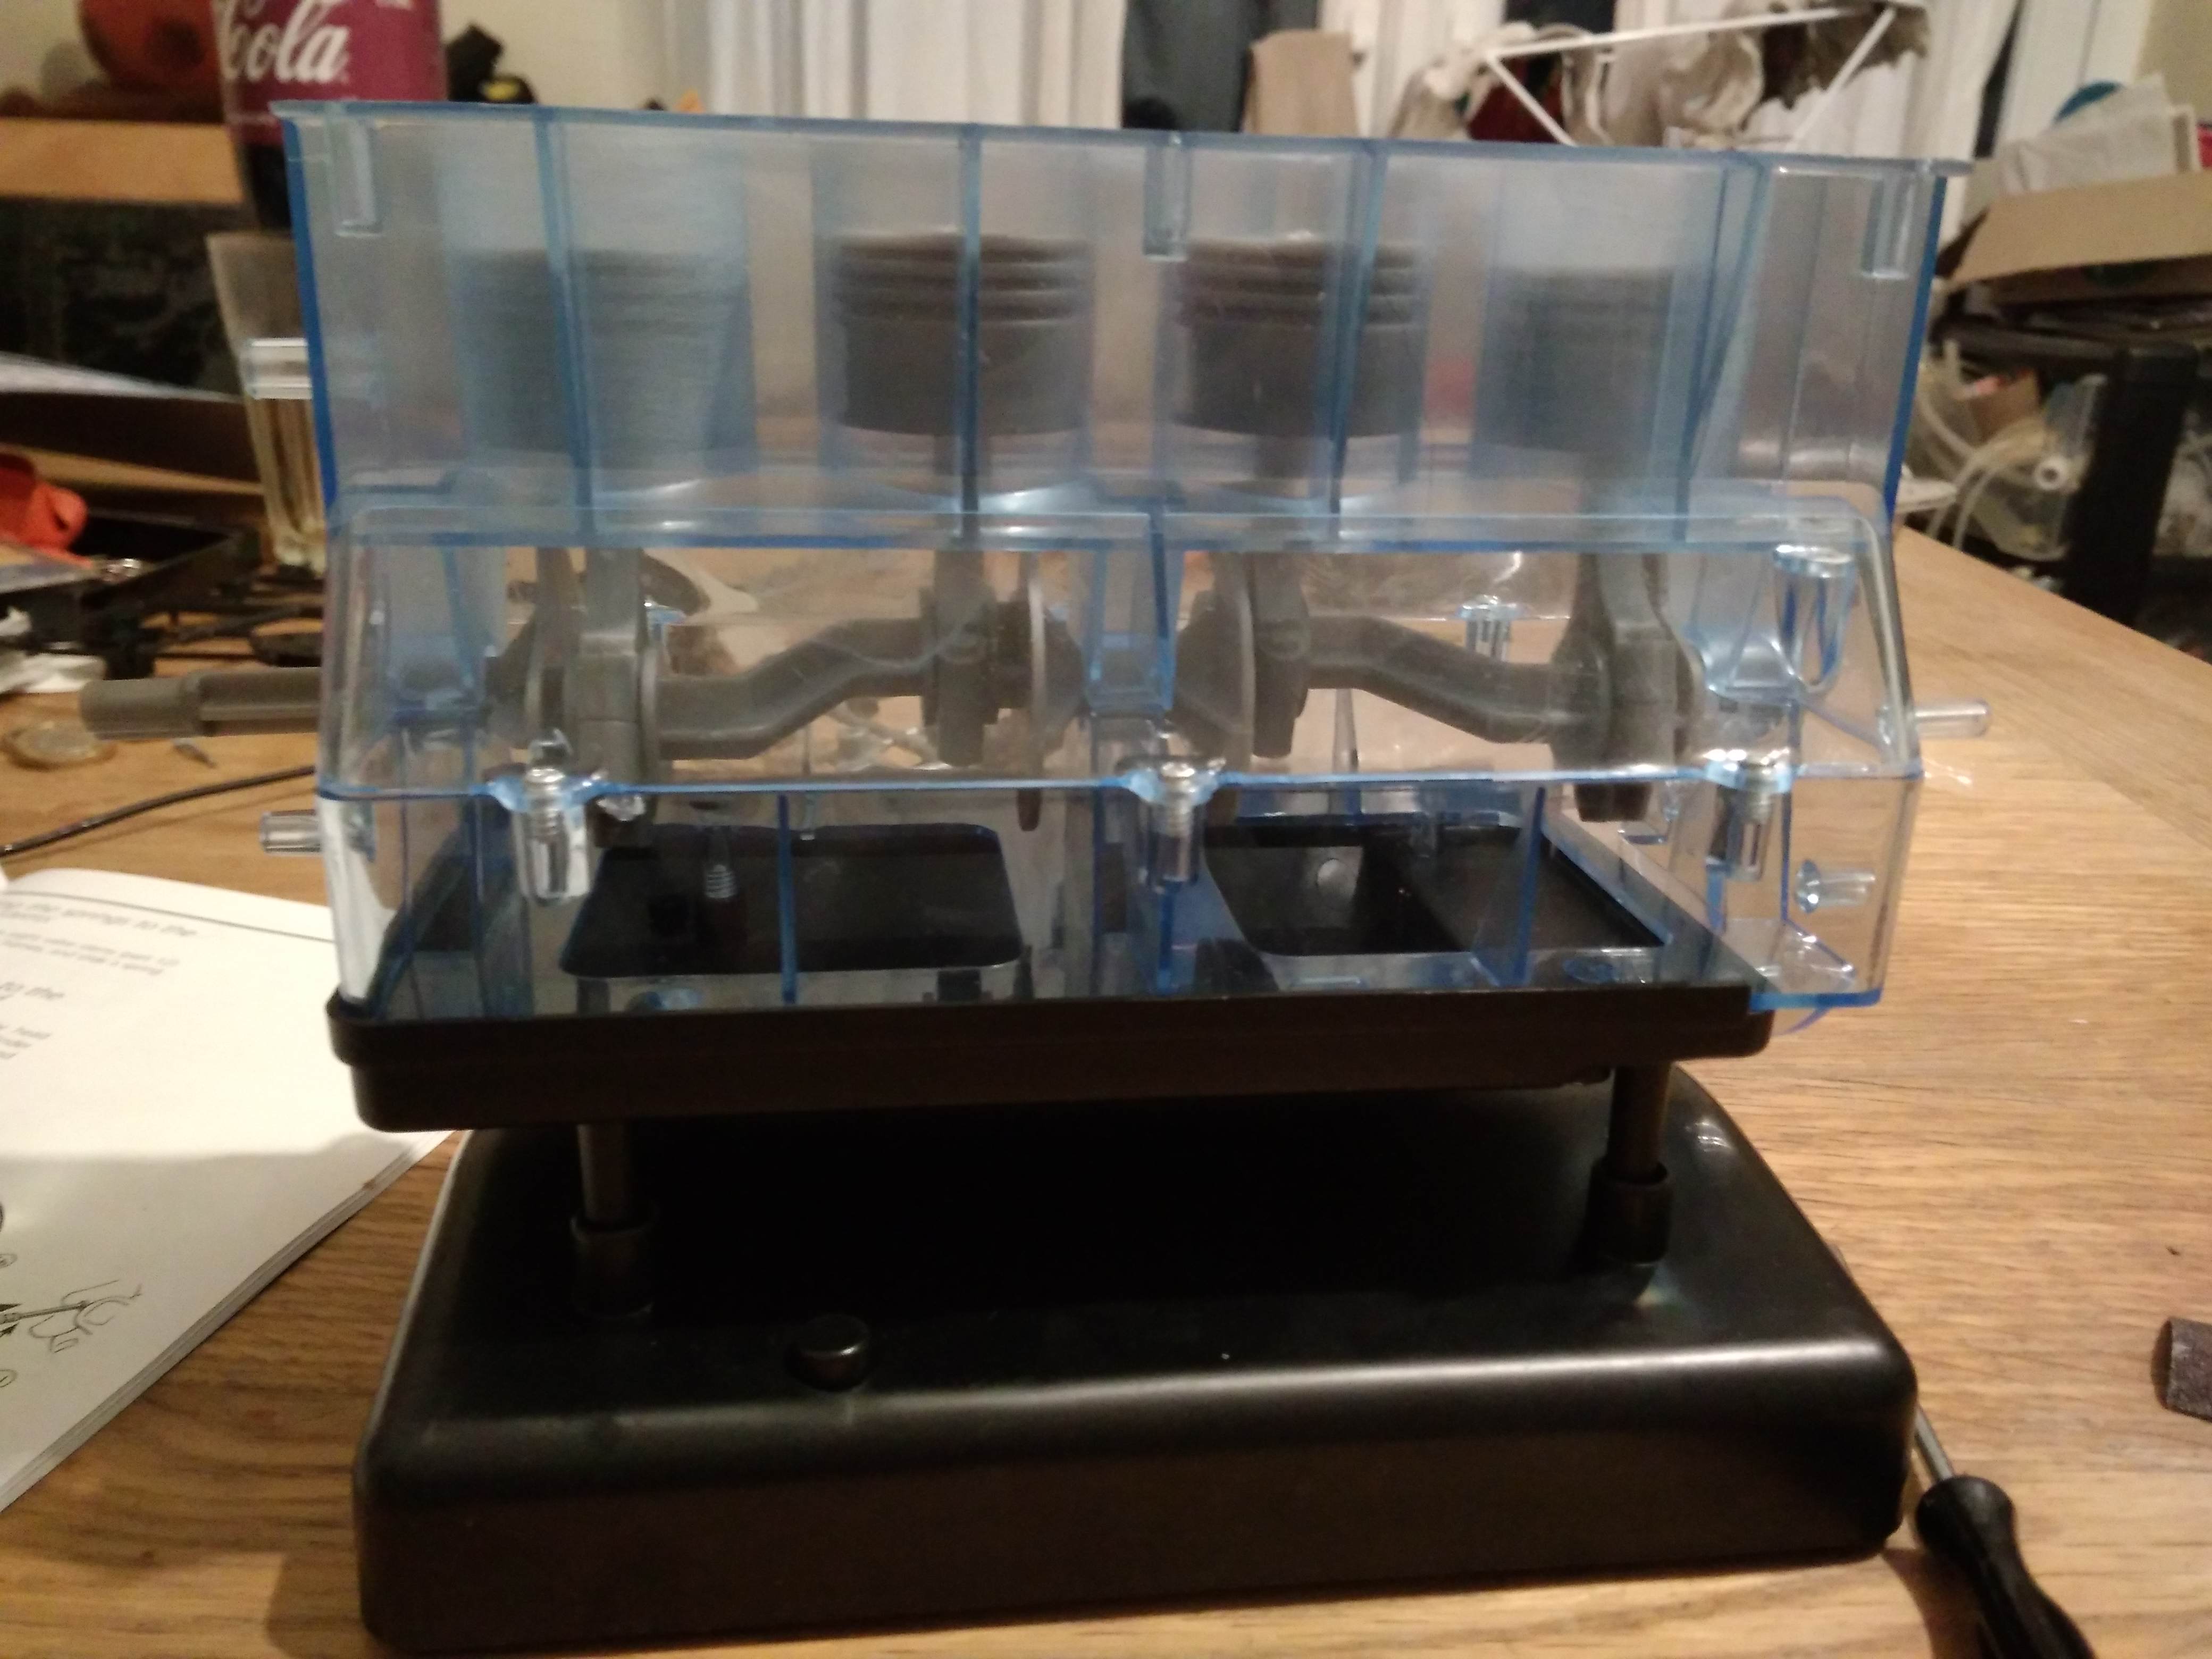
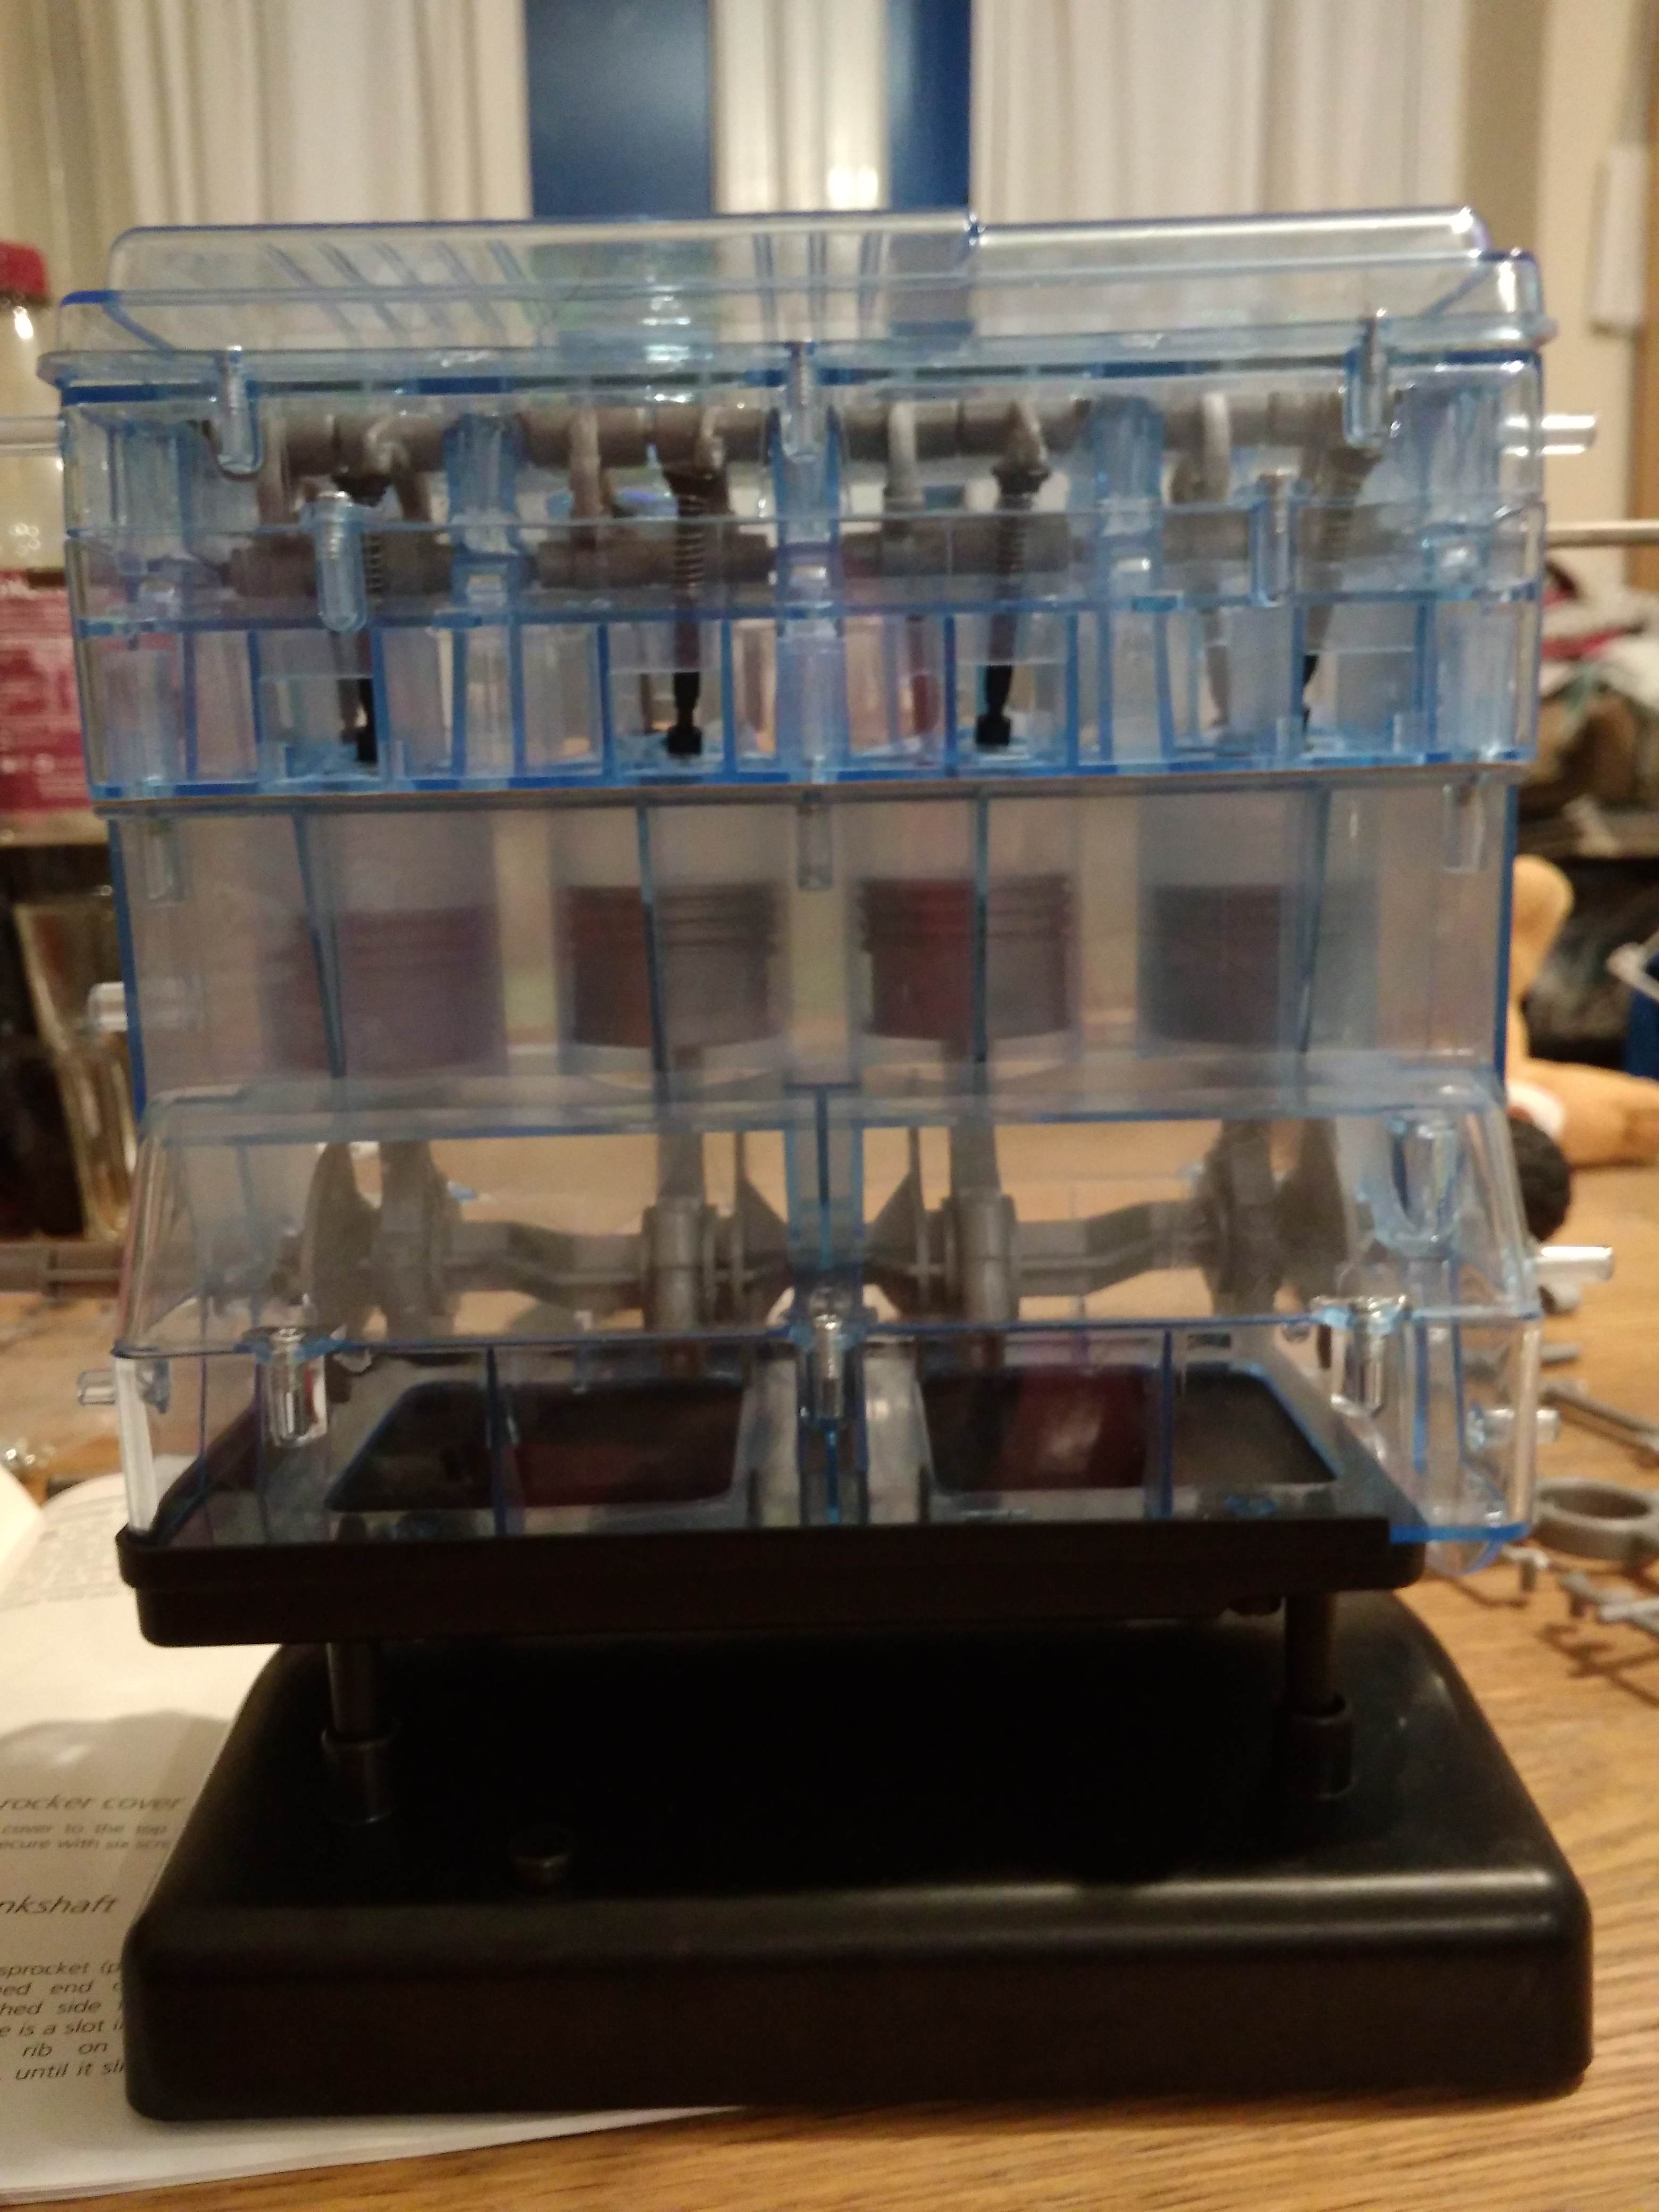
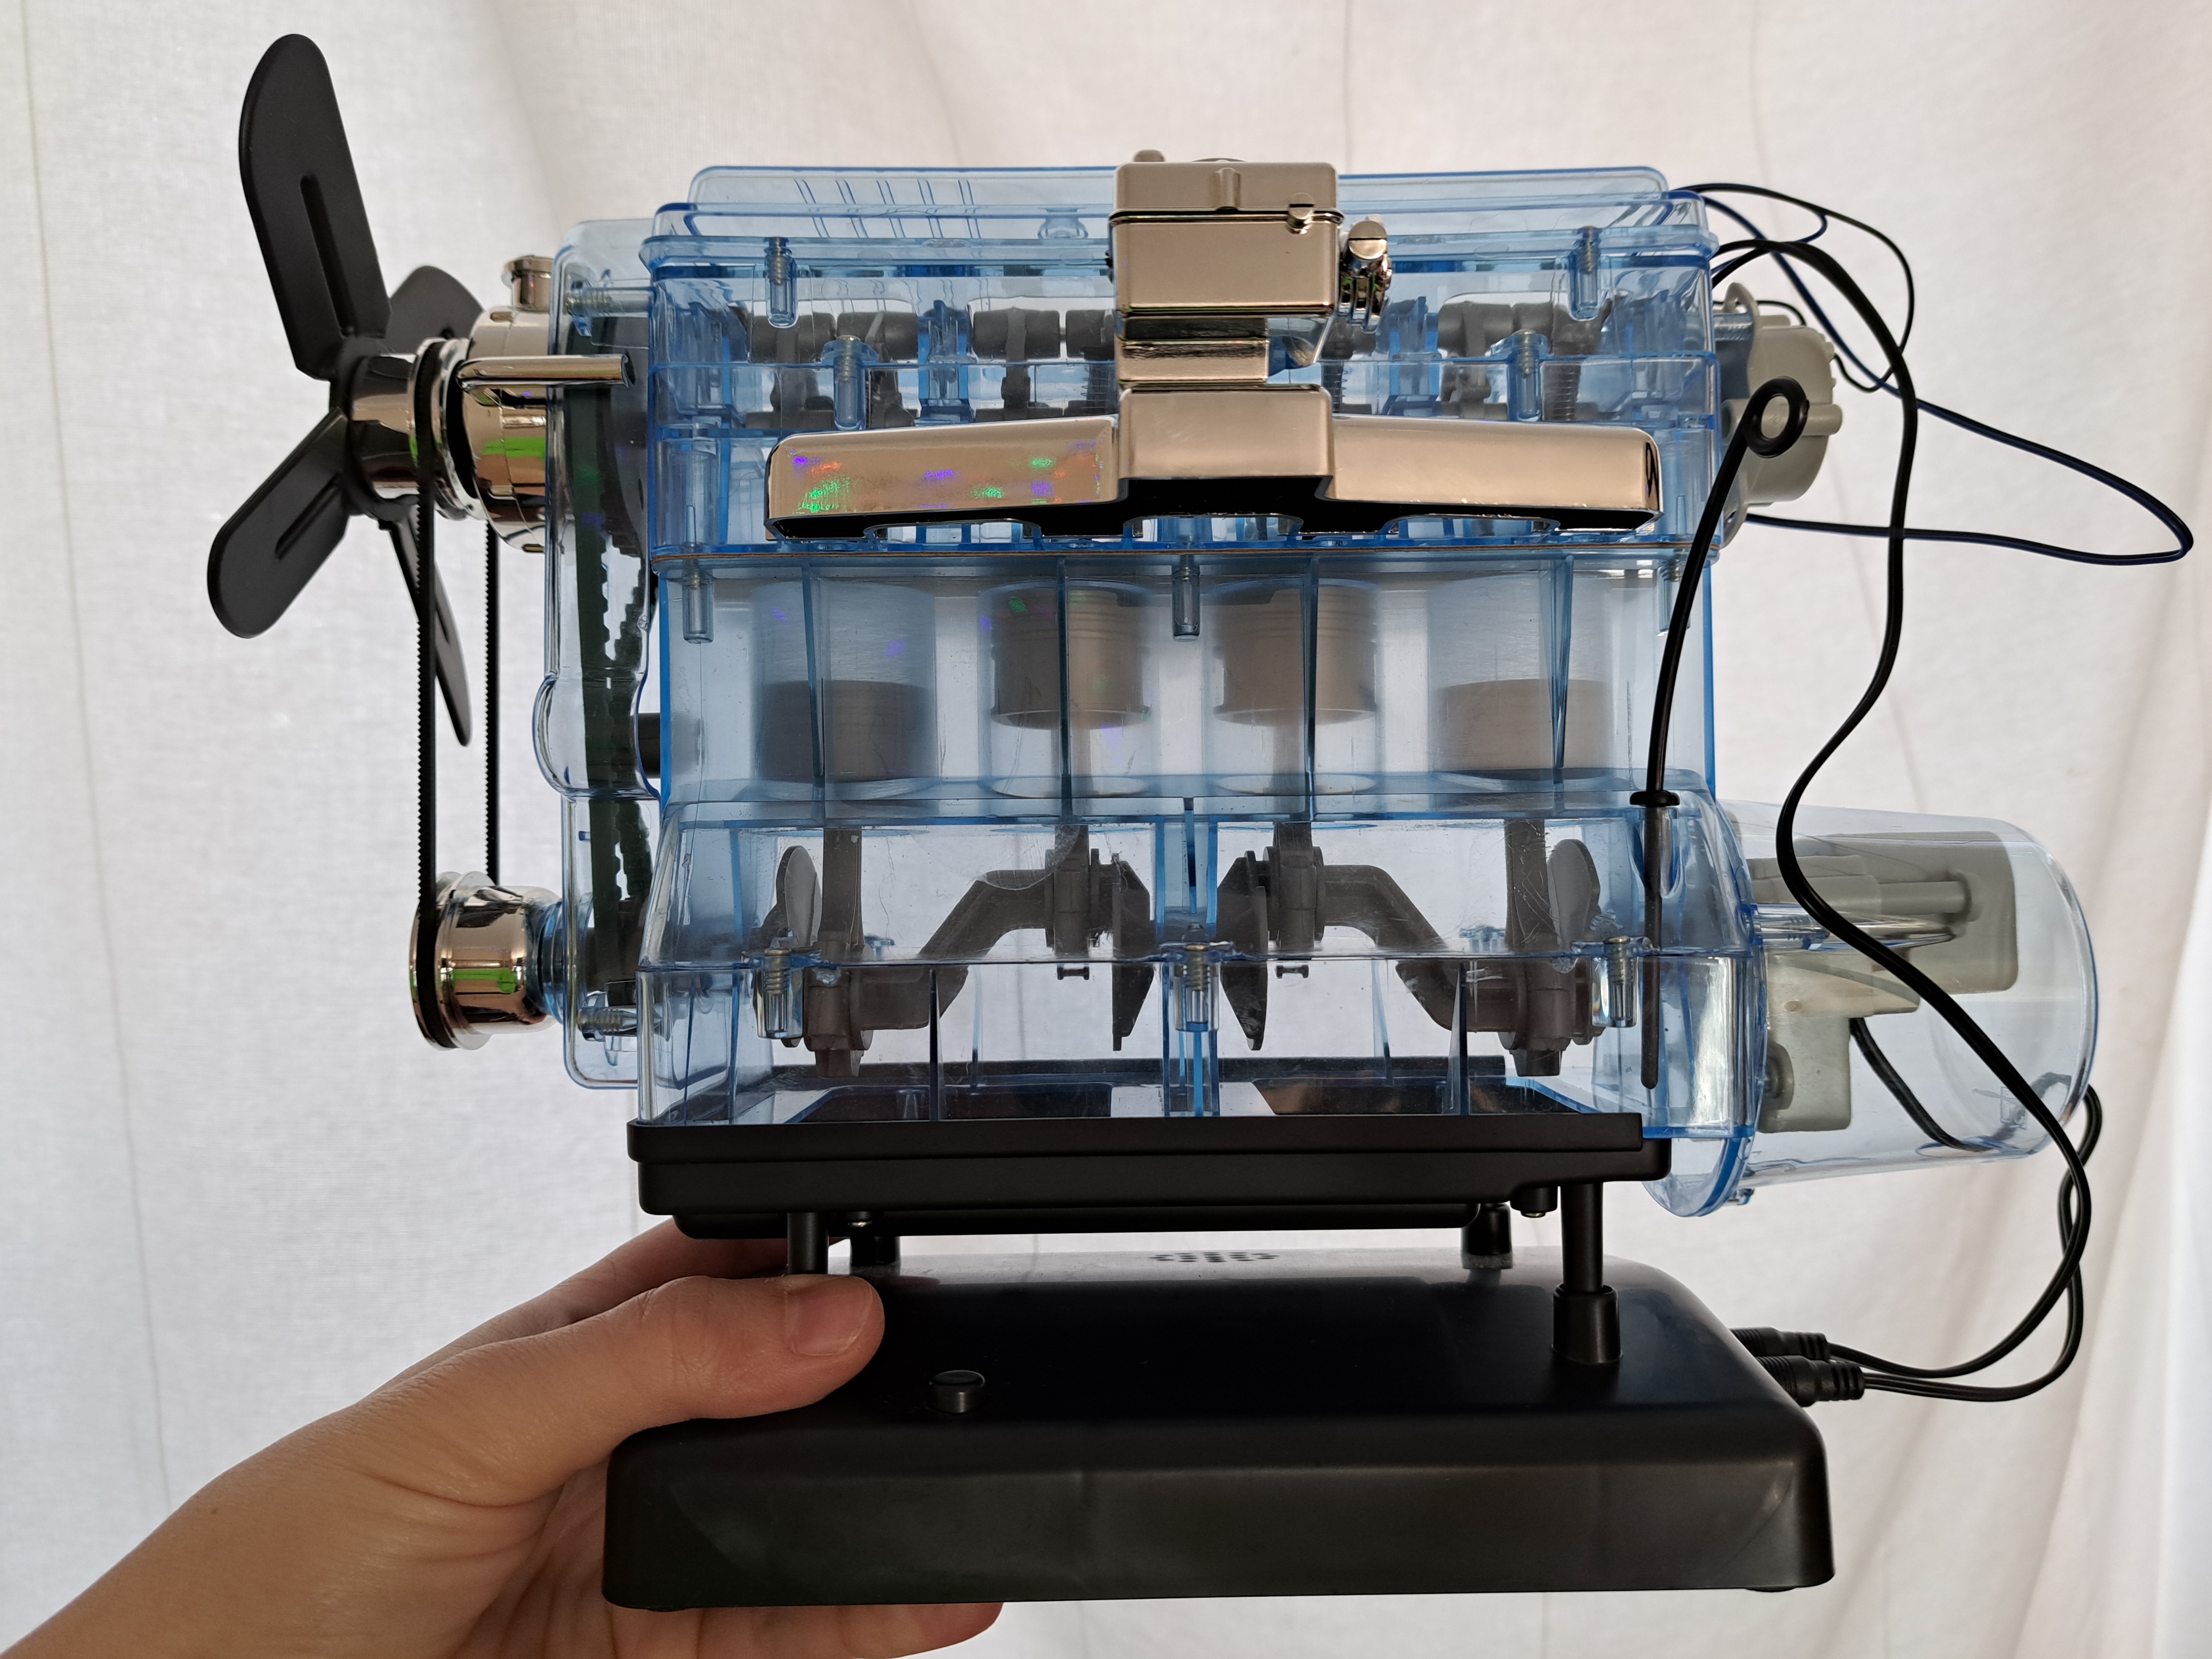
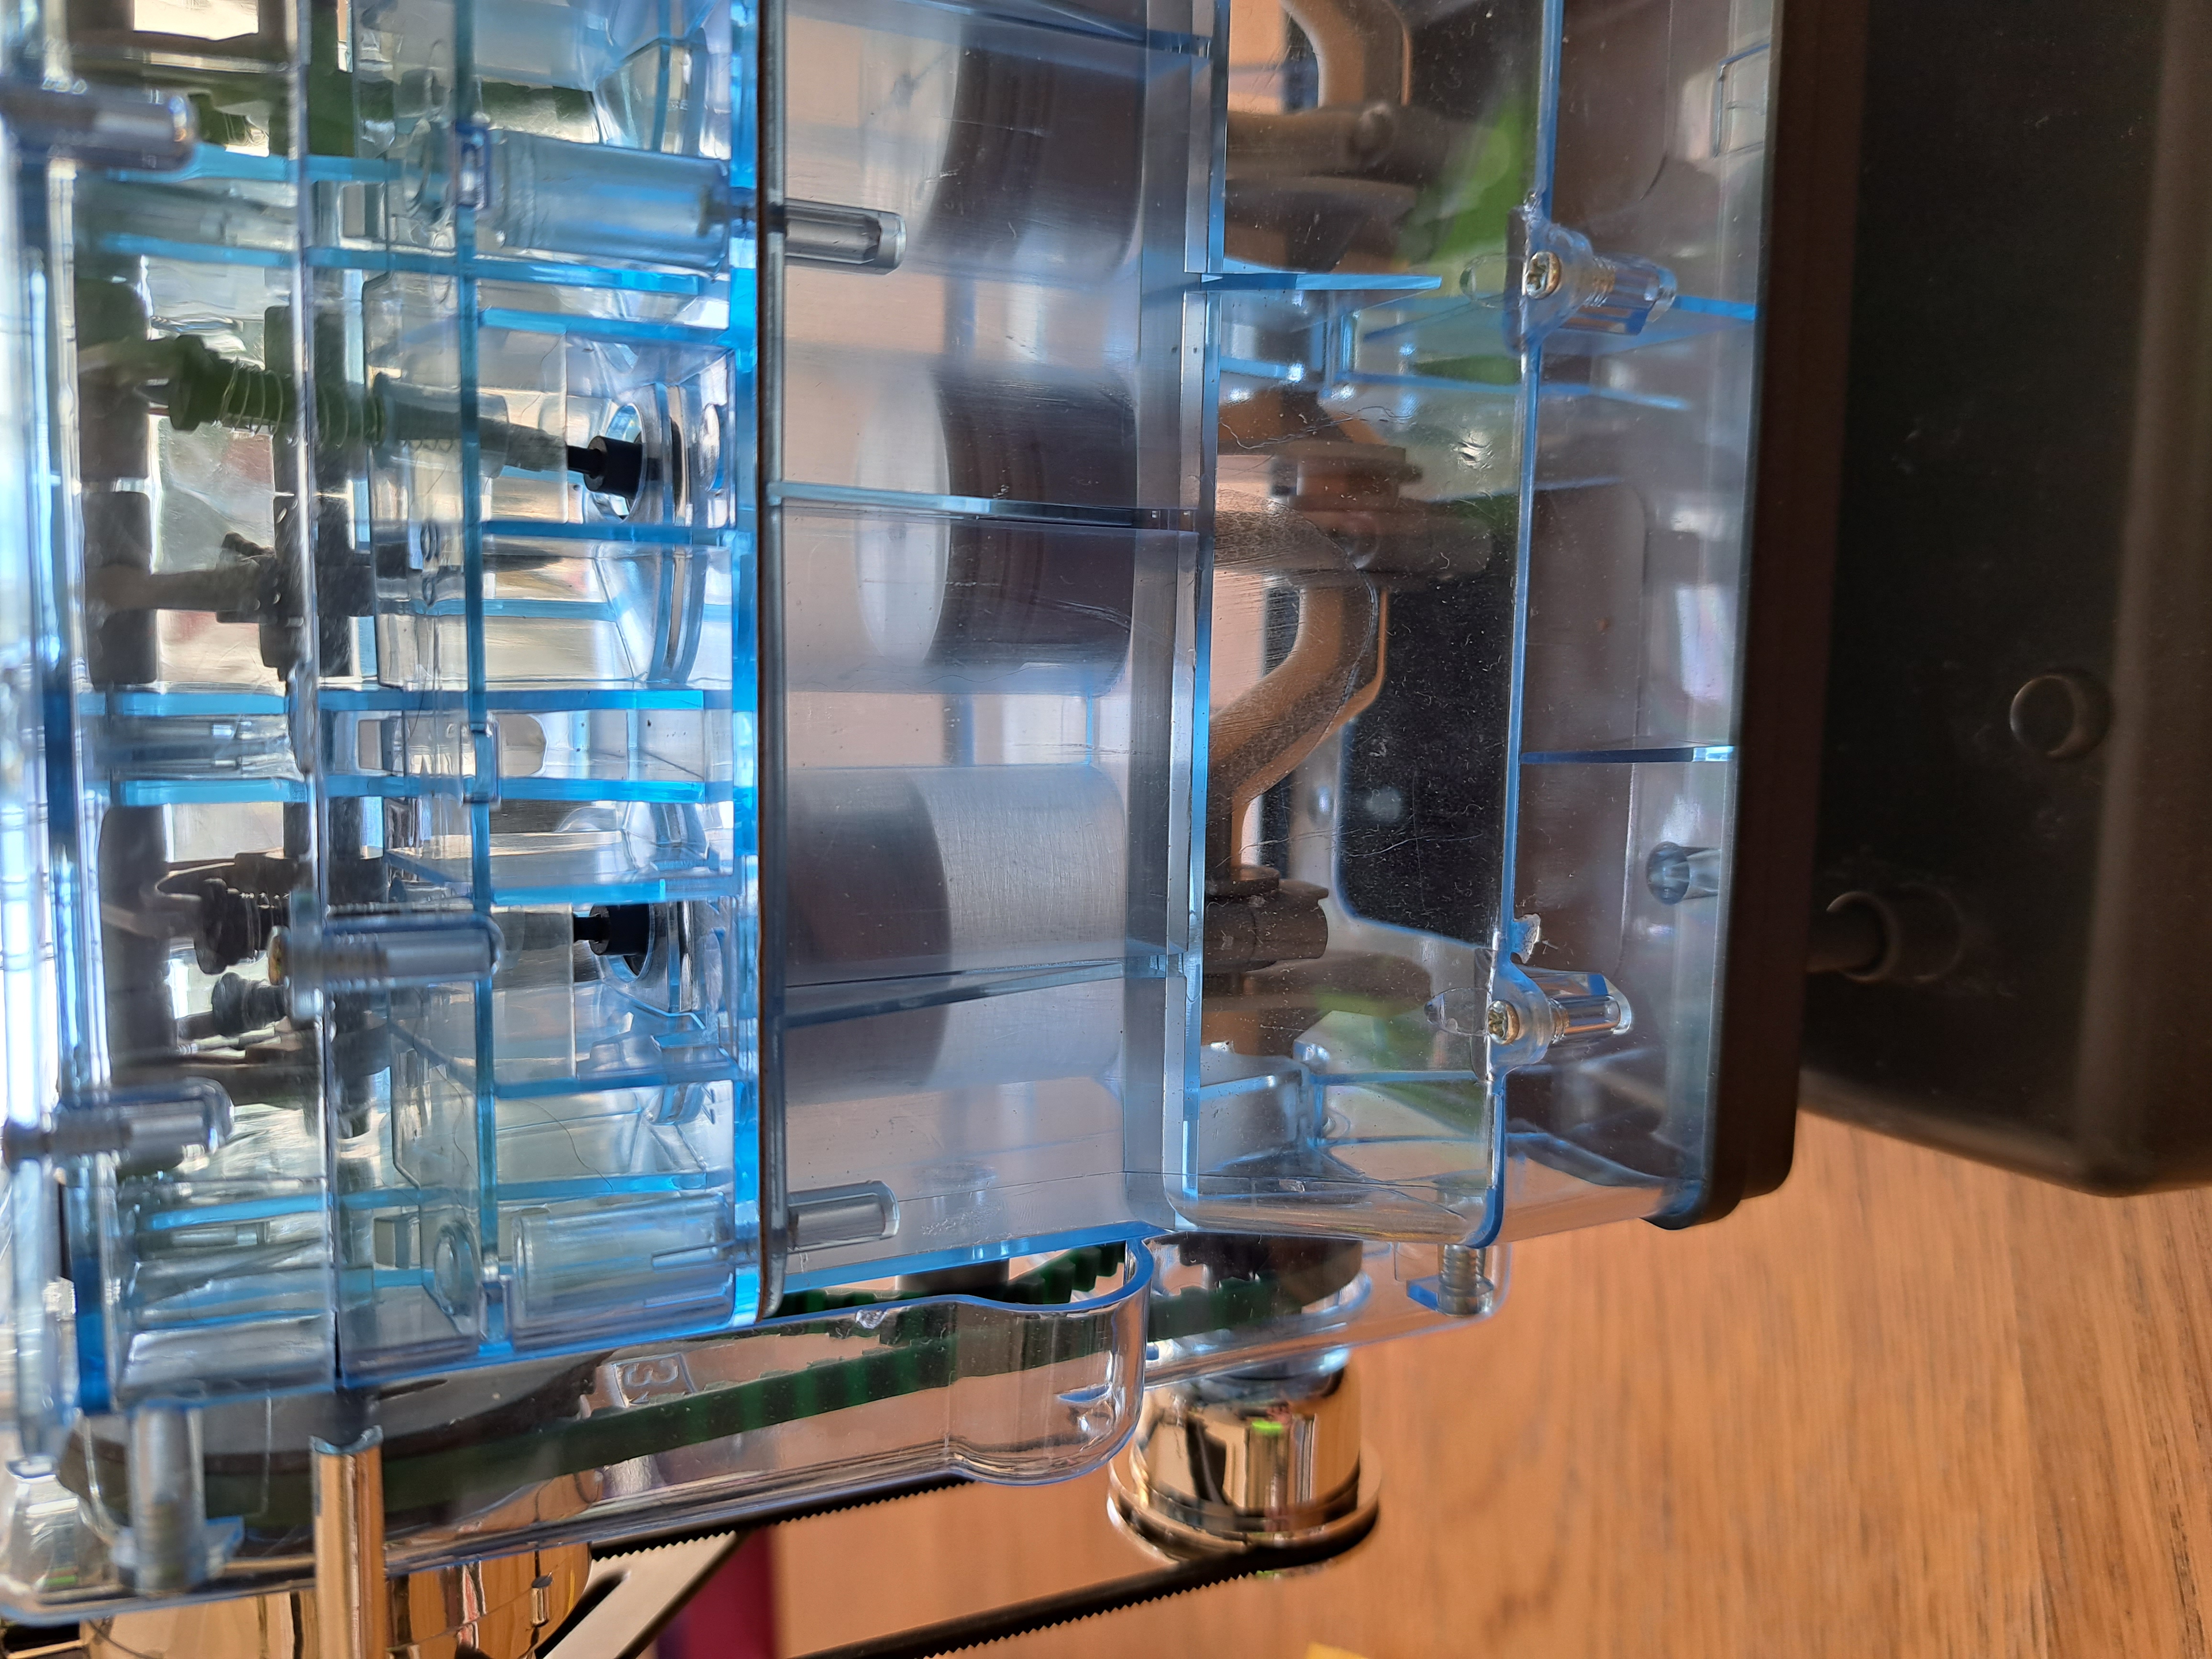
Finally, the throttle and inlet and exhaust manifolds are added. The assembly is now complete and is shown below! A close up of one side of the engine is also shown.
Step 4: Using the App with Augmented Reality
The App is like magic! Free and easy to download, even if you don't buy the kit!The App has 2 parts. The first part explains the major parts of the engine and combustion cycle in an electronic textbook style. This part is useful but not interactive. The second part has the AR (Augmented Reality) and is what makes this App really shine.
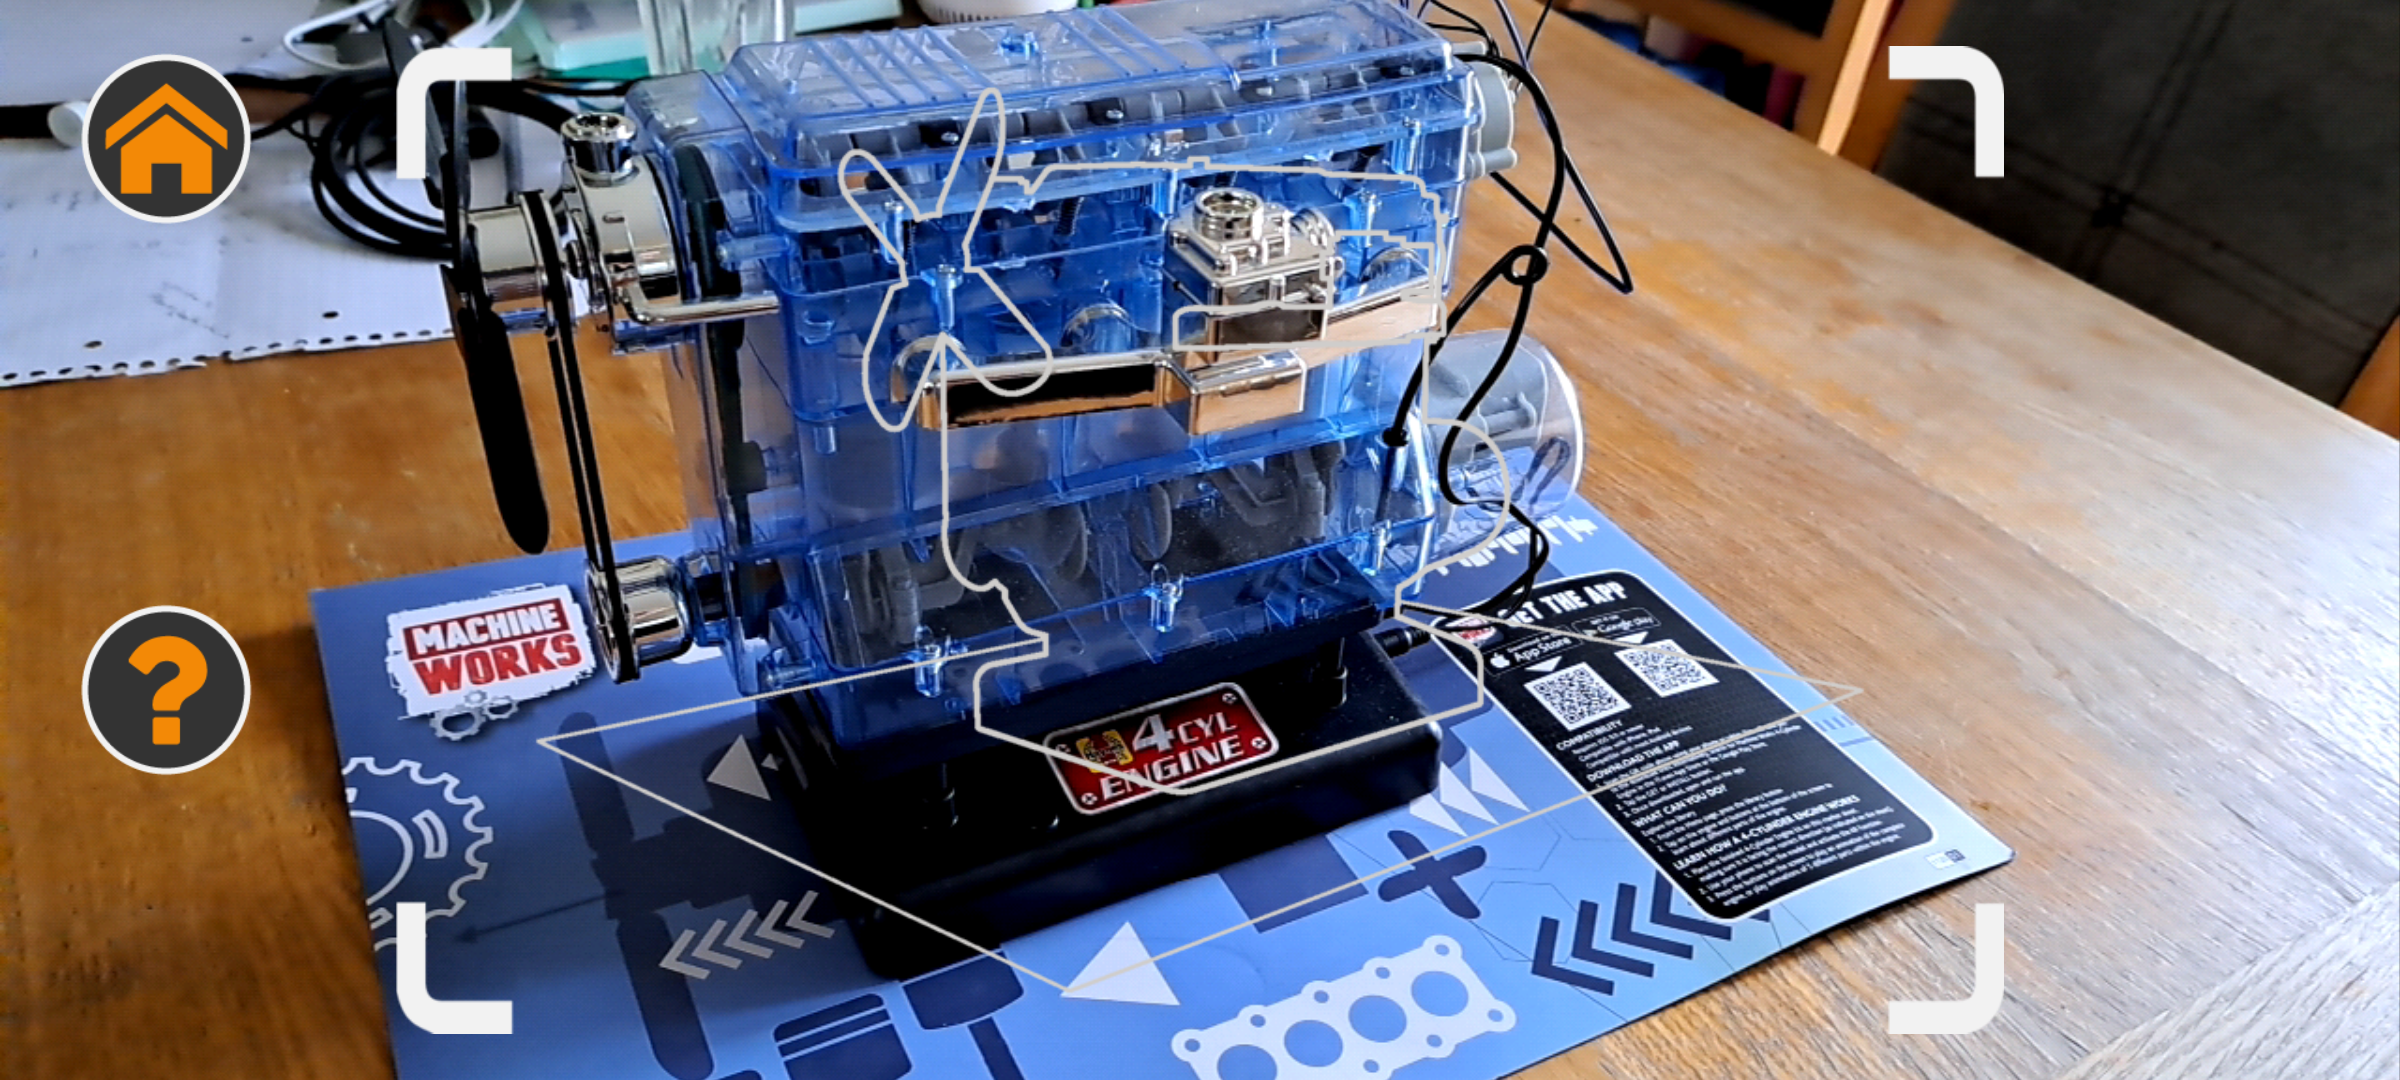
I typically avoid Apps as I find them frustrating to use. This App has its frustrations: it takes a few attempts for the App to know where the engine is and the App frequently "loses" the engine if the camera angle changes much (process of aligning engine and App shown below).
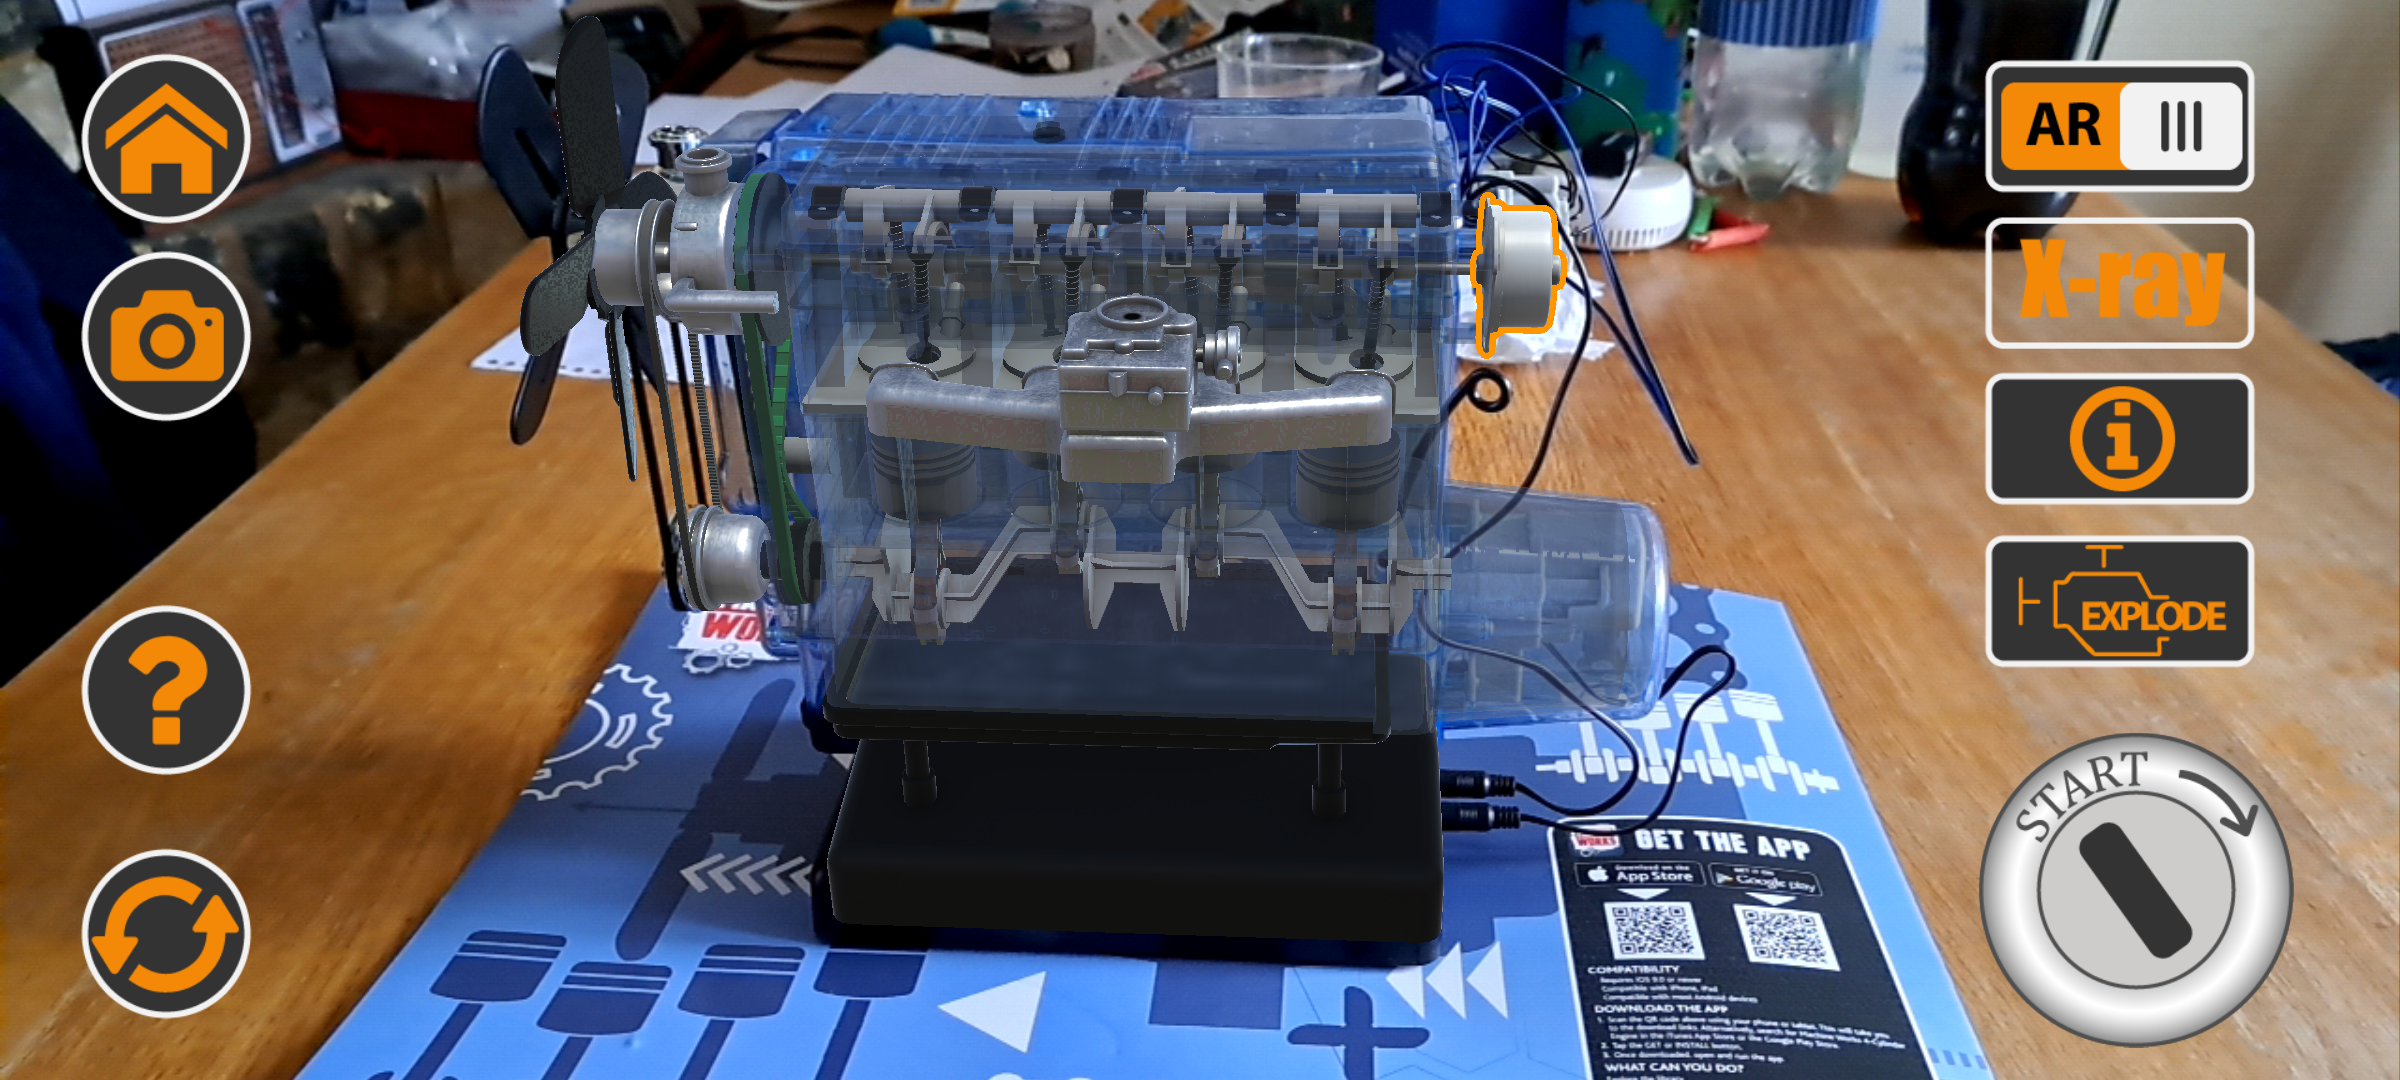
The alignment process is worth it though as the AR is really cool. The App begins by superimposing a real engine over your engine. The sound of the engine rev'ing is a nice touch.
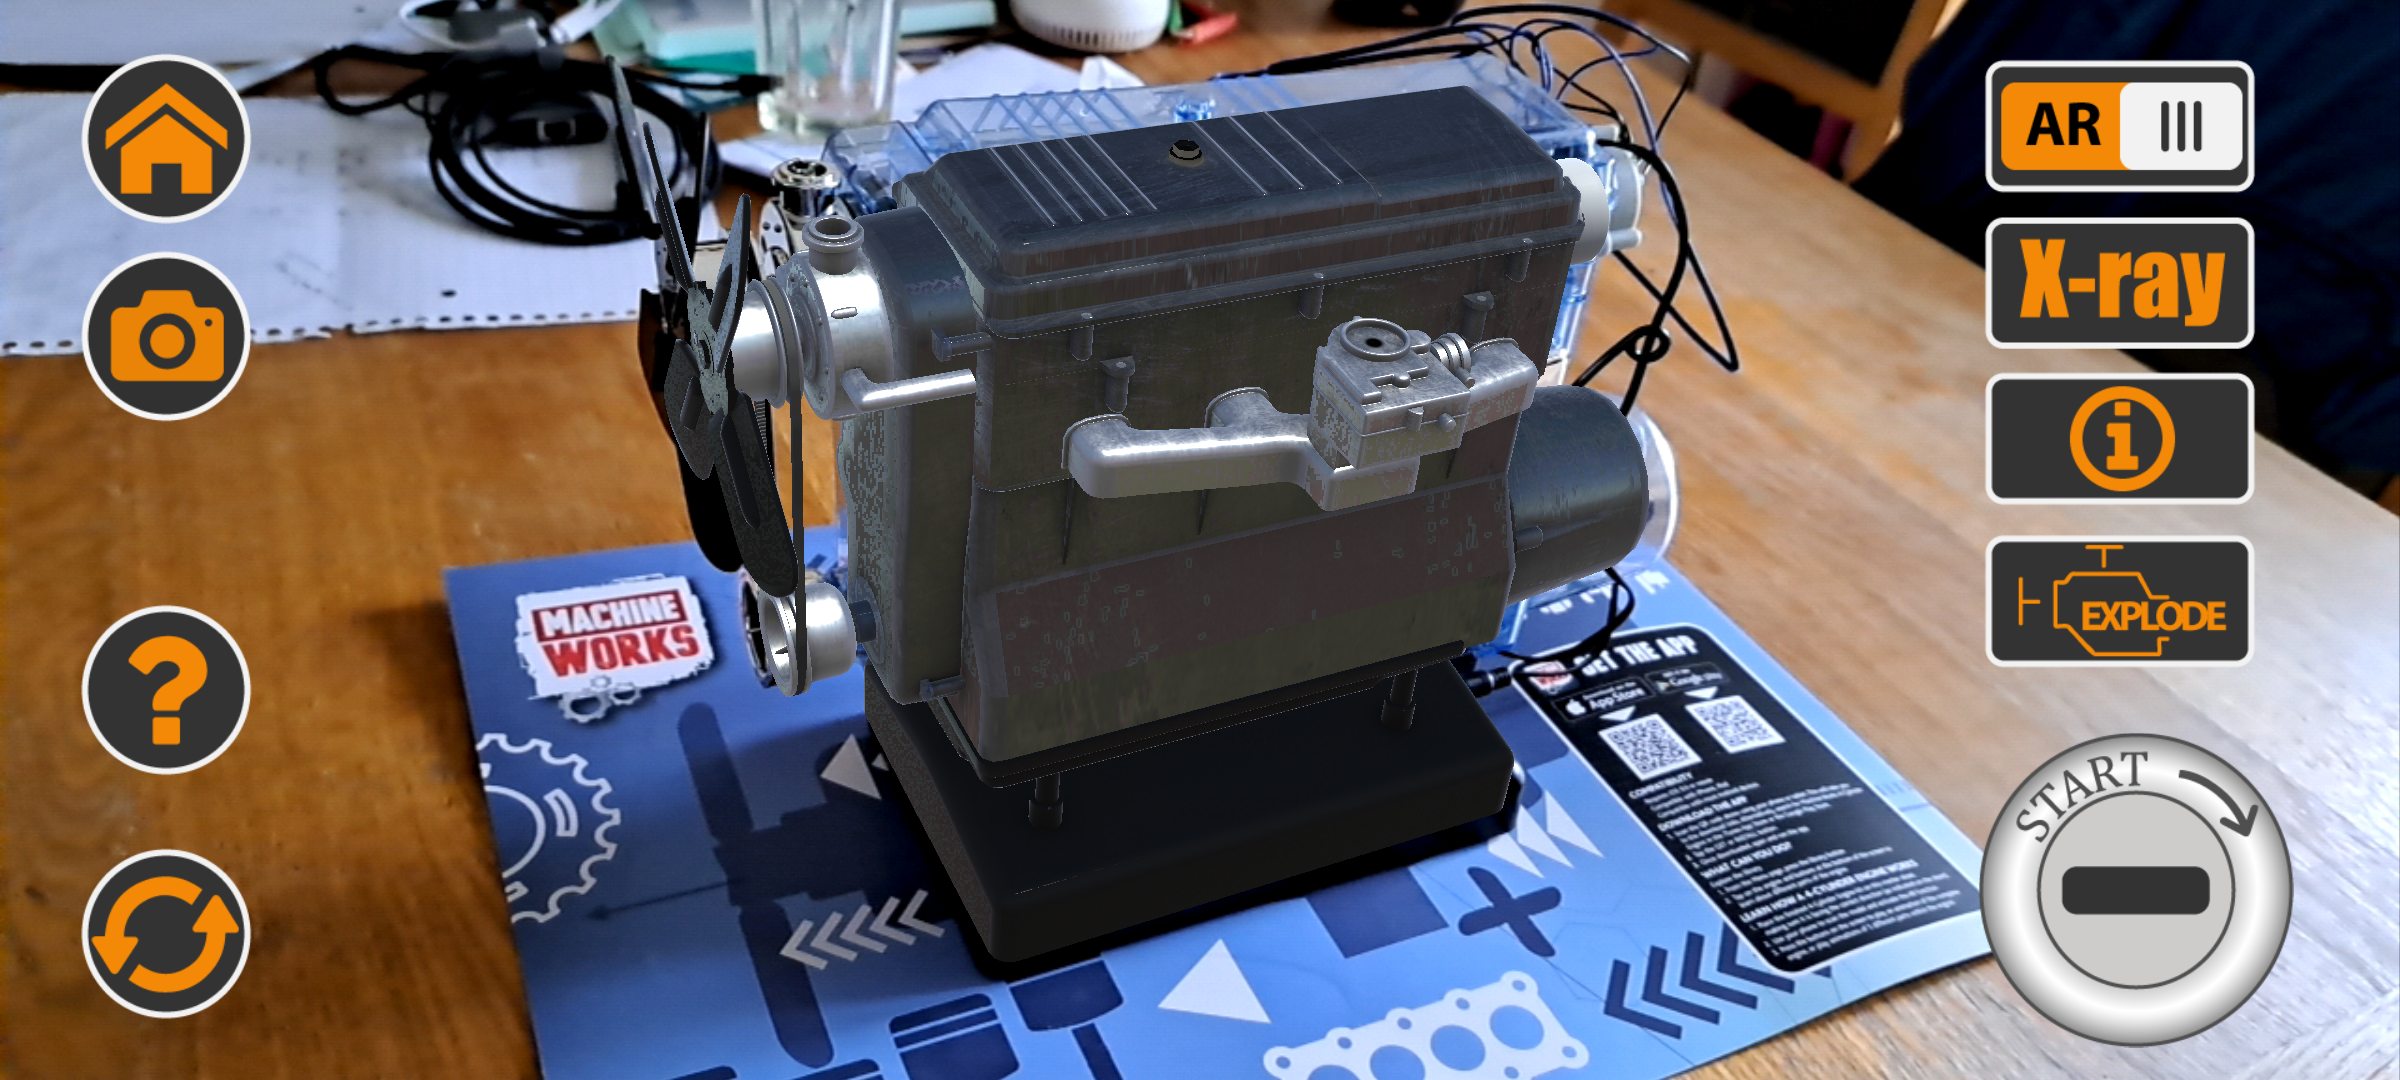
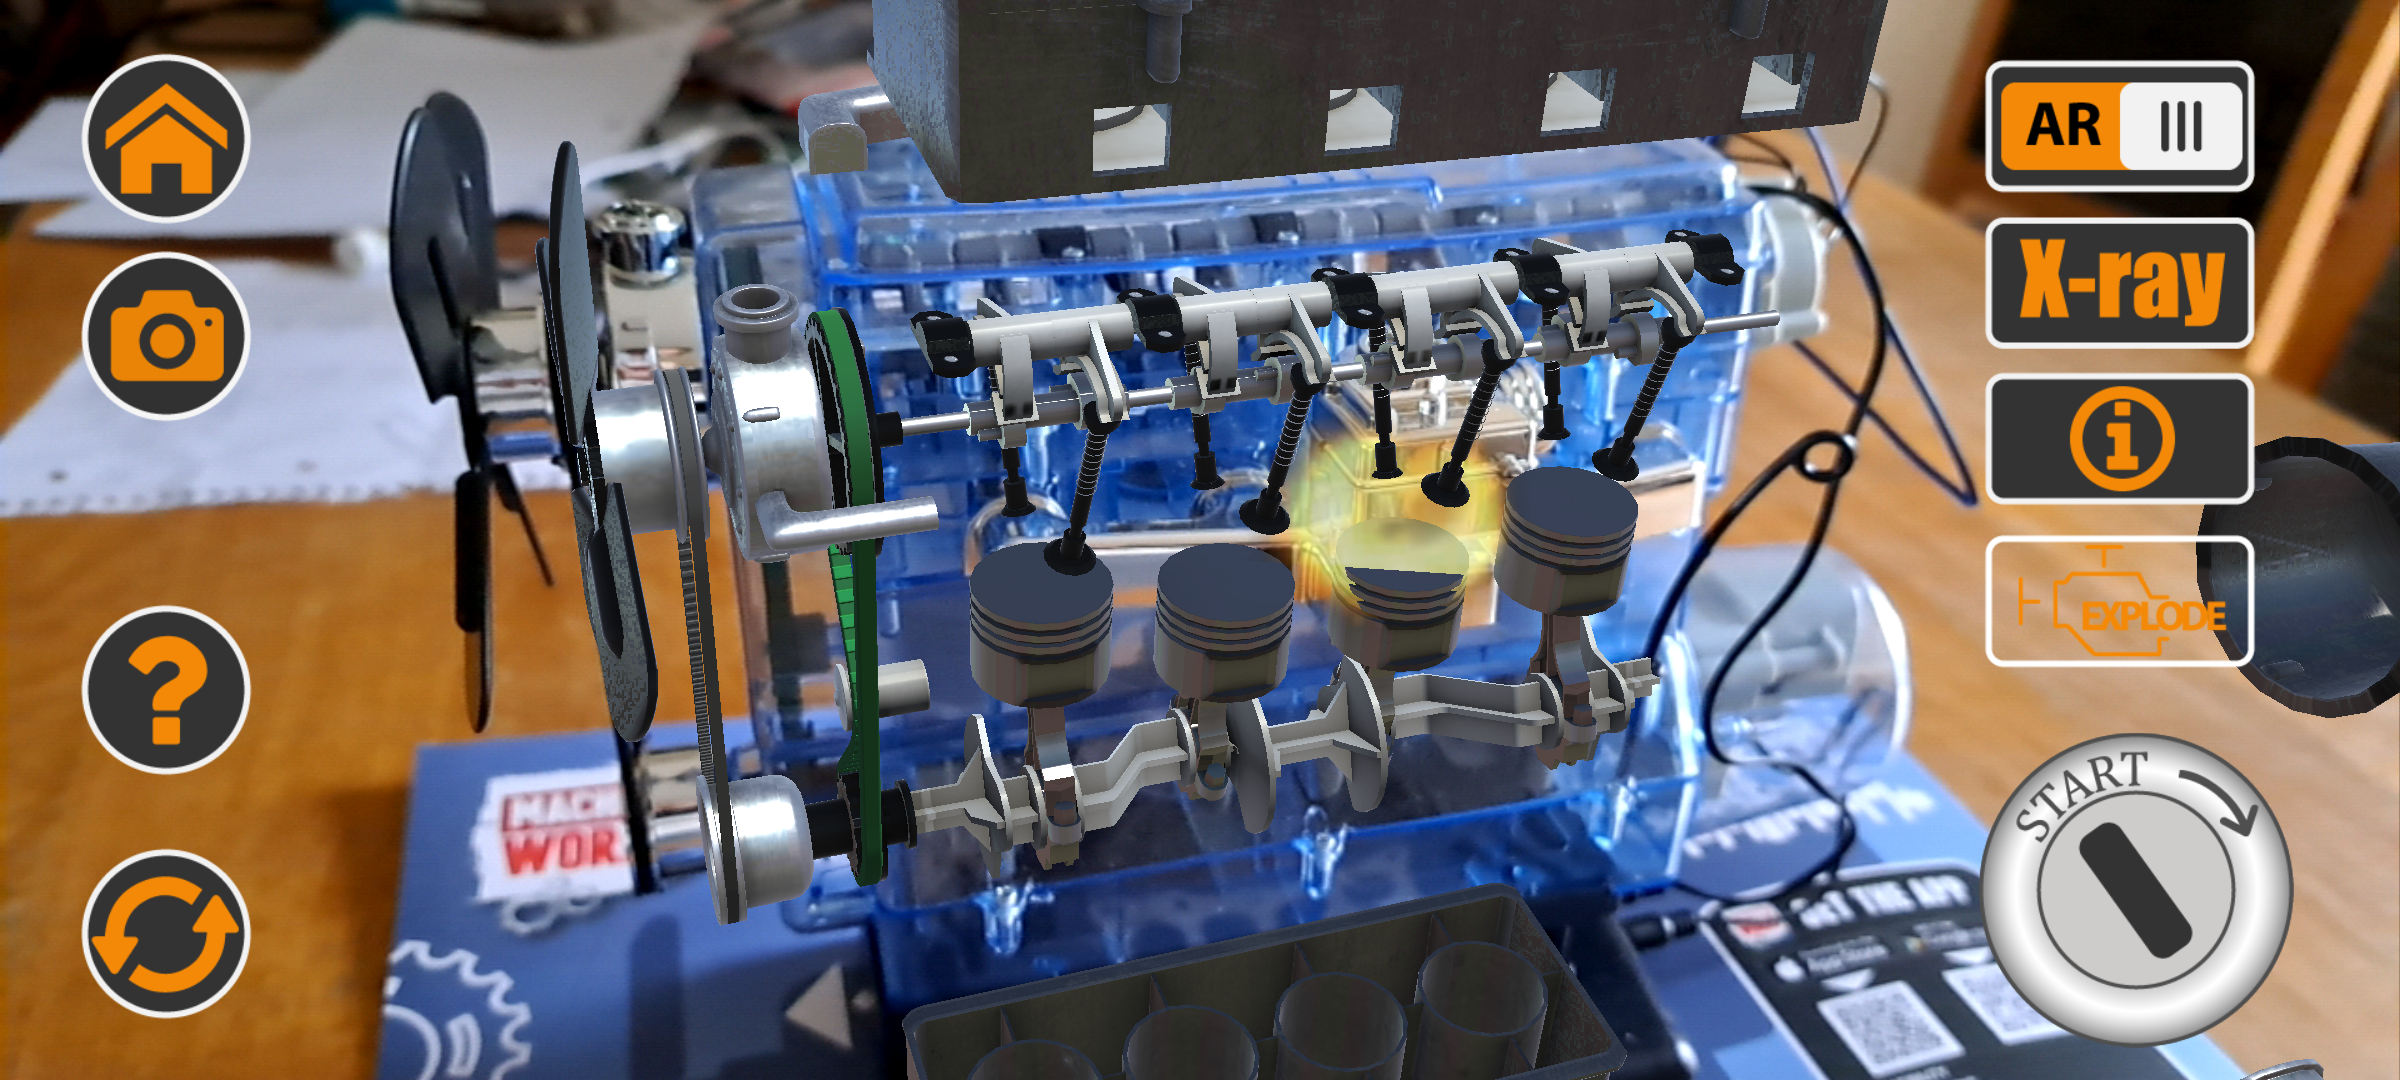
You can then view the inner workings of the engine by either using x-ray (external parts are transparent) or an exploded view (external parts move to edges). An example of x-ray is shown first, with an example of an exploded view following. You can even watch the tiny explosions in the different cylinders! The App can also take screenshots, which is useful if you want to show people after (like in this review) or if the build is part of a class project.
A Final Overview!
Things I really liked:-I learned a ton about 4 cylinder engines!
-The instruction manual uses actual part names rather than just part numbers. Now I can talk about how a "Crankshaft" functions rather than how "Part 4" functions - much more useful in the real world!
-Watching the engine work was very satisfying.
-The engine is a great talking piece for my office.
-The AR in the App is a brilliant finish to the project!
Things I suggest improving:
-Ensure relevant pictures and text are only shown together. Occasionally, pictures are shown before their corresponding text, which I found confusing.
-Put the part number on each (set of) part(s). Some parts don't have their identifying part number on or near them. Parts can still be identified by looking at the Table of Parts and searching through all of the kit's bags but this is needlessly time-consuming.
-Label each sheet of parts to make it easier to find parts. Currently, you have to search through every sheet to find a particular part (which may not be labelled at all - see point above).
-Improve the fit between pistons and cylinders. Originally, the fit was too tight and the parts would not move relative to each other. After sanding, the parts would move but still stick occasionally and cause the engine to jerk.
This is a great kit for someone wanting to learn about engines - or who already enjoys engines and wants a fun talking-piece to put on their desk. I am already looking forward to doing the next kit: the V8 Engine kit!
Other Articles:
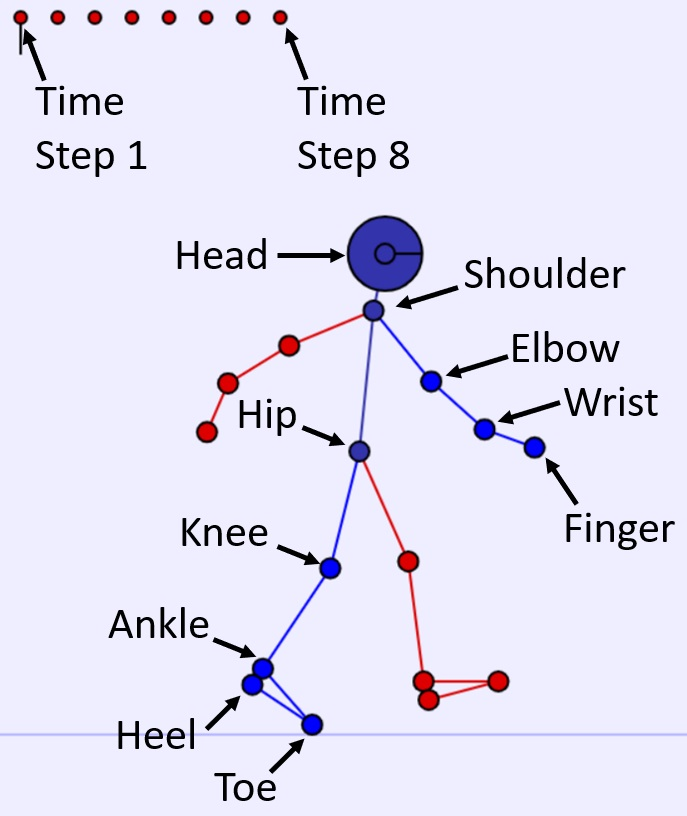
BodyWorks: Kinematics ToolA page with a javascript application where you can set body positions, calculate joint angles and animate human motion. |
|
|
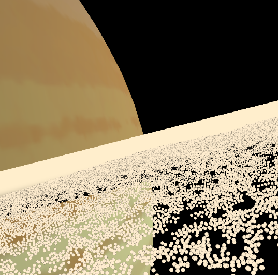
Saturn's ringsA simulation of Saturn's rings --- a few thousand particles are simulated, in a repeating tiled region. You use the mouse and keys to fly in it. |